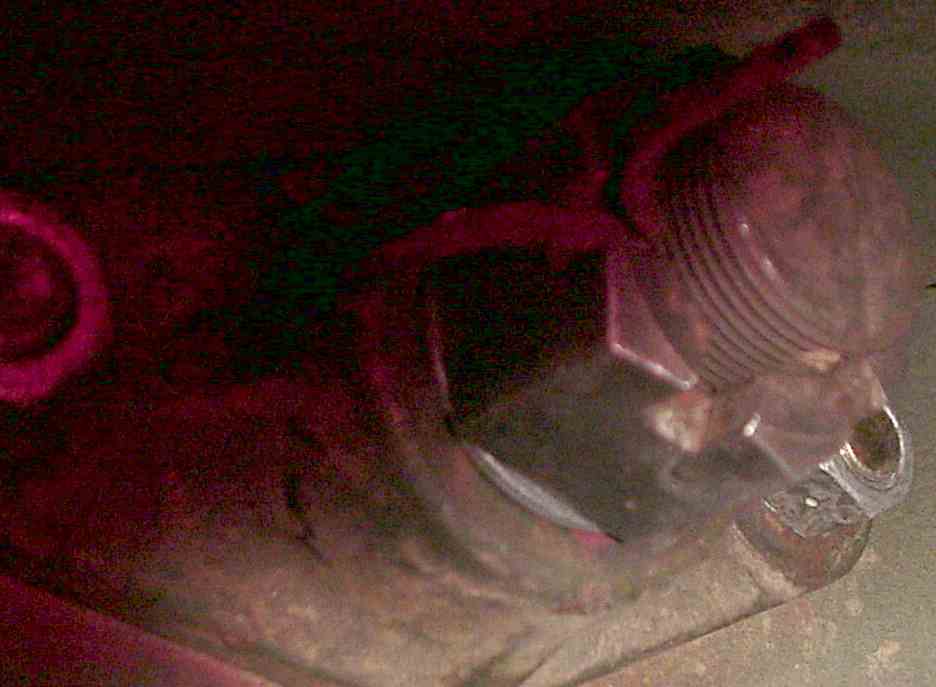
Appearance of hitch.
|

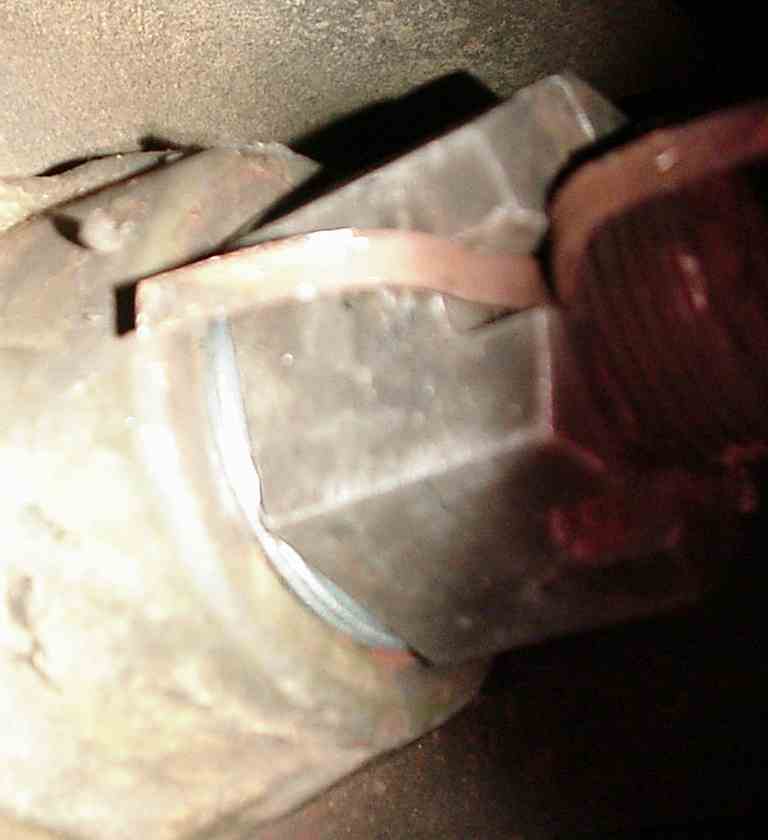
The fit of the machine bushings.
|
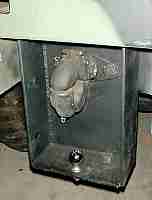
The inside of the assembly.
|

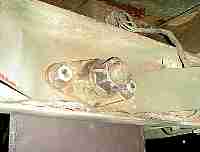
Close-up of the assembly.
|

Helper. Cats make good watchmen. They are silent, and see and hear everything. By watching where the cats are looking, you can be notified of approaching threats well before you can detect them yourself.
|
Notes:
01. The hitch was made from 3/8" cold rolled steel.
A plate was obtained which was 12" wide and 44" long.
The sections are 12"x18" (rear), two 6"x18" (sides), and 6"x18" (bottom shelf). There is always a bit of waste when torch-cutting, so although you might say you only need a 42" length, figure on a couple more inches.
02. The panels were tacked up with a 1/8" gap between them.
03. The outside welds were done with a TIG welder using a rod to fill the gap between the parts.
04. The inside welds followed and were done with a regular arc welder using a 'hi/lo' stick.
05. The welds were done this way to ensure complete penetration all the way across the mating faces of the parts throughout the job. This is my first 'real' welding job. The job was supervised by a professional welder. Always seek a knowledgeable craftsman to help make sure such a job is done properly.
06. The holes for the pintle mount are 1/2" diameter and were done on a drill press starting with a 1/4" drill.
The speed for all drilling was 180RPPM and plenty of lube oil was used. Actually, 80W90 gear oil was used for the job, as it was on hand.
The 2" ball hitch also uses a 1/2" hole. Two 1.5" holes were blown in the sides for the safety chains of a small trailer, in case they are too short to reach the M35's loops.
The size of small trailer this is intended to pull would weigh no more than a ton fully loaded, such as an ATV or dirt bike trailer loaded with gear. This provides a very generous safety margin.
07. The pintle shaft is about 1.75" diameter, so a 2" hole was torched in the back plate of the hitch assembly to pass the shaft.
08. Since there is now 3/8" more thickness to the depth the pintle shaft must penetrate, it was a concern that the large locknut on the rear of the pintle shaft would not go on far enough to allow its cotter pin to be inserted.
There is originally a large washer (bushing) between the inner pintle bearing and this locknut. (The bushing is about 11/32 thick having a hole just barely over 1 1/2" and an outer diameter of about 2 1/2".)
The bushing was removed and two "machine bushings" with an inner diameter of 1 1/2" and an outer diameter of about 2 1/4" were used instead. The bushings looked to be about 1/16" thick. It would be preferrable to have bushings with a larger diameter like the original.
The metal is not very tough, but liberal greasing should make it last. It is something that should be inspected each time the pintle is to be used.
Better bushings should be used, but we used what was at hand for now. It turned out that two more could possibly be fit into the space. It might be a good idea later to have a proper bushing made, or have the original hard steel one milled down a bit.
The fail safe is that should the small busing fail, the pintler nut with its cotter pin will hold. The assembly must be inspected before and after use as part of any PMCS program. If the pintle feels loose, be sure to inspect the assembly most diligently.
10. The lower shelf is 24" above ground (Note: truck uses 11.00x20 tires). This reduces the M35's departure angle slightly.
11. Cotter pin which secures pintle in closed position had to be shortened by 7/8" due to the side of the assembly being a little too close to the pintle to let the pin go straight in.
This could be avoided by cutting a 1" hole in the side panel opposite the hole in the pintle body so that the chain end of the pin can be temporarily stuck out through the hole as the split end of the pin is lined up with the hole in the pintle.
12. The two original grade-8 bolts which hold the pintle bearing in place are apparently fine for this use. The ones on my truck were just long enough so that the extra thickness of the back plate let the treads be flush with the nuts upon assembly. The socket size was 1 1/8".
13. This web page is for purposes of interest only. Making a trailer hitch is very serious business and the workman should be sure that he has been diligent in using good advice, materials and practices, including frequent inspections before and after use. No responsibility is assumed by us for your actions.
Dual Trailer Hitch for M35, pintle hitch, ball hitch, home made, do it yourself, drop hitch, Texas State Guard