How To Rackmount Non-Rackmount Equipment
One way to do it: For this method it is presumed that the equipment has a shelf in the rack to sit on.
Now, how to keep it there? Click on the image to enlarge.
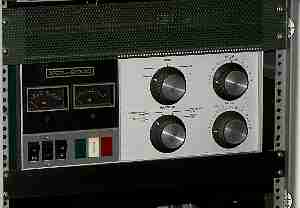
Figure 1
|
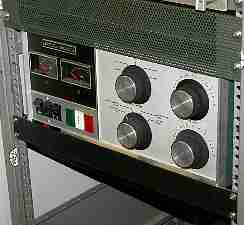
Figure 2
|

Figure 3
|
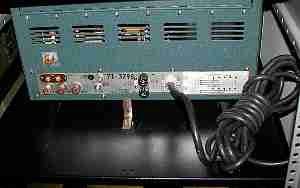
Figure 4
|

Figure 5
|
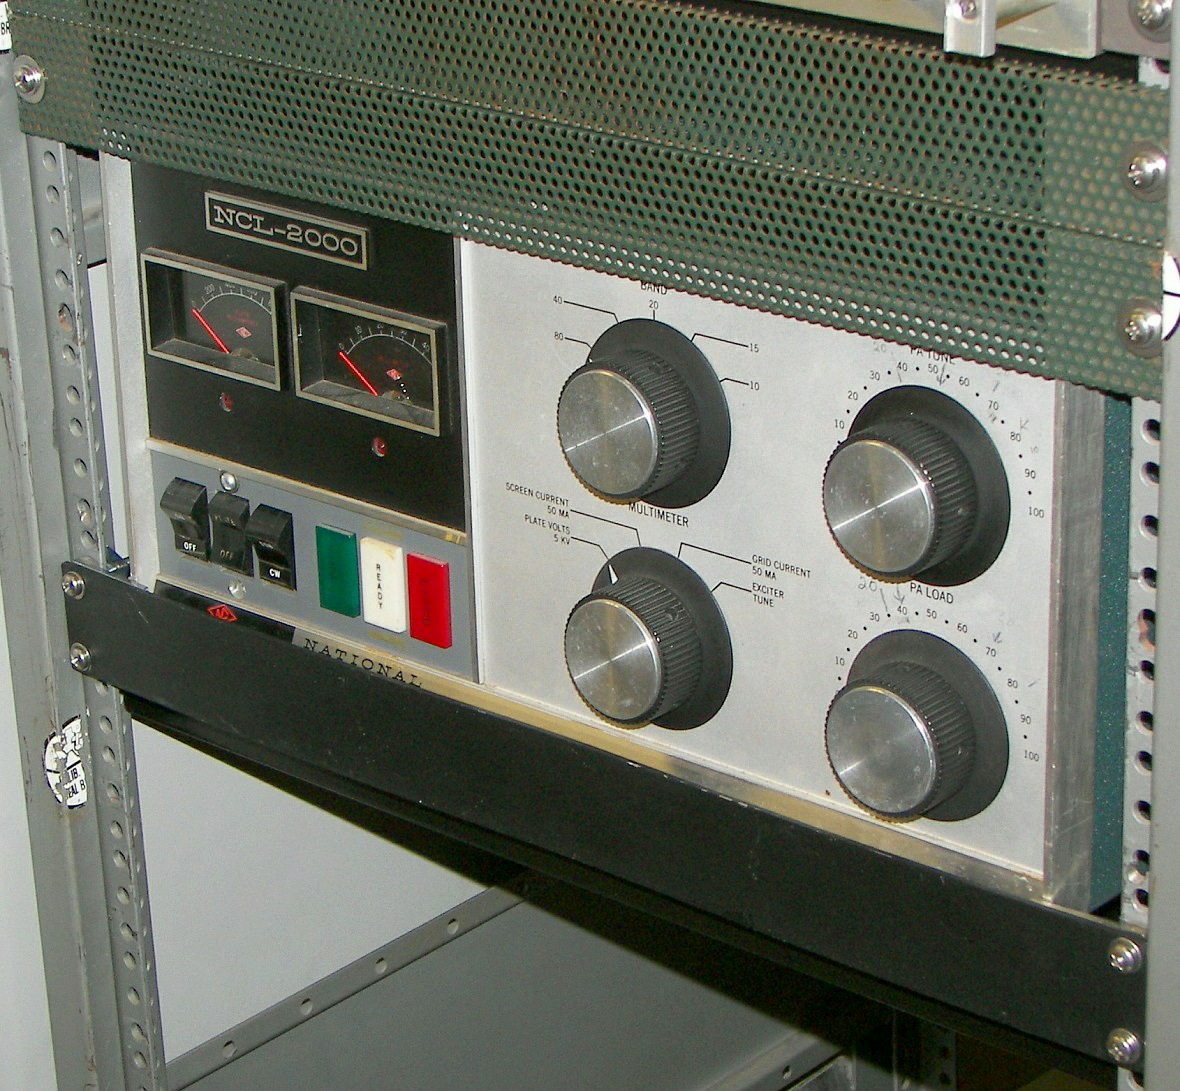
This example shows a National NCL-2000 linear amplifier secured in a rack. Obviously something this heavy is not going to slide around much. The goal is to keep it centered and 'up front' on the shelf so its positioning matches the true-rackmount equipment. The appearance is better when things are straight and centered. No holes are to be drilled in the amplifier. Since the amplifier was bought used, it was not clear what kind of feet were originally used, but the ones it came with were very low in the back and 1" tall in the front, not allowing very much space underneath at the rear where the air intake is. 1" tall feet were installed in all four positions to make the amplifier panel plumb from top to bottom and to decrease resistance to airflow into the blower.
There are a few challenges:
1. No holes to be drilled in the amplifier.
2. Prevent it from moving forward or backward.
3. keep it centered.
4. The NCL-2000 front panel is not flat nor plumb. It slopes back slightly, and also has a small protrusion along the very bottom edge, groovy 1971 style.
Figures 1 and 2 show what the job looks like. The green perforated panel at the top of the amplifier is mounted flat to the rack, and the top edge of the amplifier cabinet fits flush to the backside of this as a reference point. The perforated panel covers the 2U (3.5", as 1 rack Unit is 1.75") air space above the amplifier. The National NCL-2000 dissipates up to 800 watts from the pair of 8122 tubes and the heat exits through the amplifier top. A fan mounted in a panel mounted to the rear rack rails will be used to draw cool air from the front of the rack through this space, taking the amplifier's heat away with it.
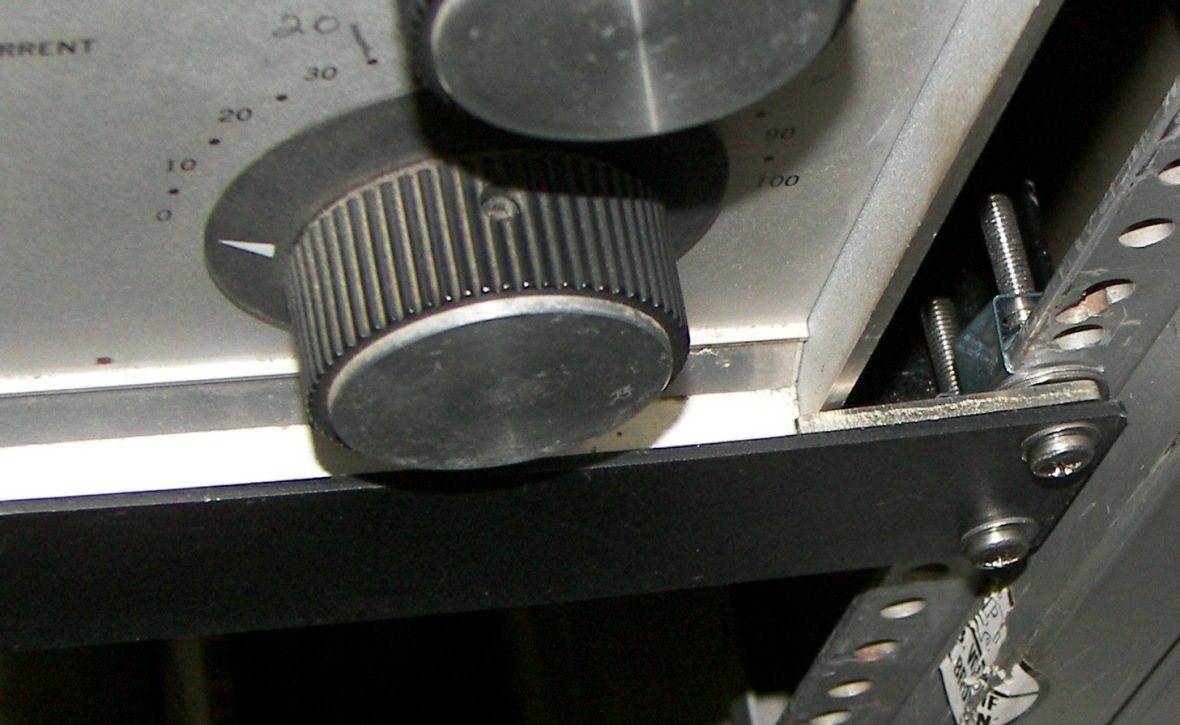
Figure 3 shows the bottom edge of the amplifier's front panel. Notice how it sticks out about 1/4" past the rack rails. This was accommodated by using several washers as shims and a 1/8" thick piece of steel just long enough to catch the lower front corner on each side of the amplifier. These are the hard contact points against which the bottom edge of amplifier front panel is located. The 1/16" thick black 1U rack panel covers up this hardware. In order to have the rack panel straight (plumb) from top to bottom, several 1/32" washers were used for the bottom screws to make up the space. It is of course not perfect in appearance but the job is mechanically sound.
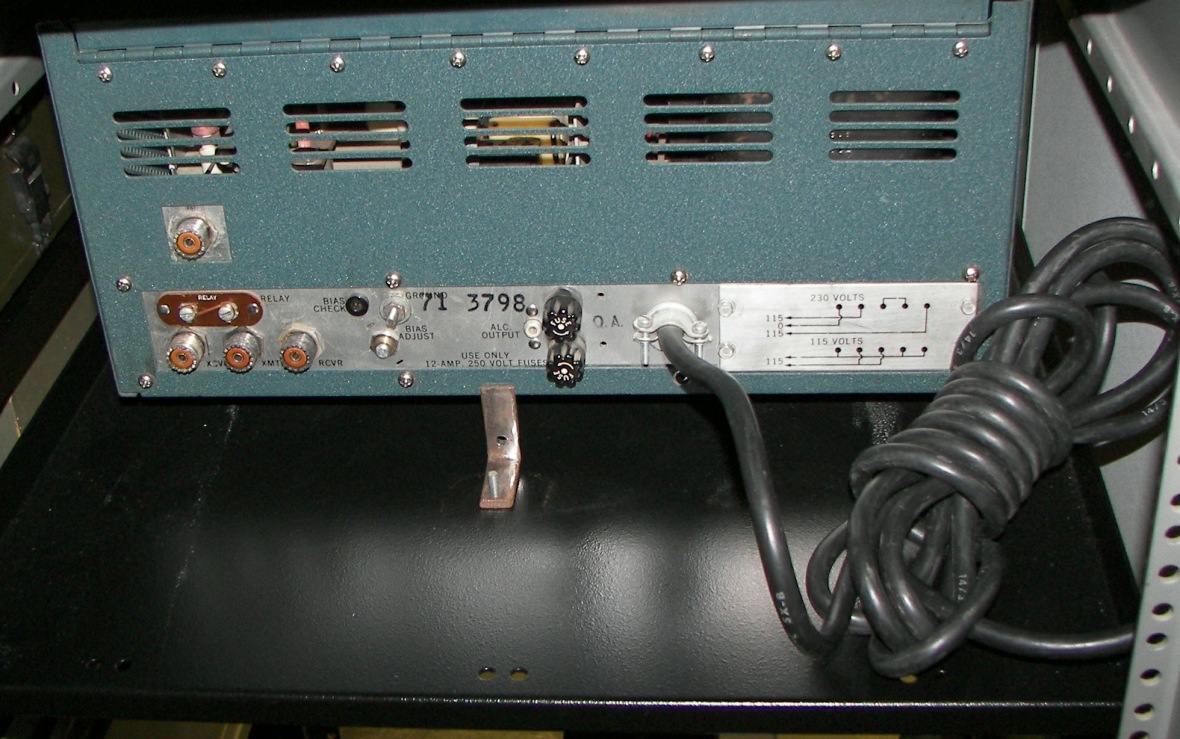
Figure 4 shows a small angle of 1/8" steel secured to the rack shelf so that it presses against the back of the amplifier. The way the angle was arranged so as to press on the amplifier is that it was pressed against the rear panel, and the position of the hole in the angle iron was marked. The hole was drilled so that it was about 1/32" closer to the amplifier than the mark. The hole was just large enough for the screw. When the screw was tightened, the steel angle was drawn into position pressing against the back of the amplifier chassis. (This is not to be taken for a substitute for proper grounding) Should the amplifier be bumped or shoved accidentally, it won't move. It stays nice and straight and up-front. The amount of pressure can be adjusted by adding or removing washers up front or by shimming or bending the steel angle at the rear. In this case, the pressure keeps the amplifier from moving right to left. An improvement could be made by using some small flat stock behind the rack rails to locate the sides of the amplifier chassis but really is not necessary on this heavy unit. On light weight easily moved equipment, side-to-side bracing becomes more important.
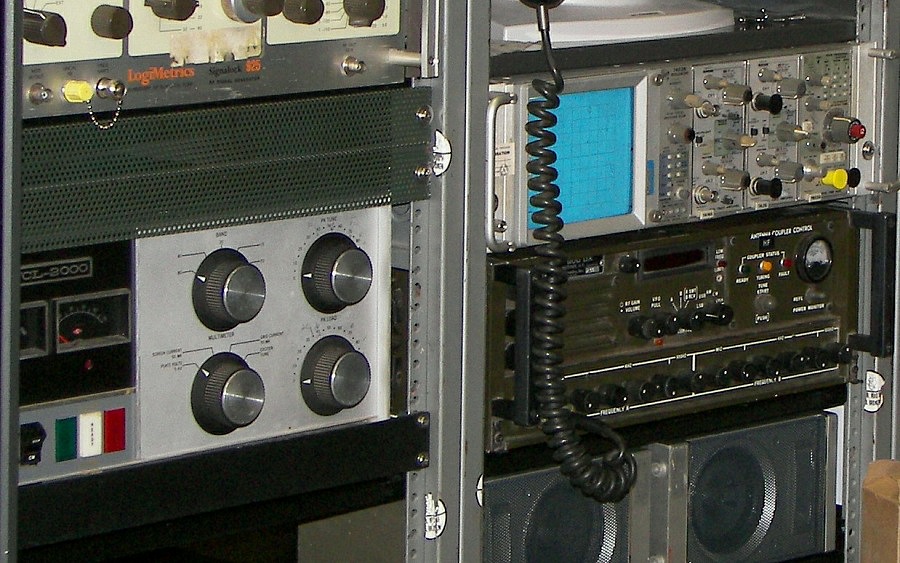
Figure 5 shows the general appearance compared to the rackmount stuff. Trim panels of 1" wide aluminum flat stock can be attached to the rack rails on the right and left for a finished appearance. The amplifier can be conveniently removed through the rear of the rack by removing the single screw and angle iron.