|
video: Driving the M35 to Chester, IL |
video: Driving the M35 to Chester, IL |
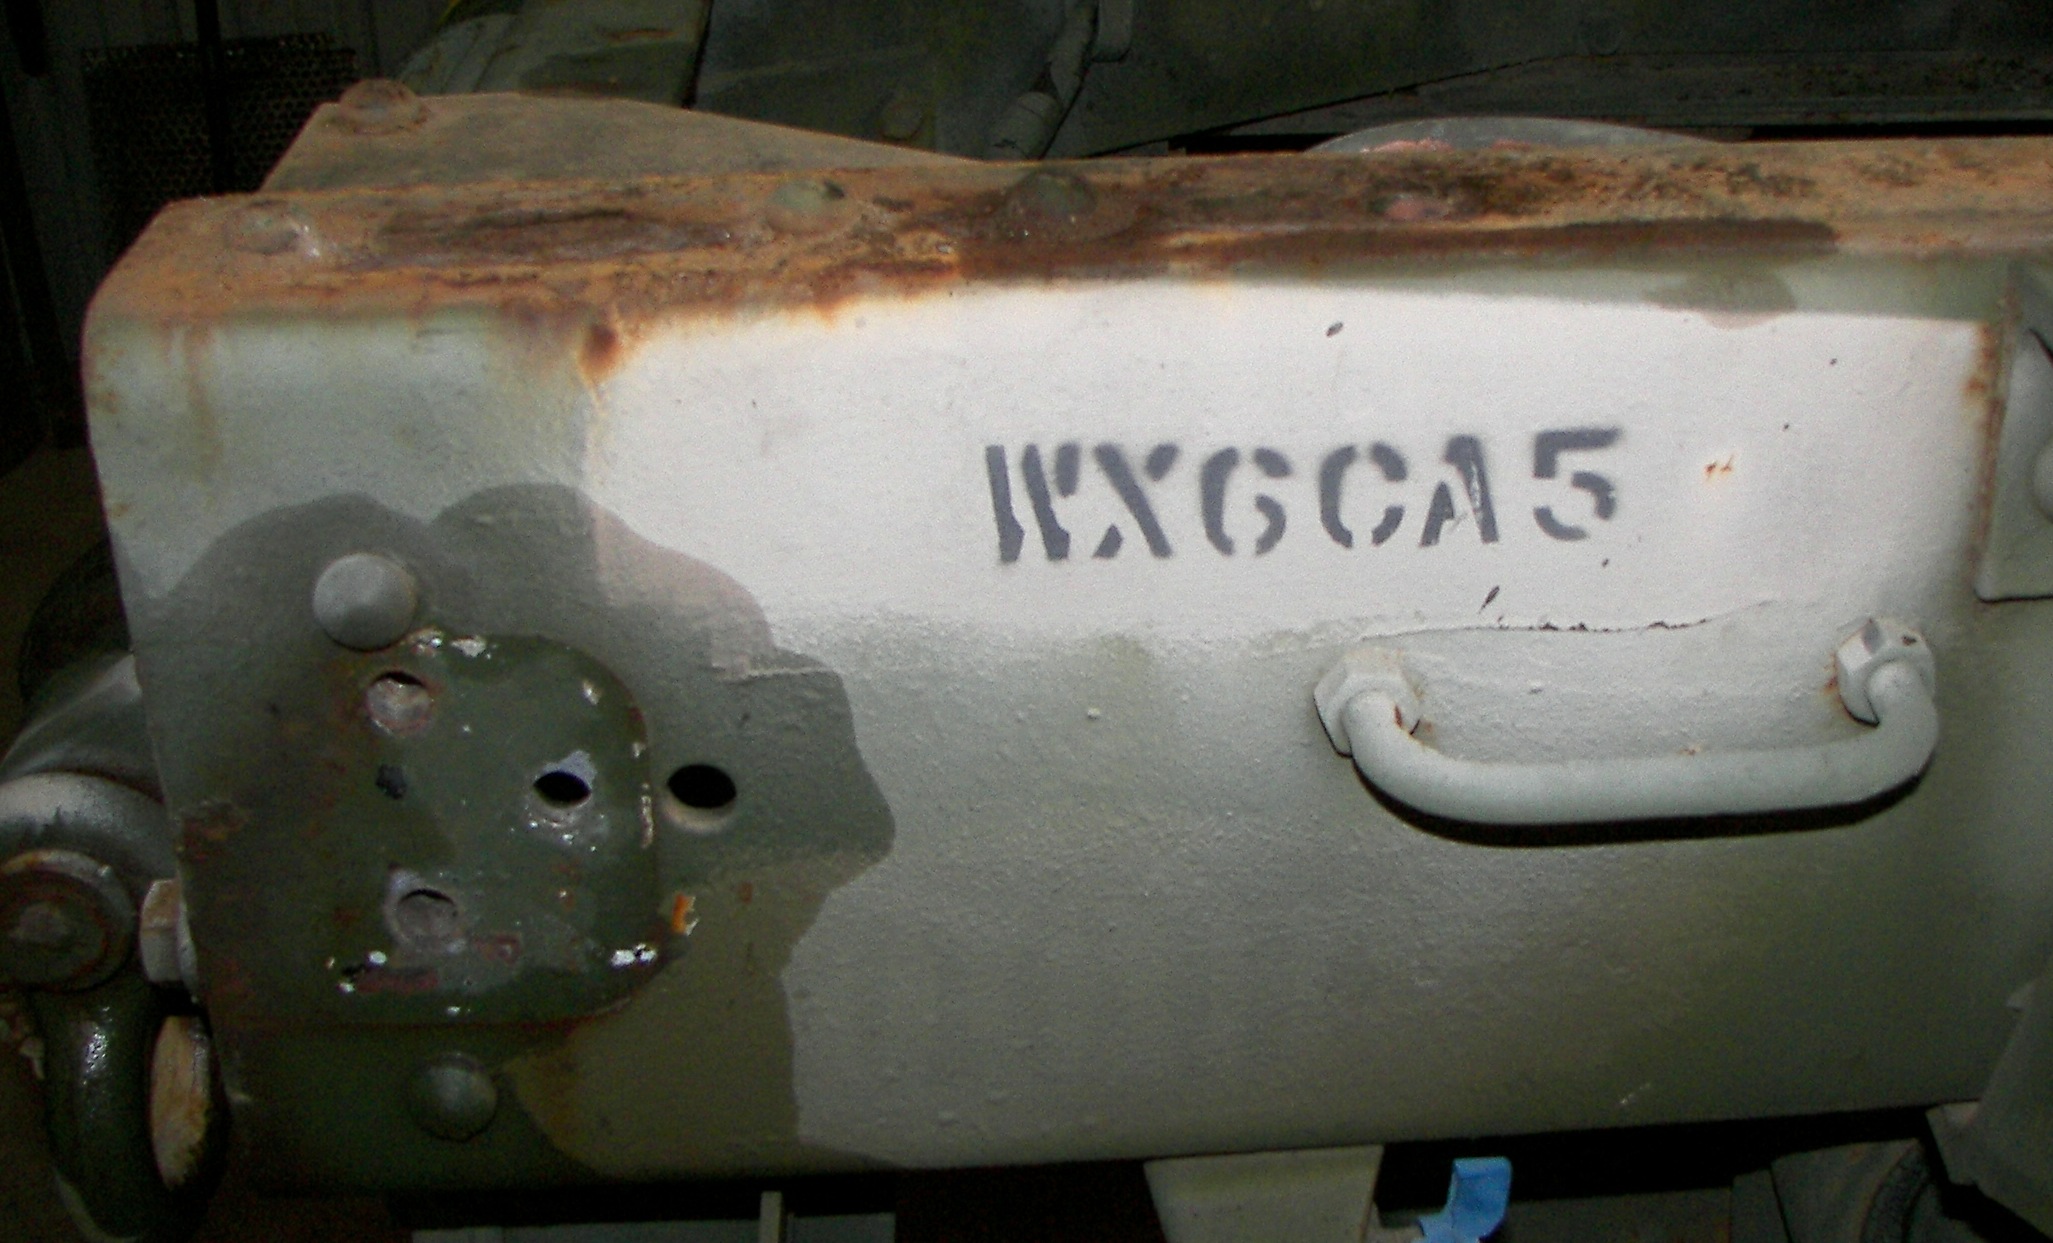
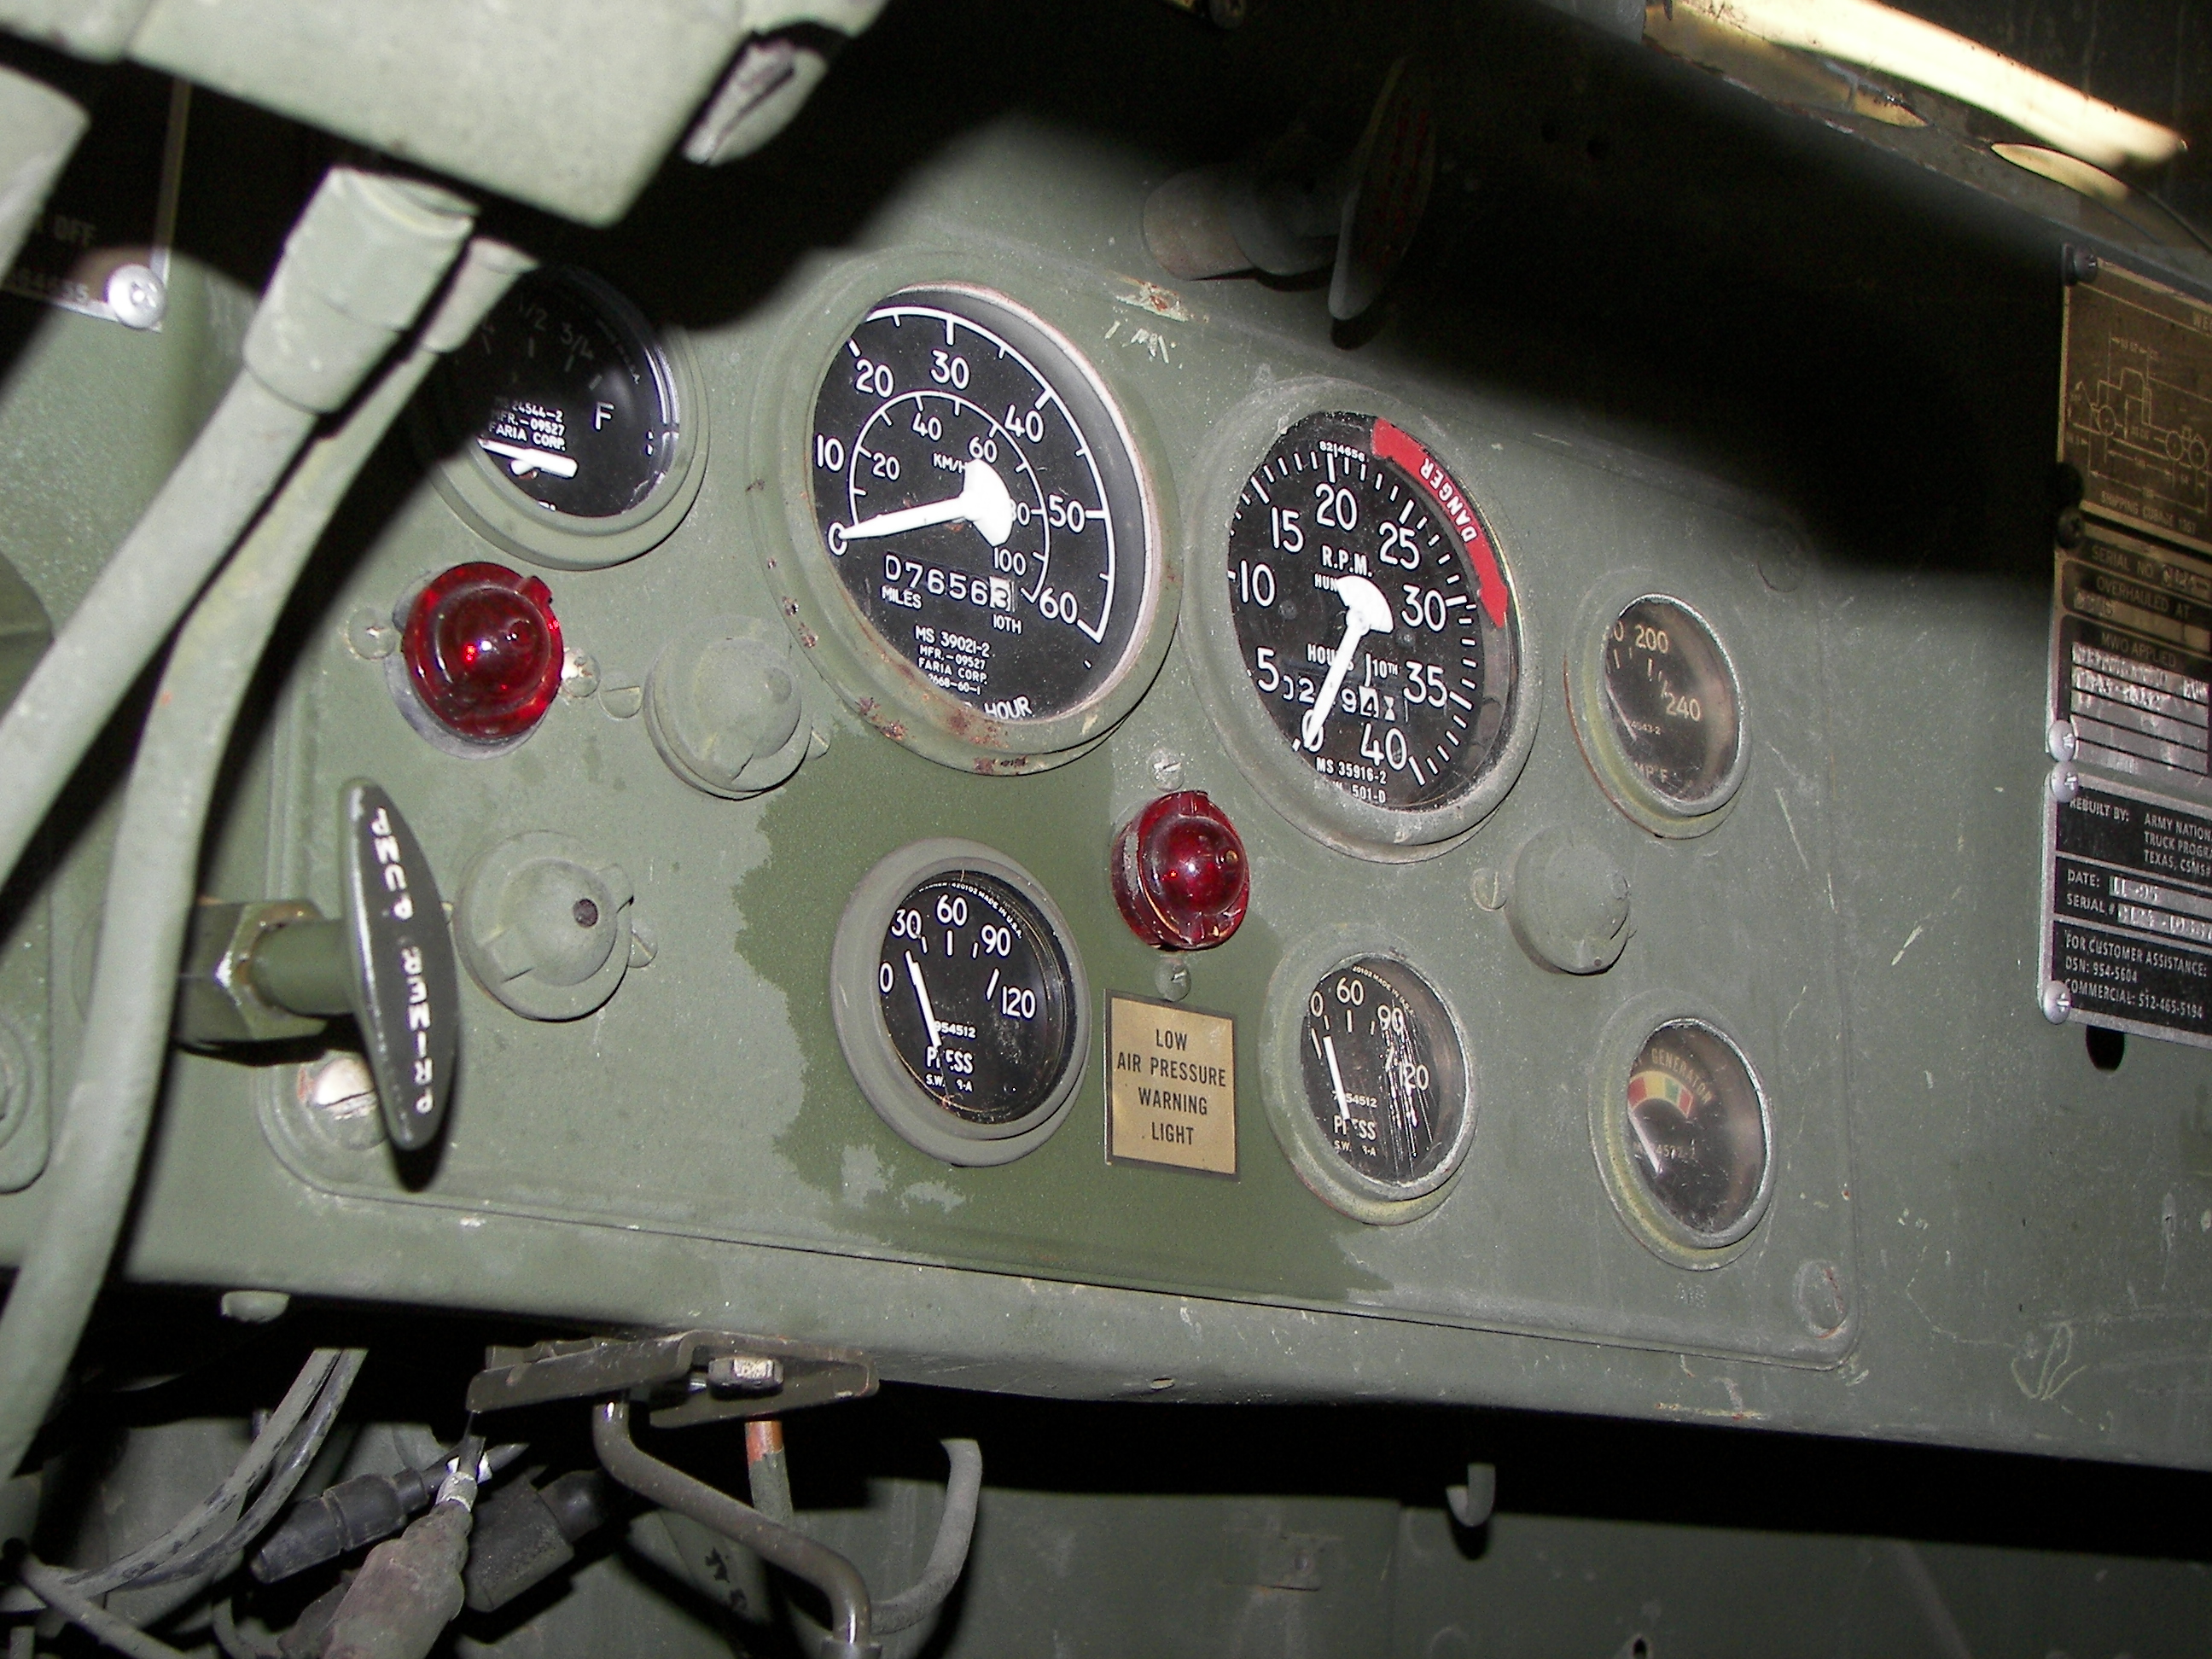
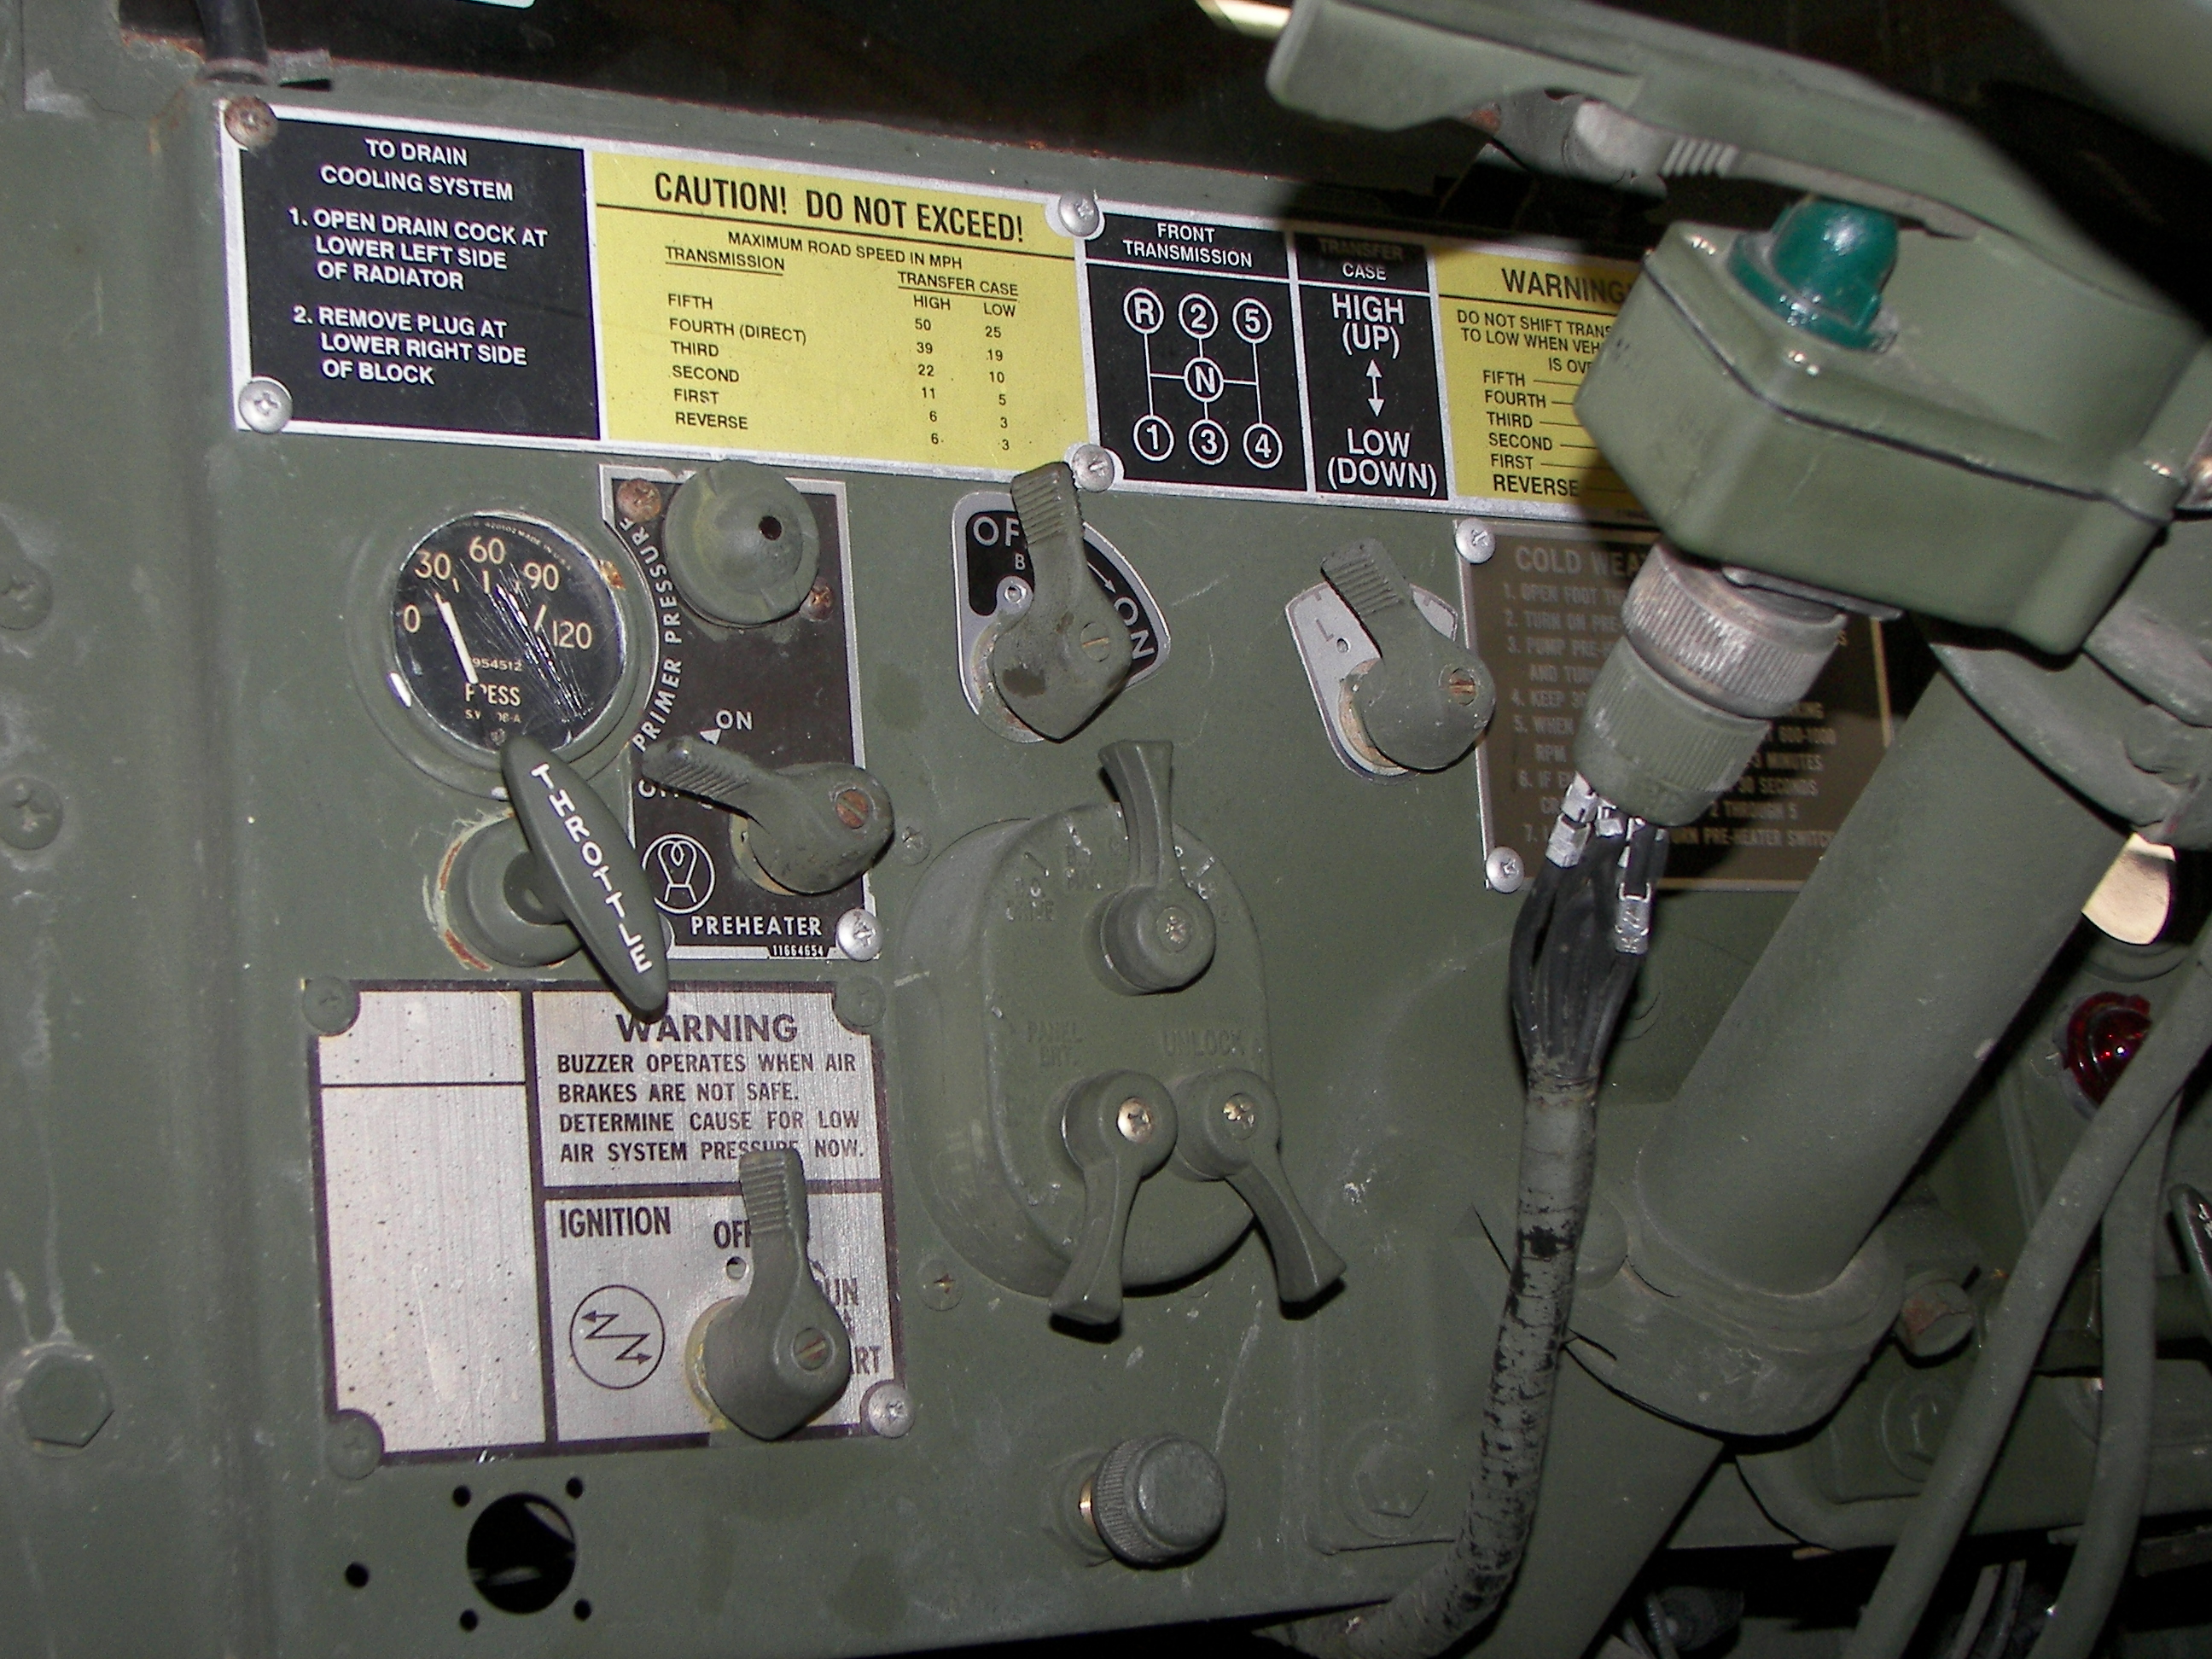
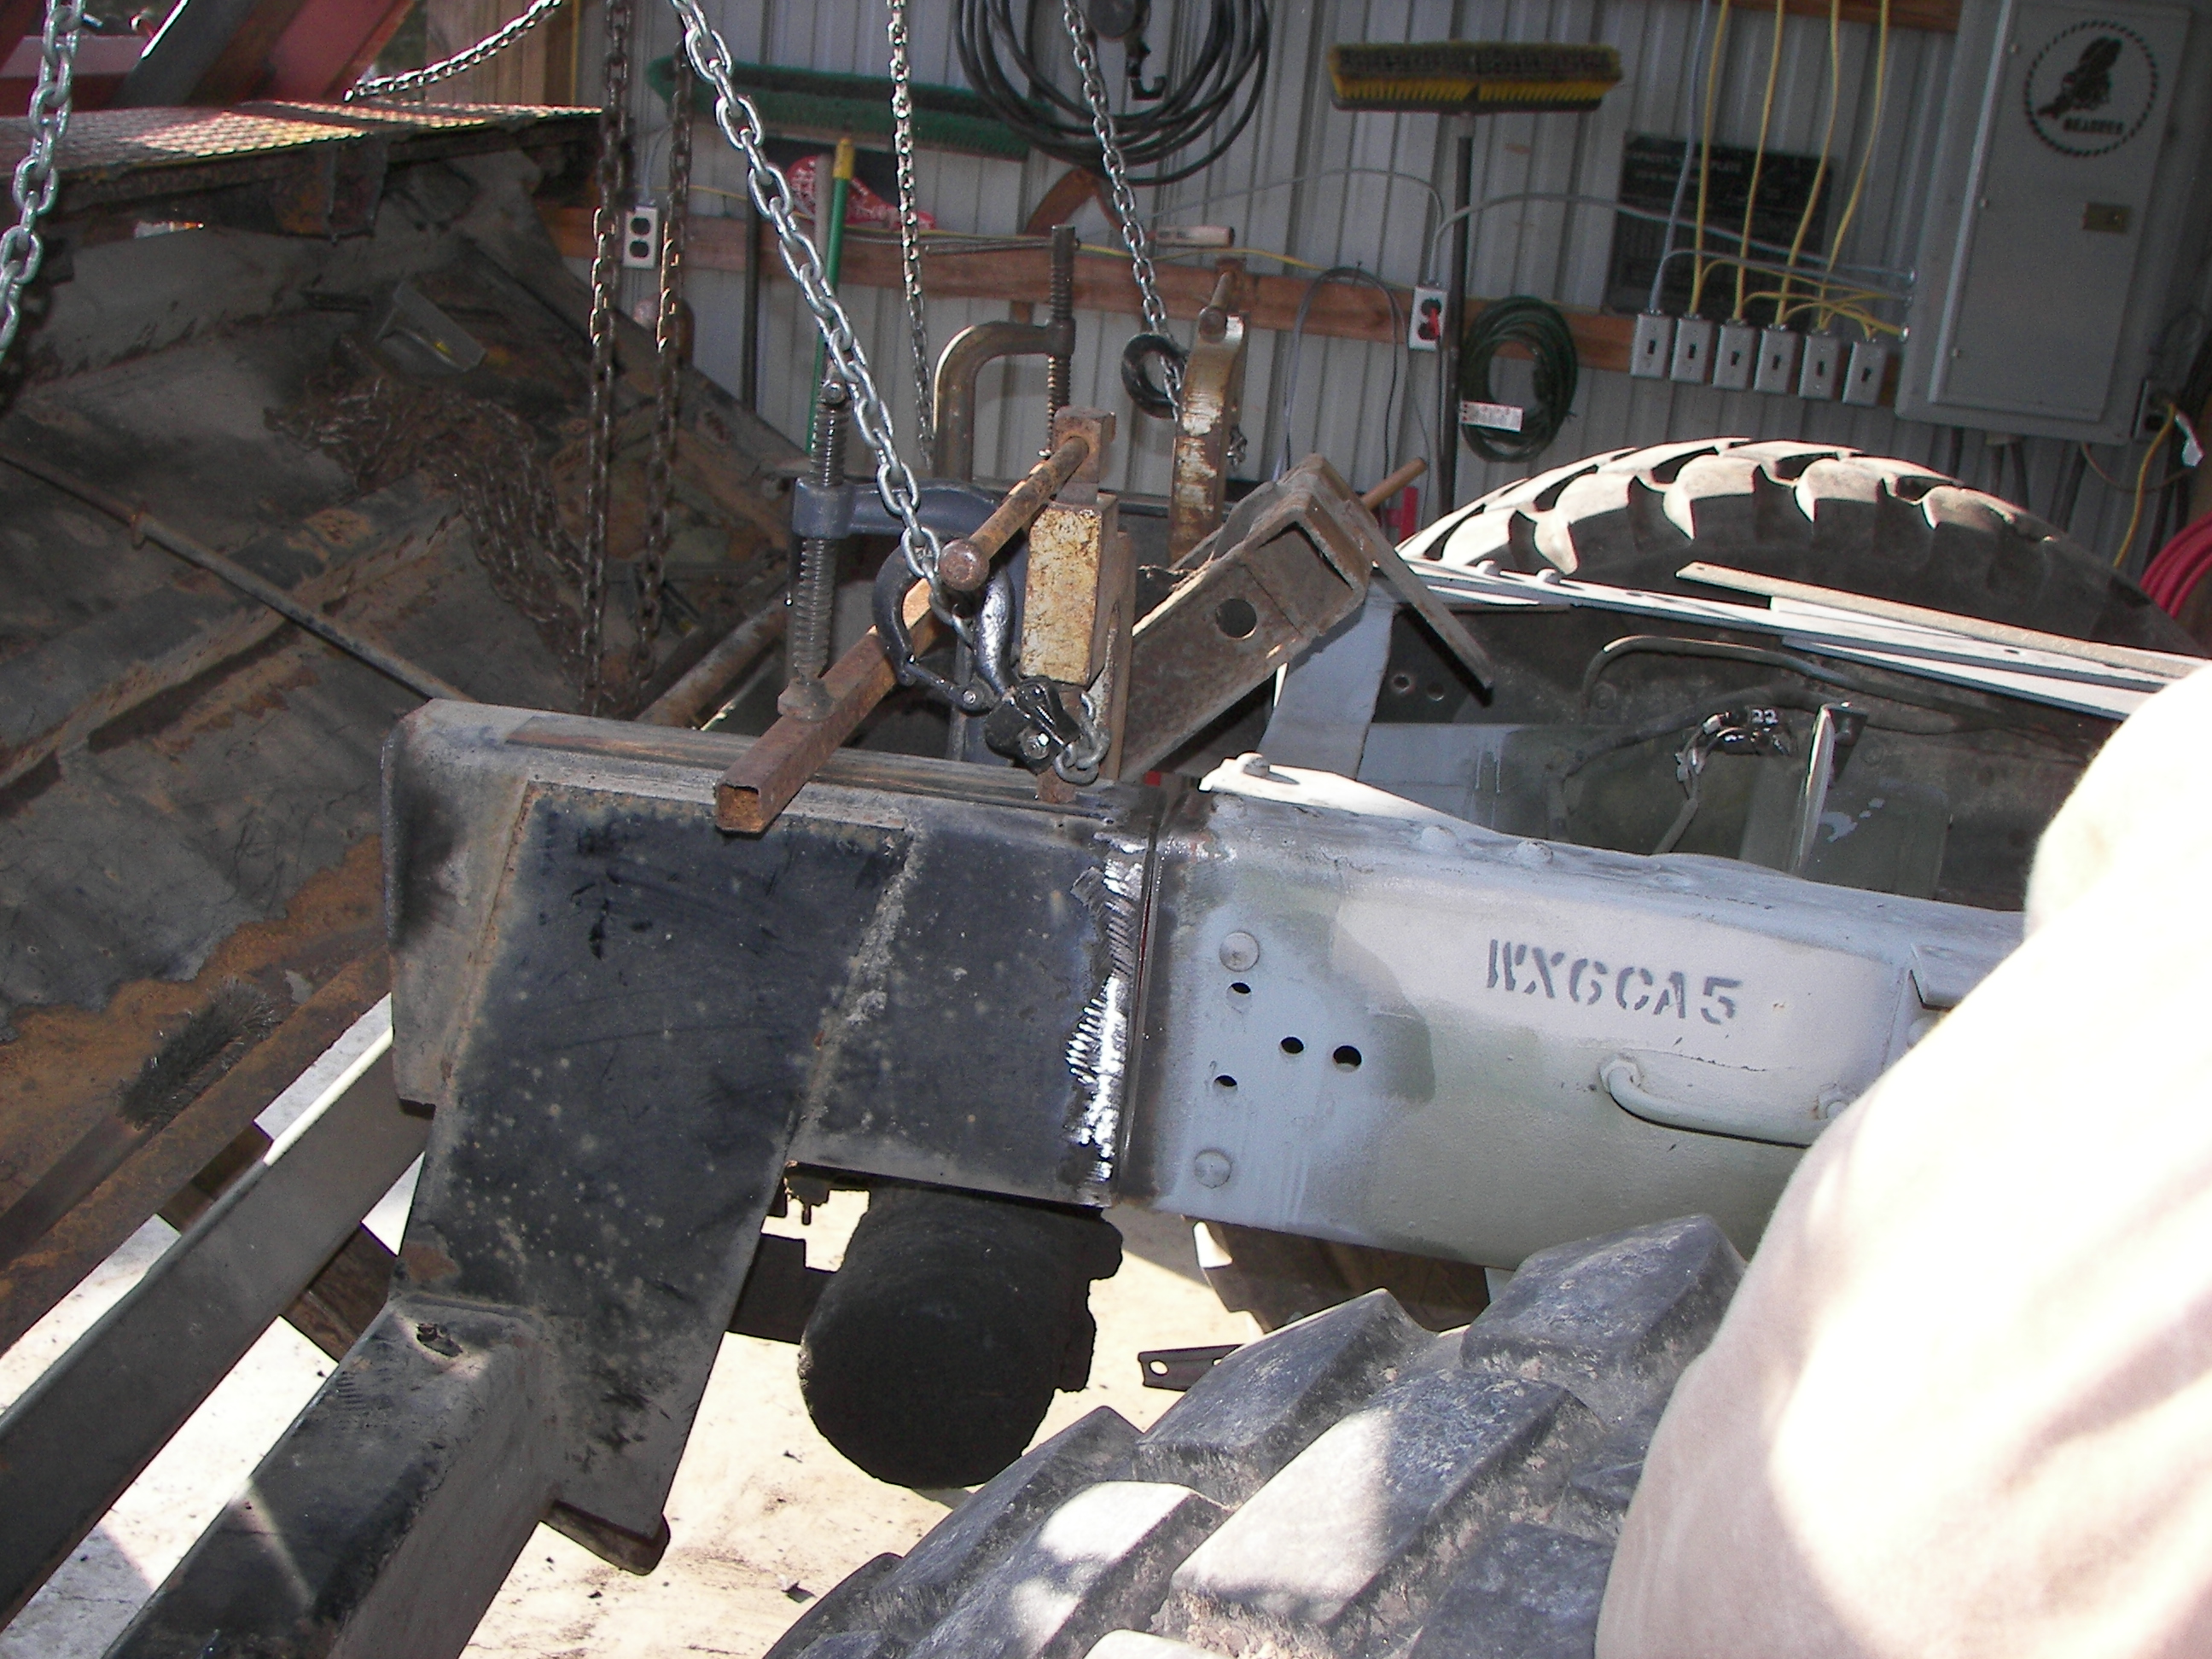
Markings on the M818 |
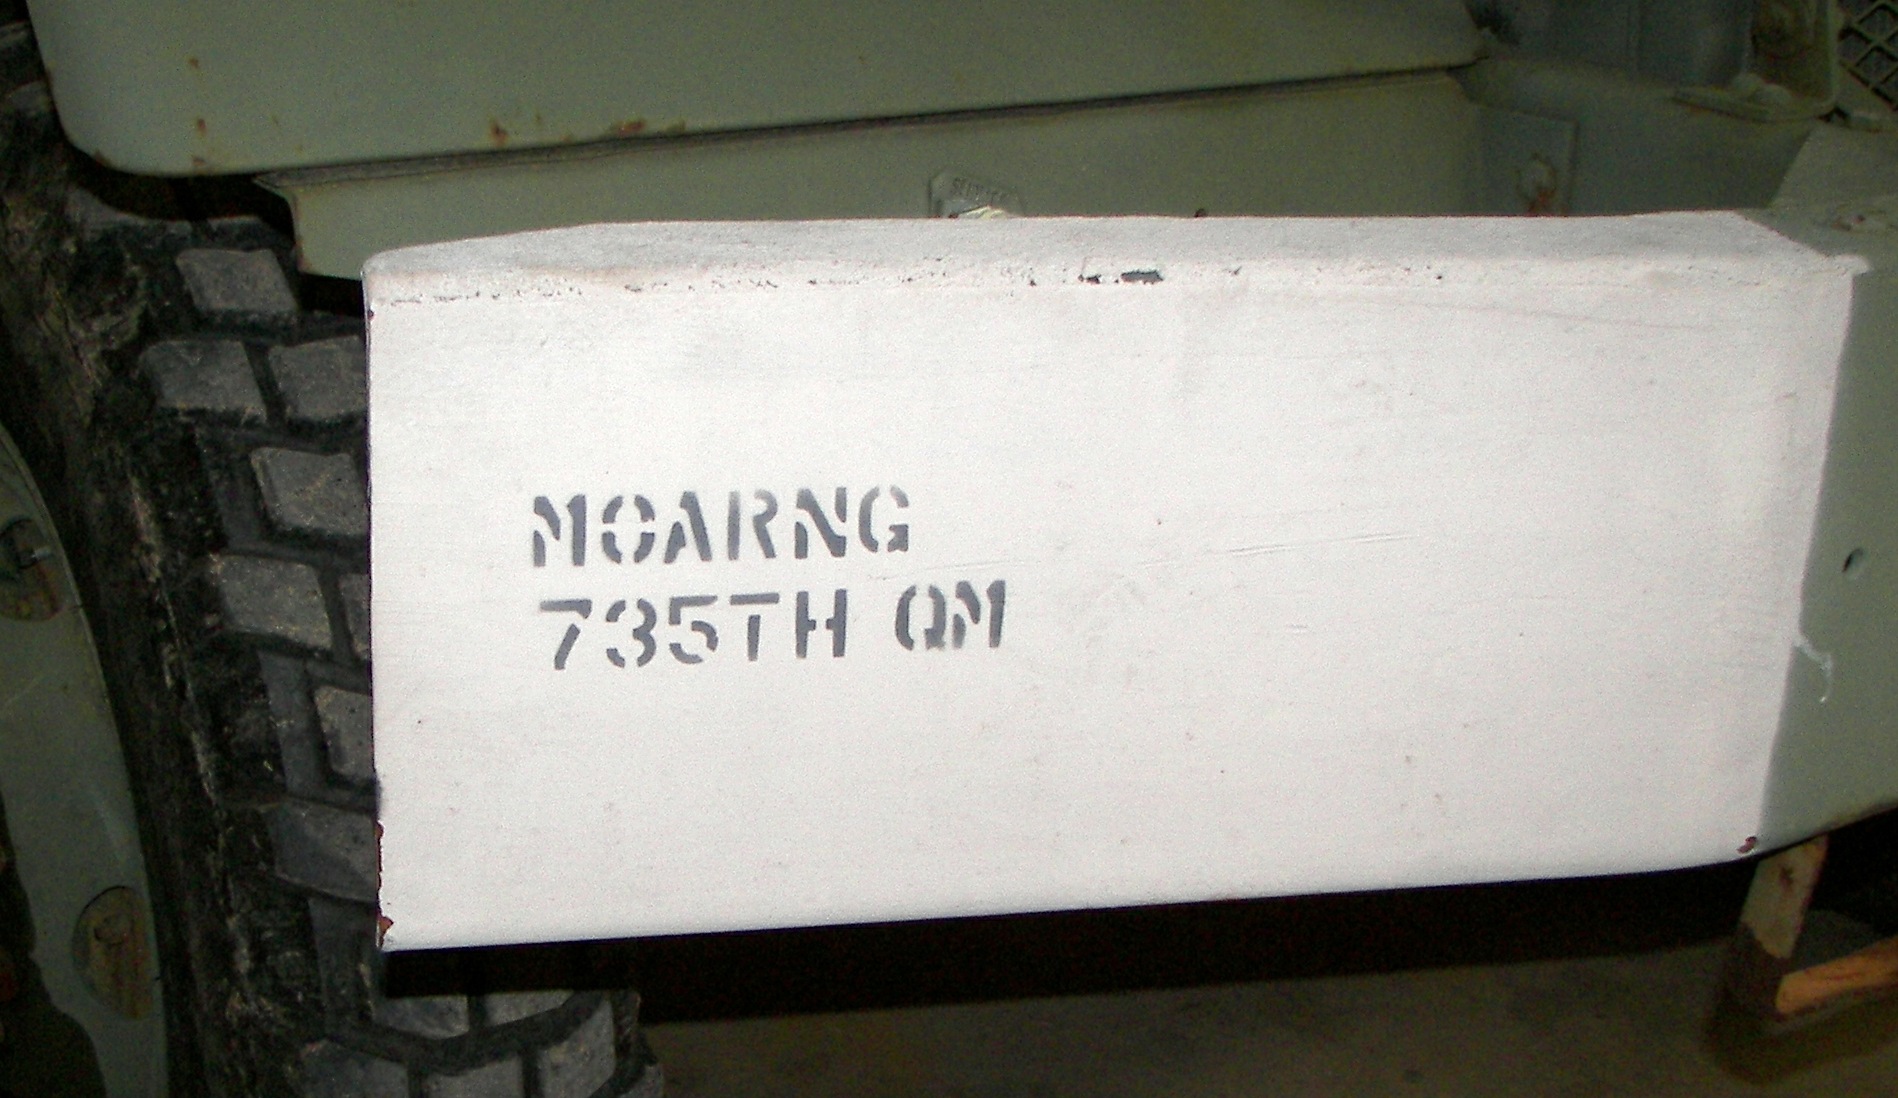
Markings on the M818 |
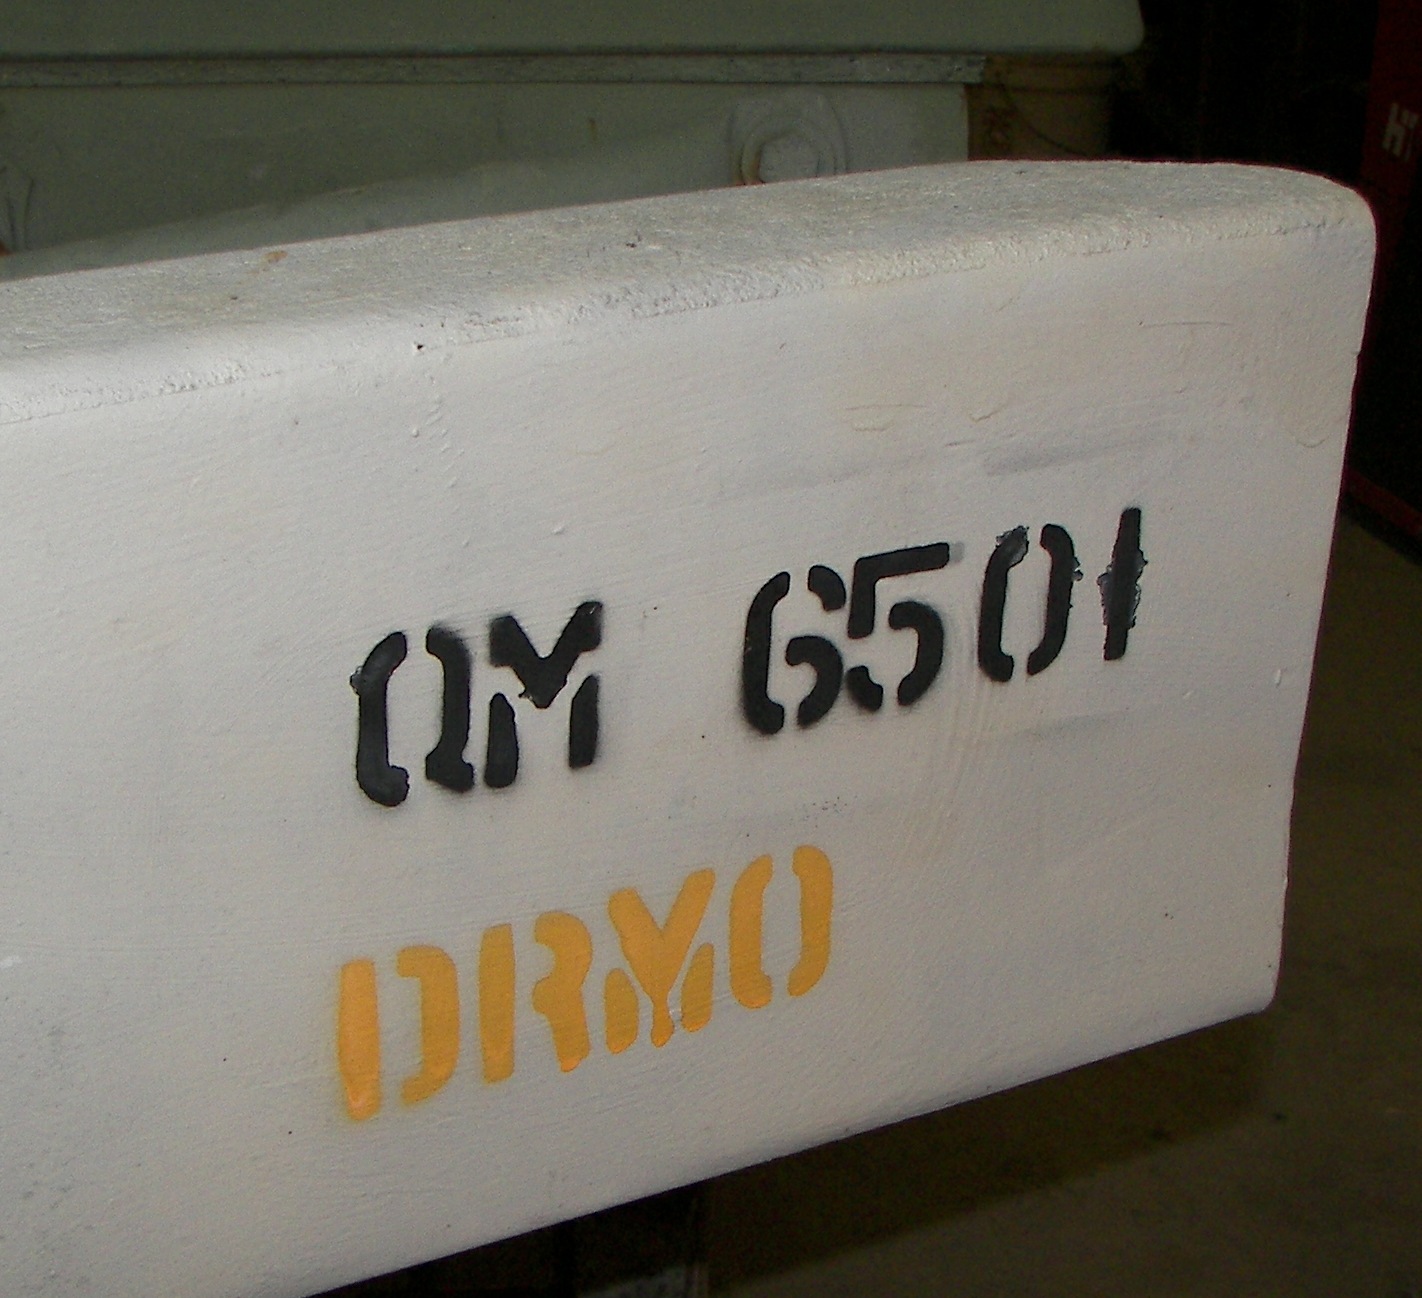
Markings on the M818 |
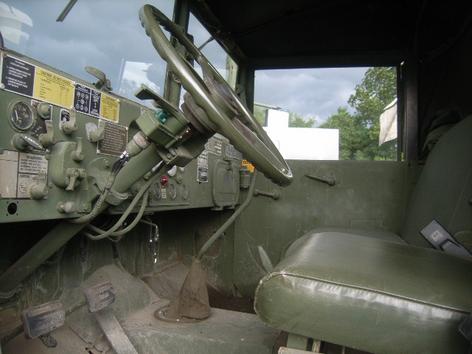
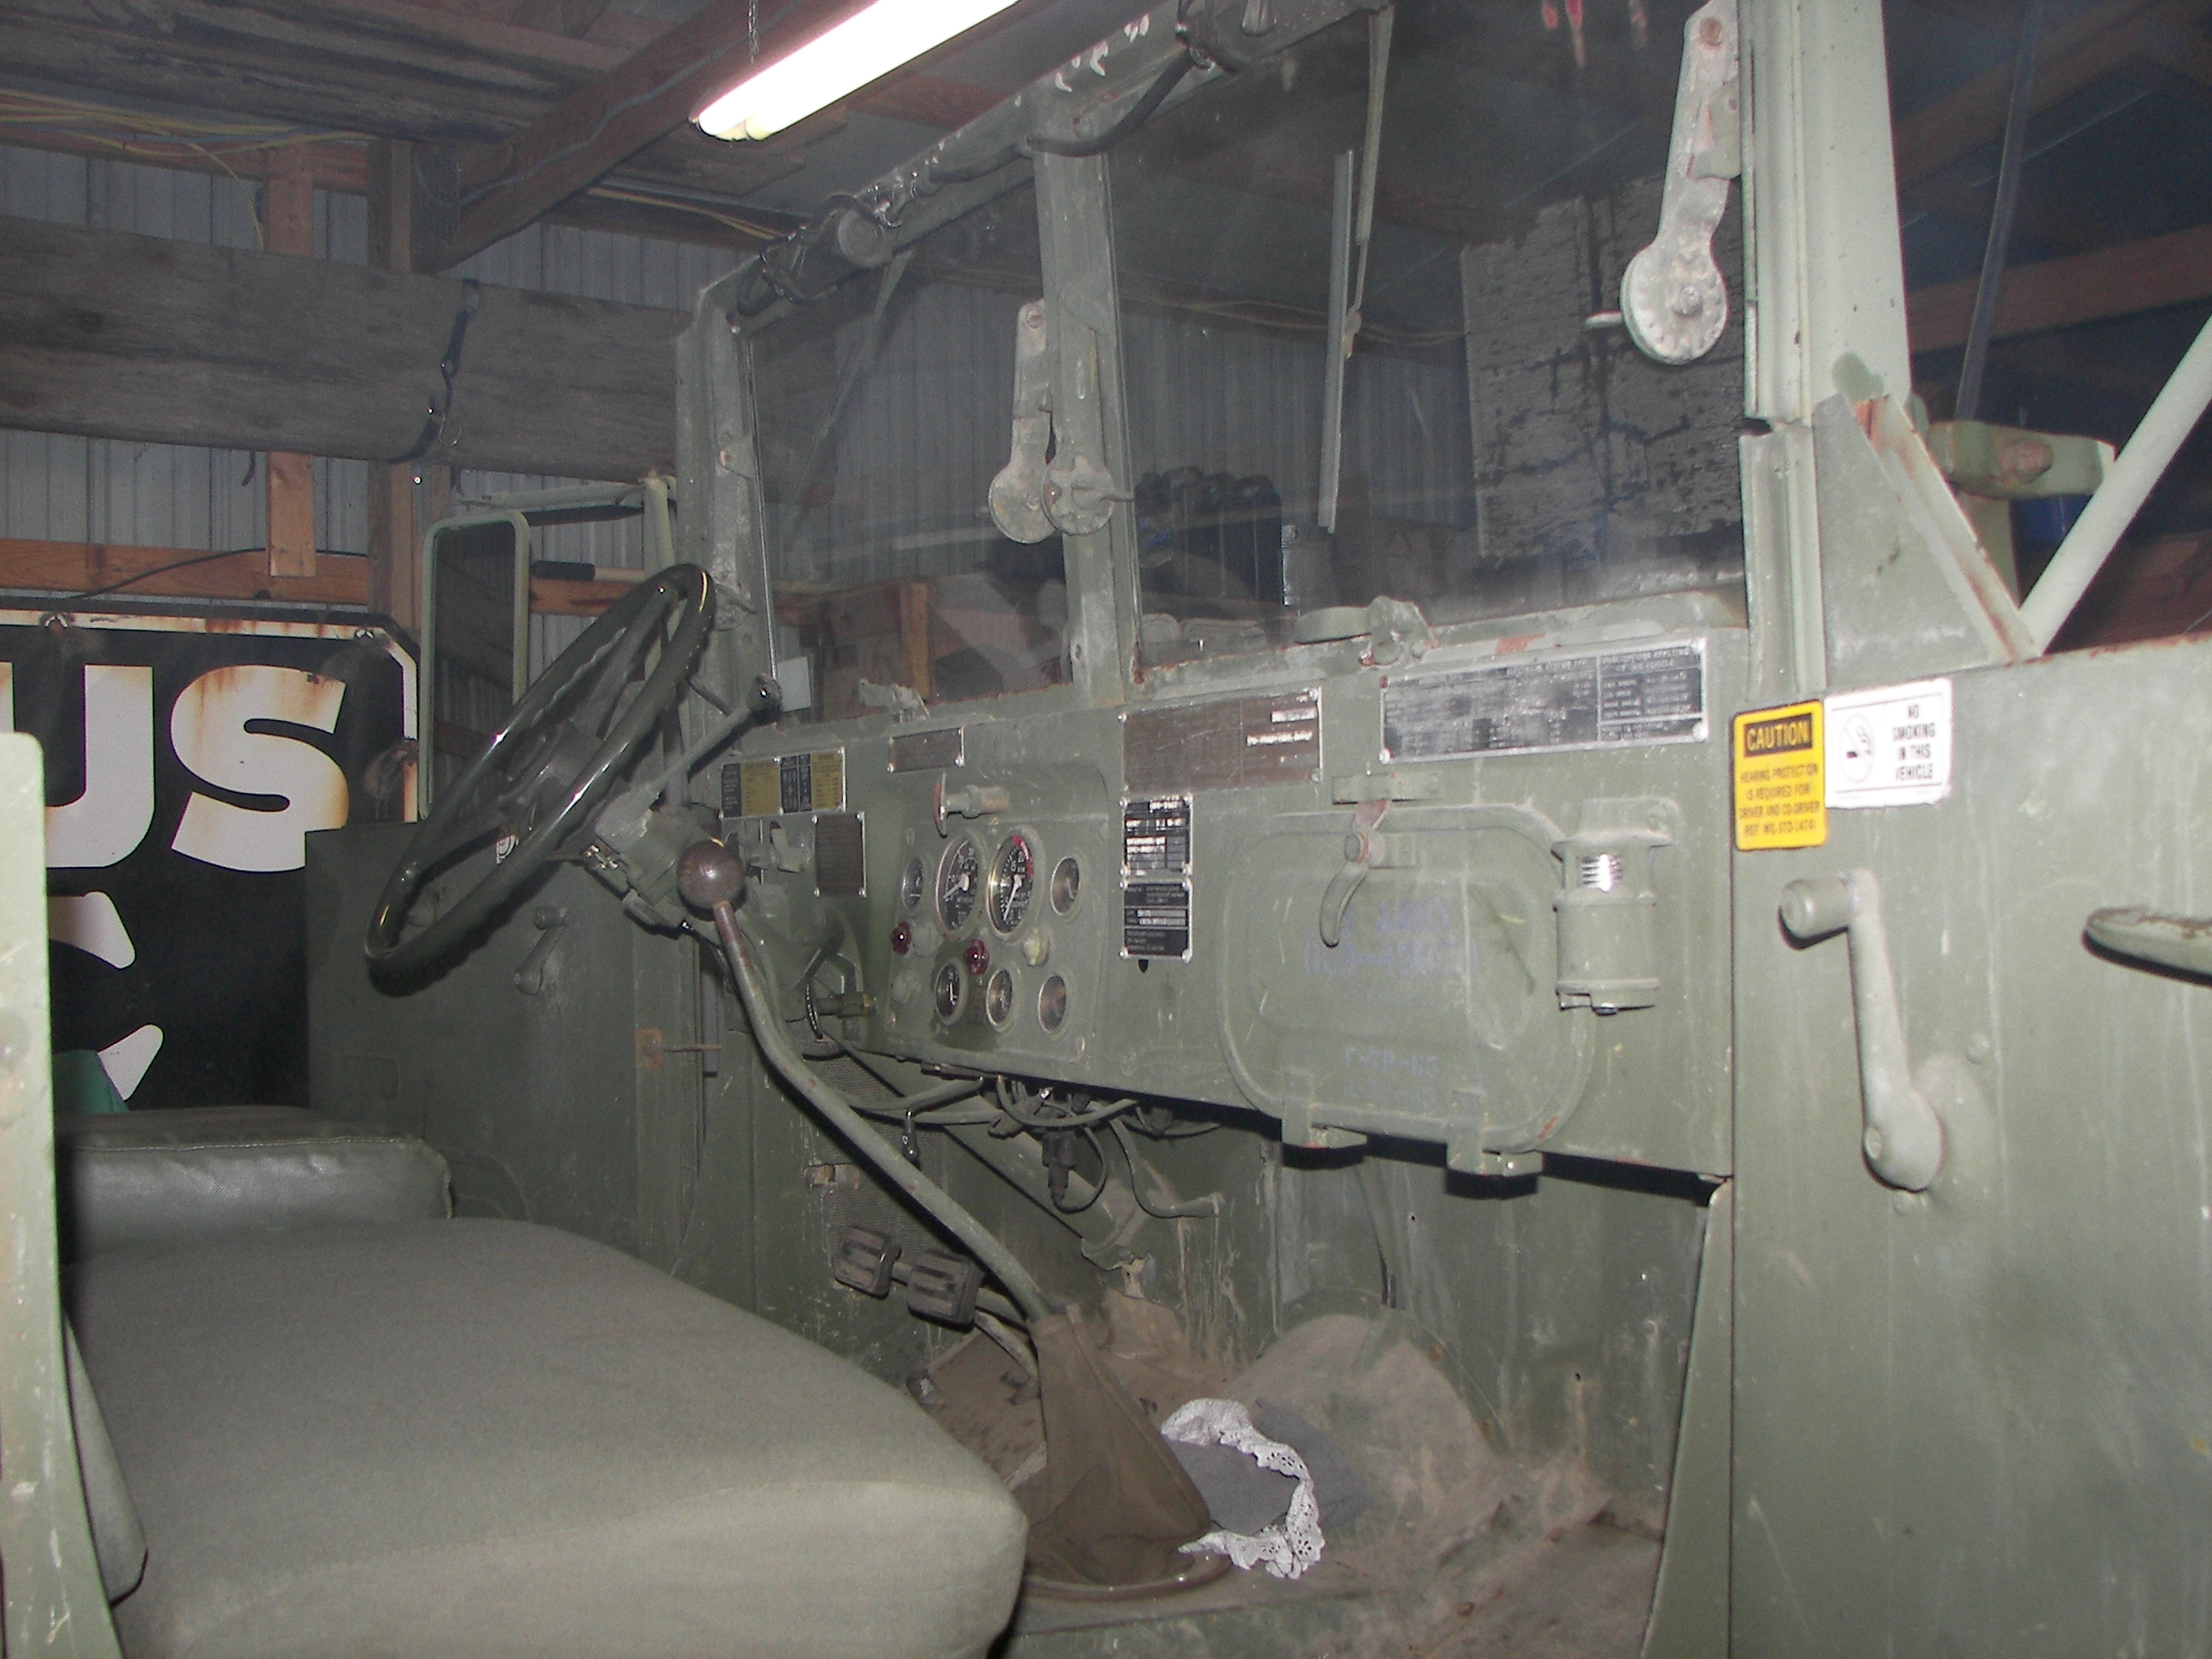
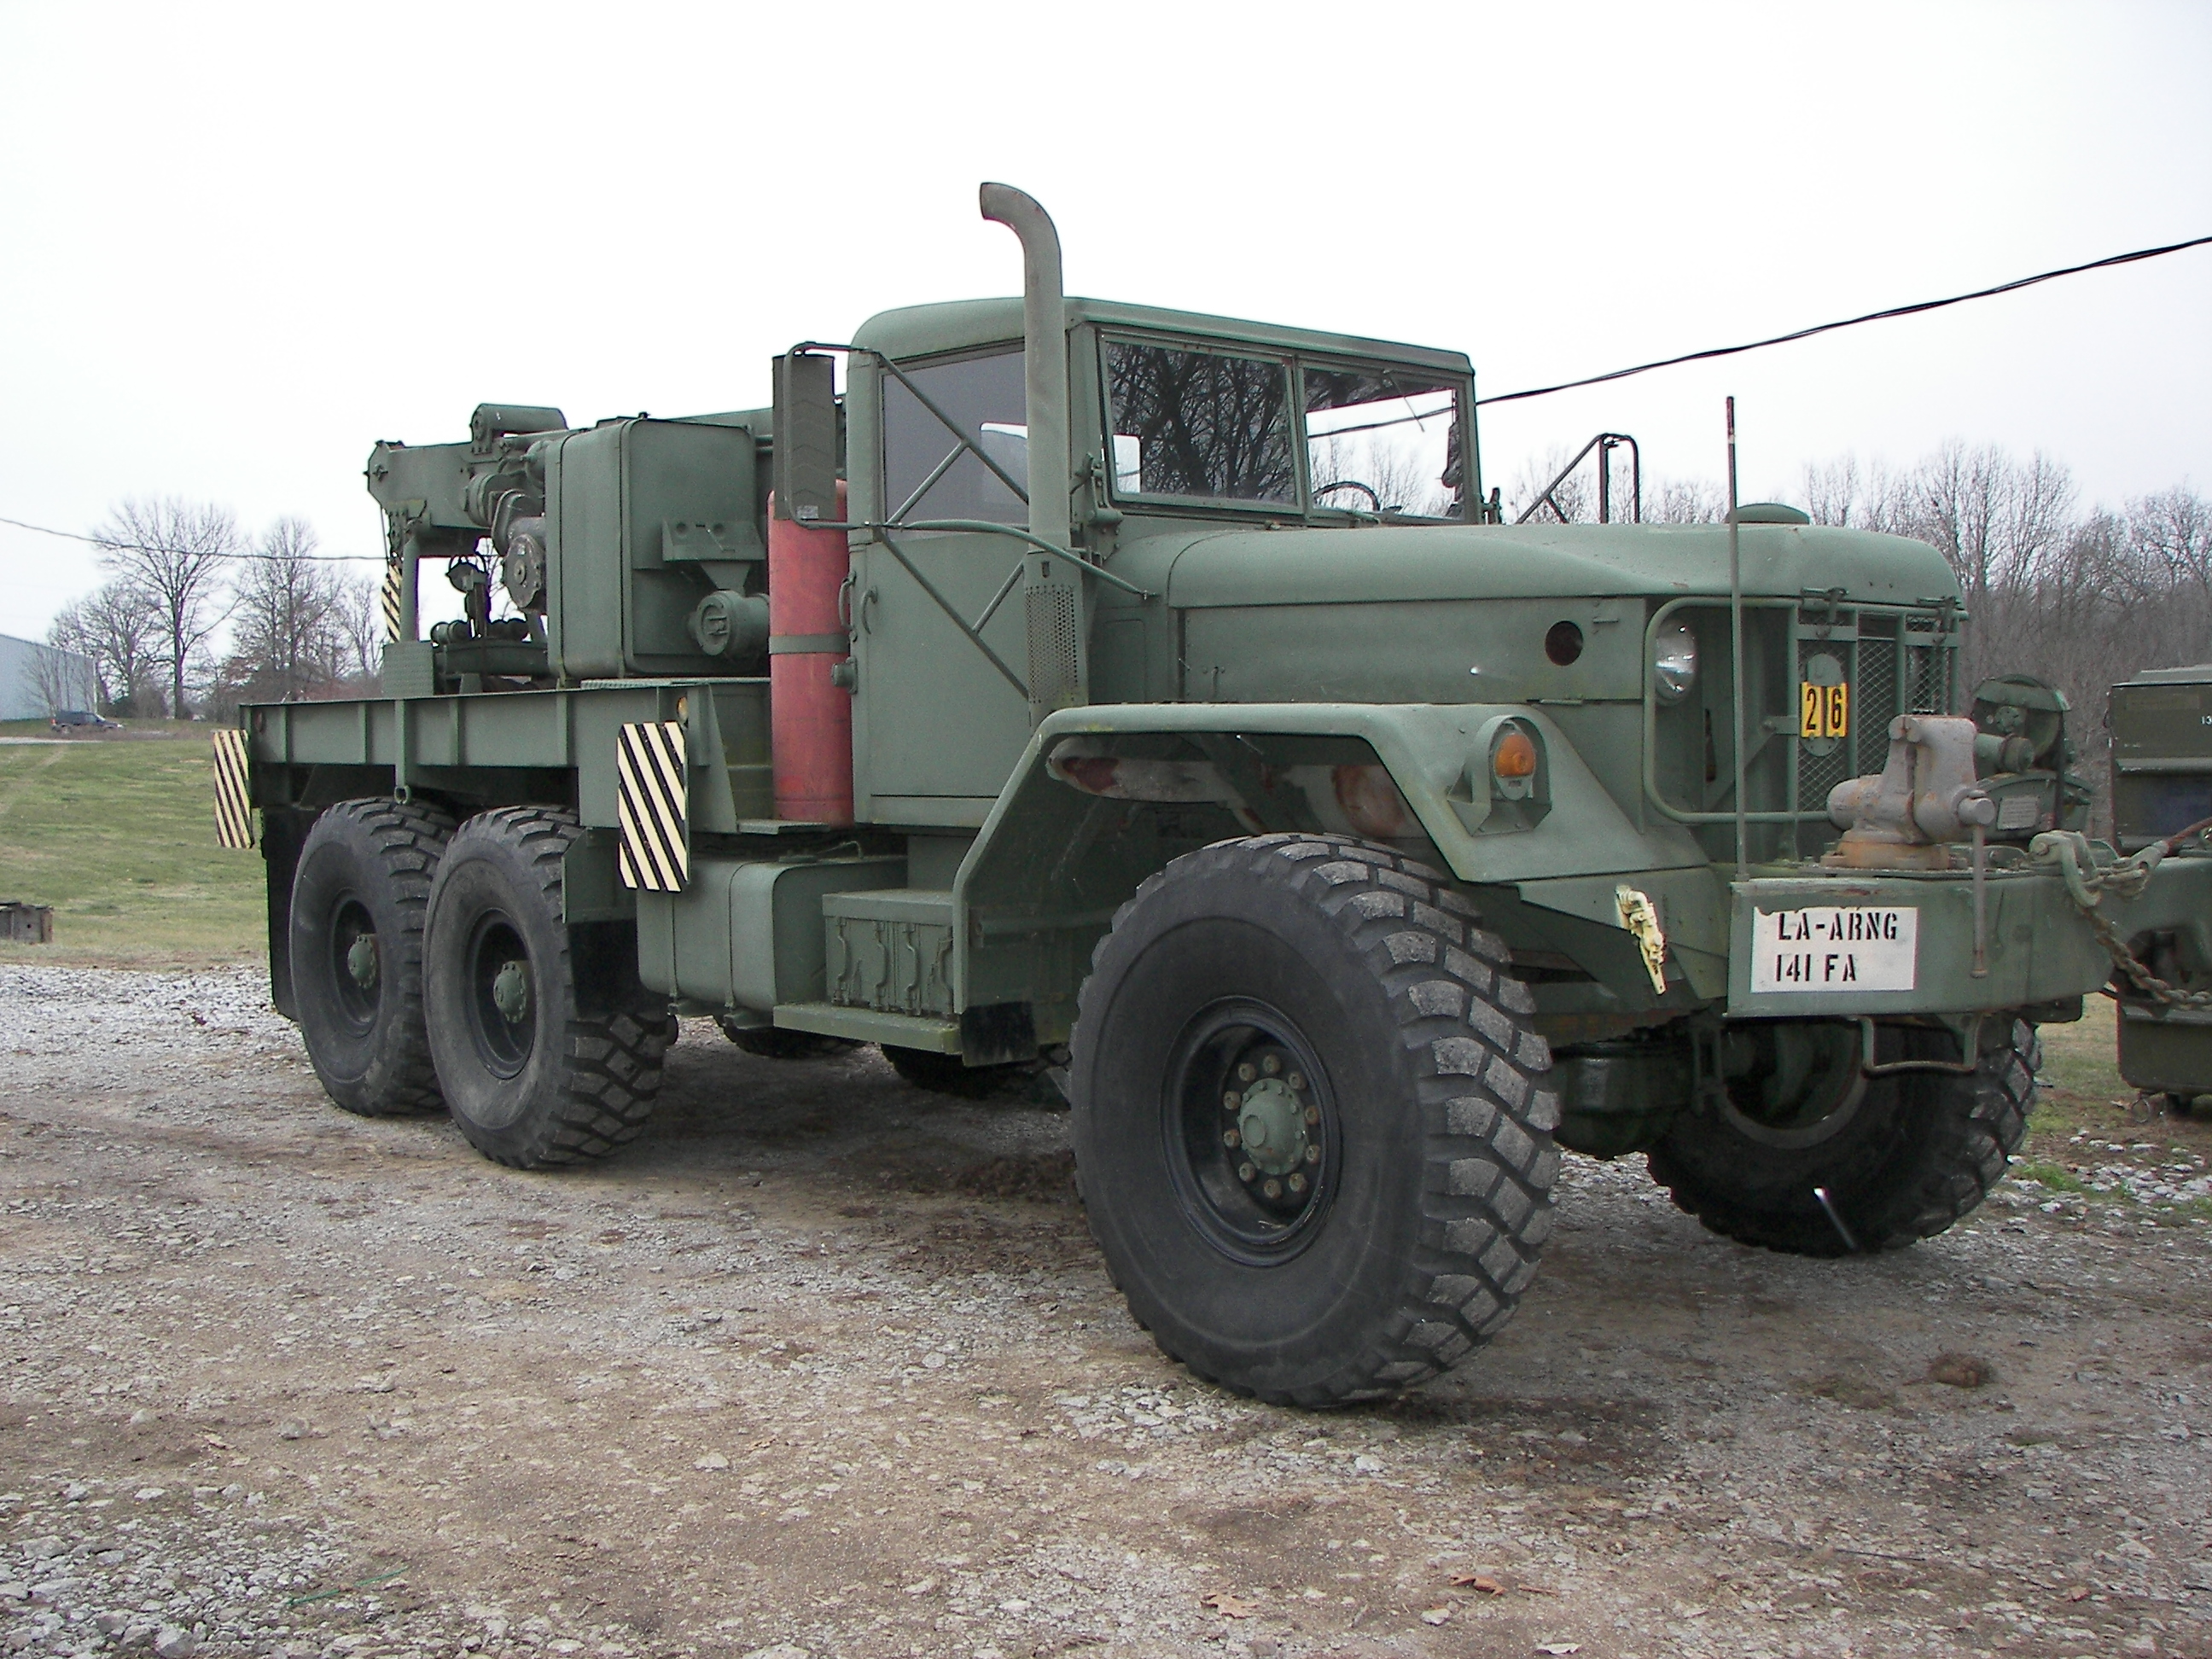
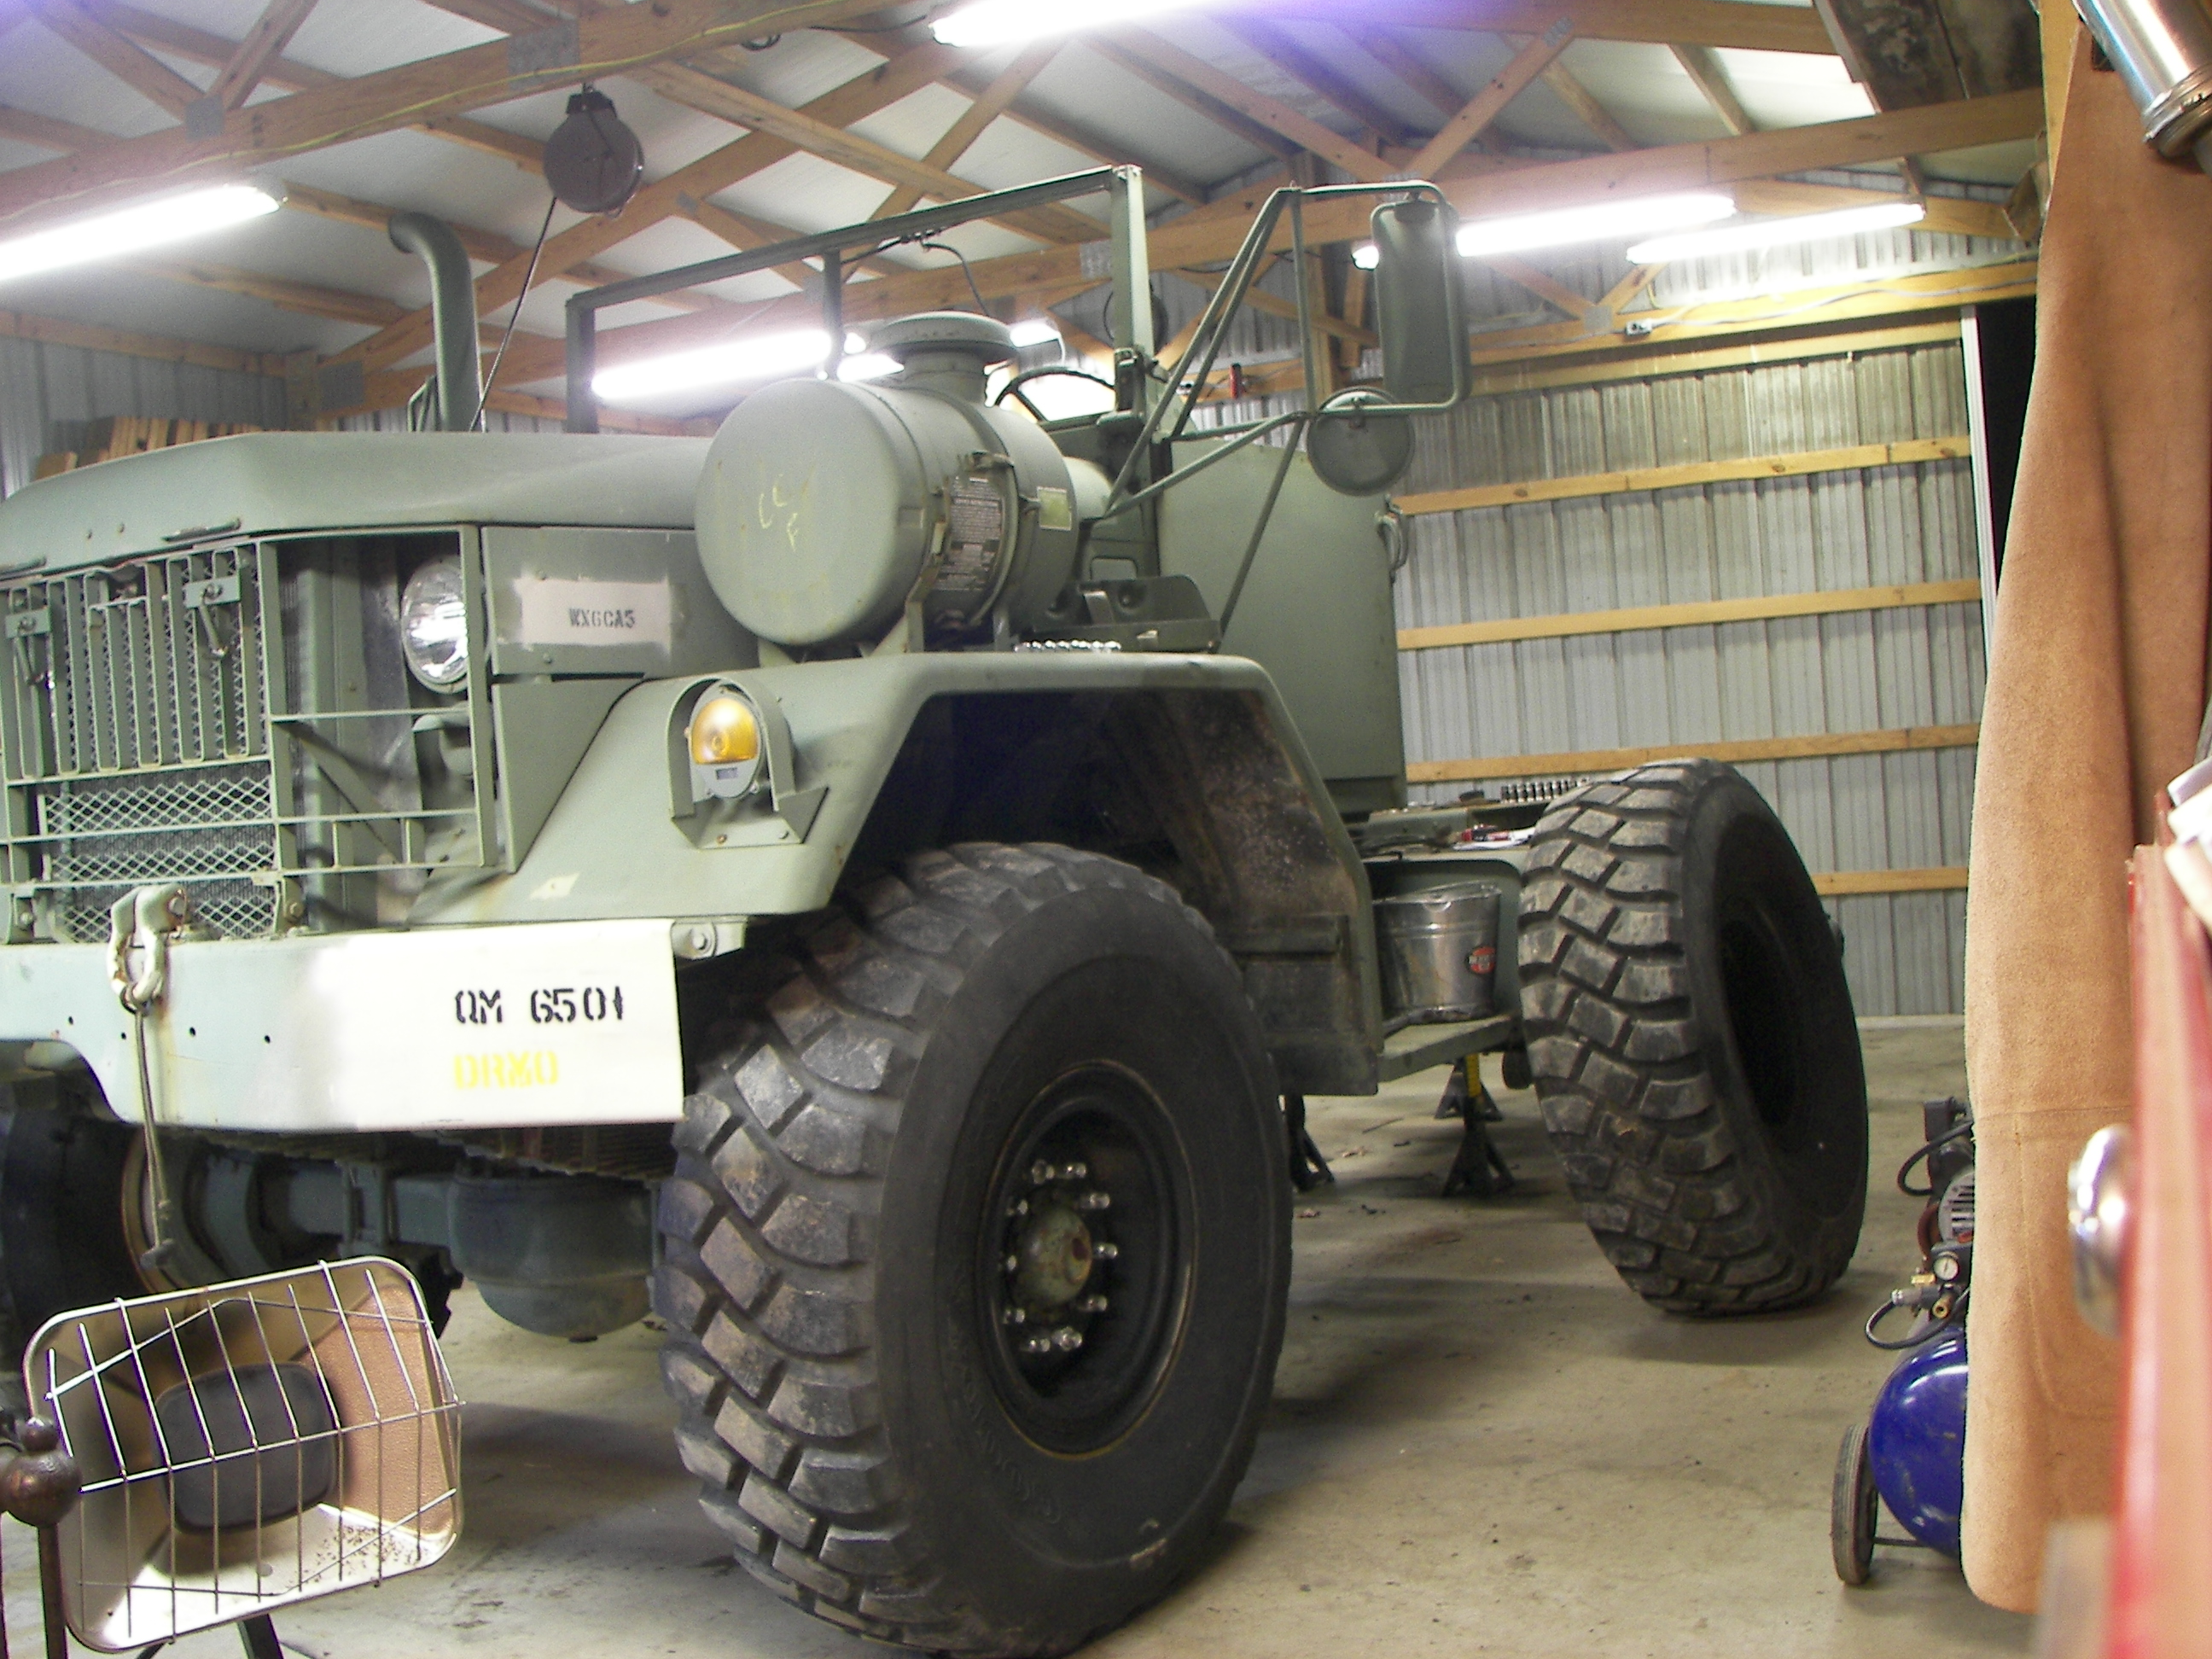
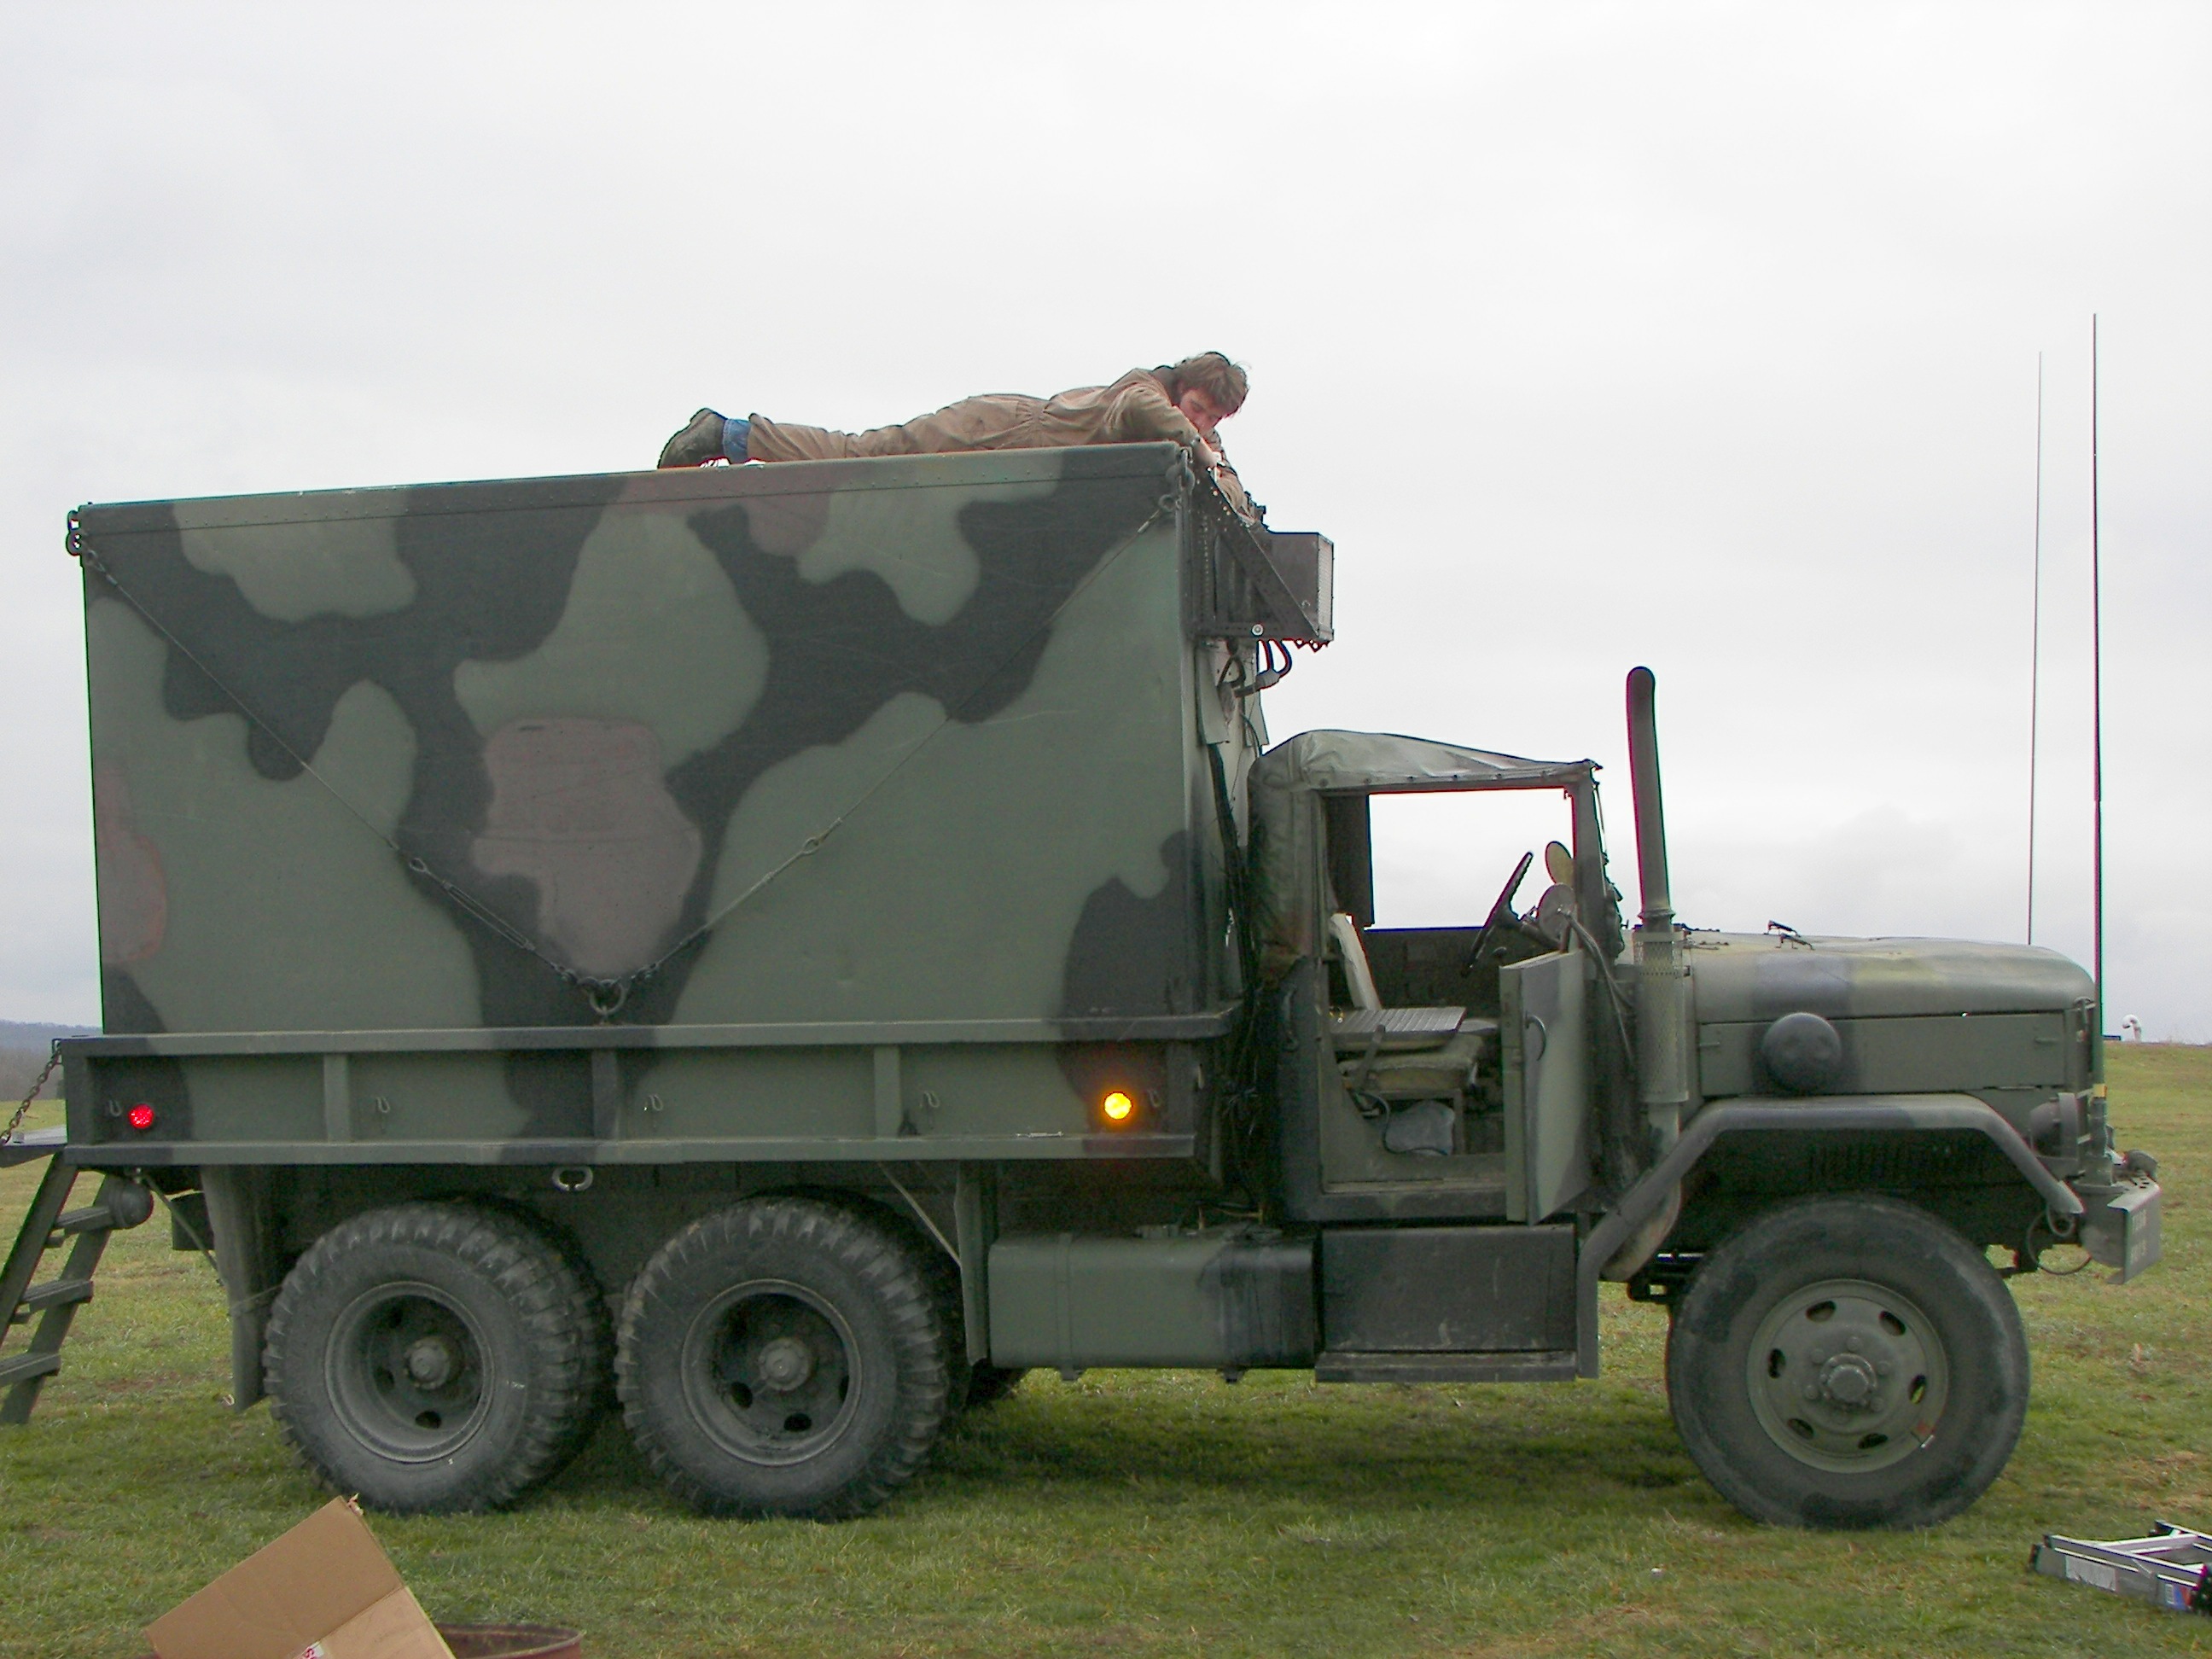
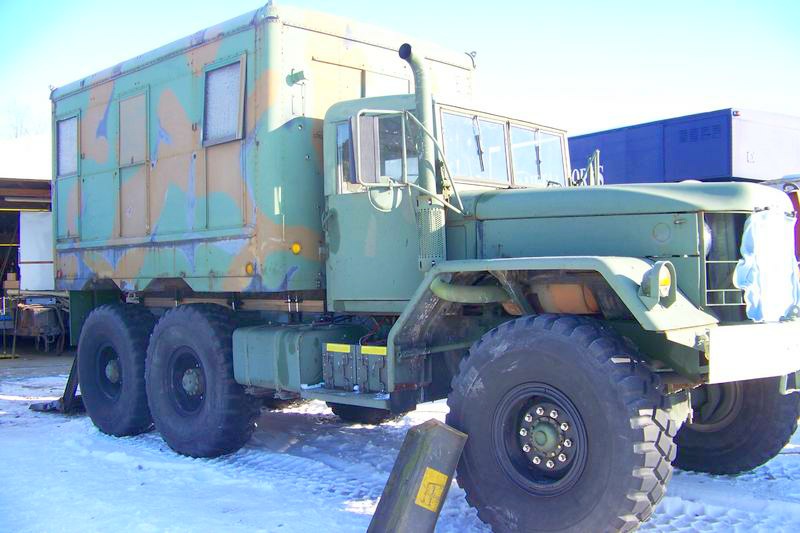
M818 cab |
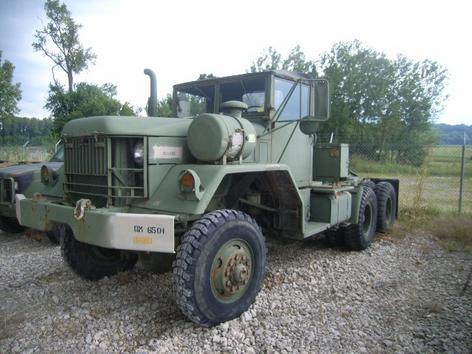
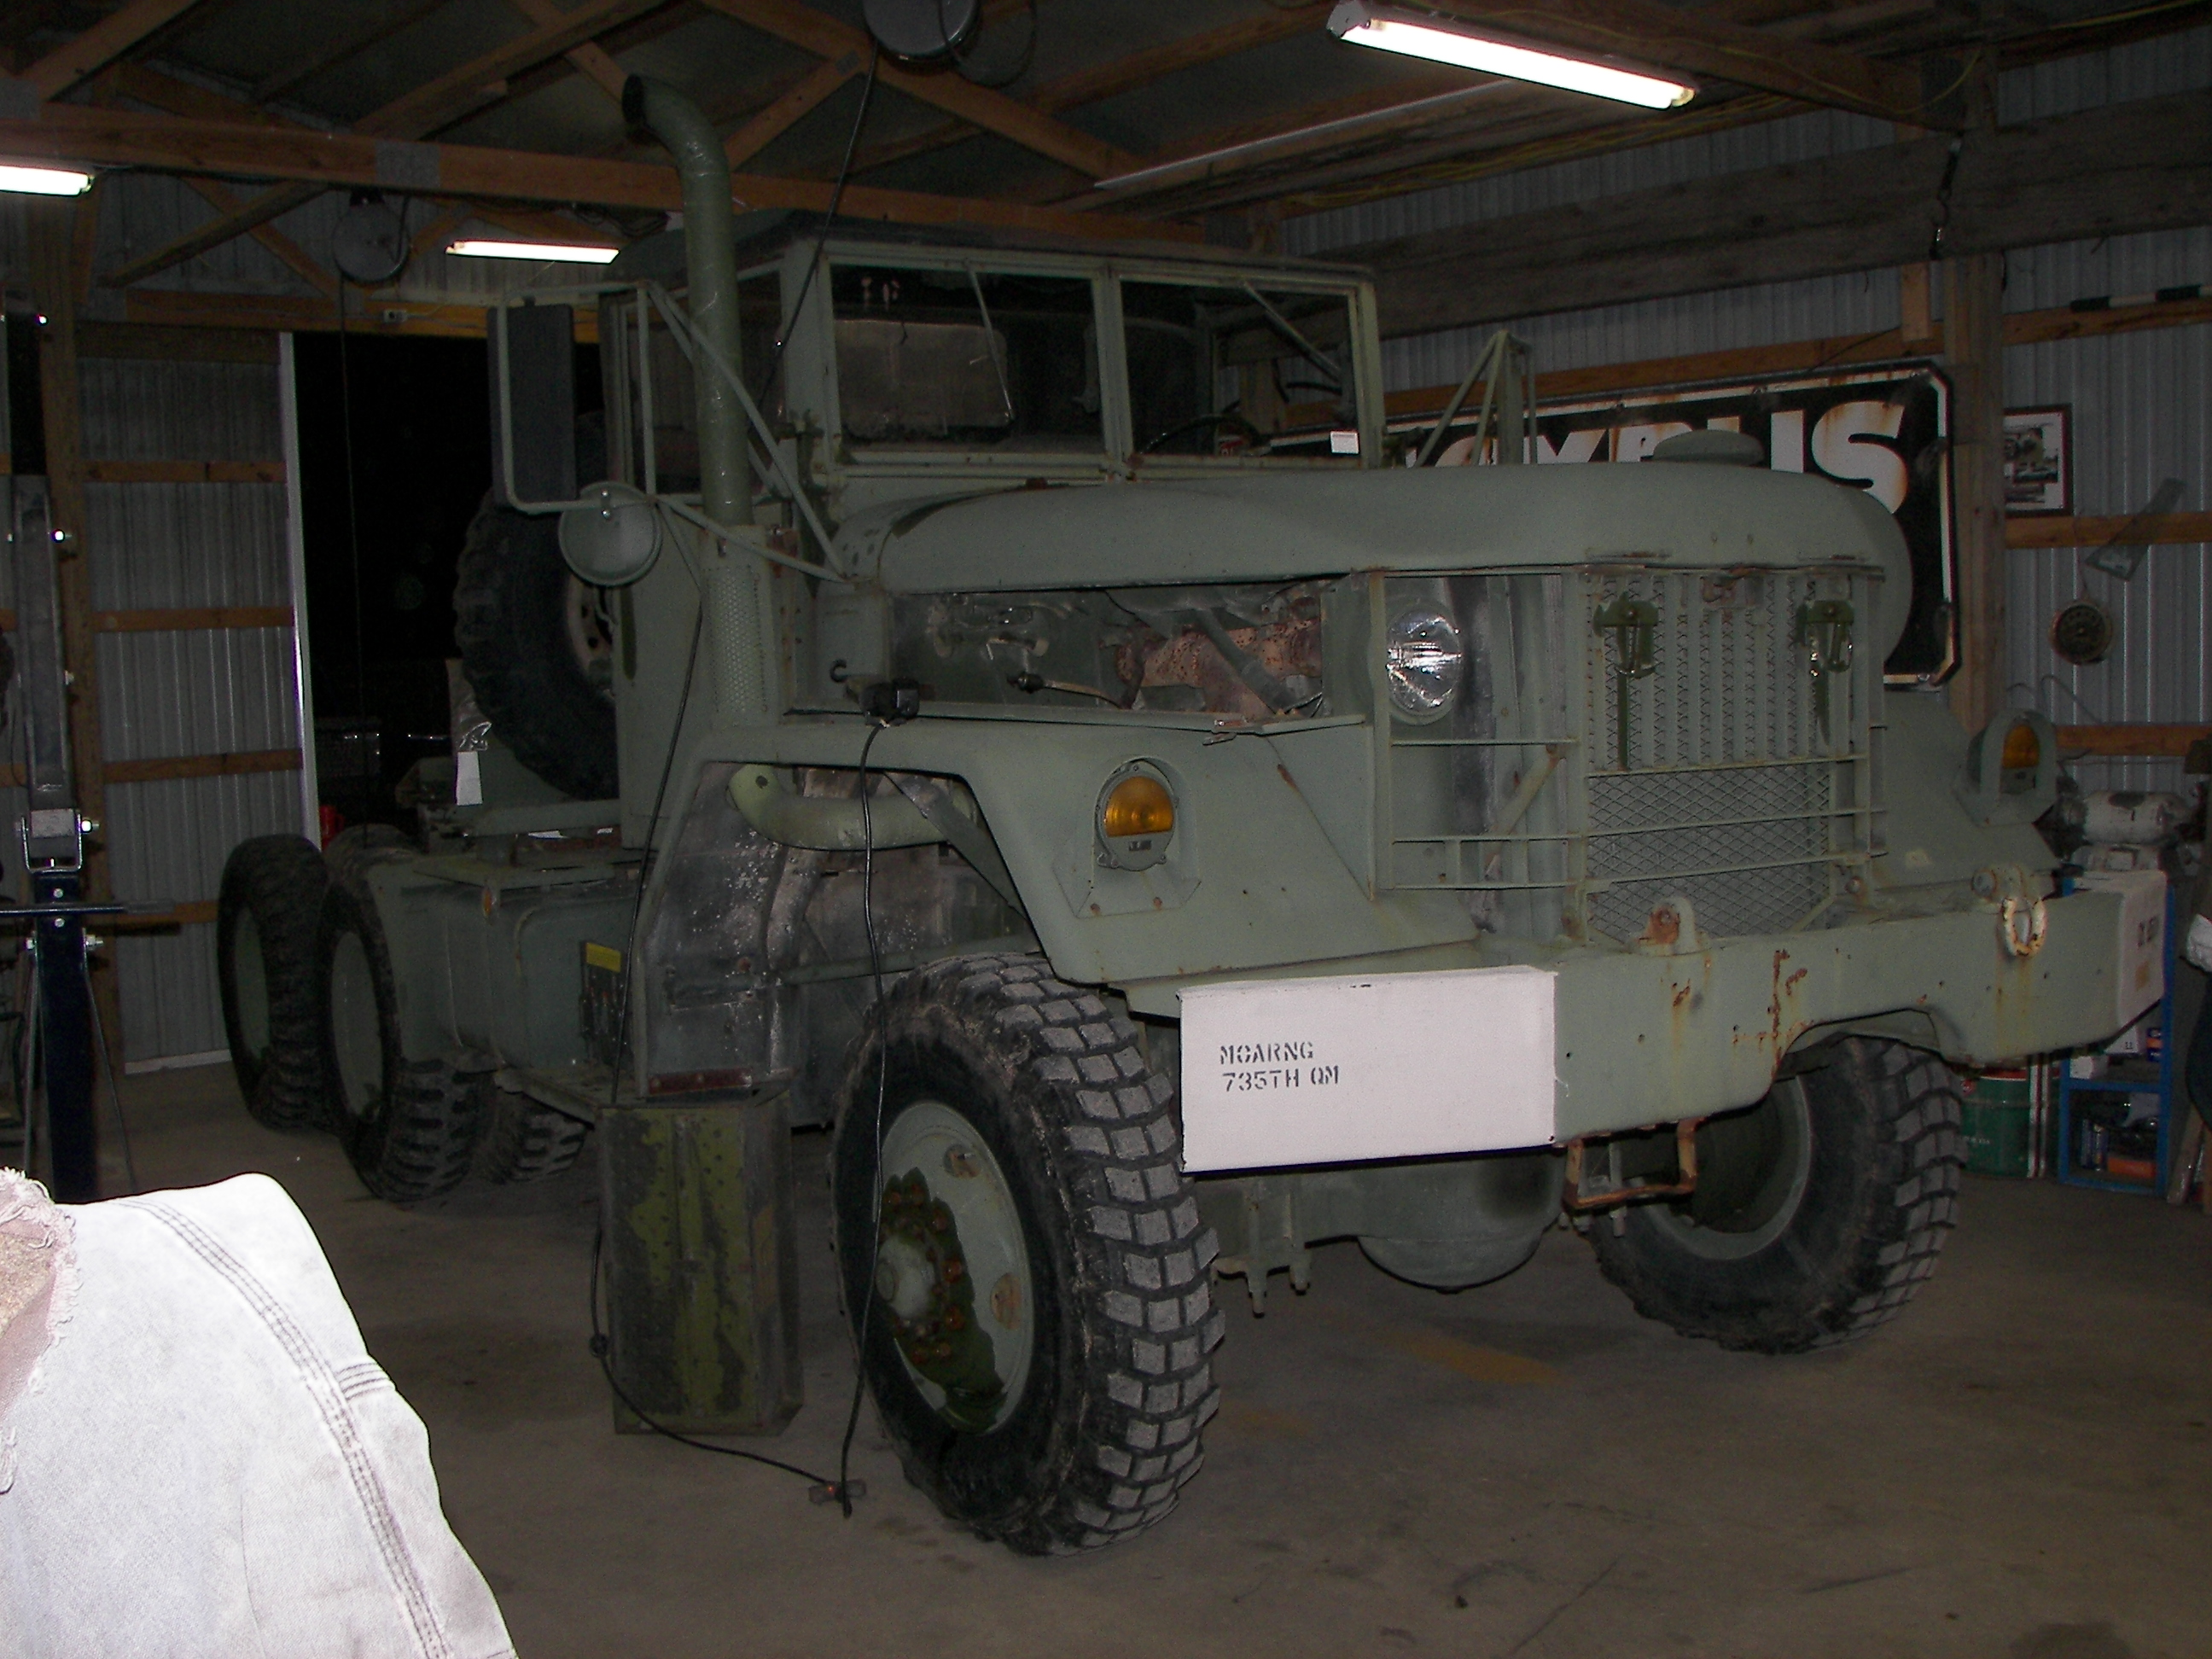
M818 front left |
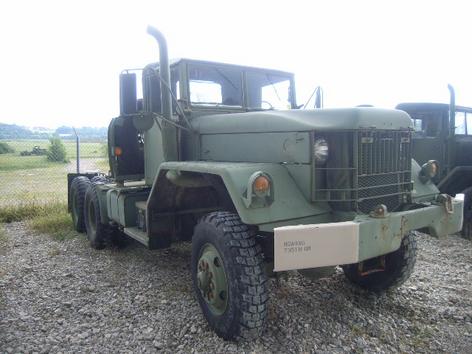
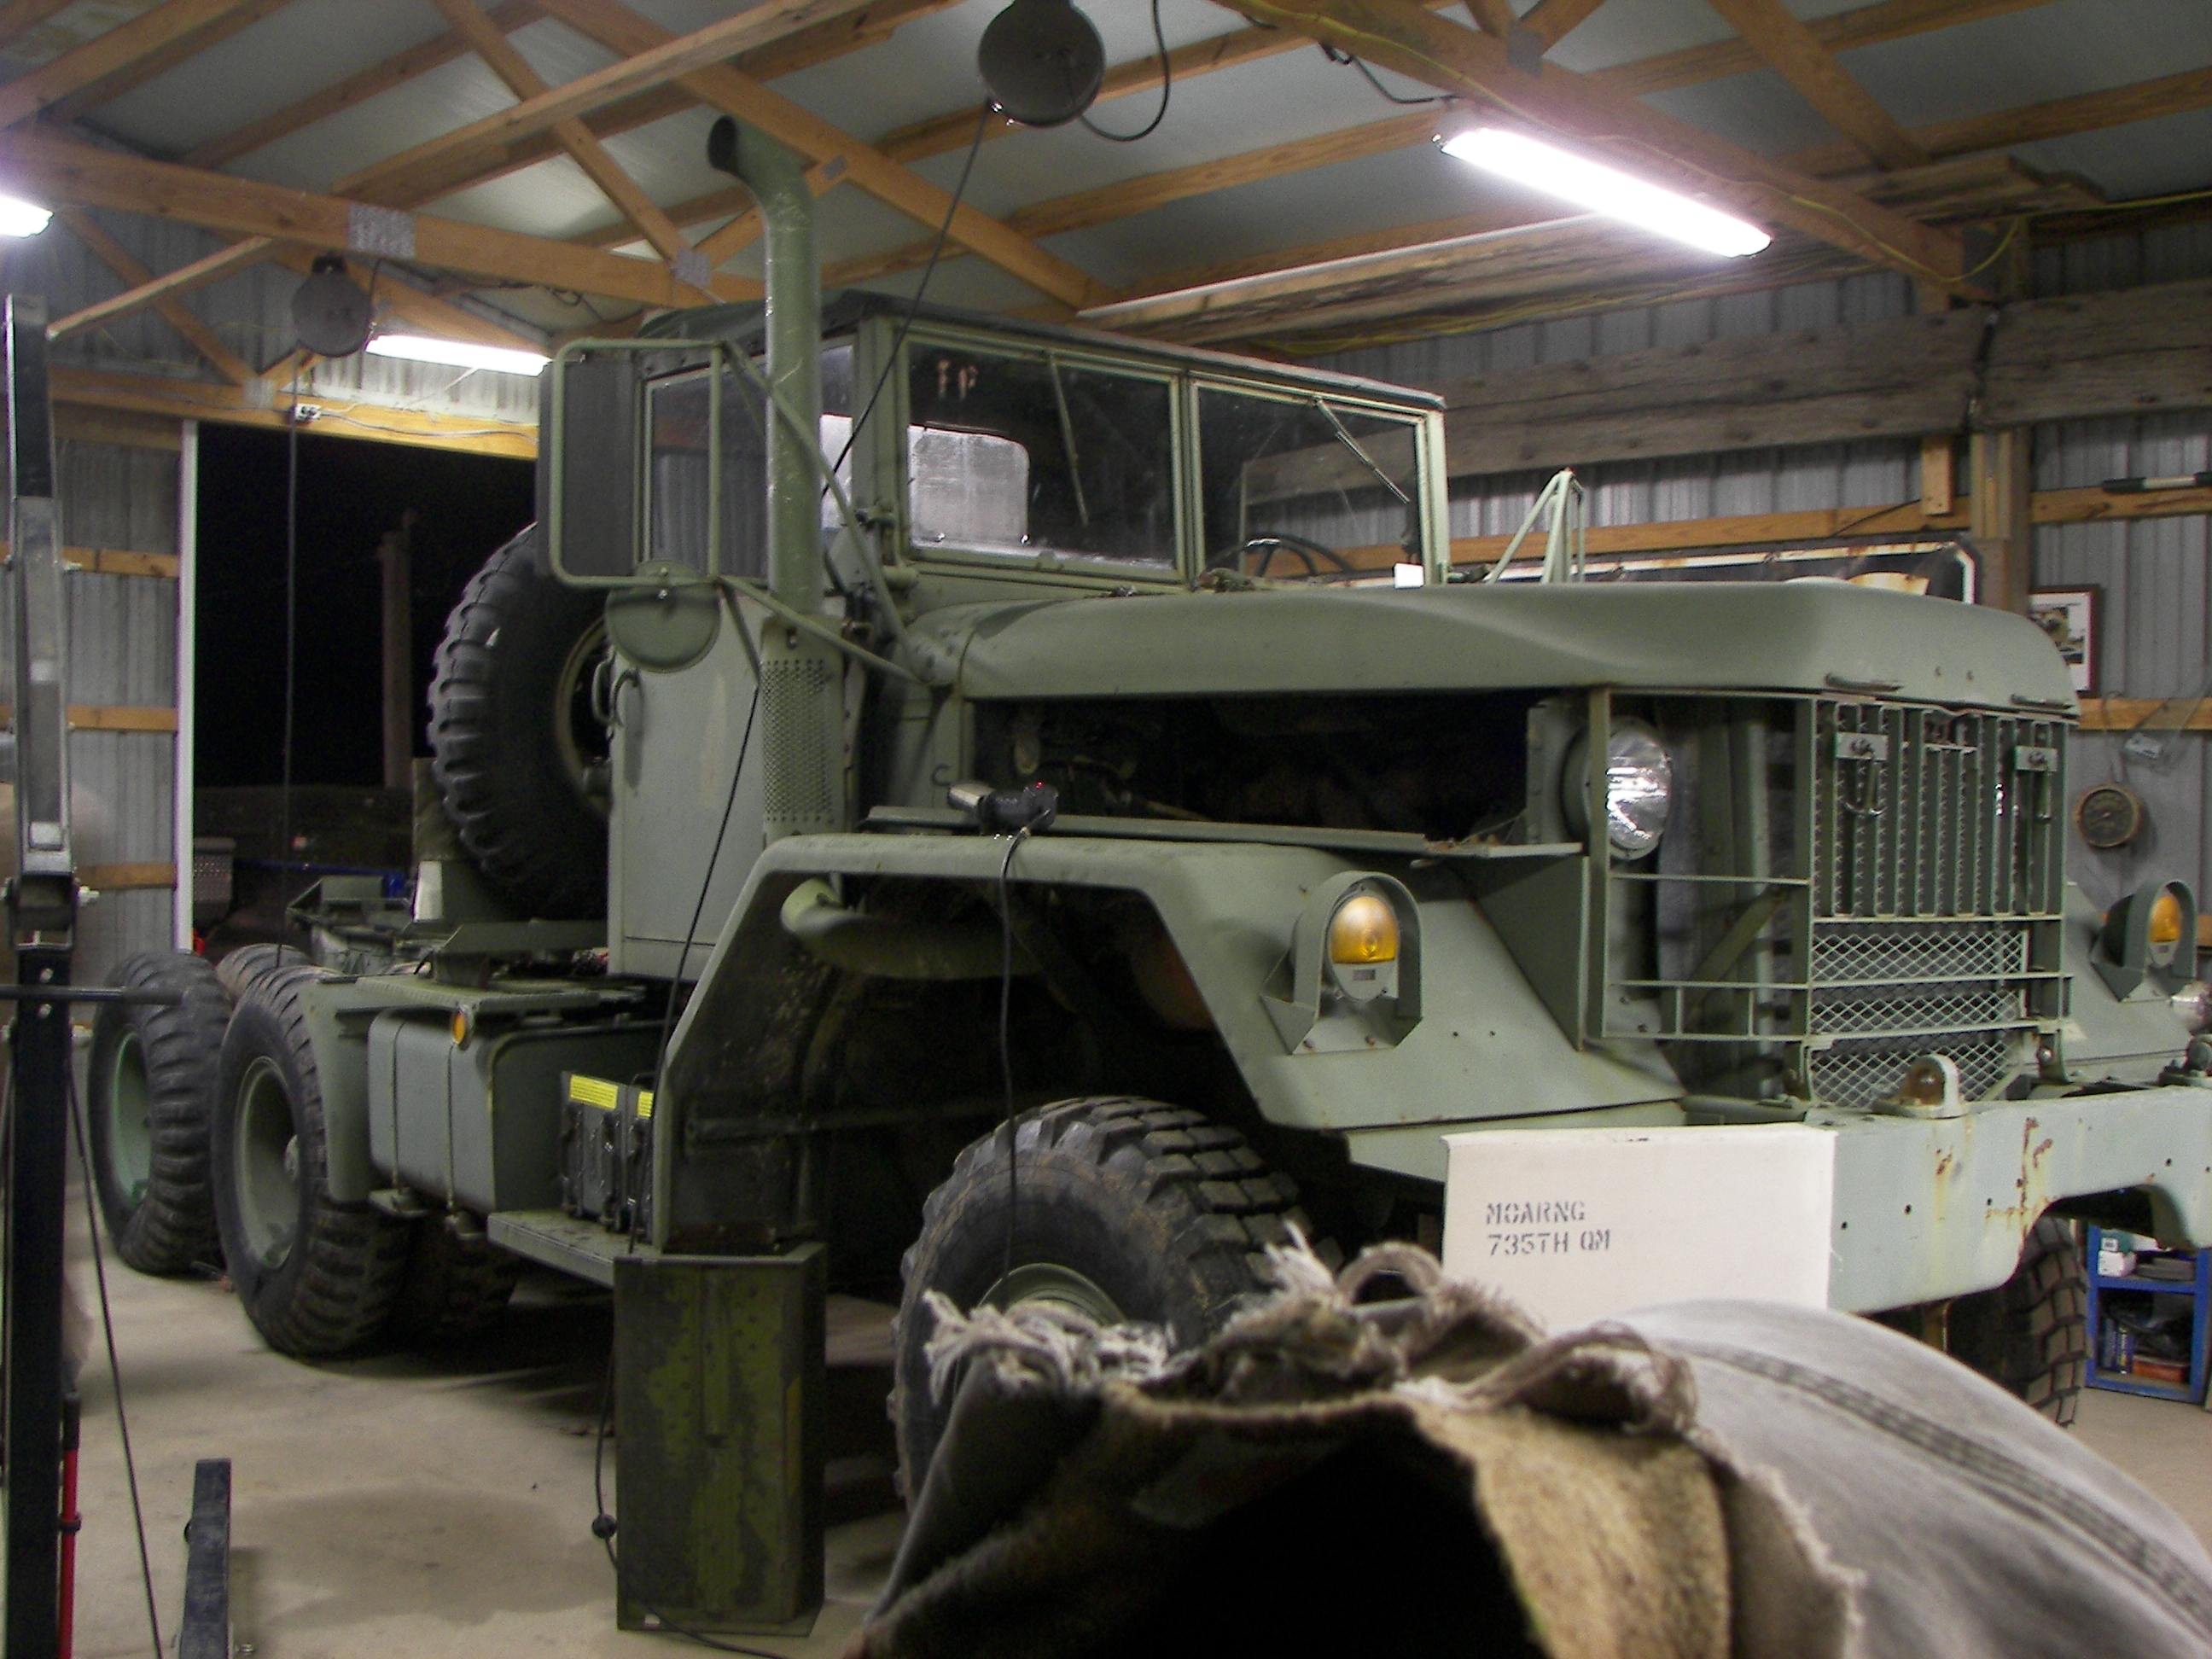
M818 front right |
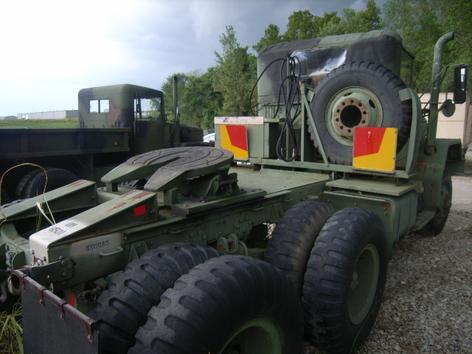
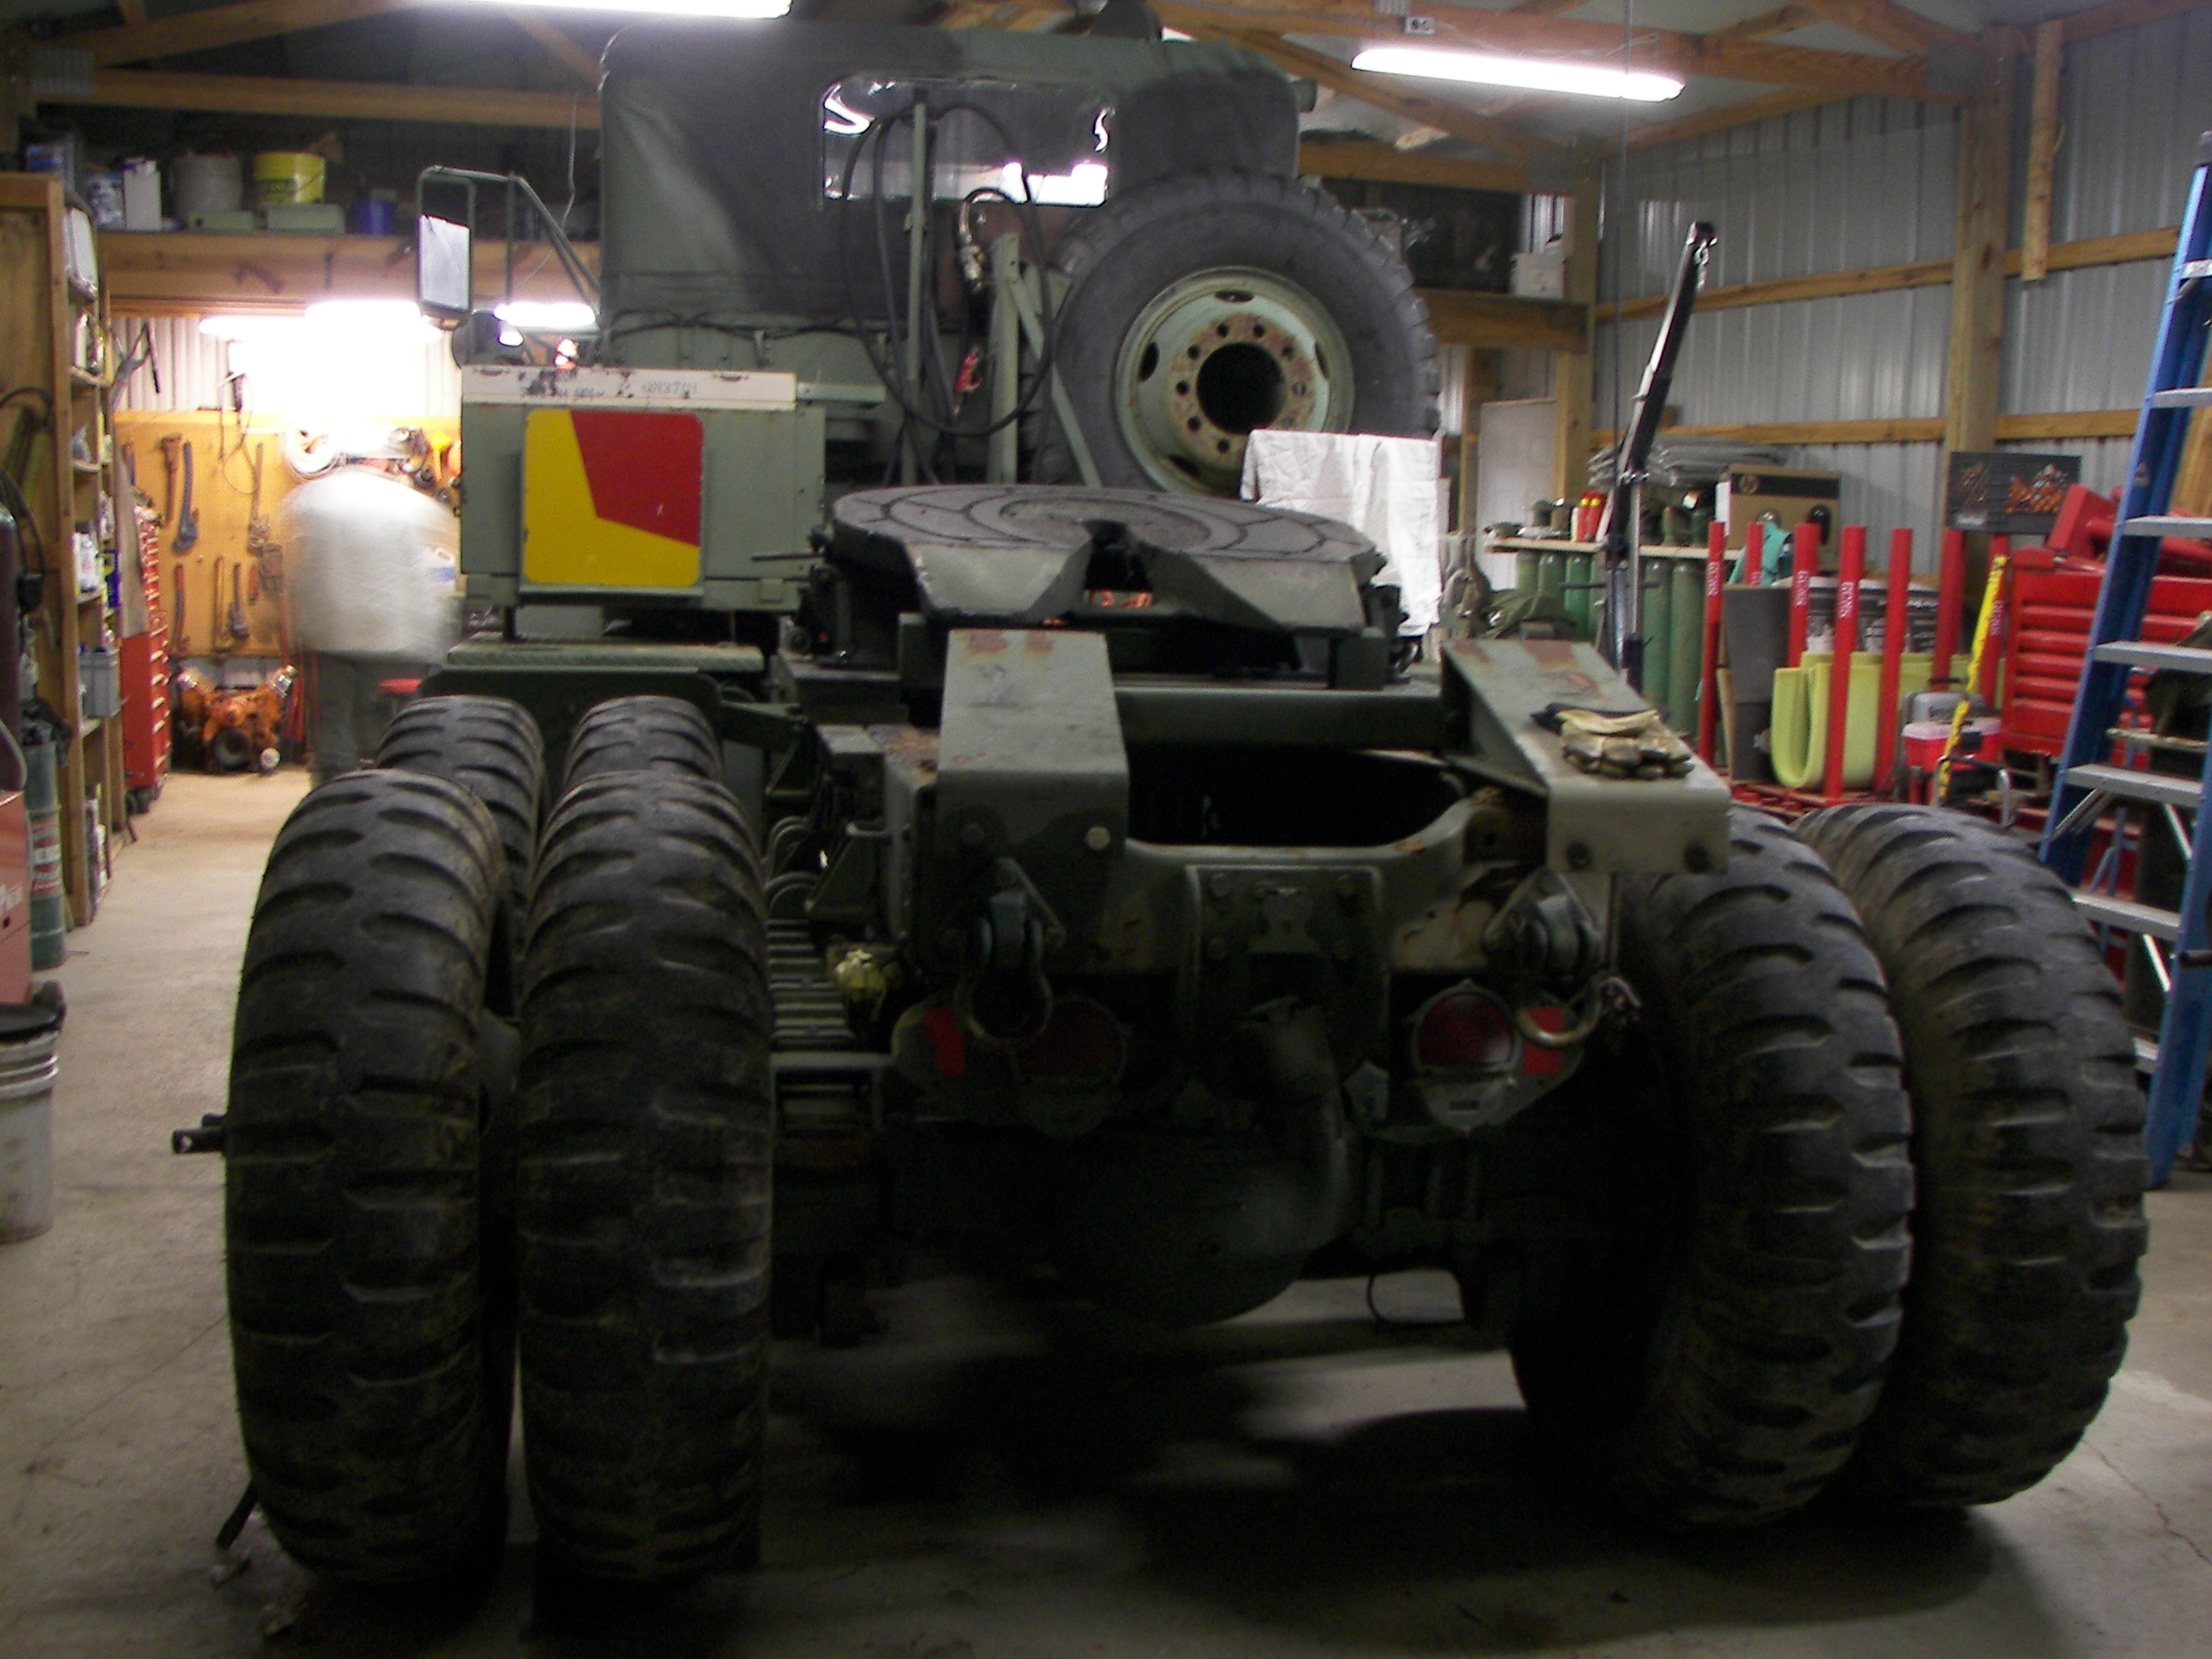
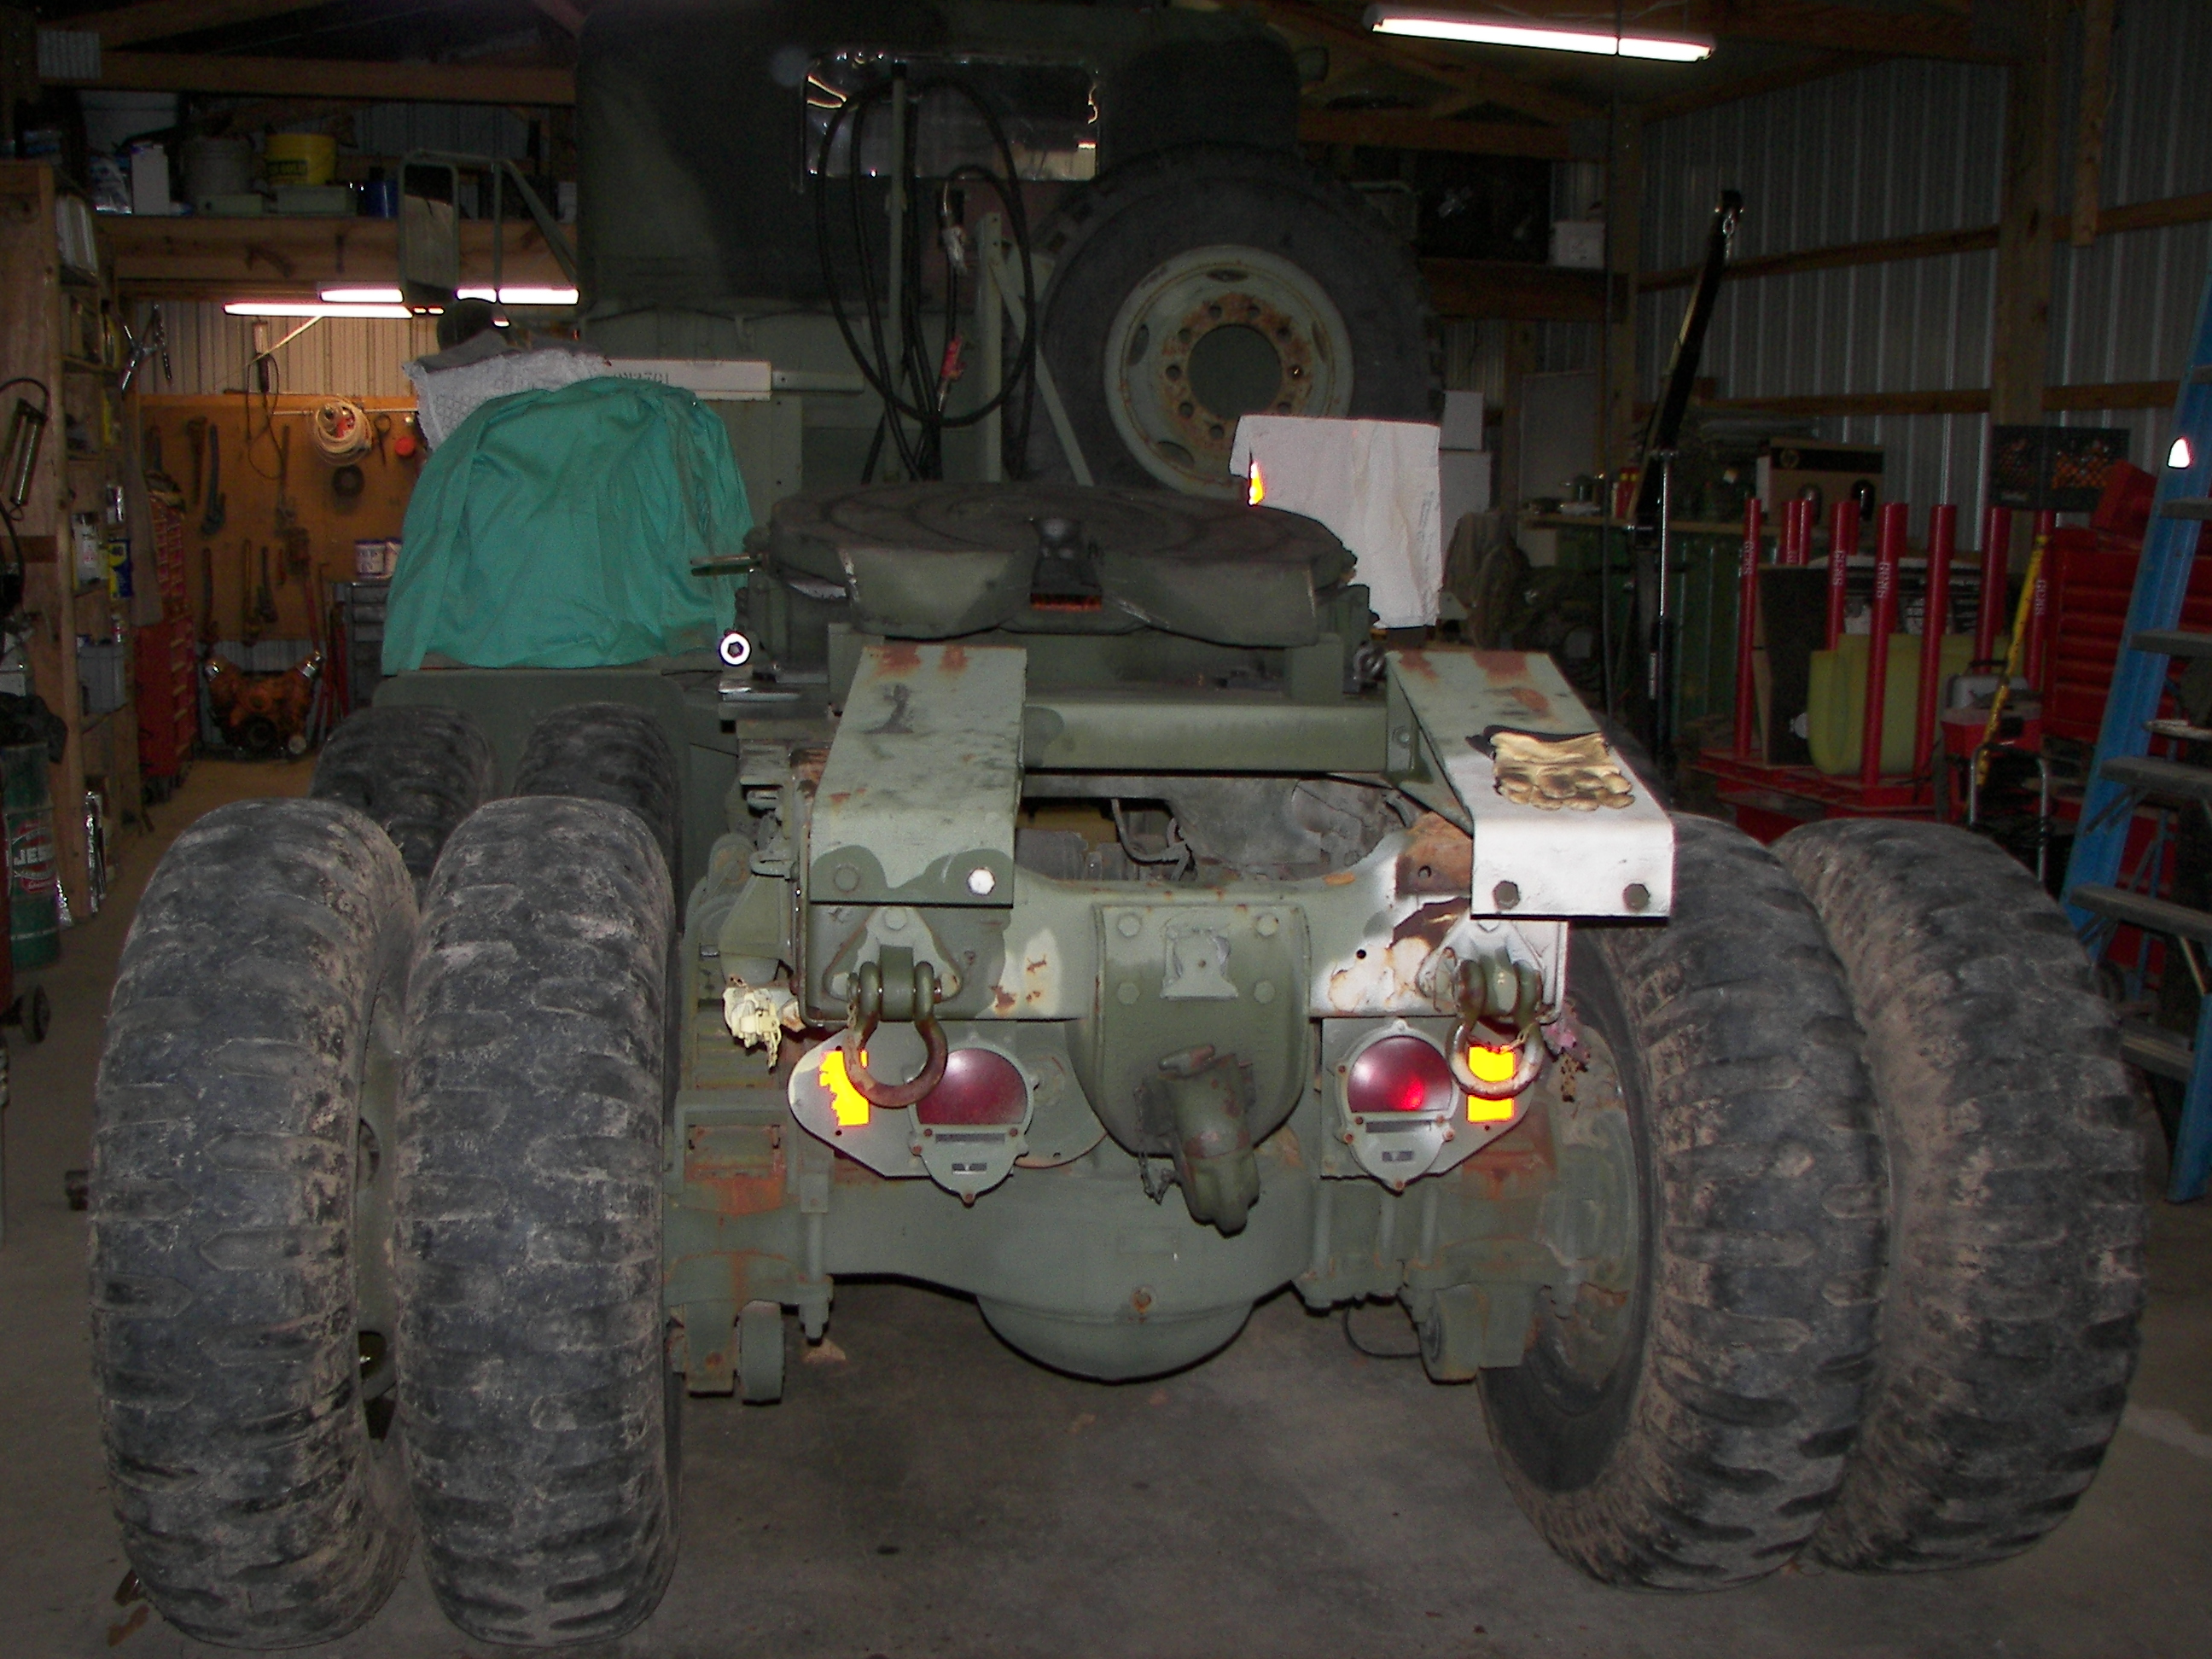
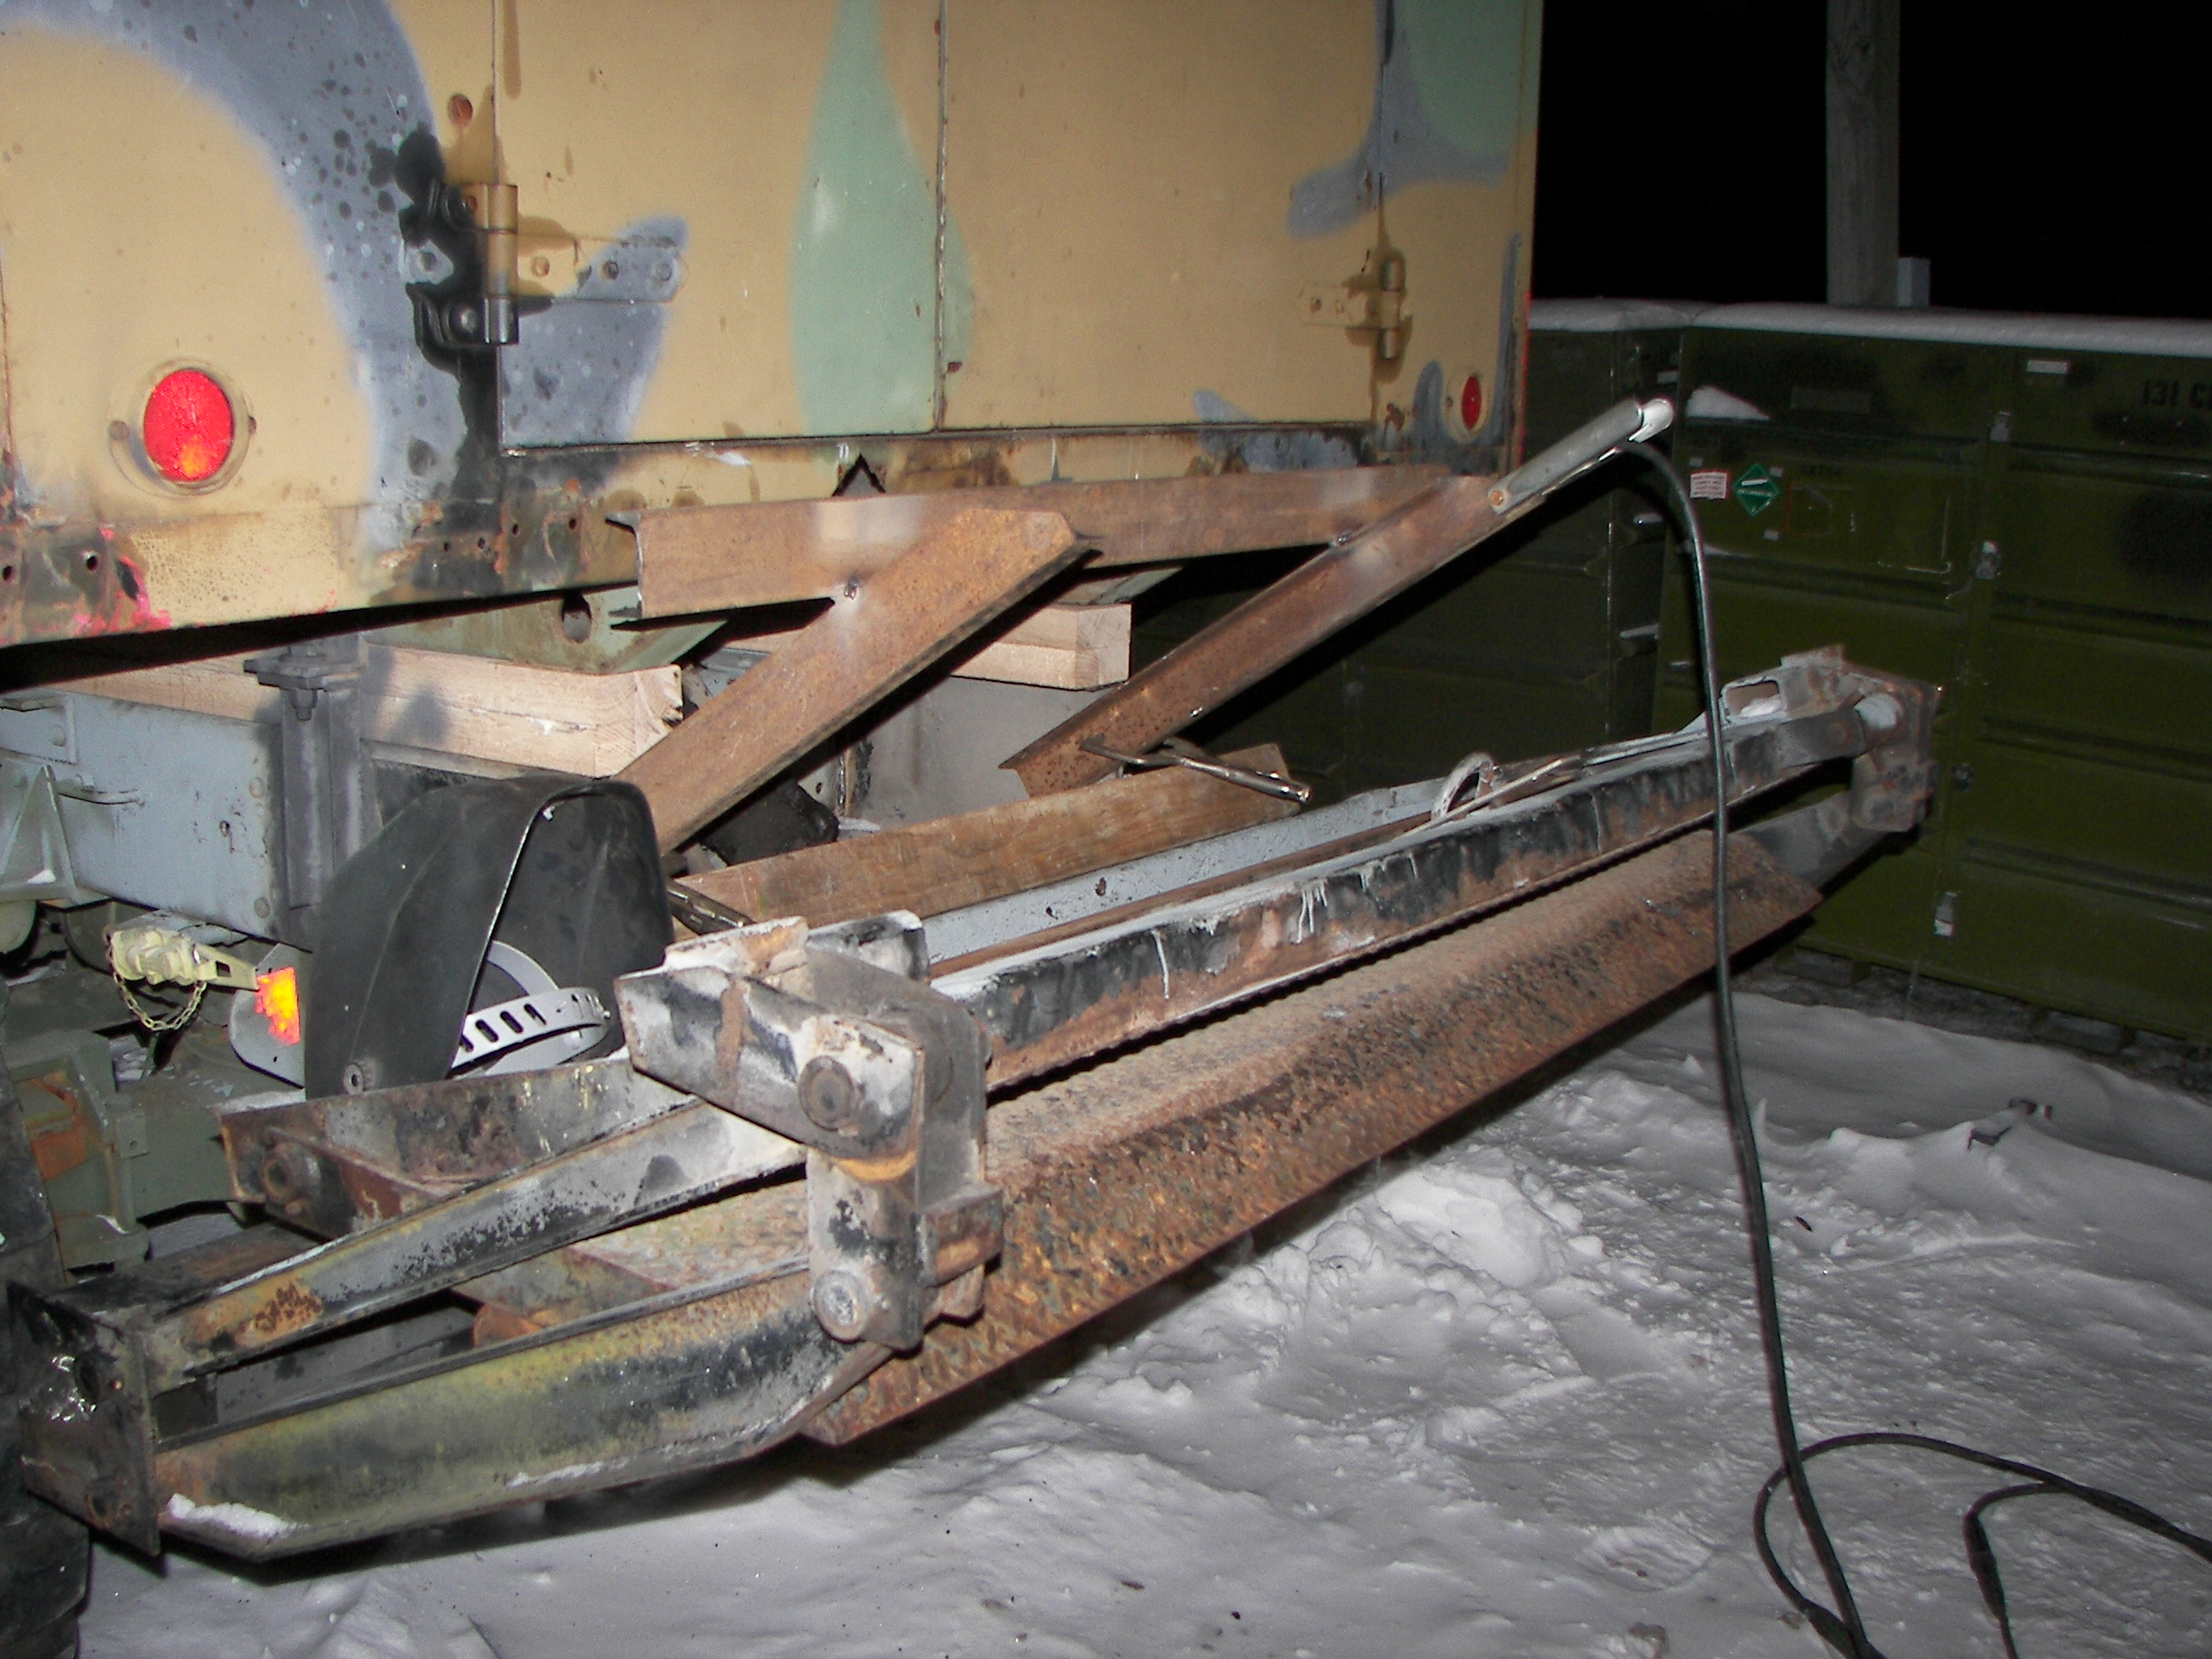
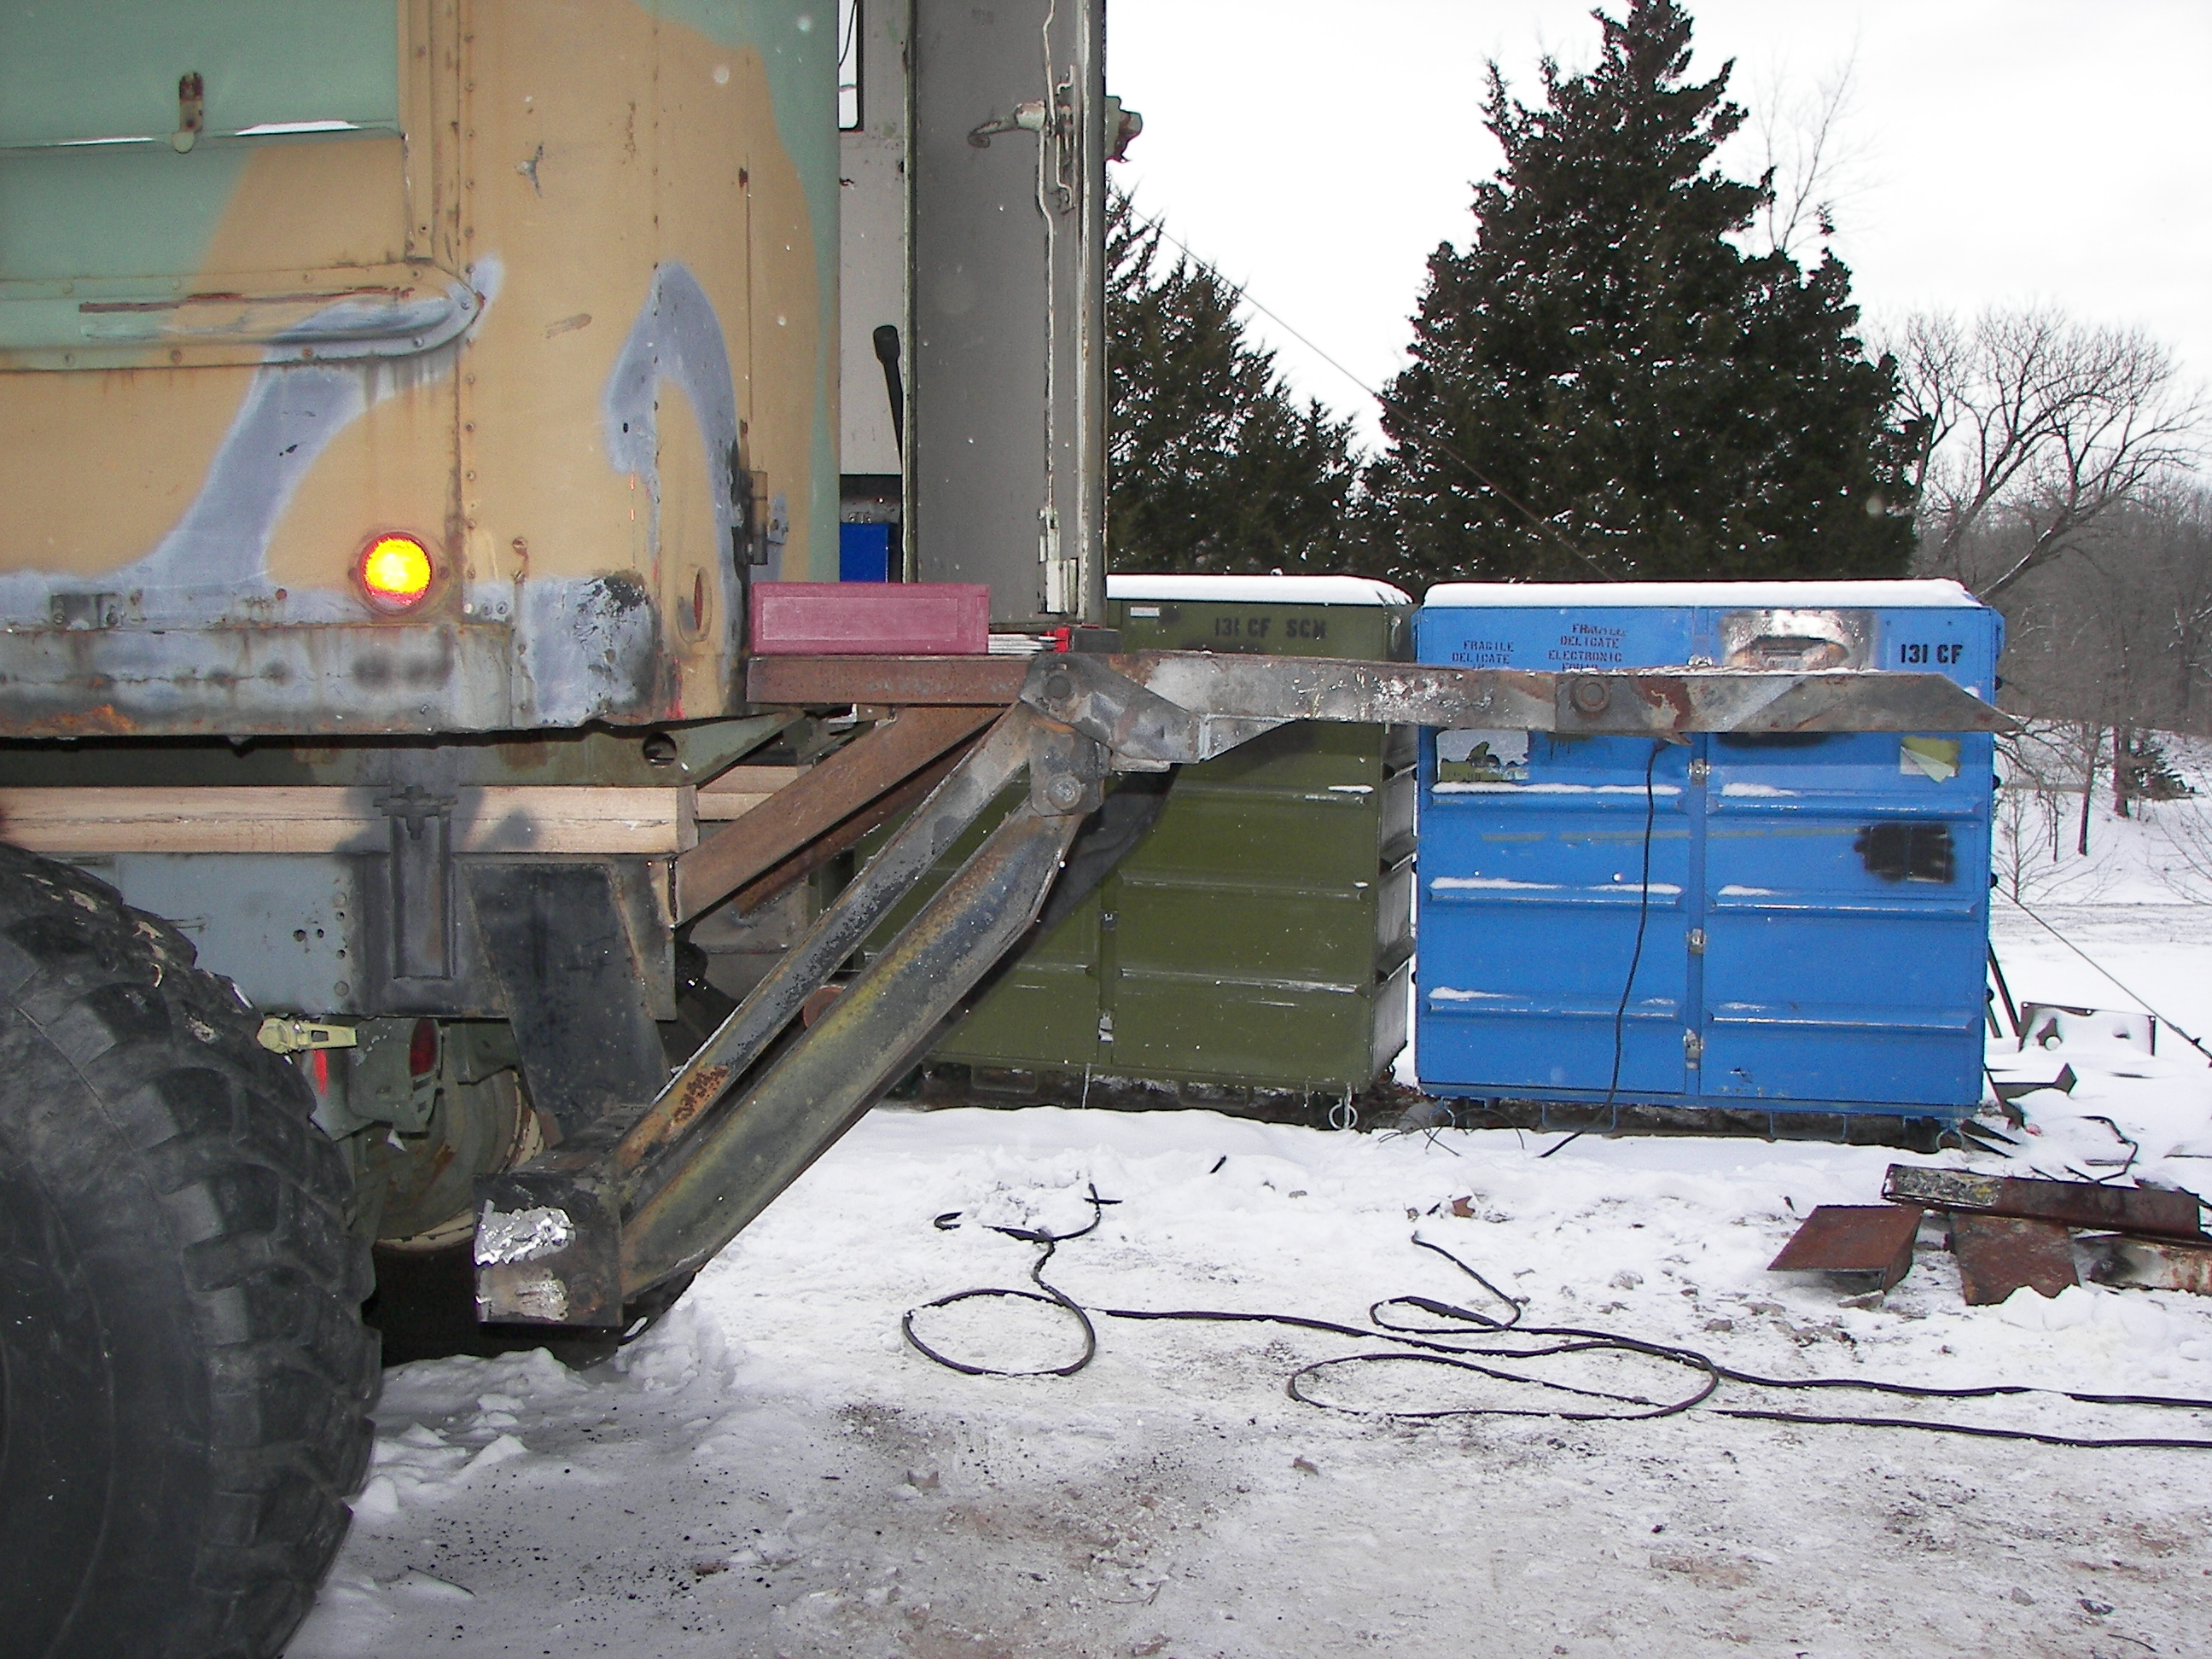
M818 rear |
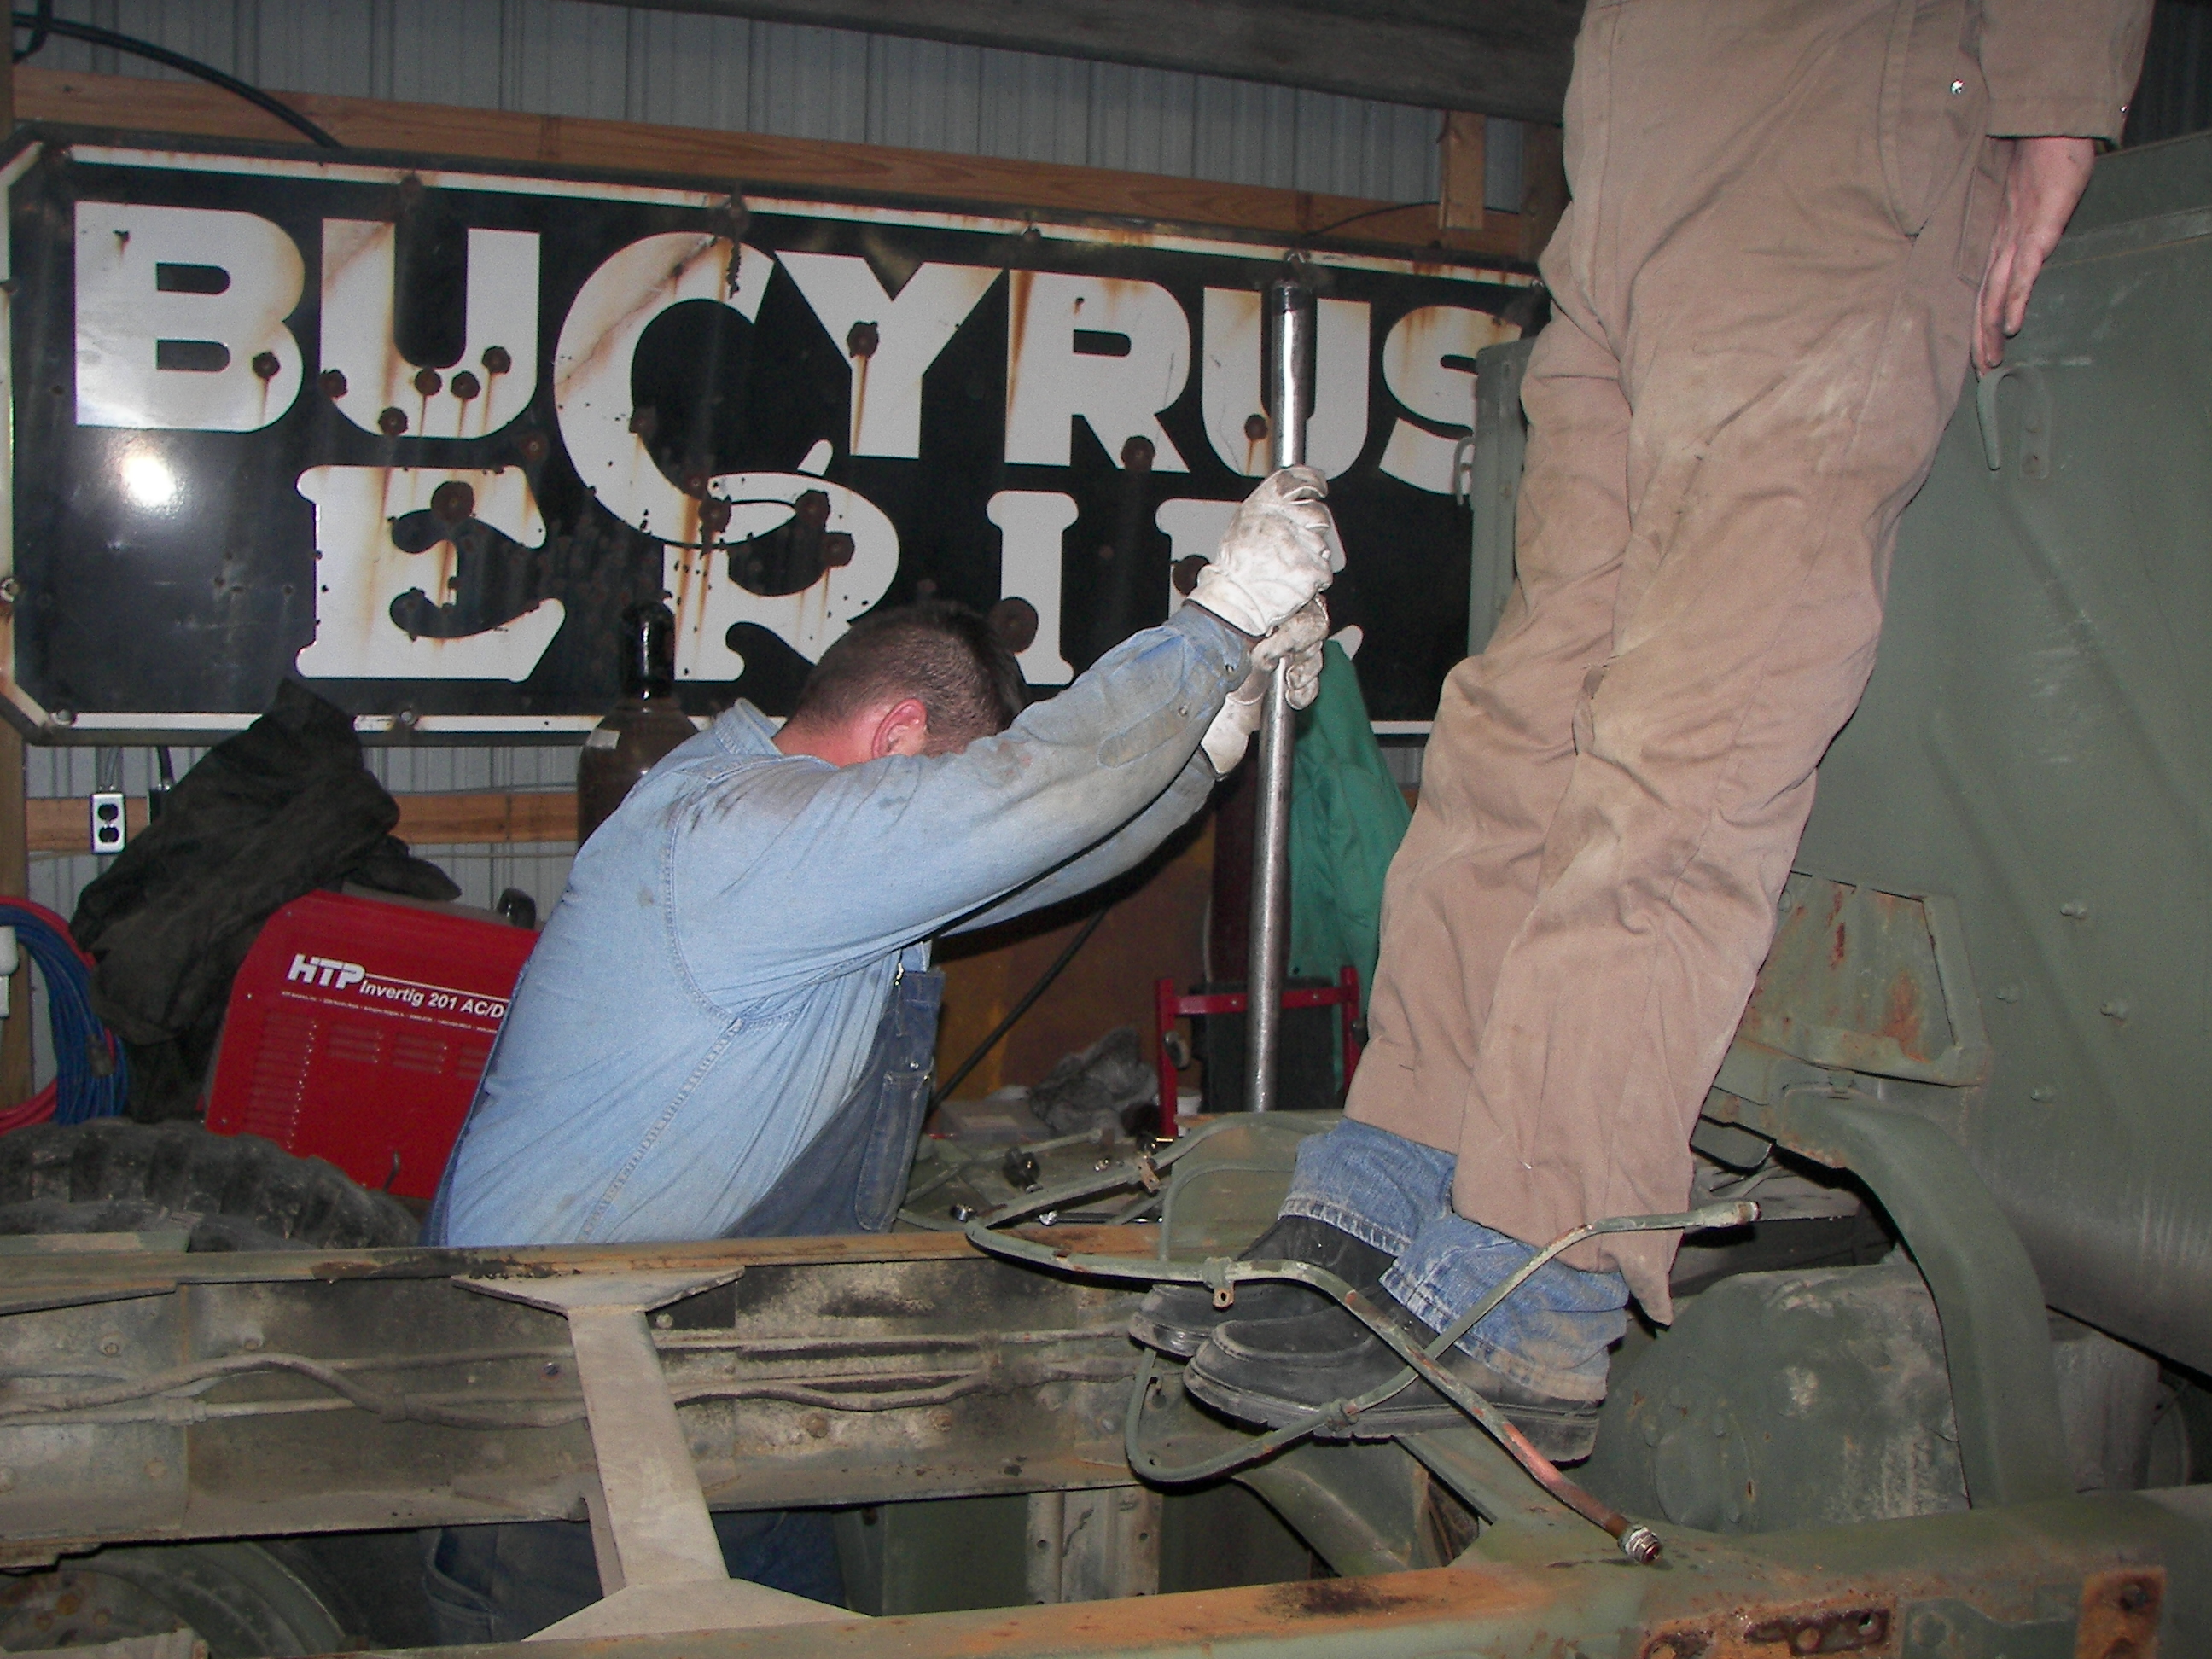
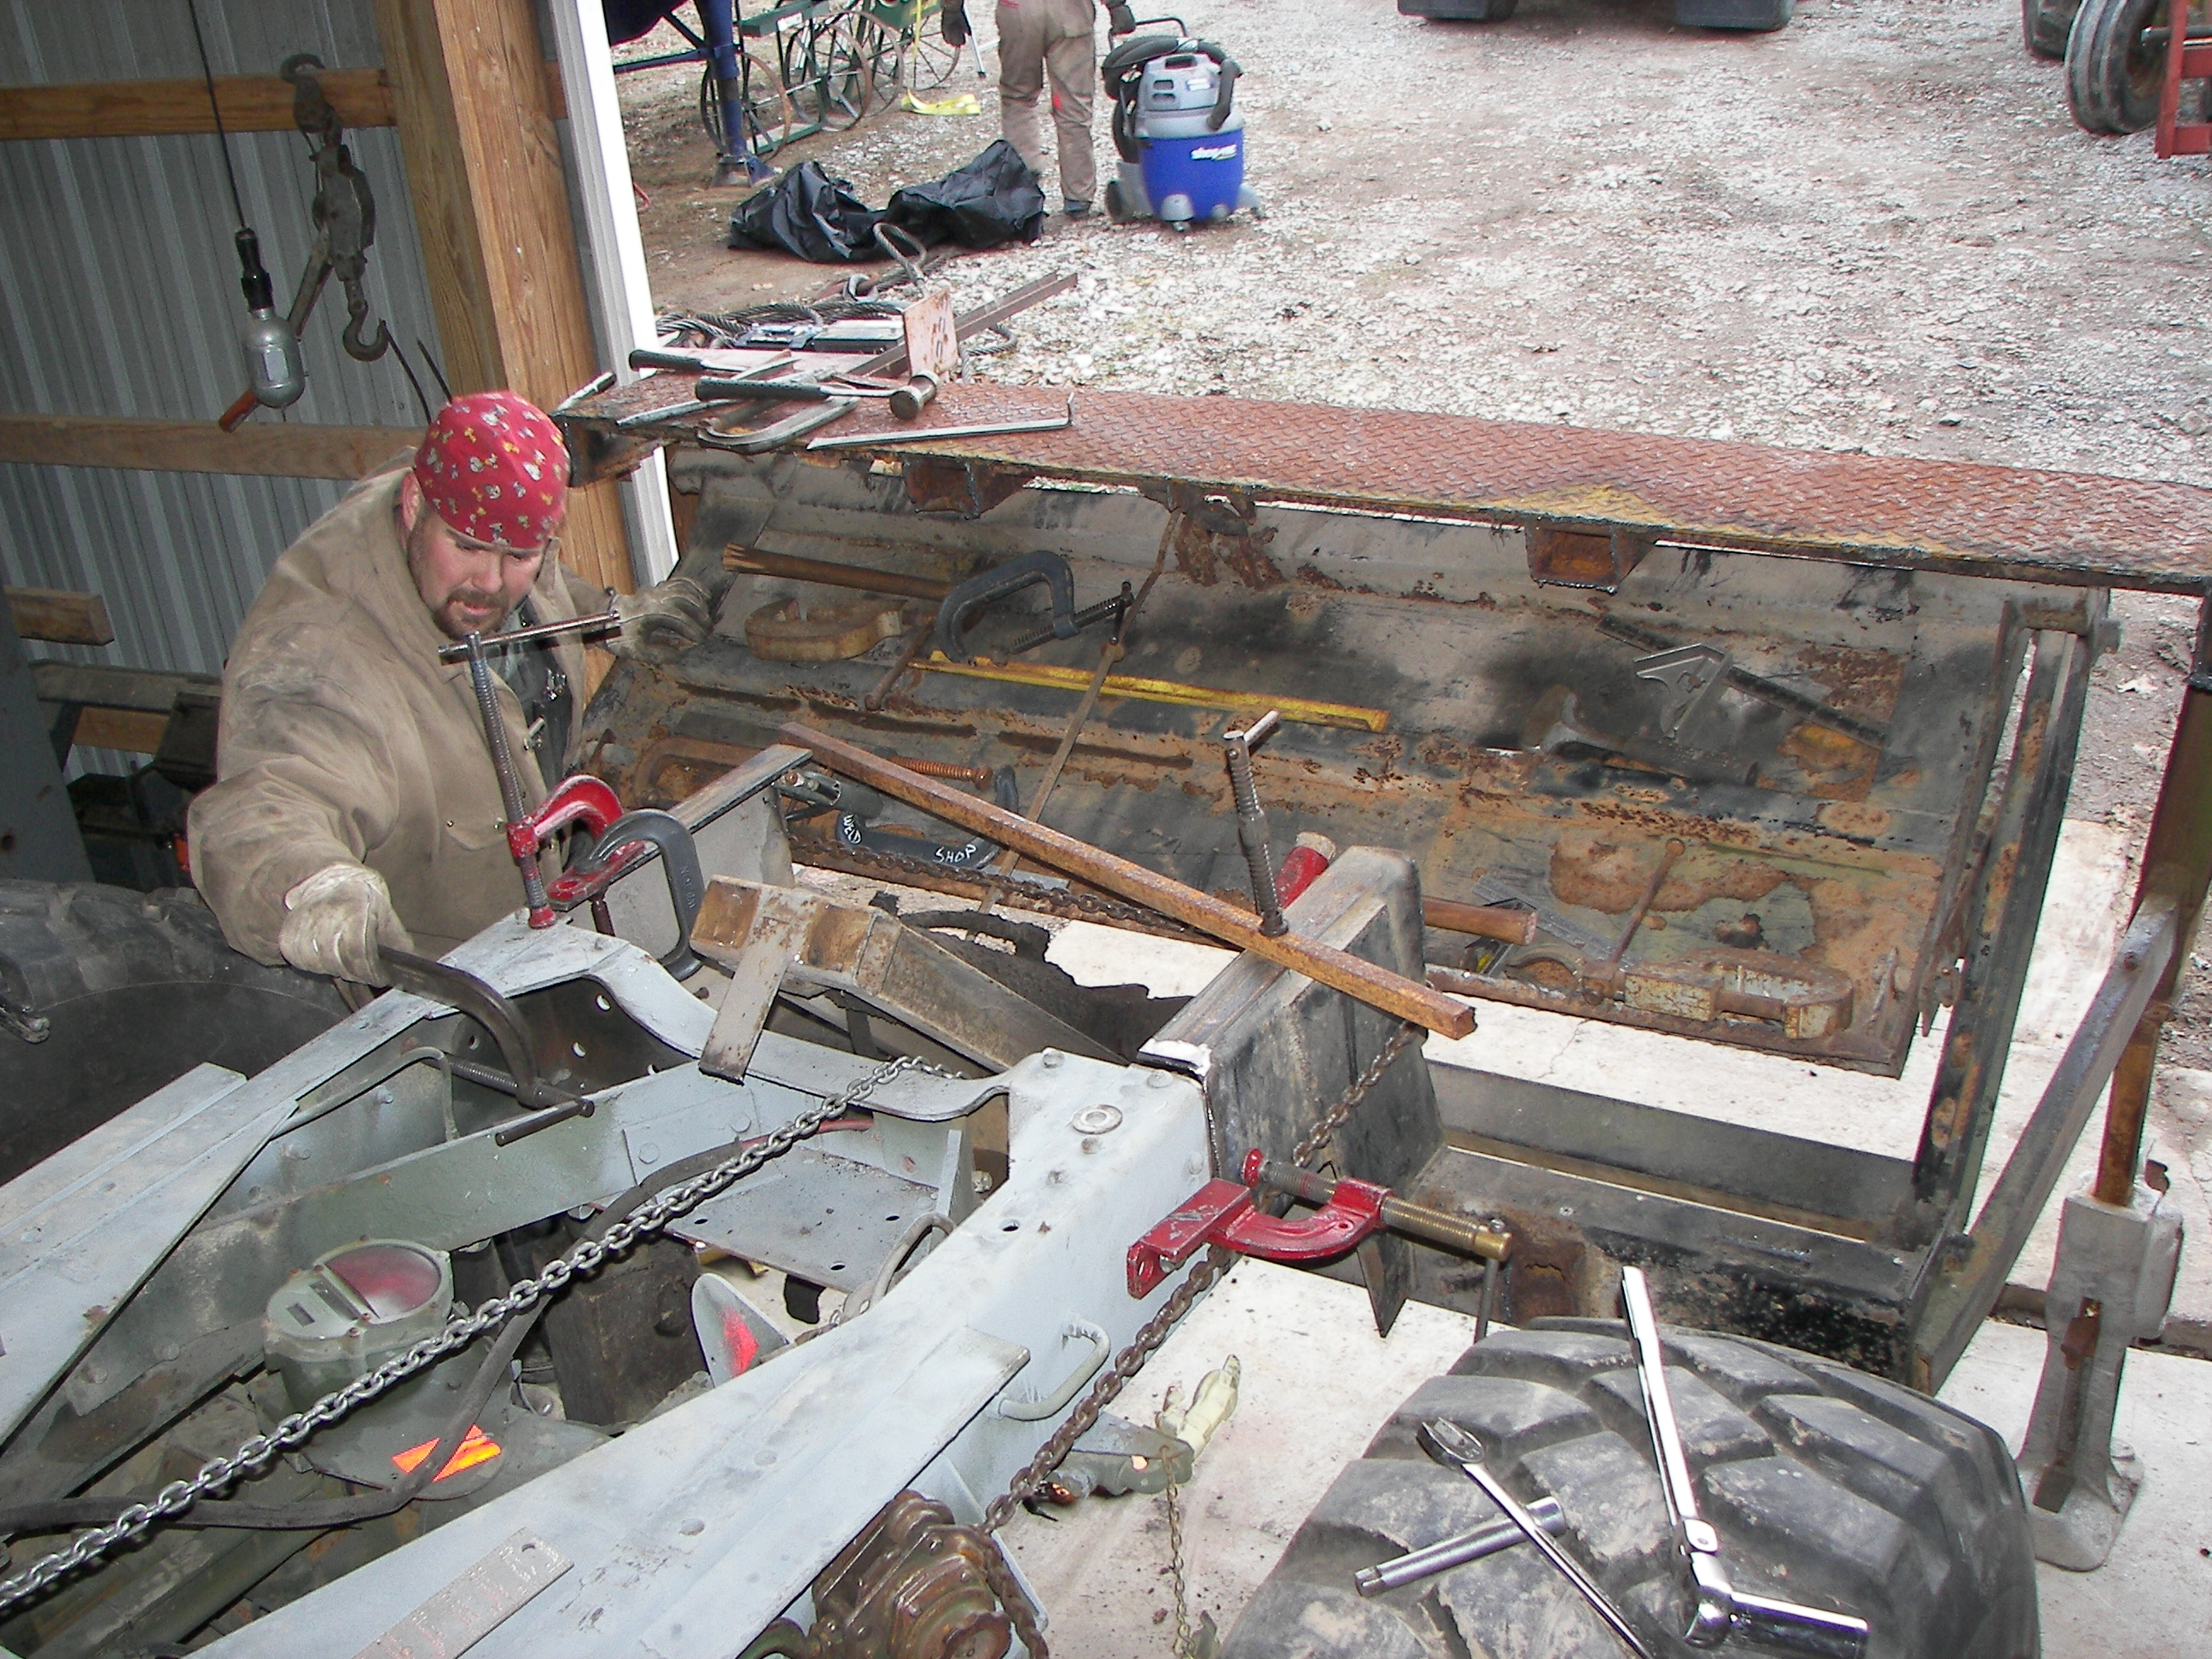
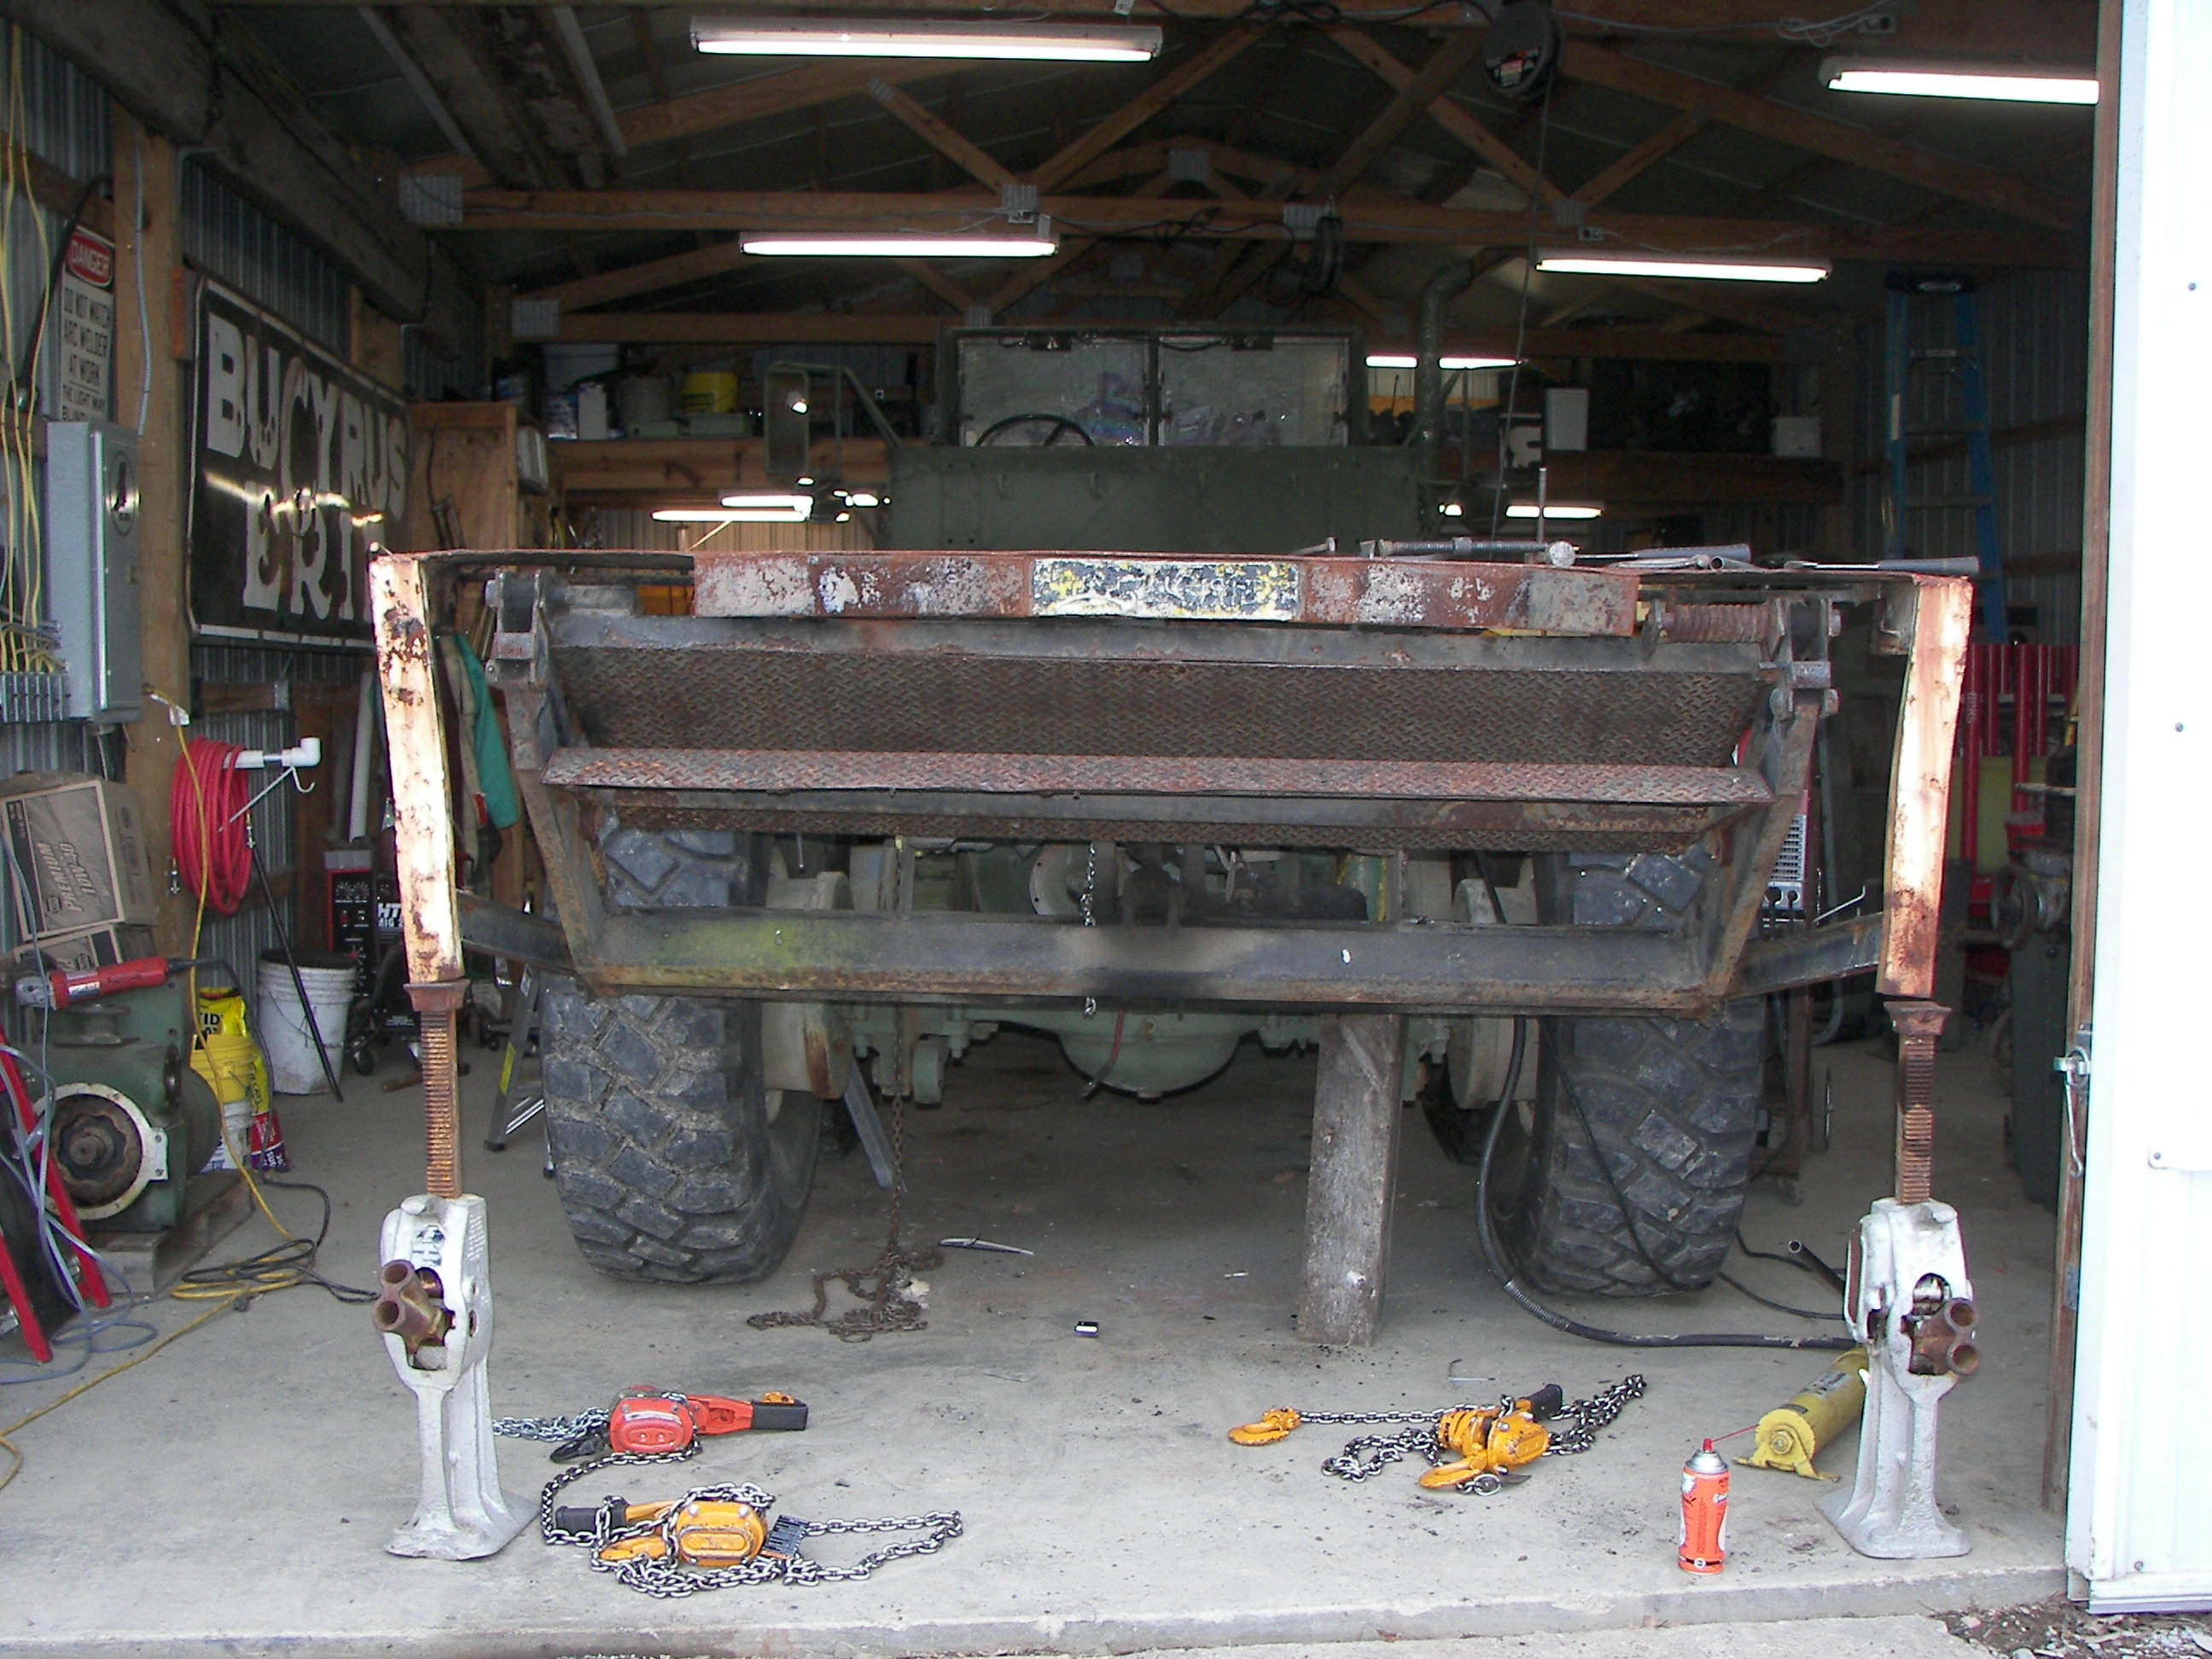
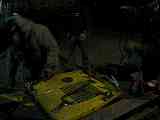
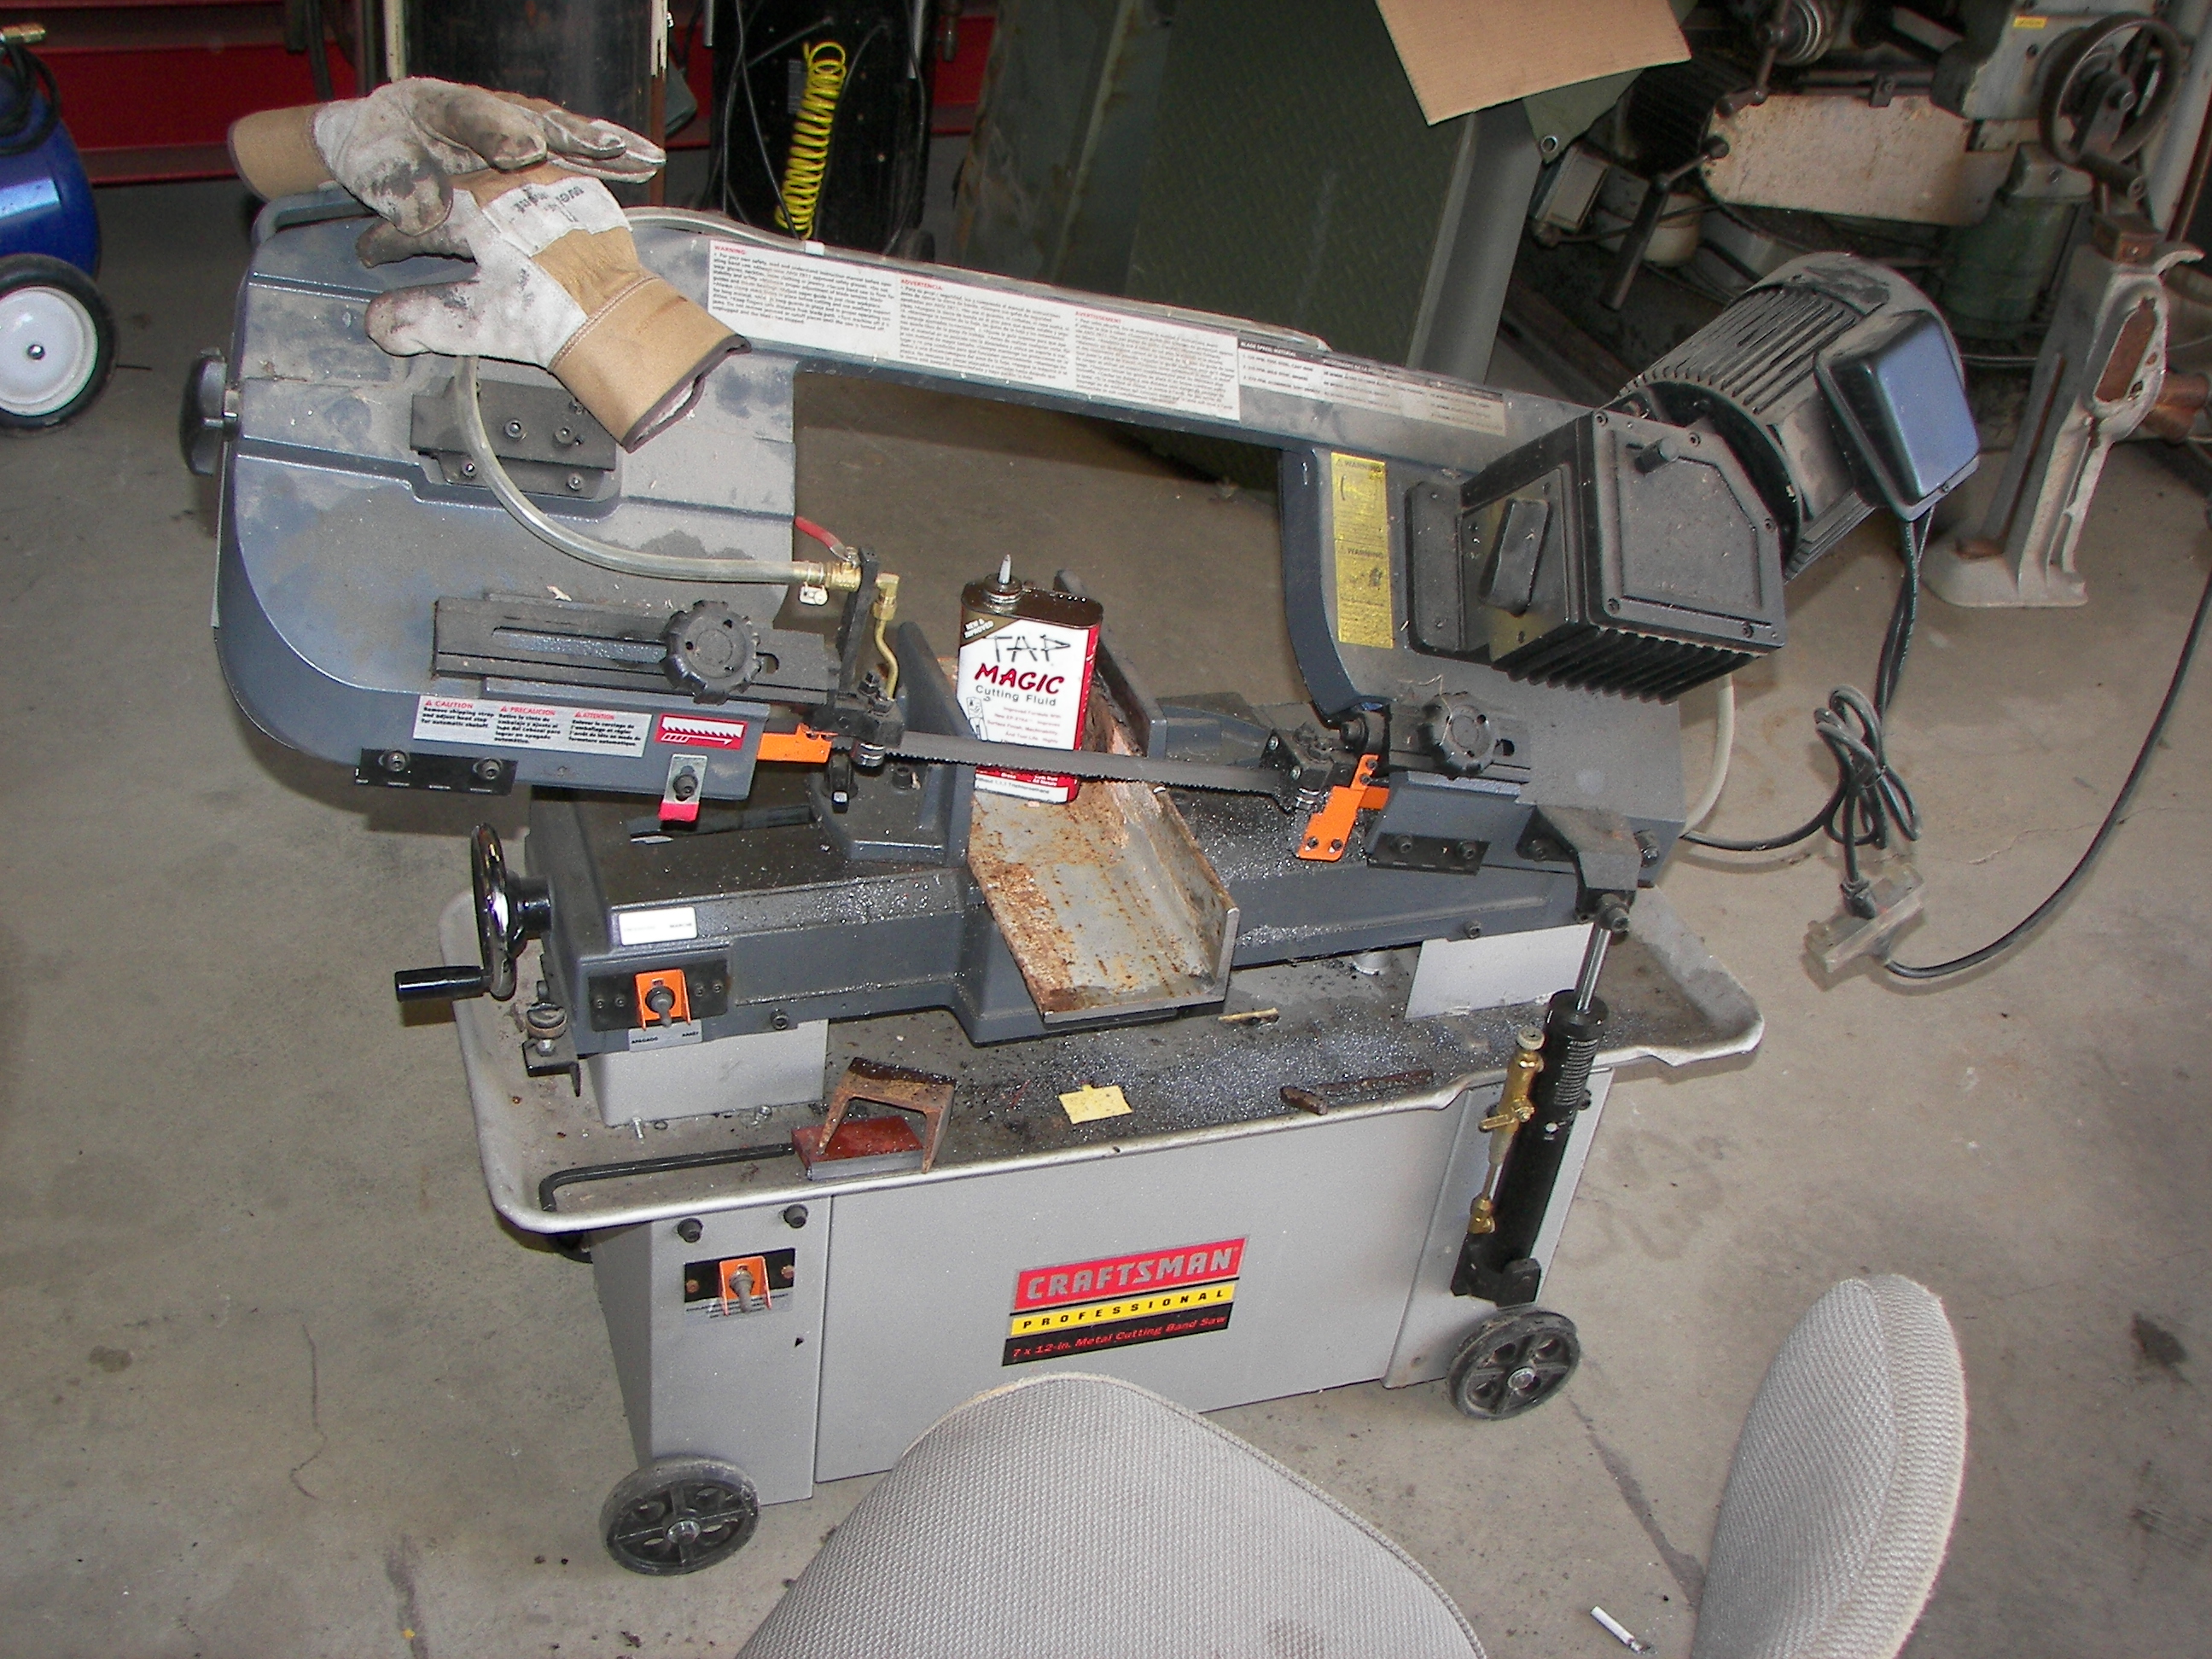
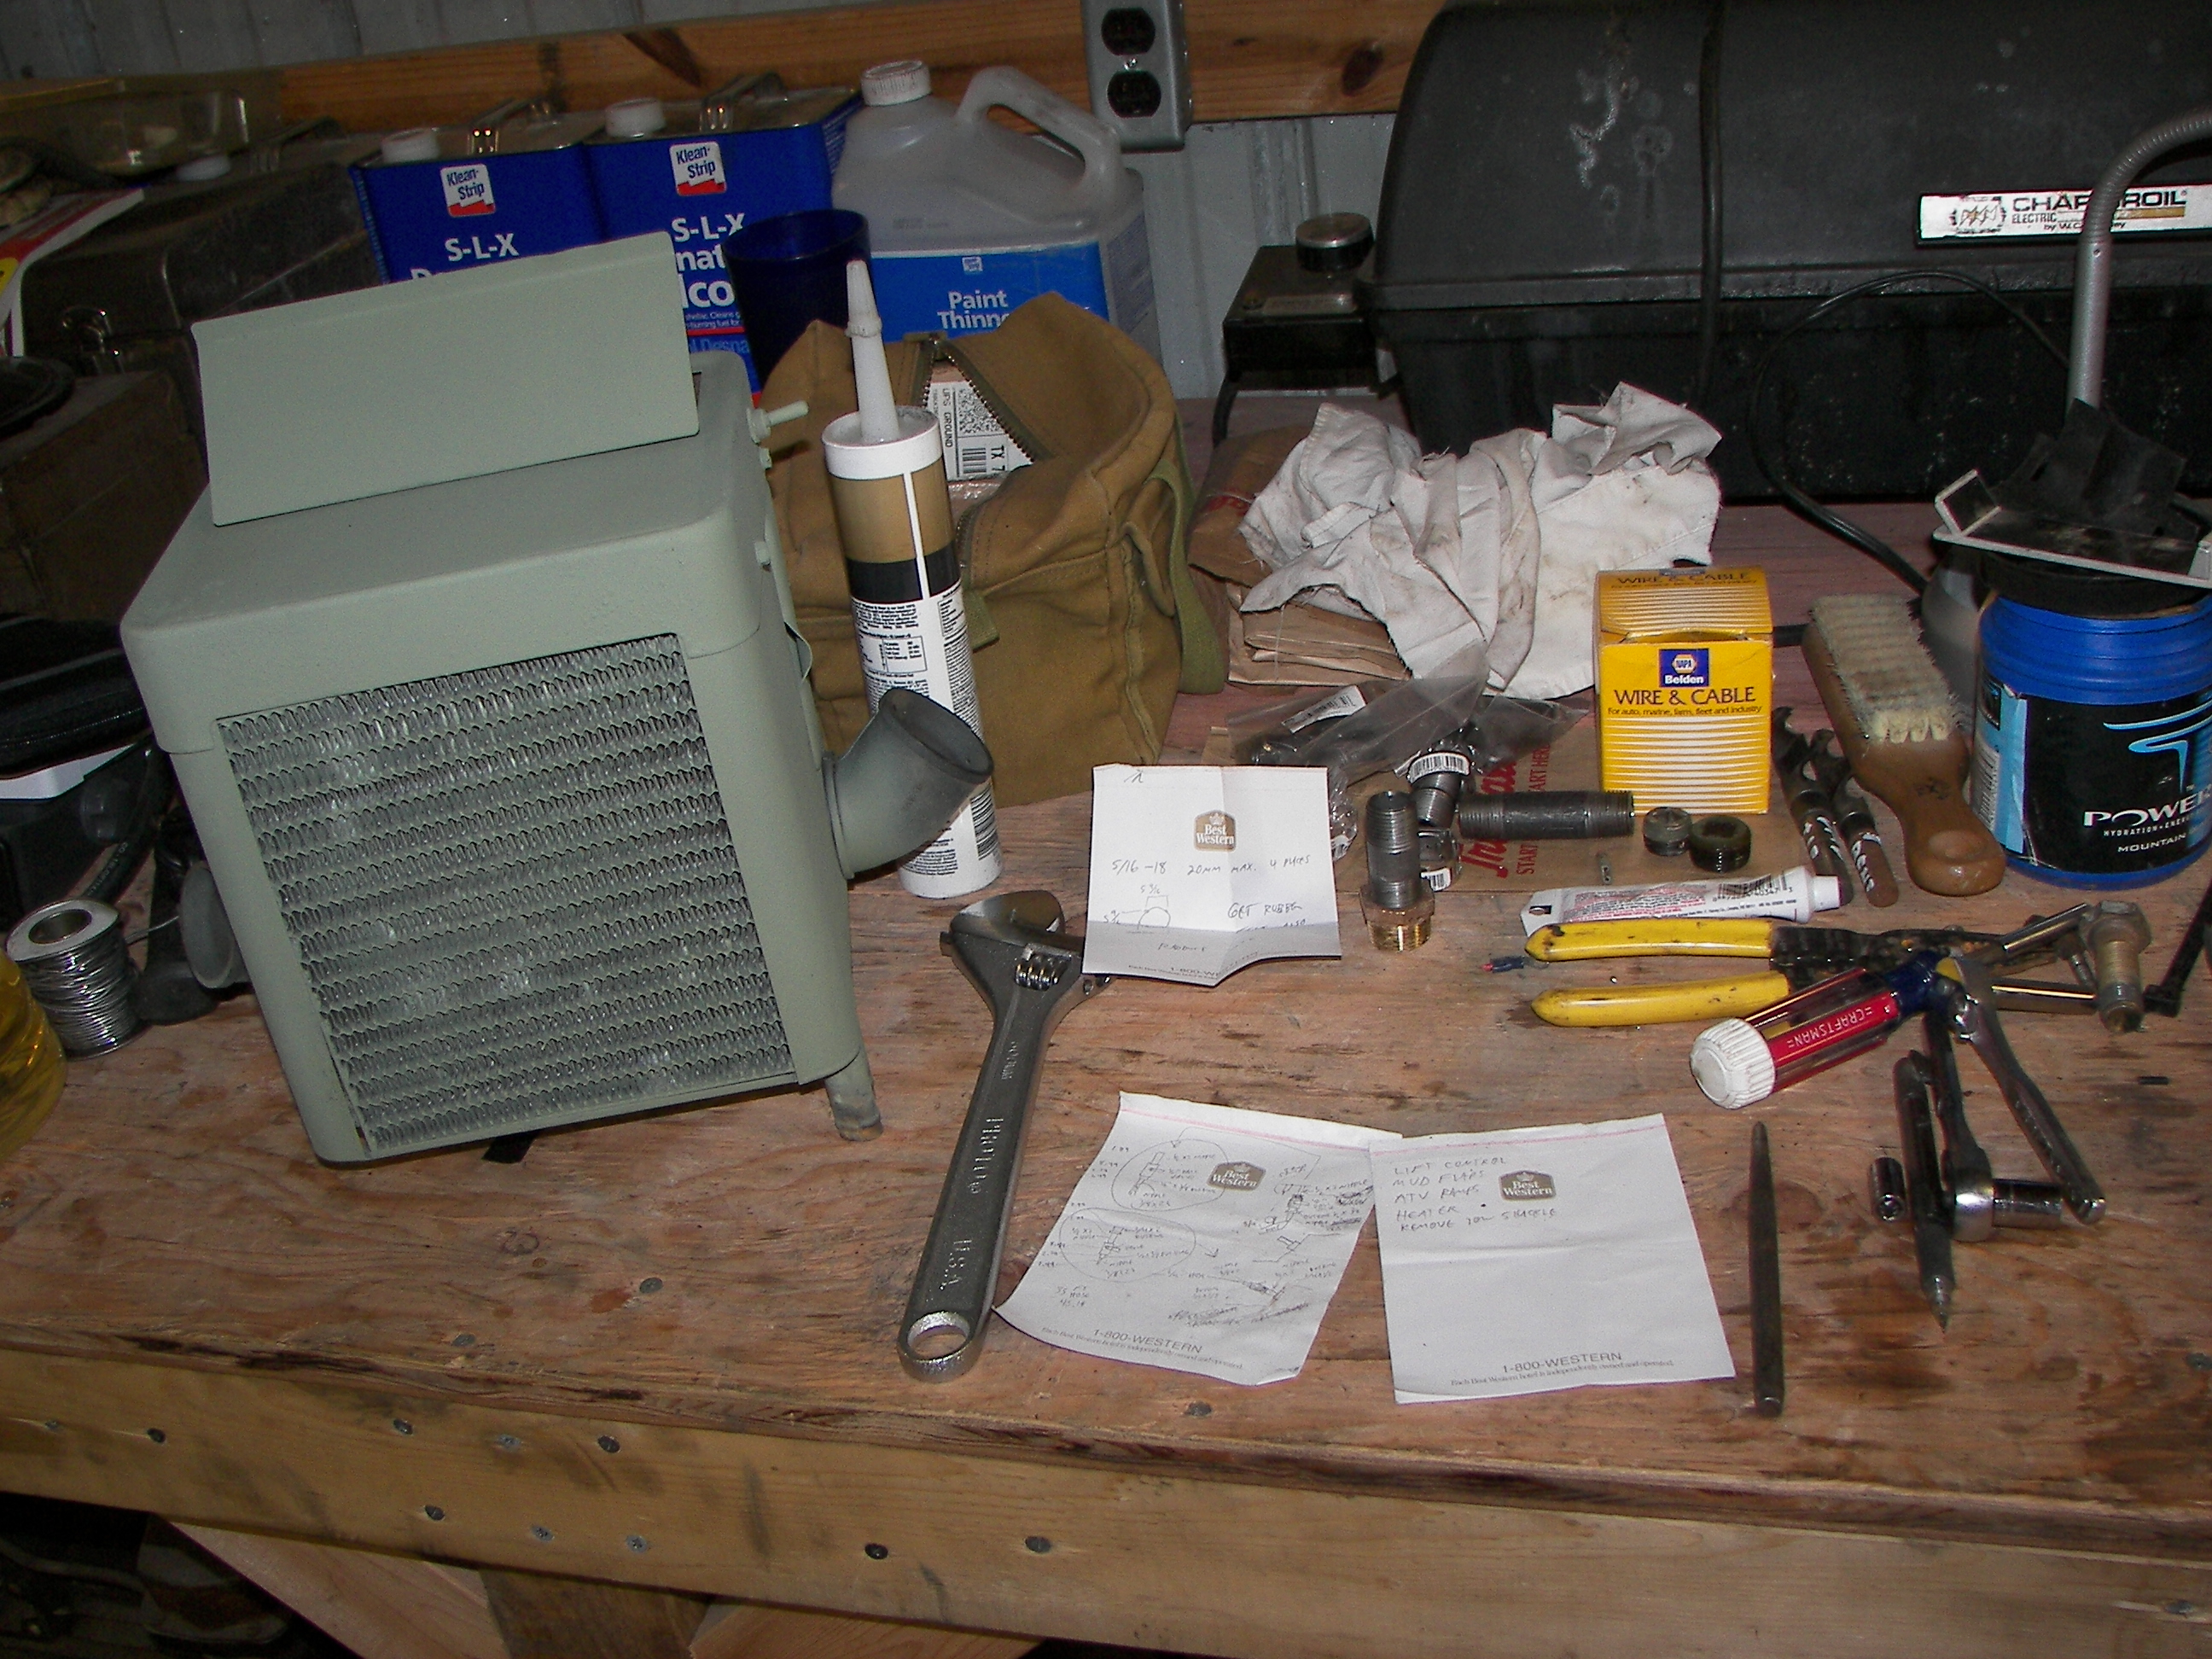
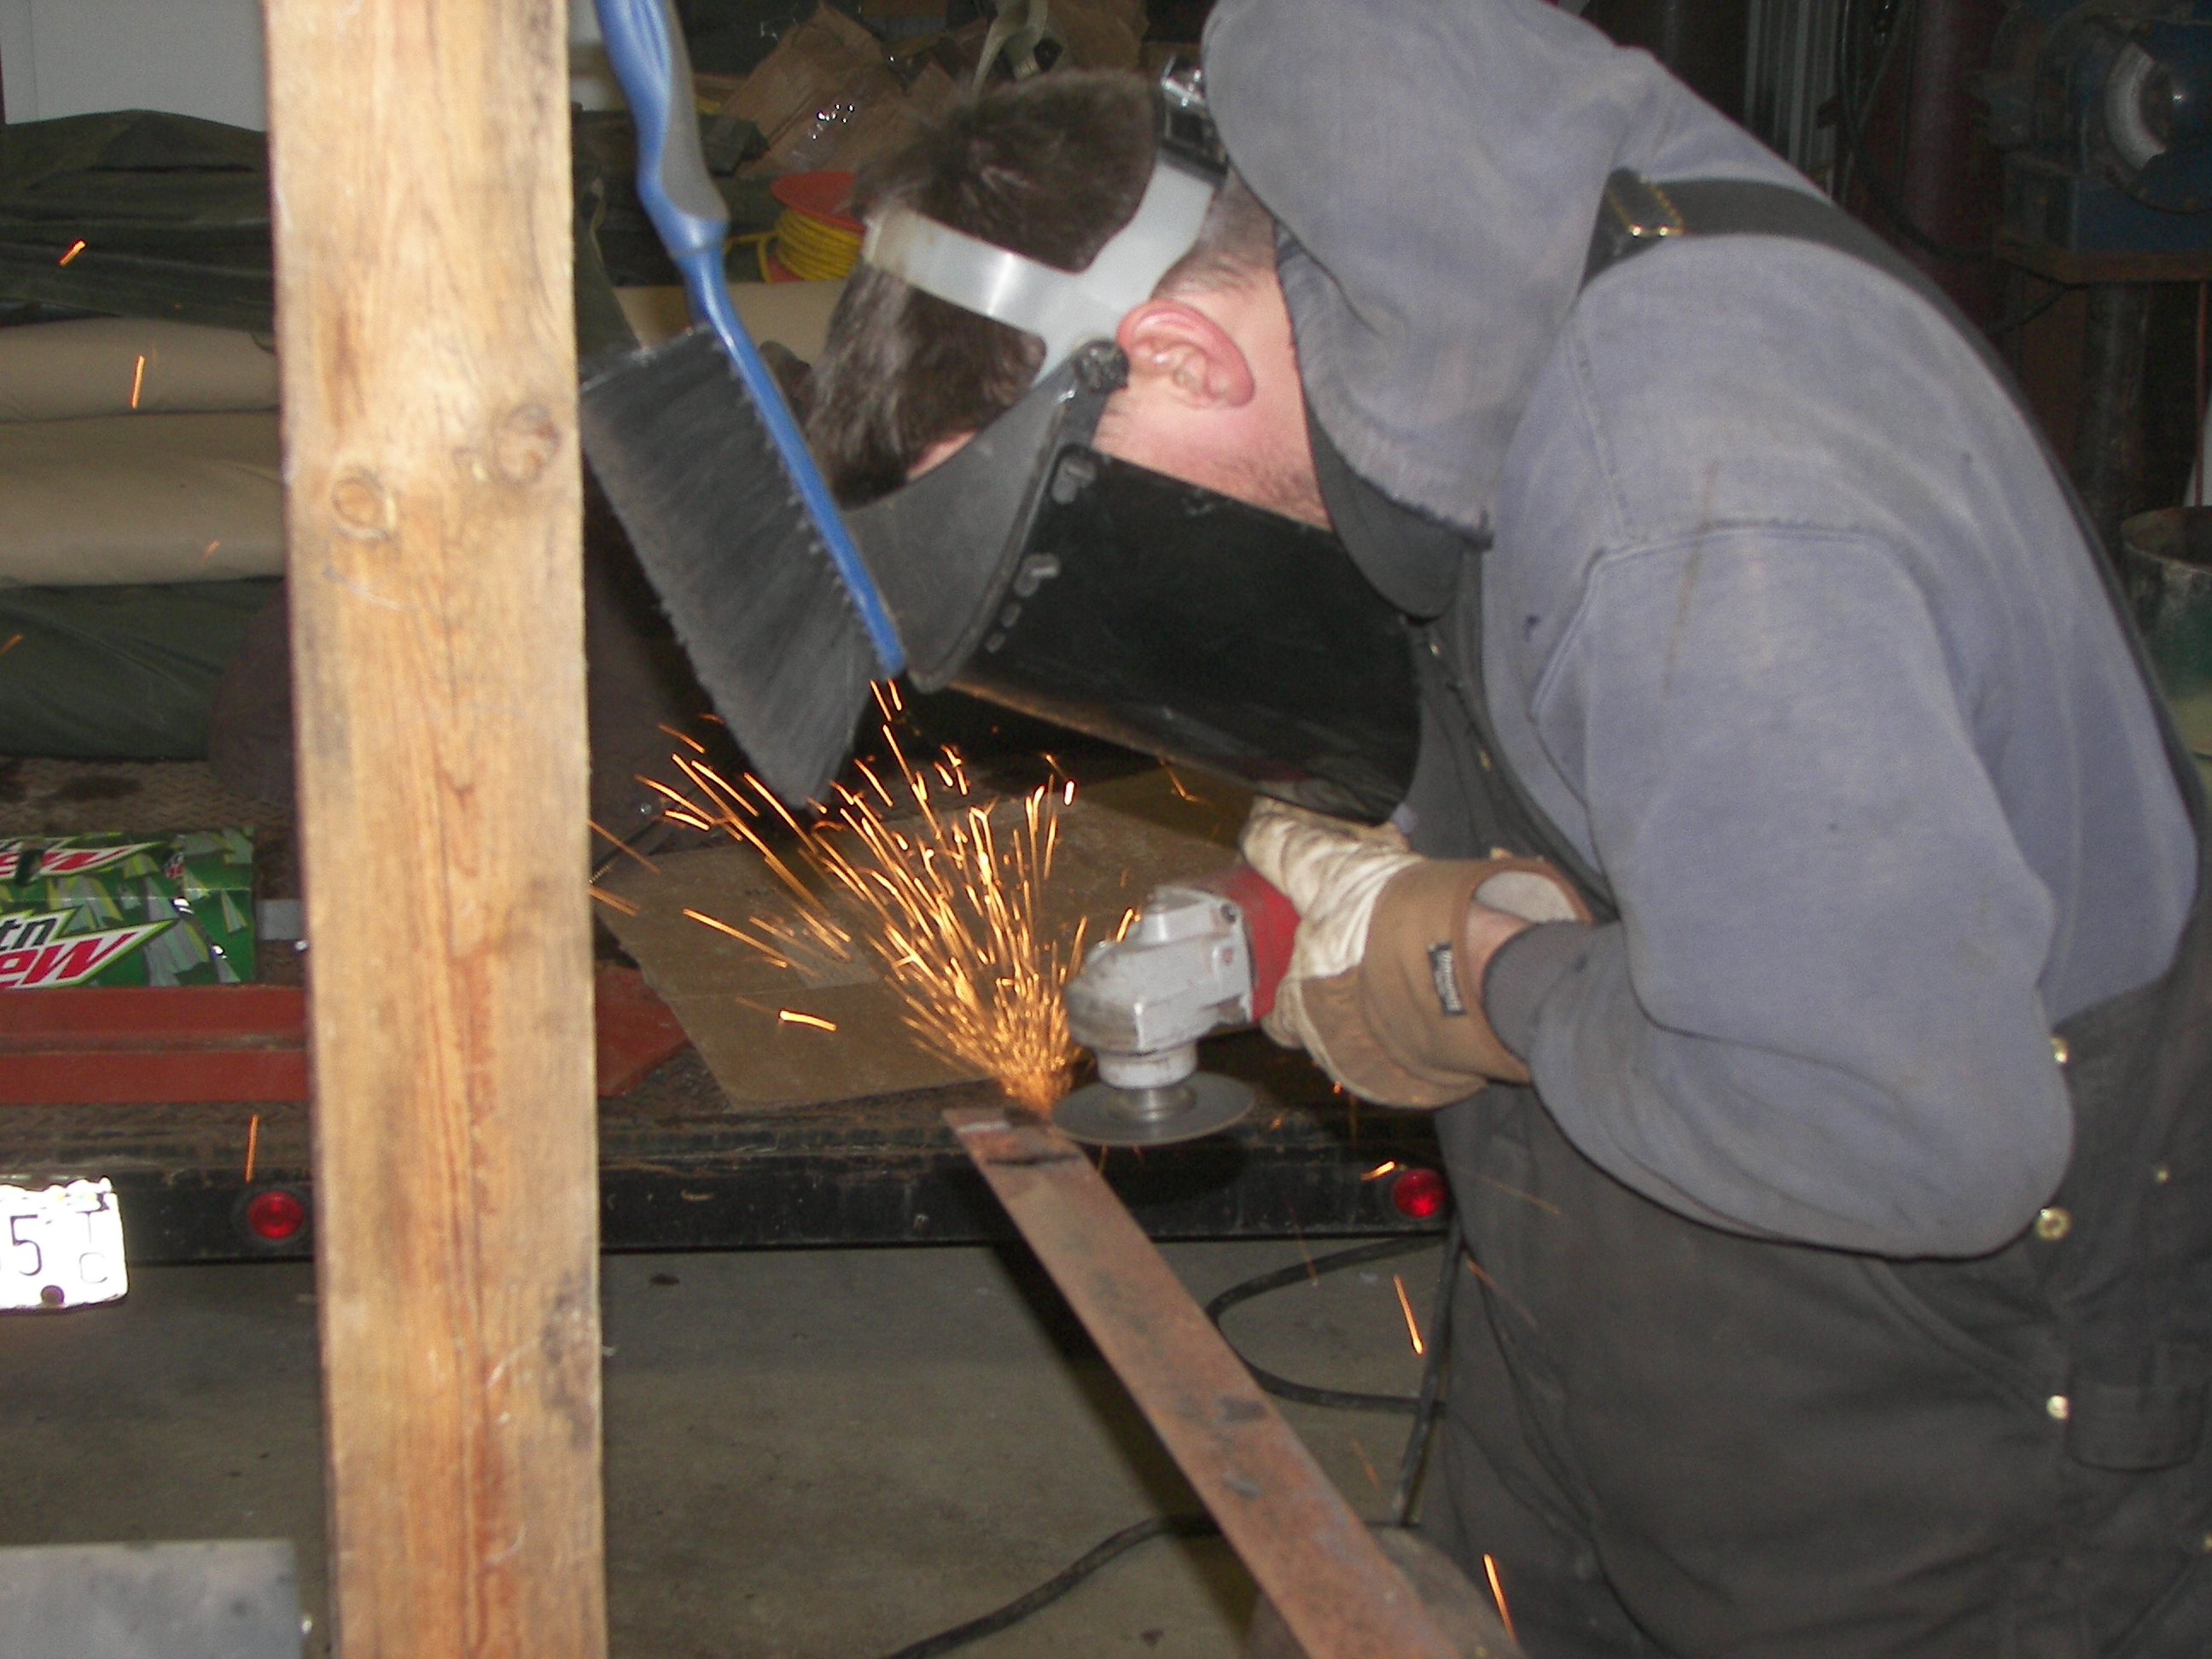
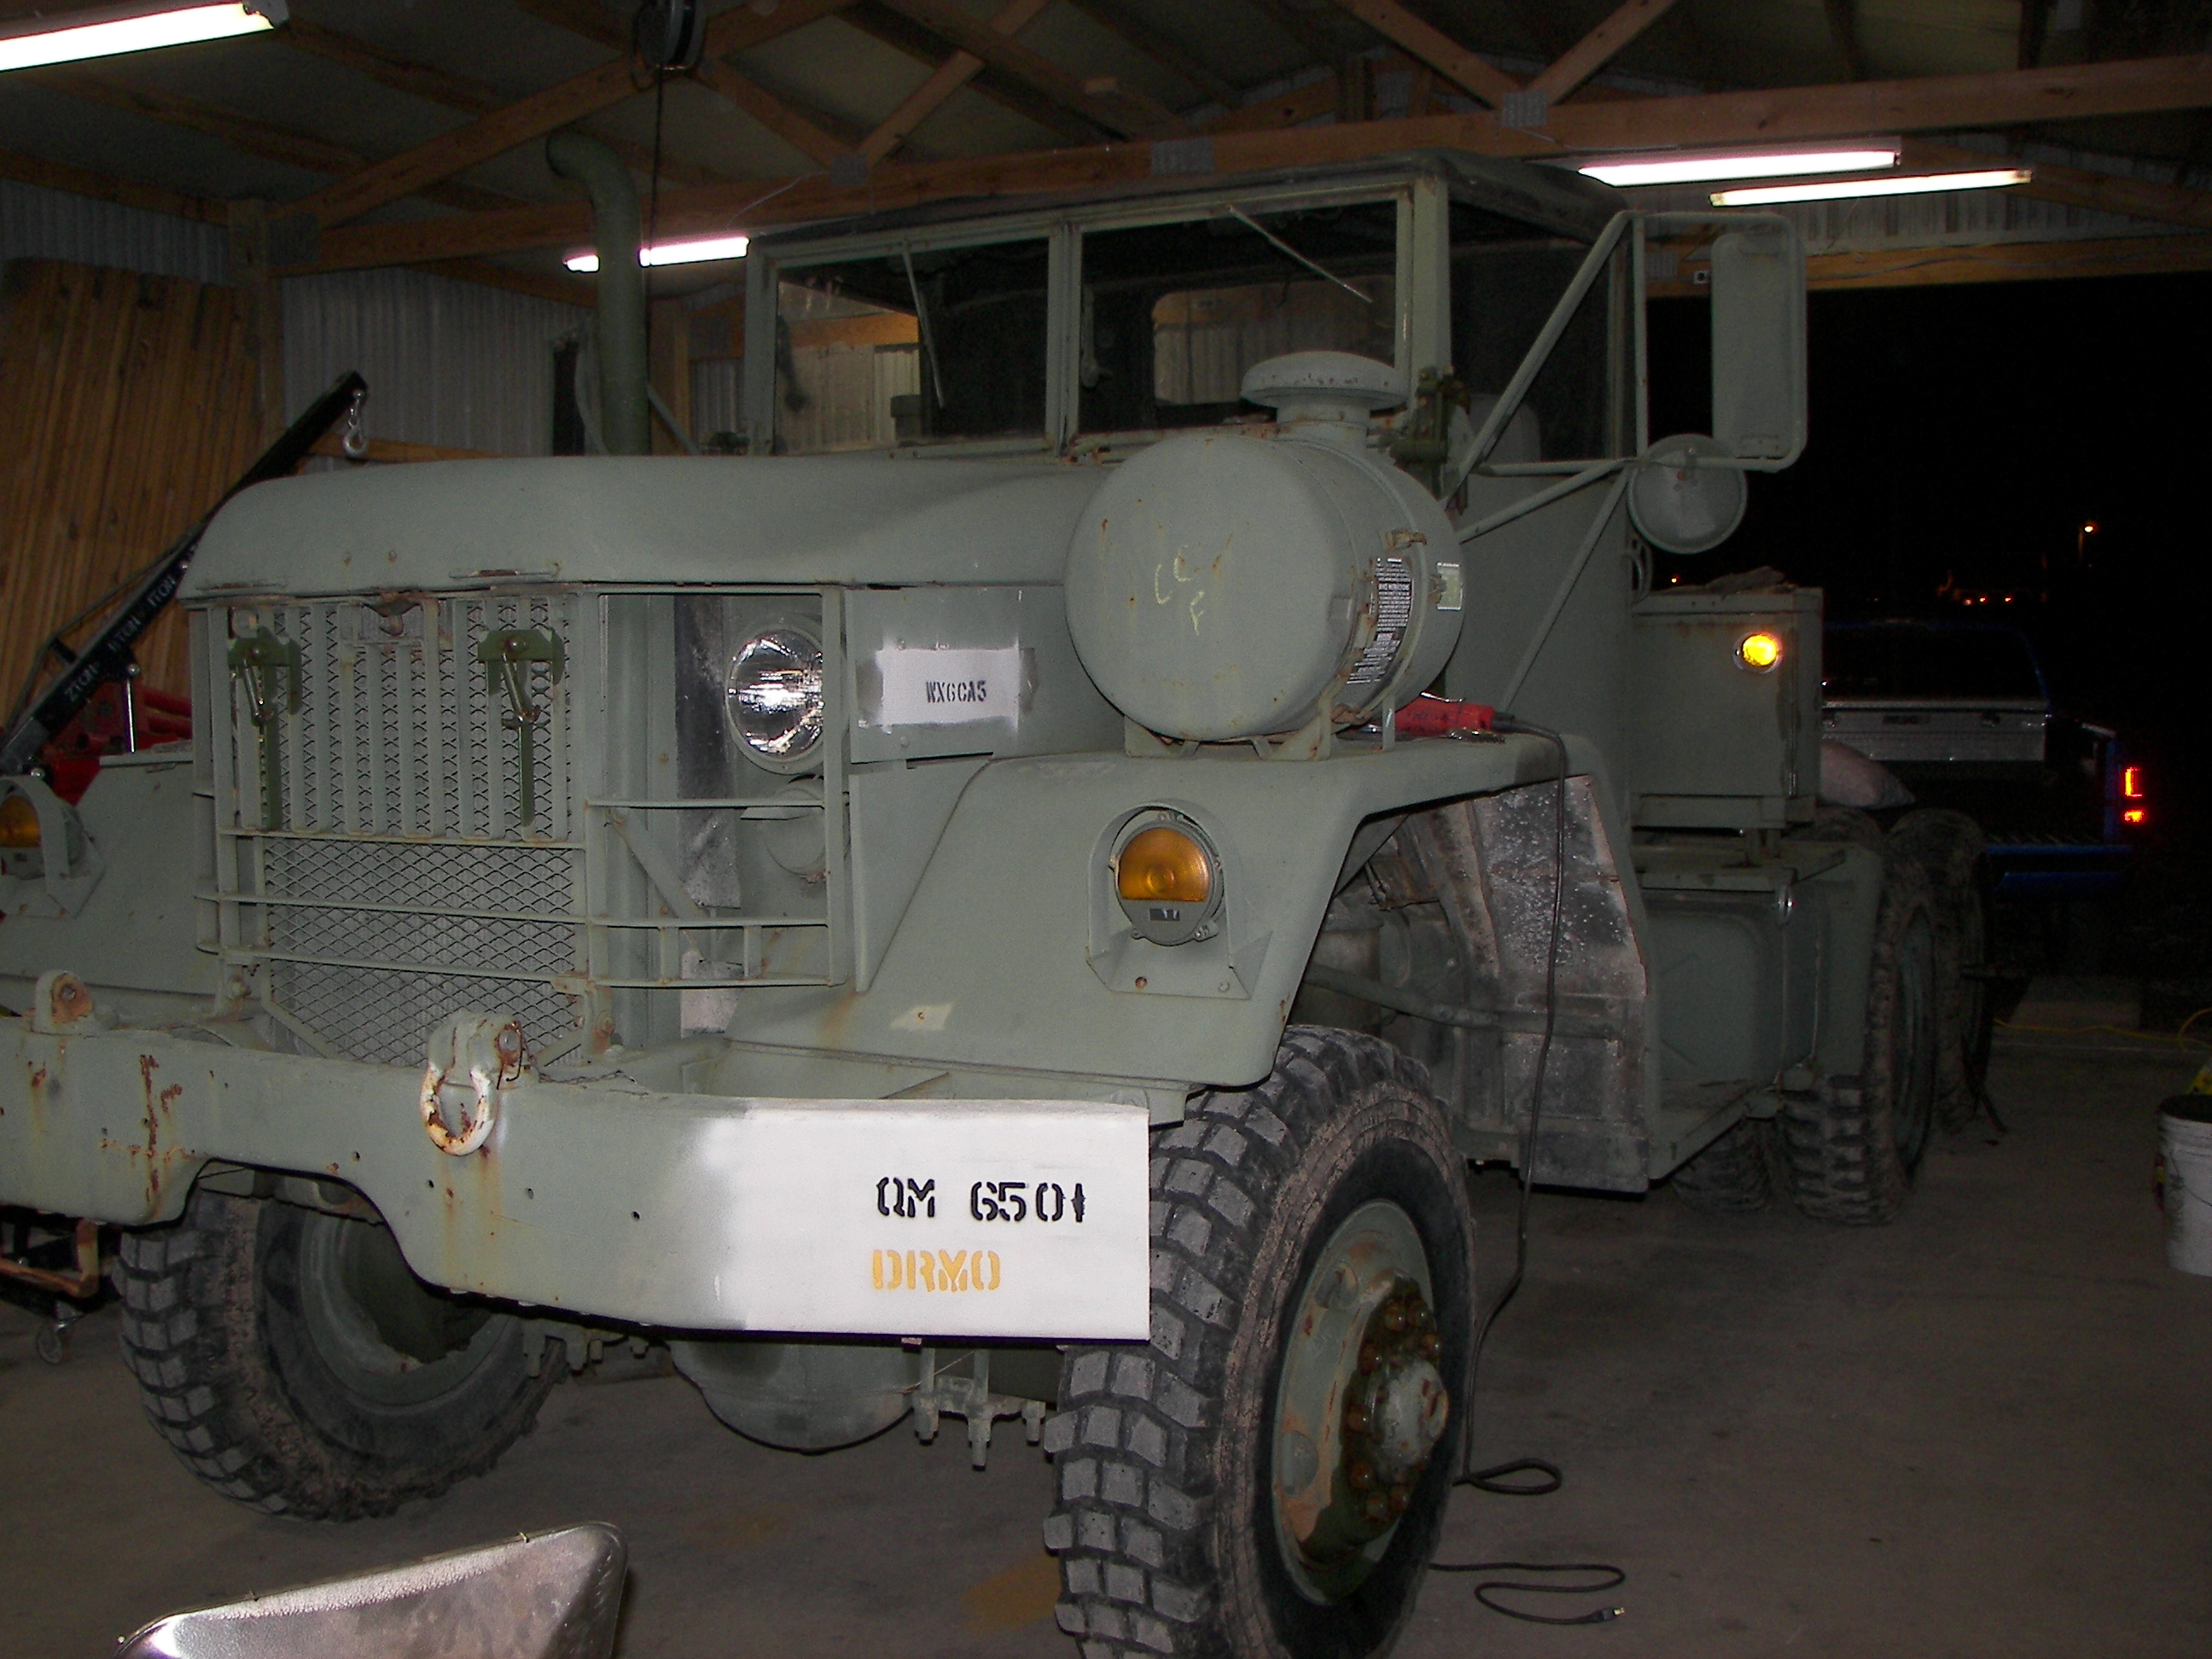 In the shop
|
|
|

|
|
|
The steel mud flaps were removed by Brian to make room for the 16.00x20 Goodyear tires on LAV rims. |
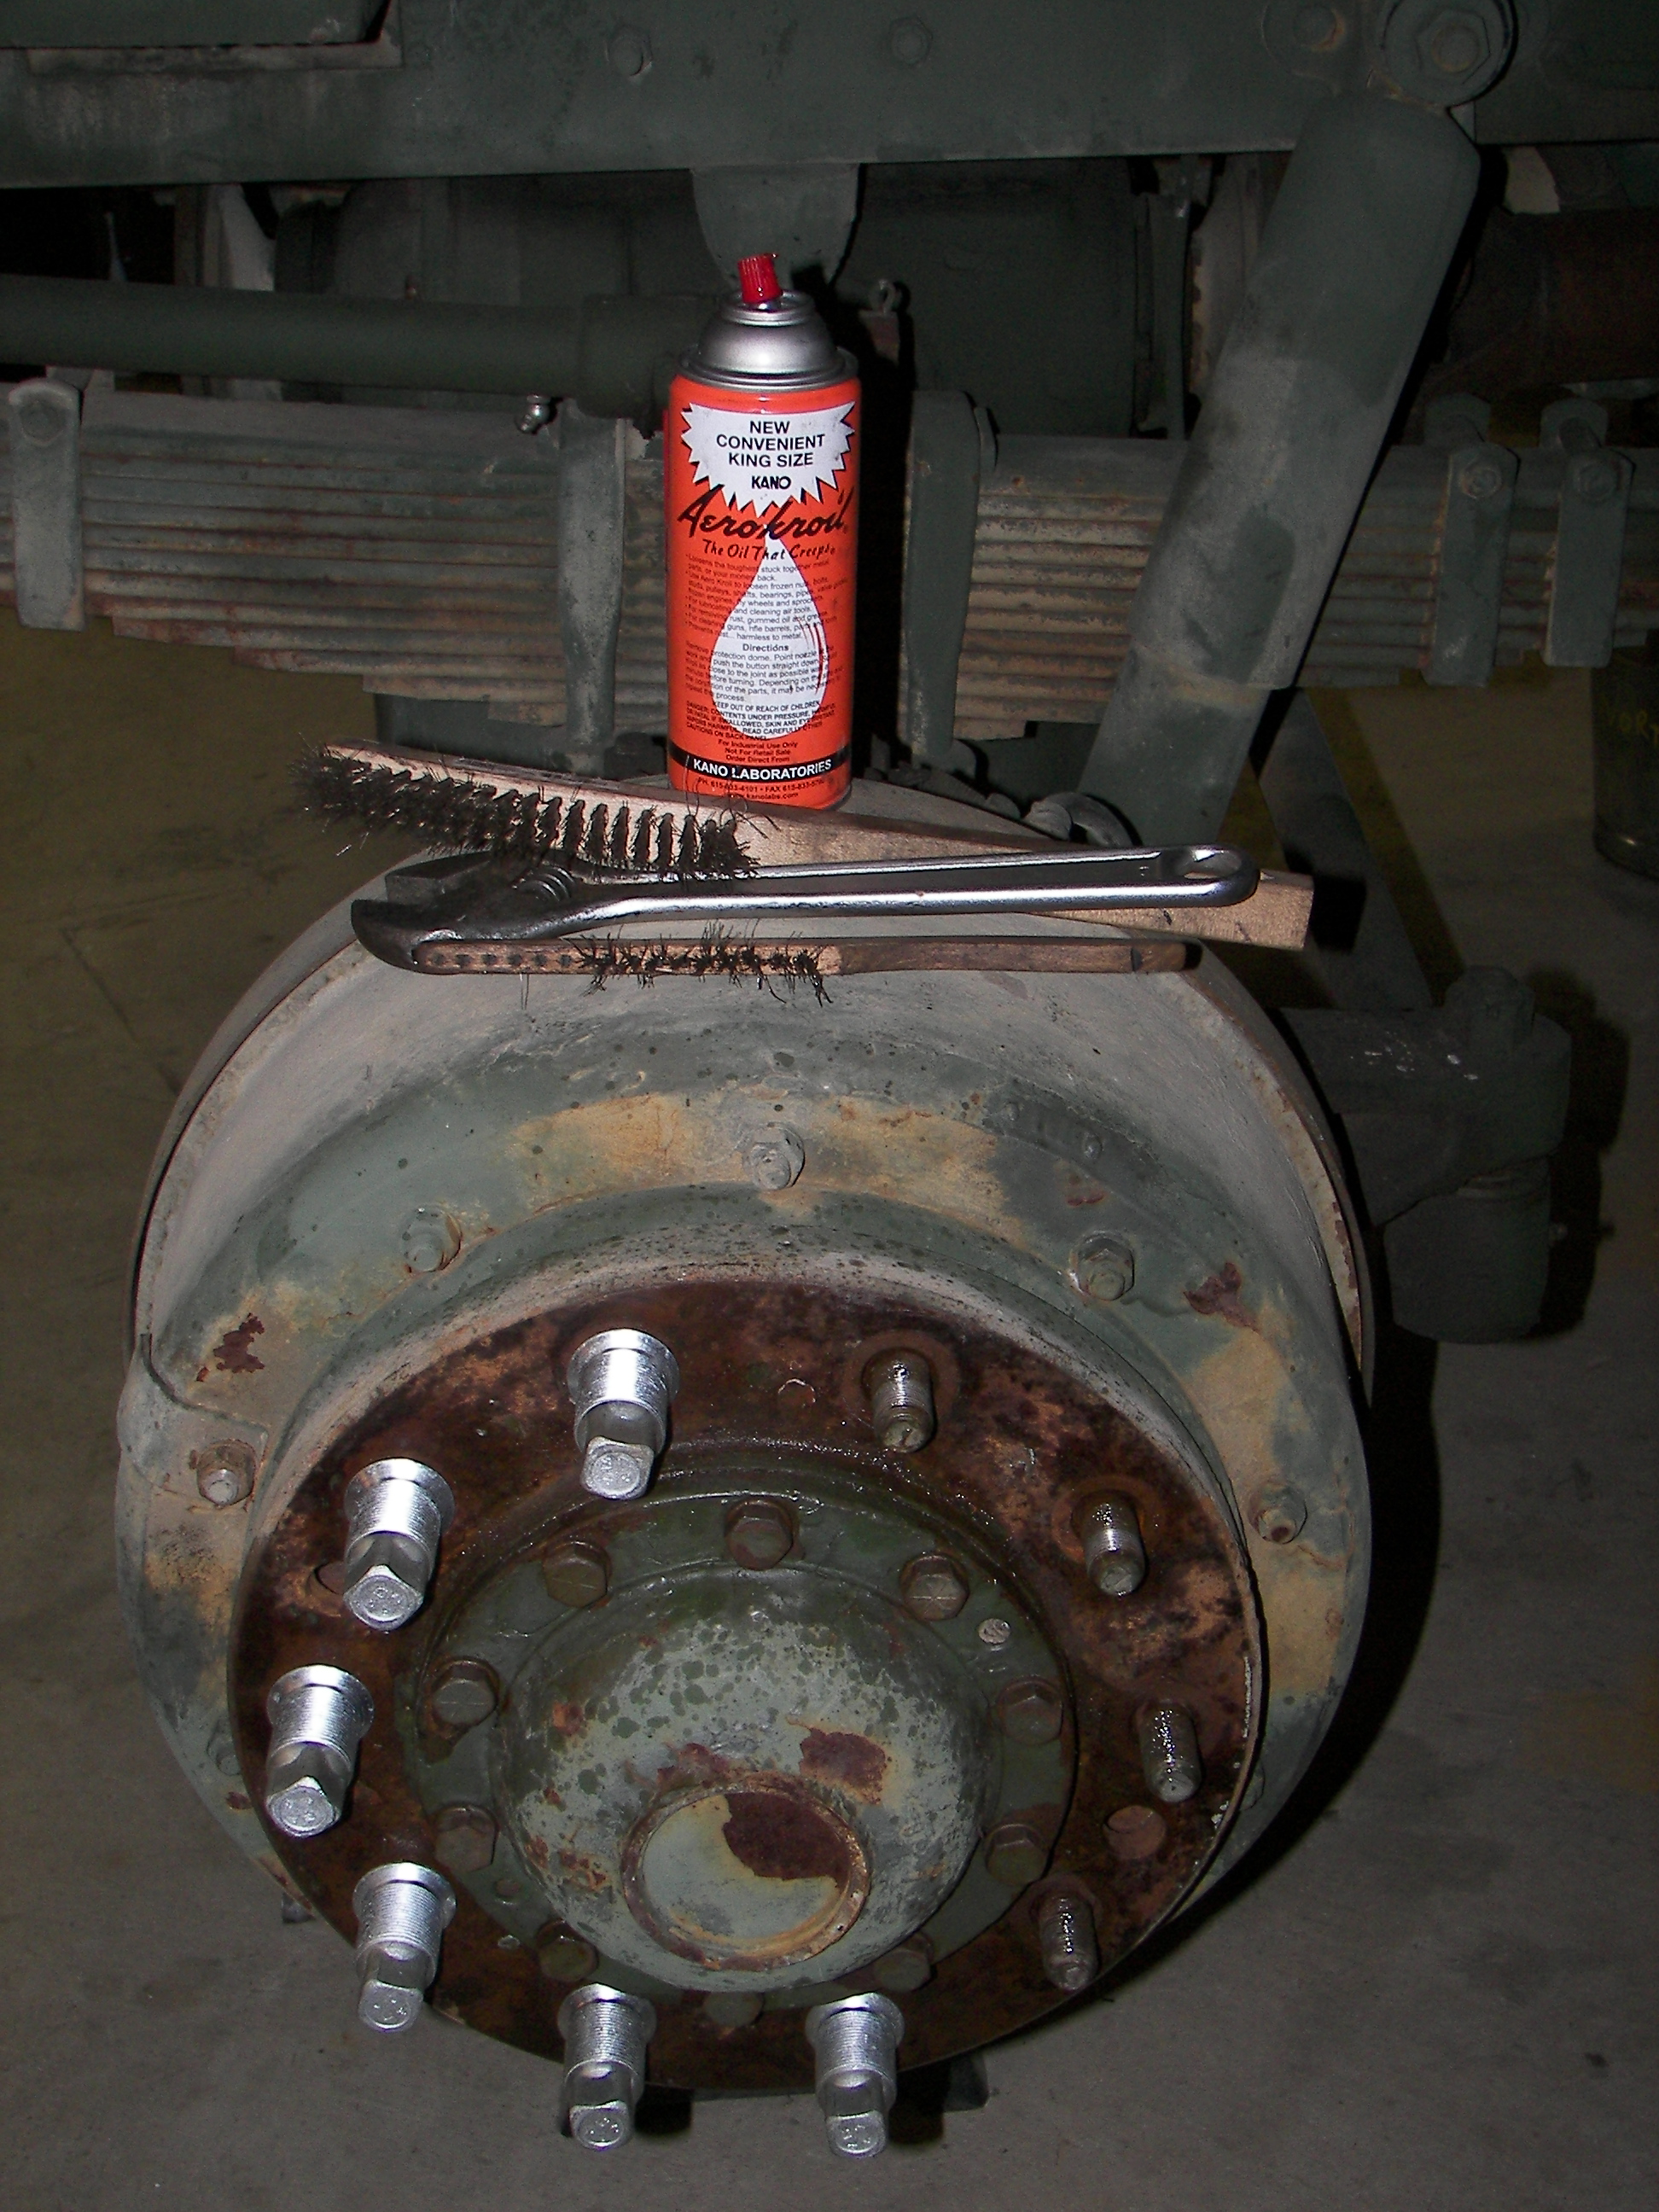
The 5th wheel will no longer be needed so a generous amount of KROIL was used to get the bolts ready for removal. I don't remember how many cans of KROIL were used.. |
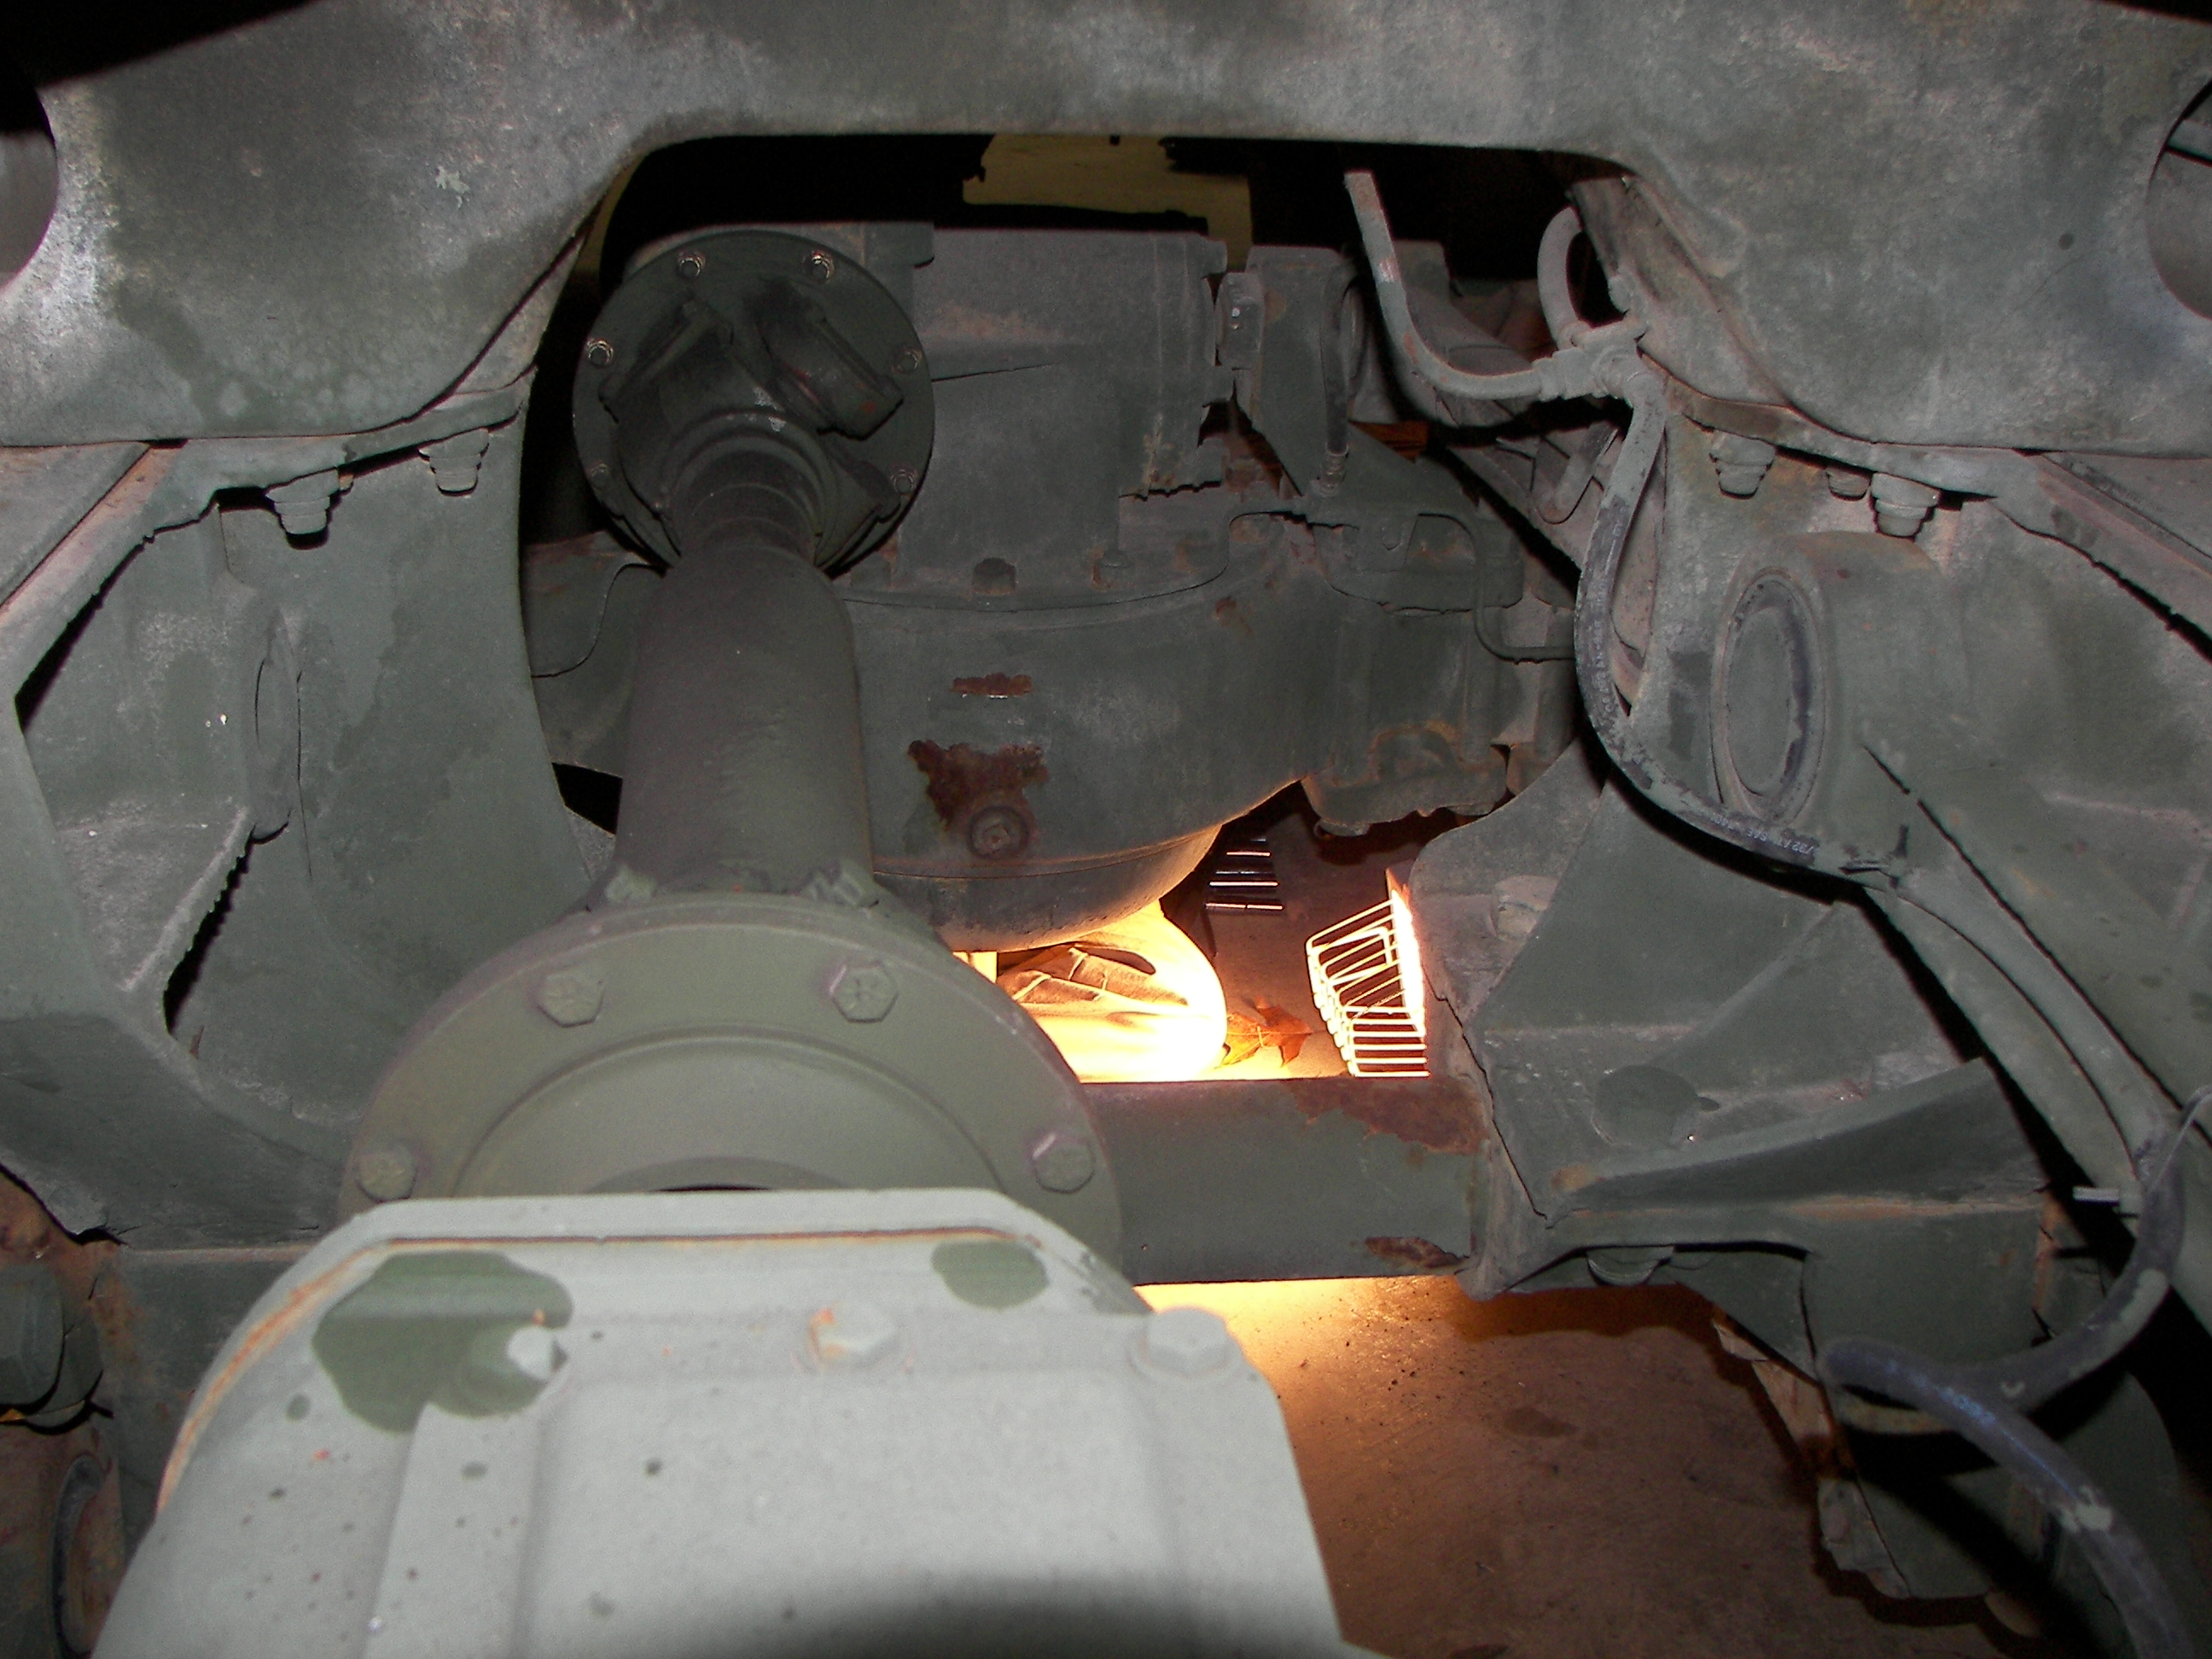
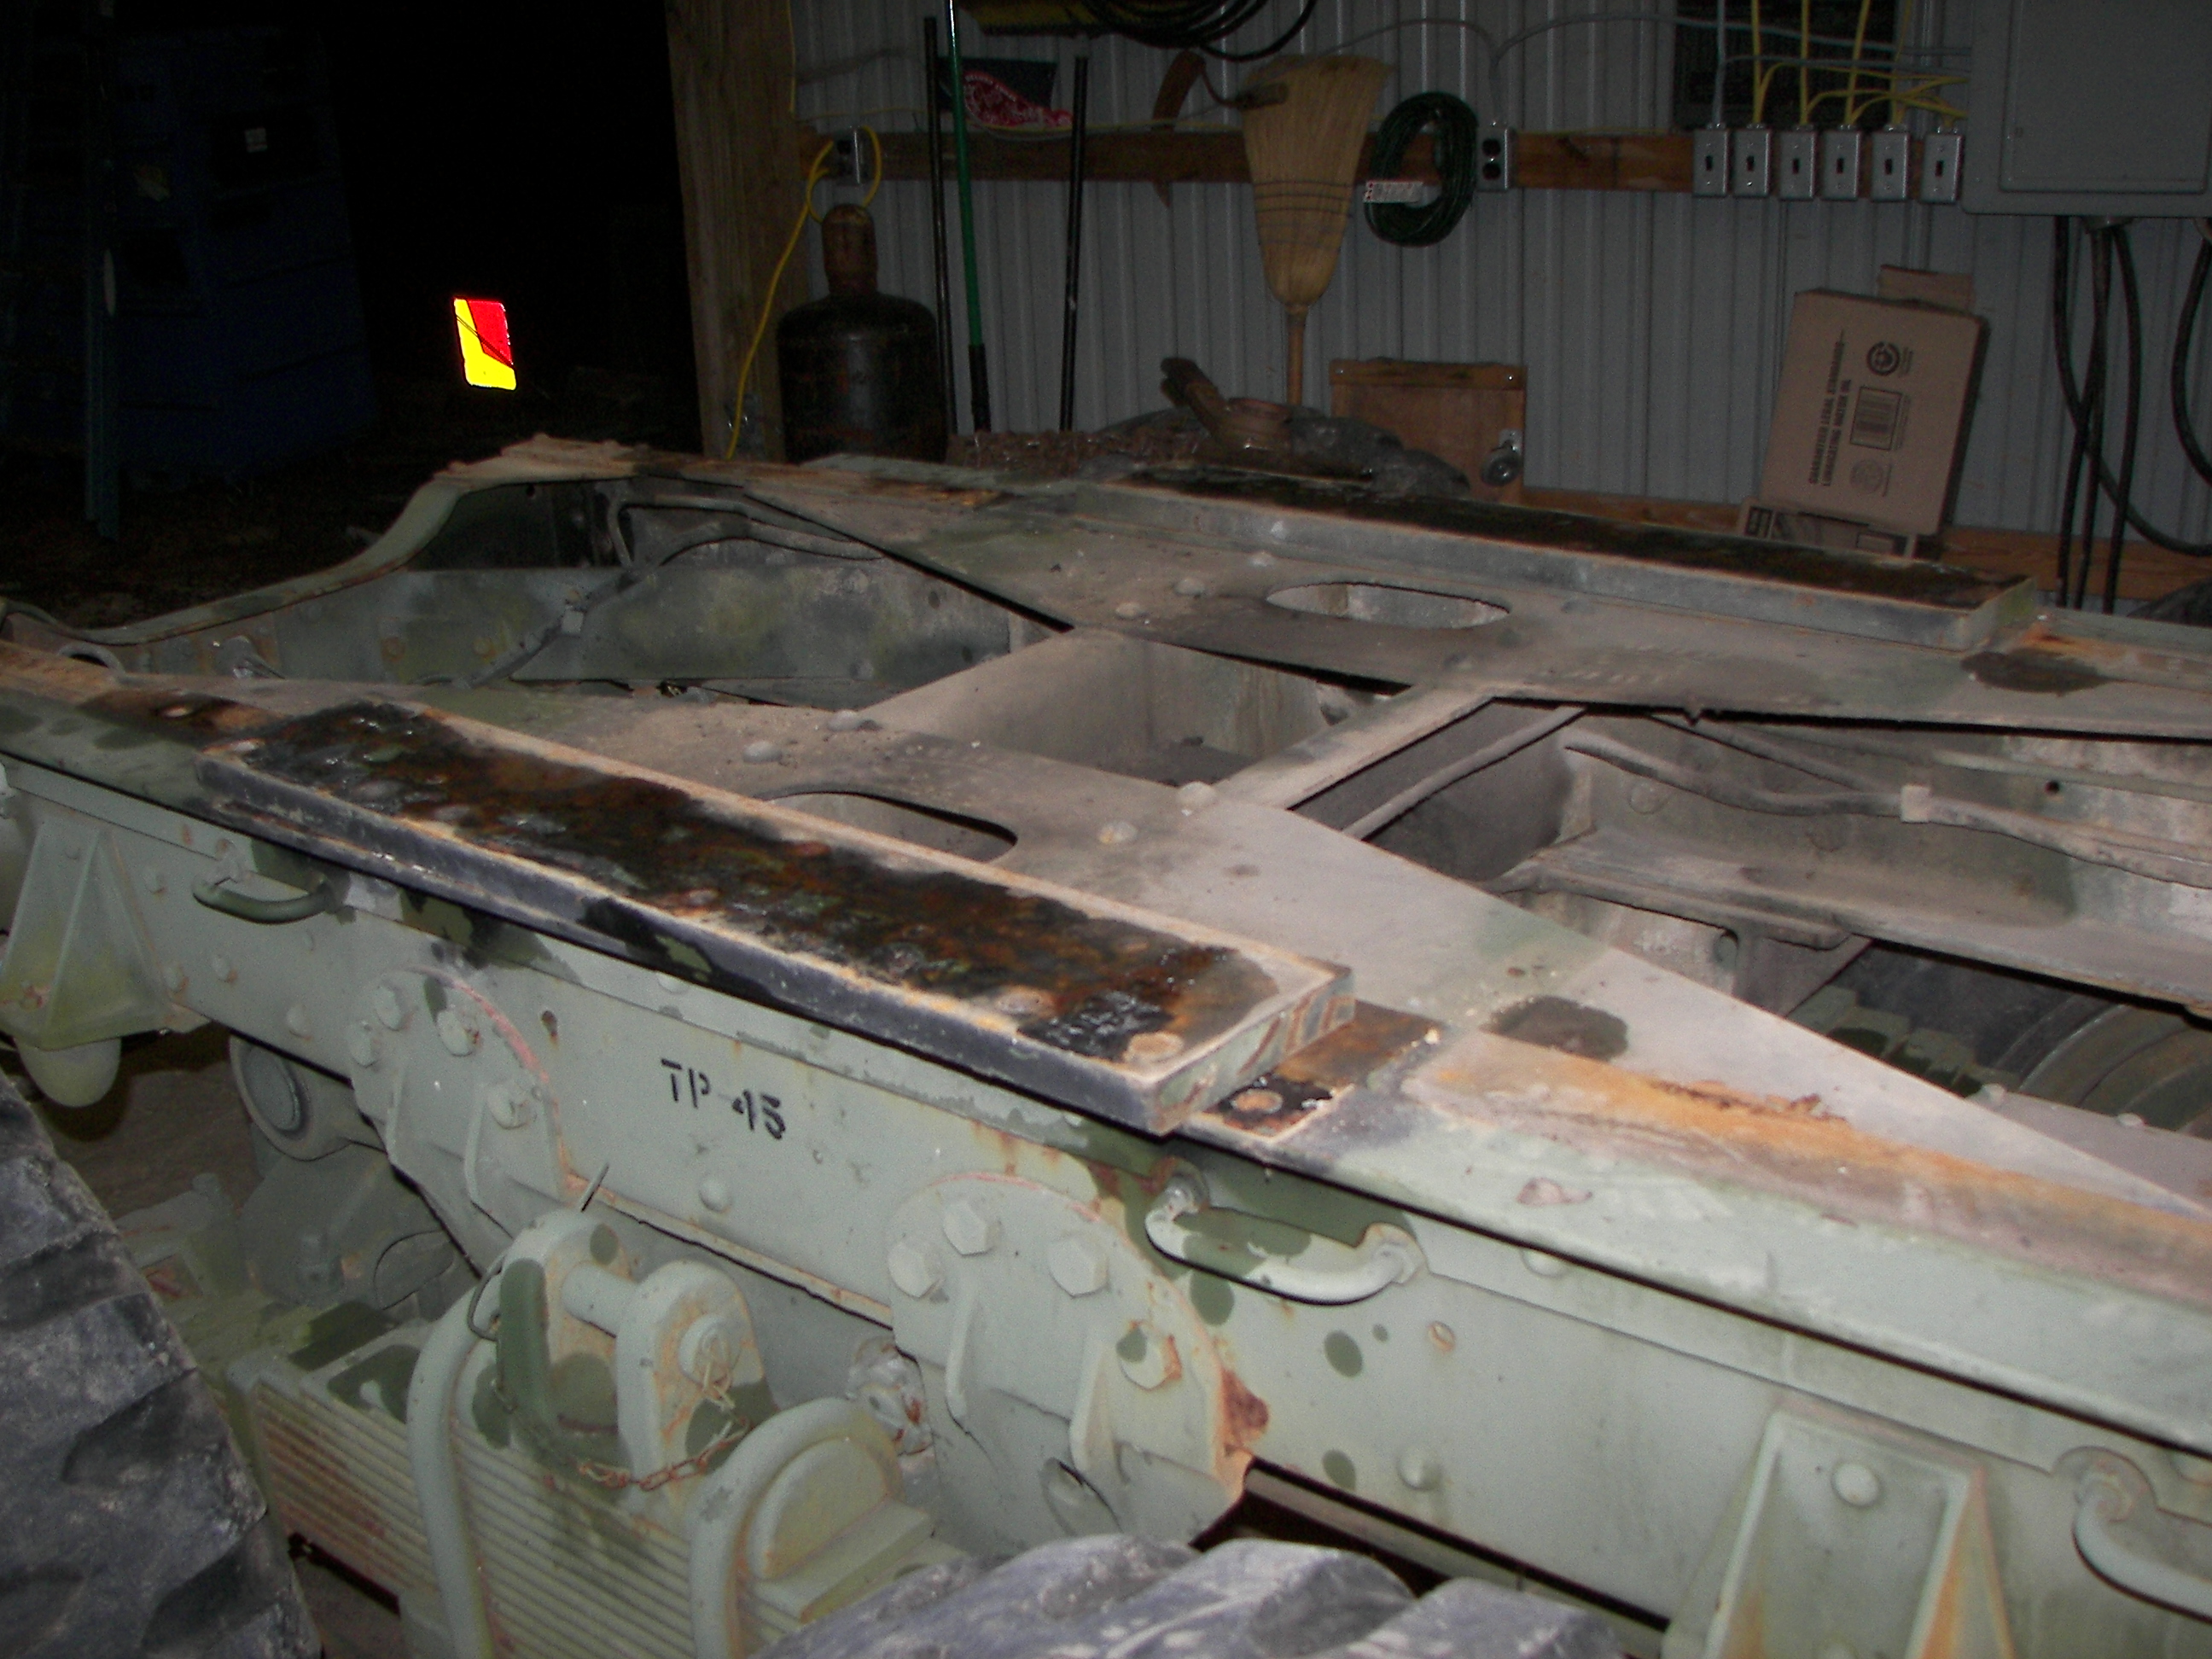
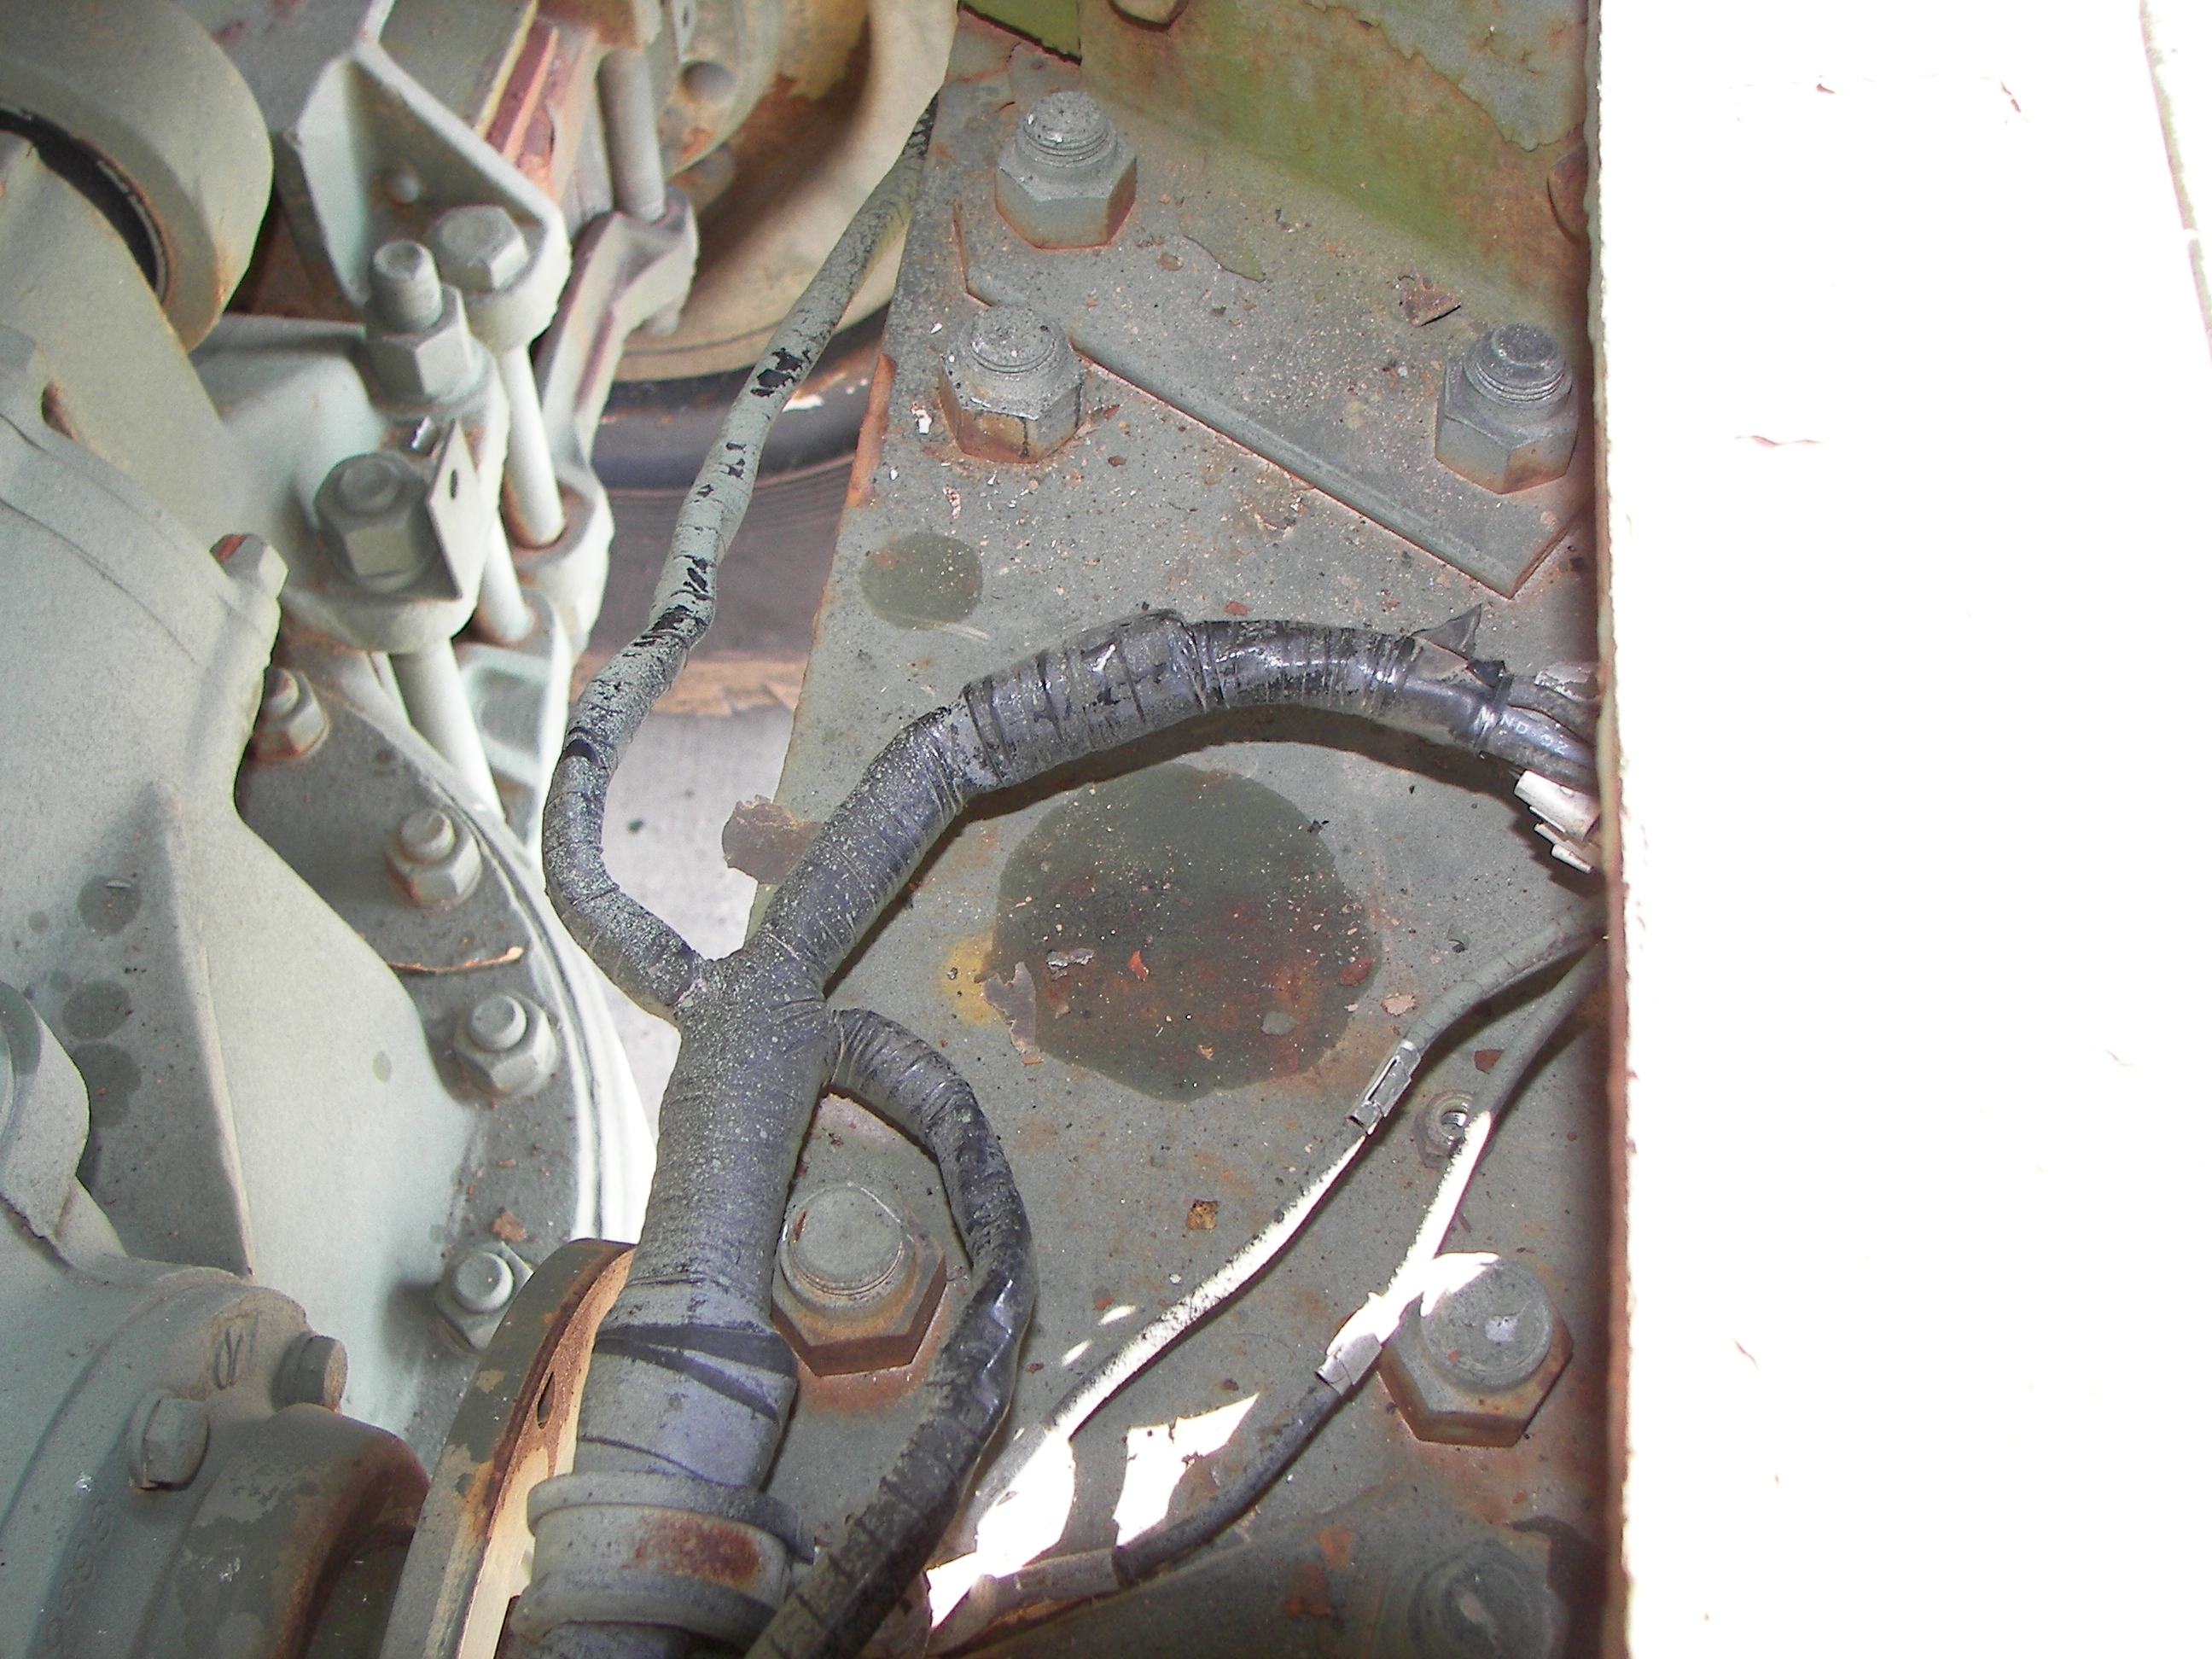
A look down under shows the truck is remarkably rust free considering its life in MO. |
|
KROIL or not, some bolts just didn't get the message. We also broke a couple sockets and one ratchet. |
video: Jacob mans the chains while Brian uses the tractor to lift the 5th wheel off. |
A bonus - -two very nice pieces of bar stock! |
|

The oil pressure gage had leaked internally and filled with engine lube. It was replaced. |
|
|
|
|
|
|

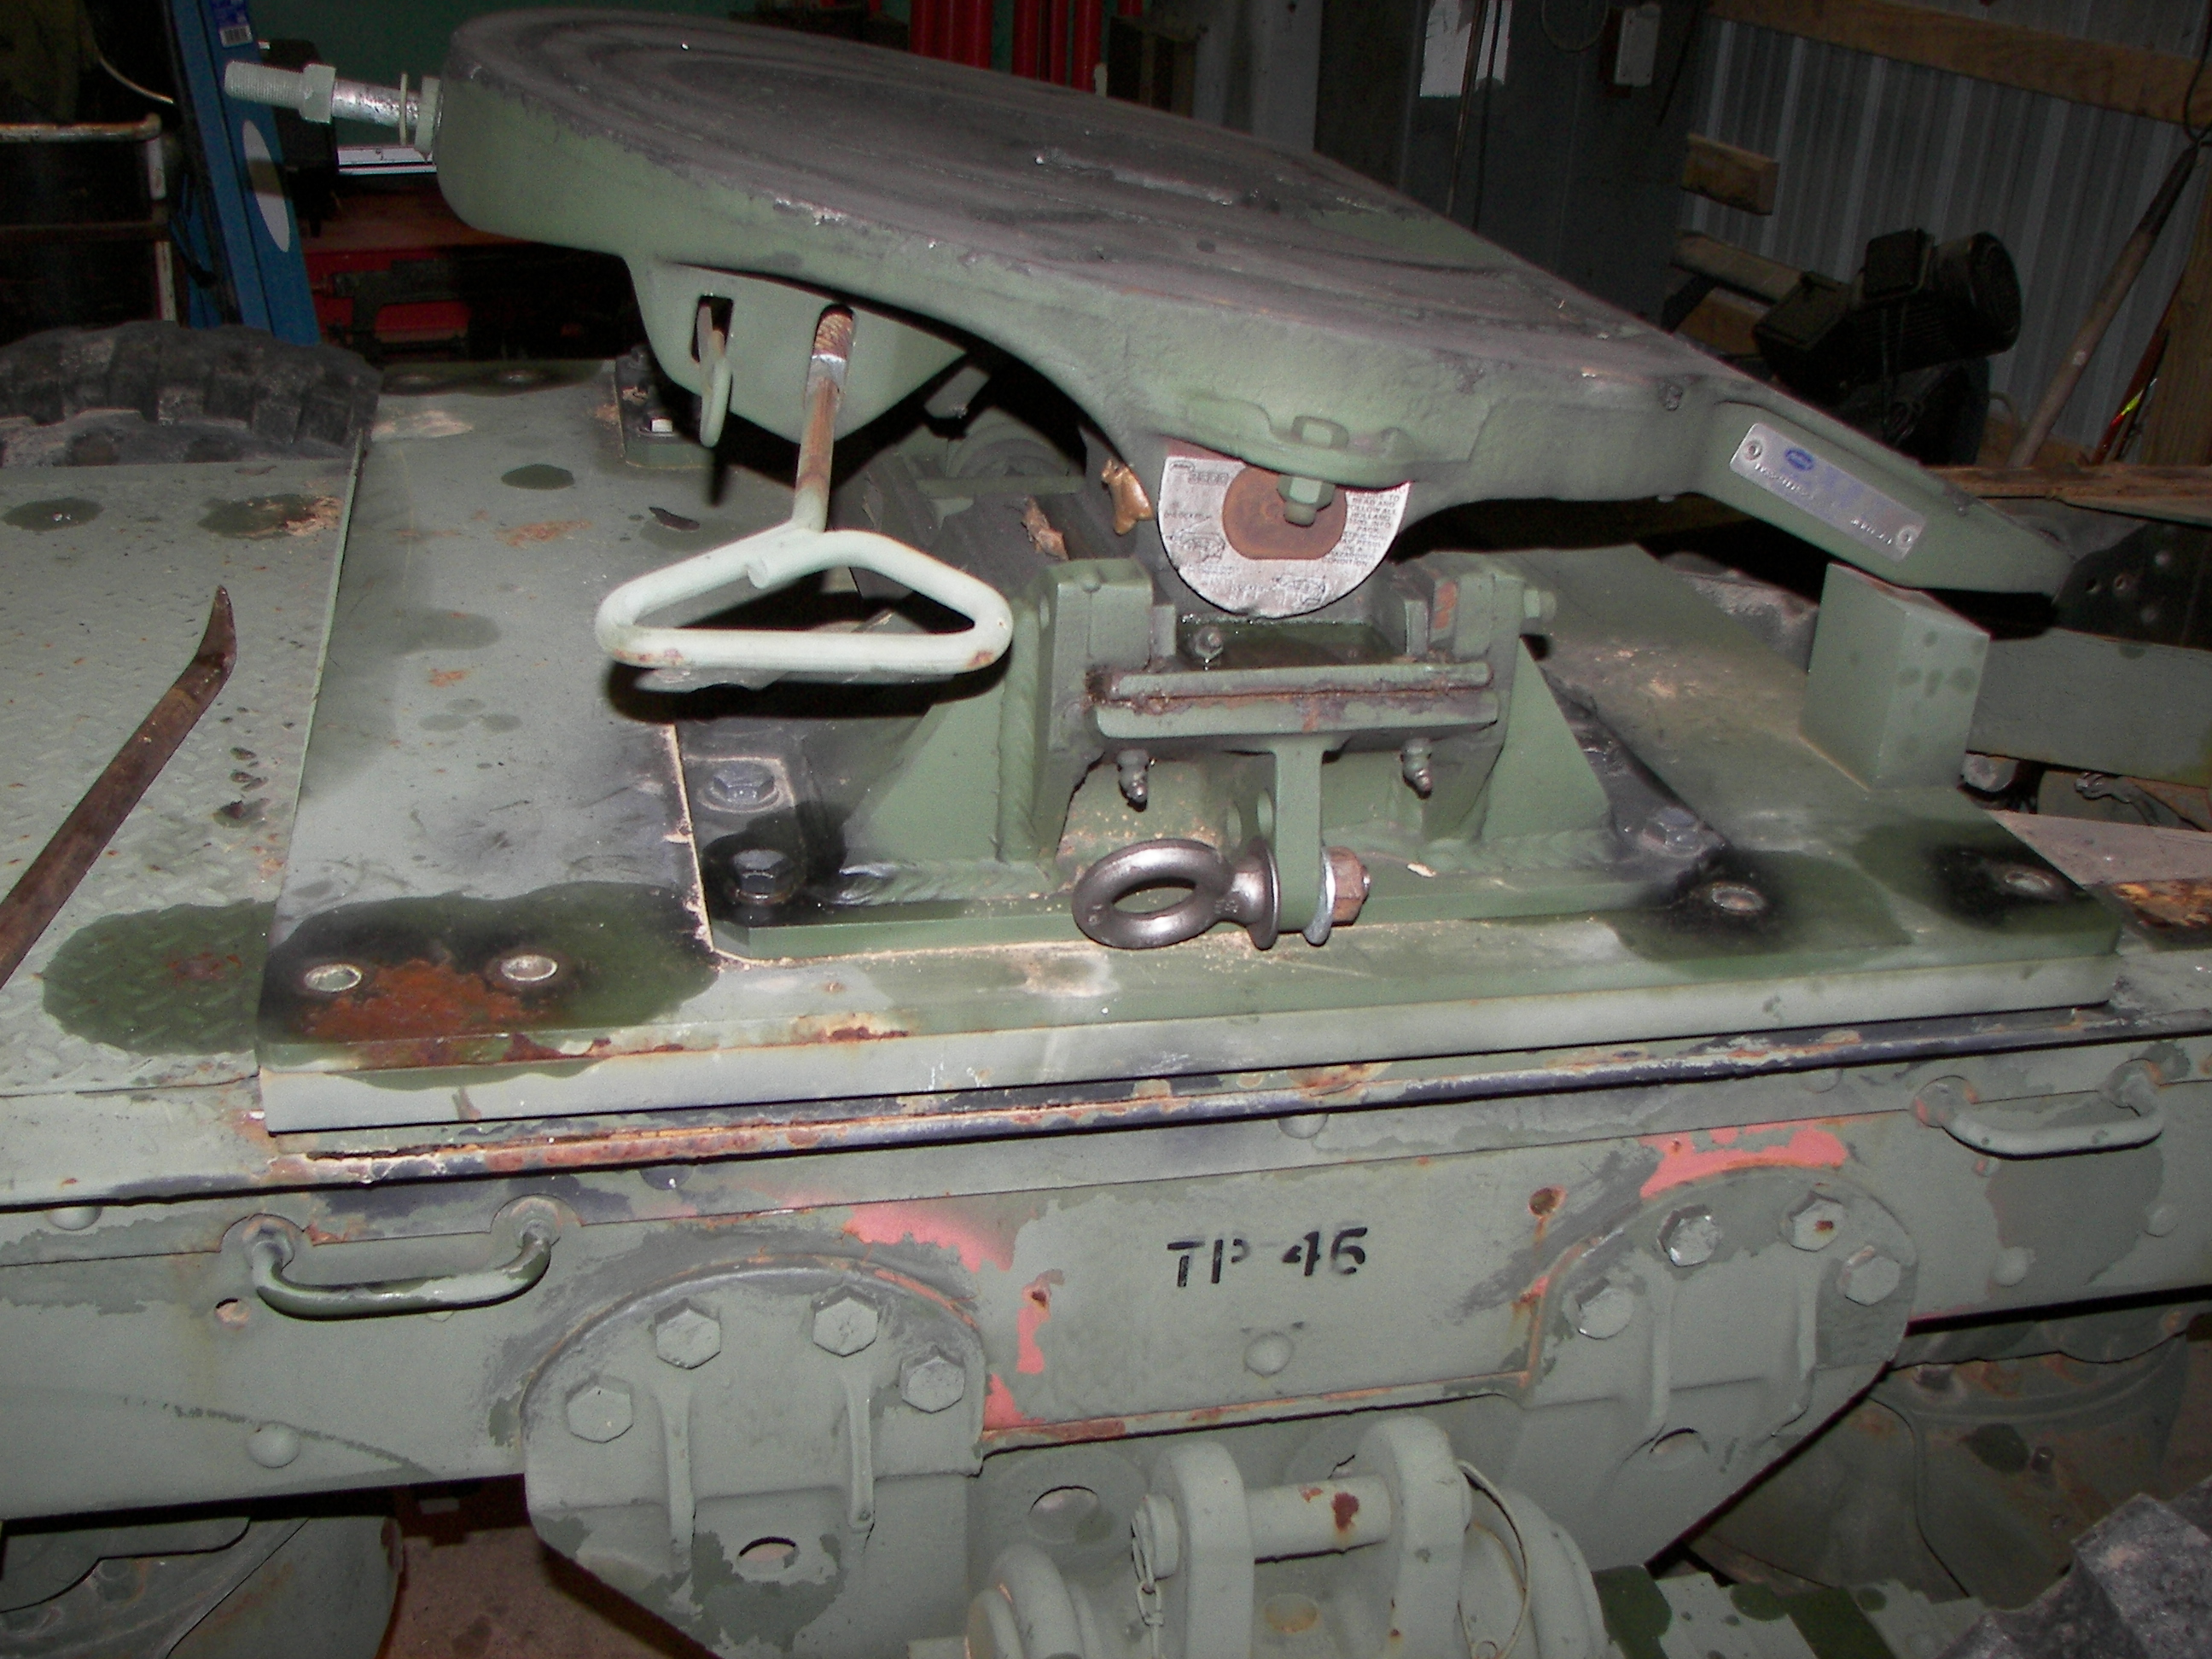
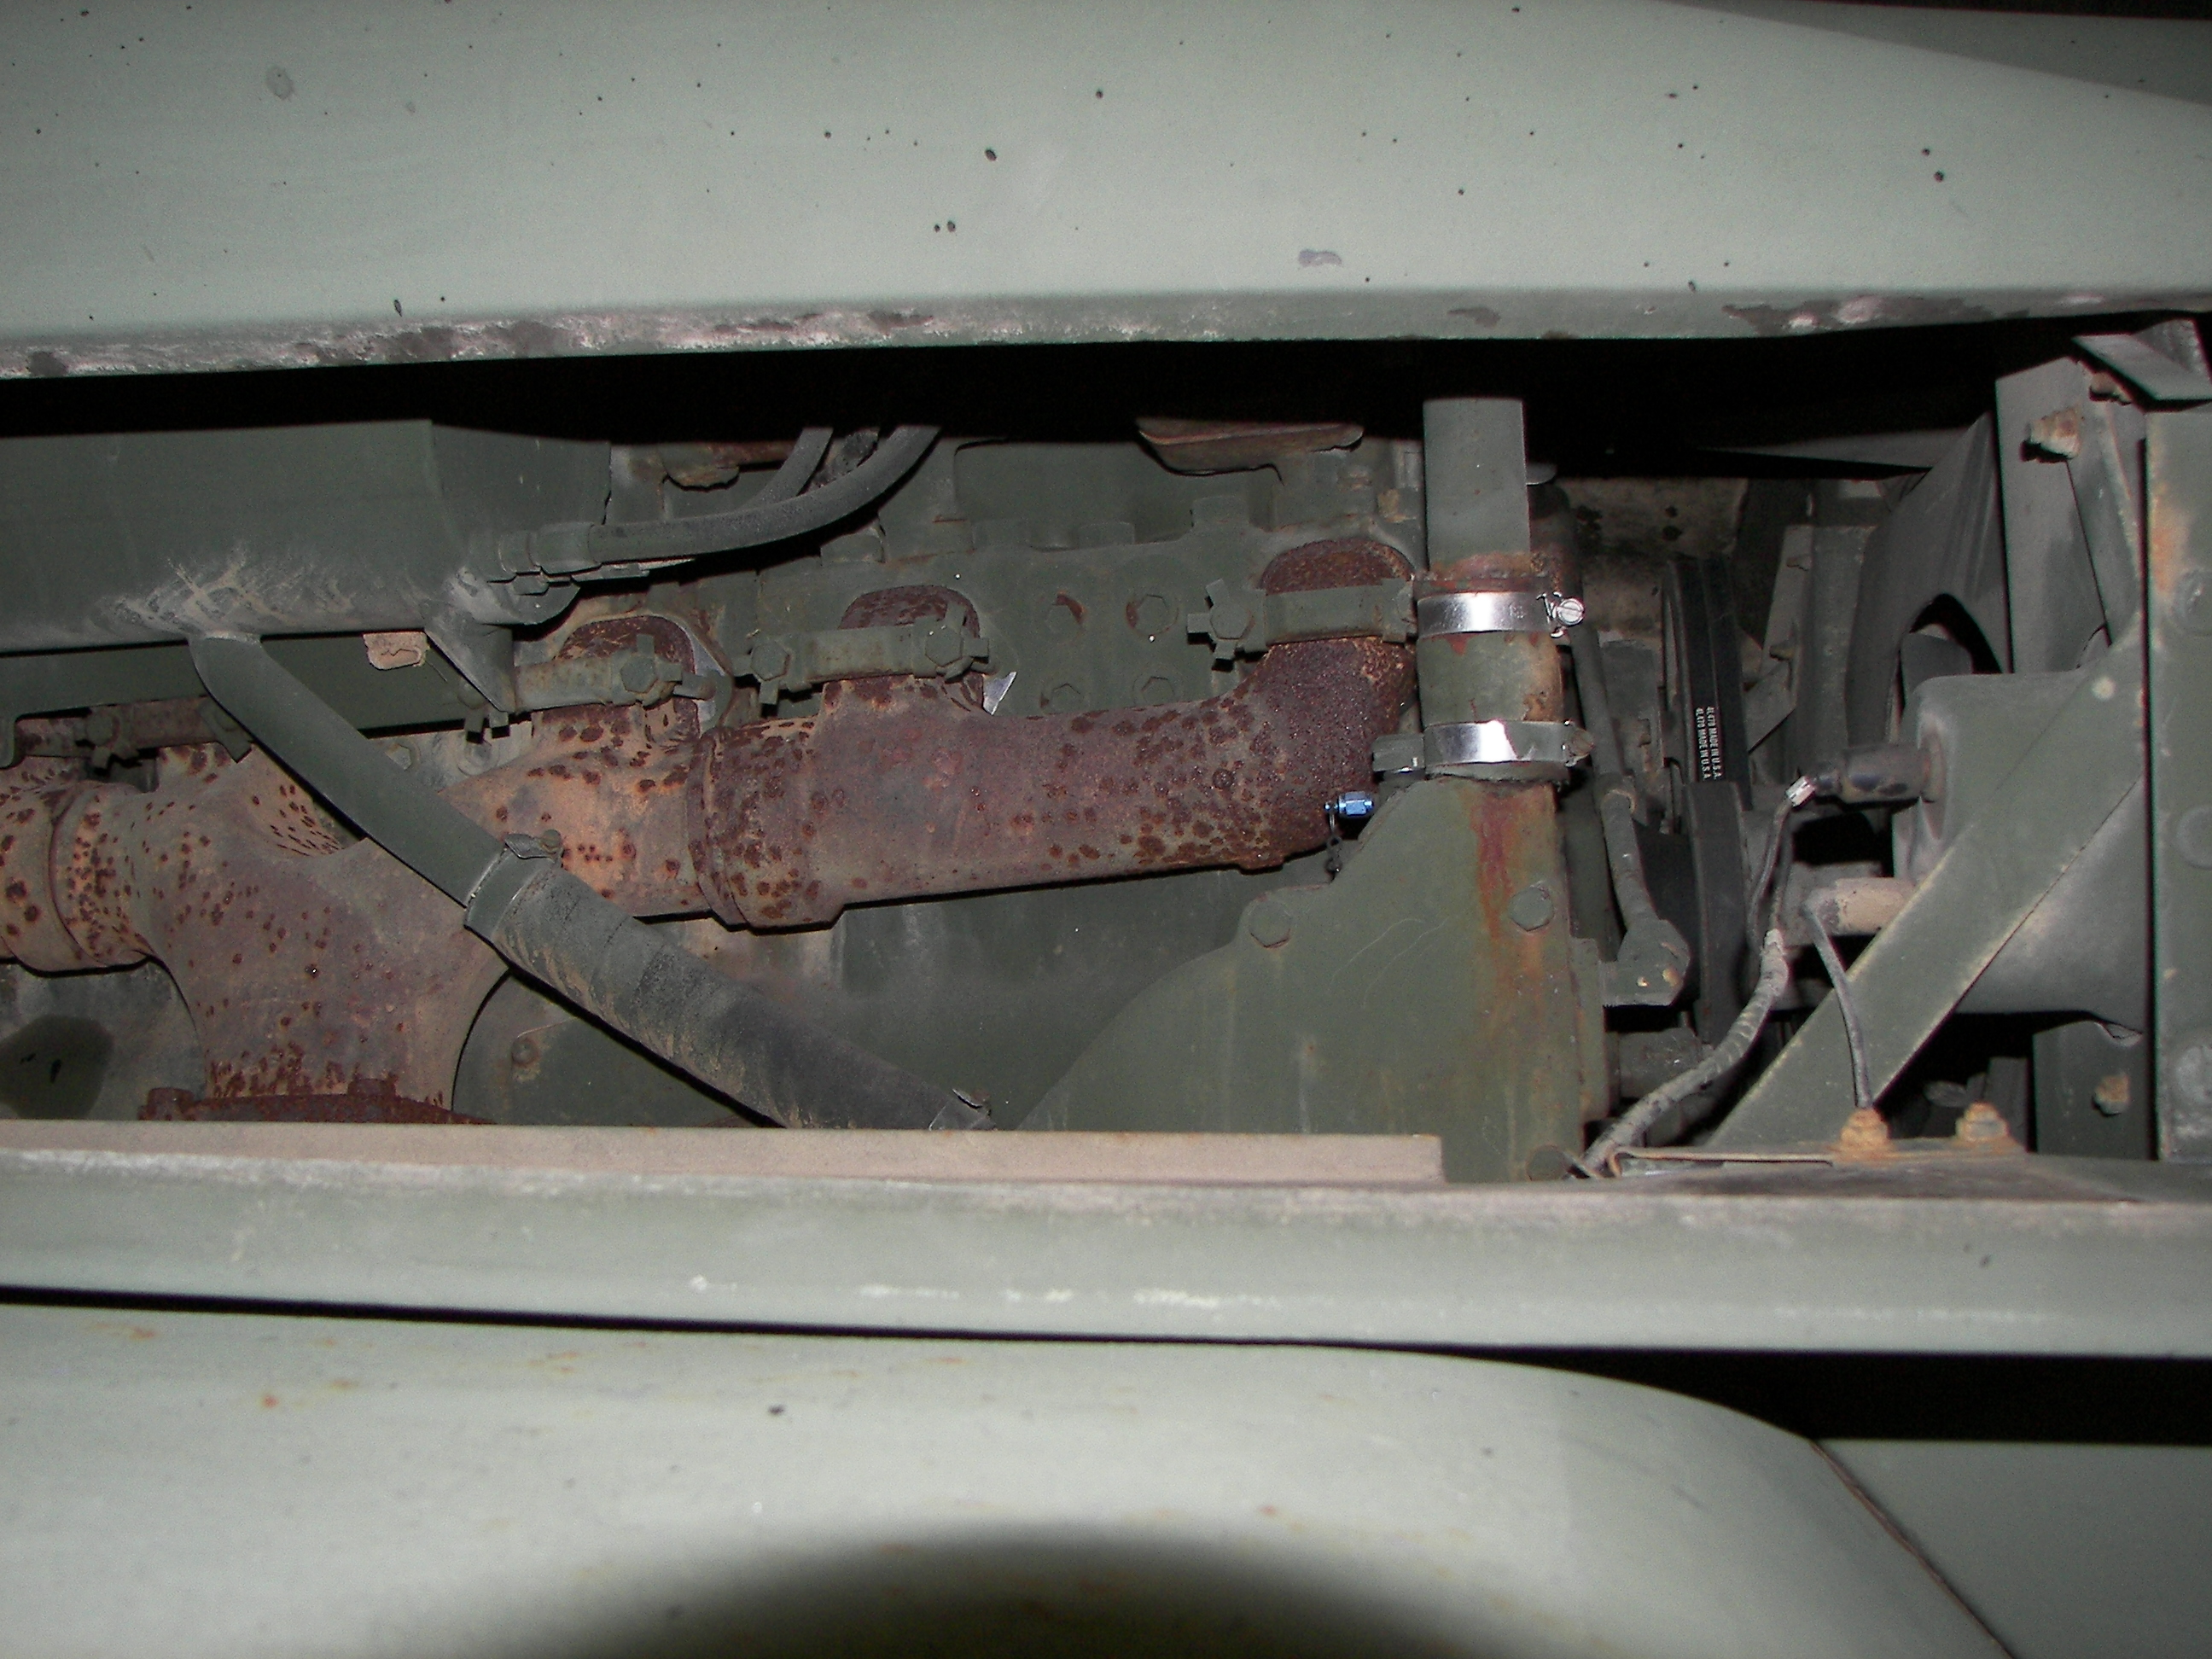
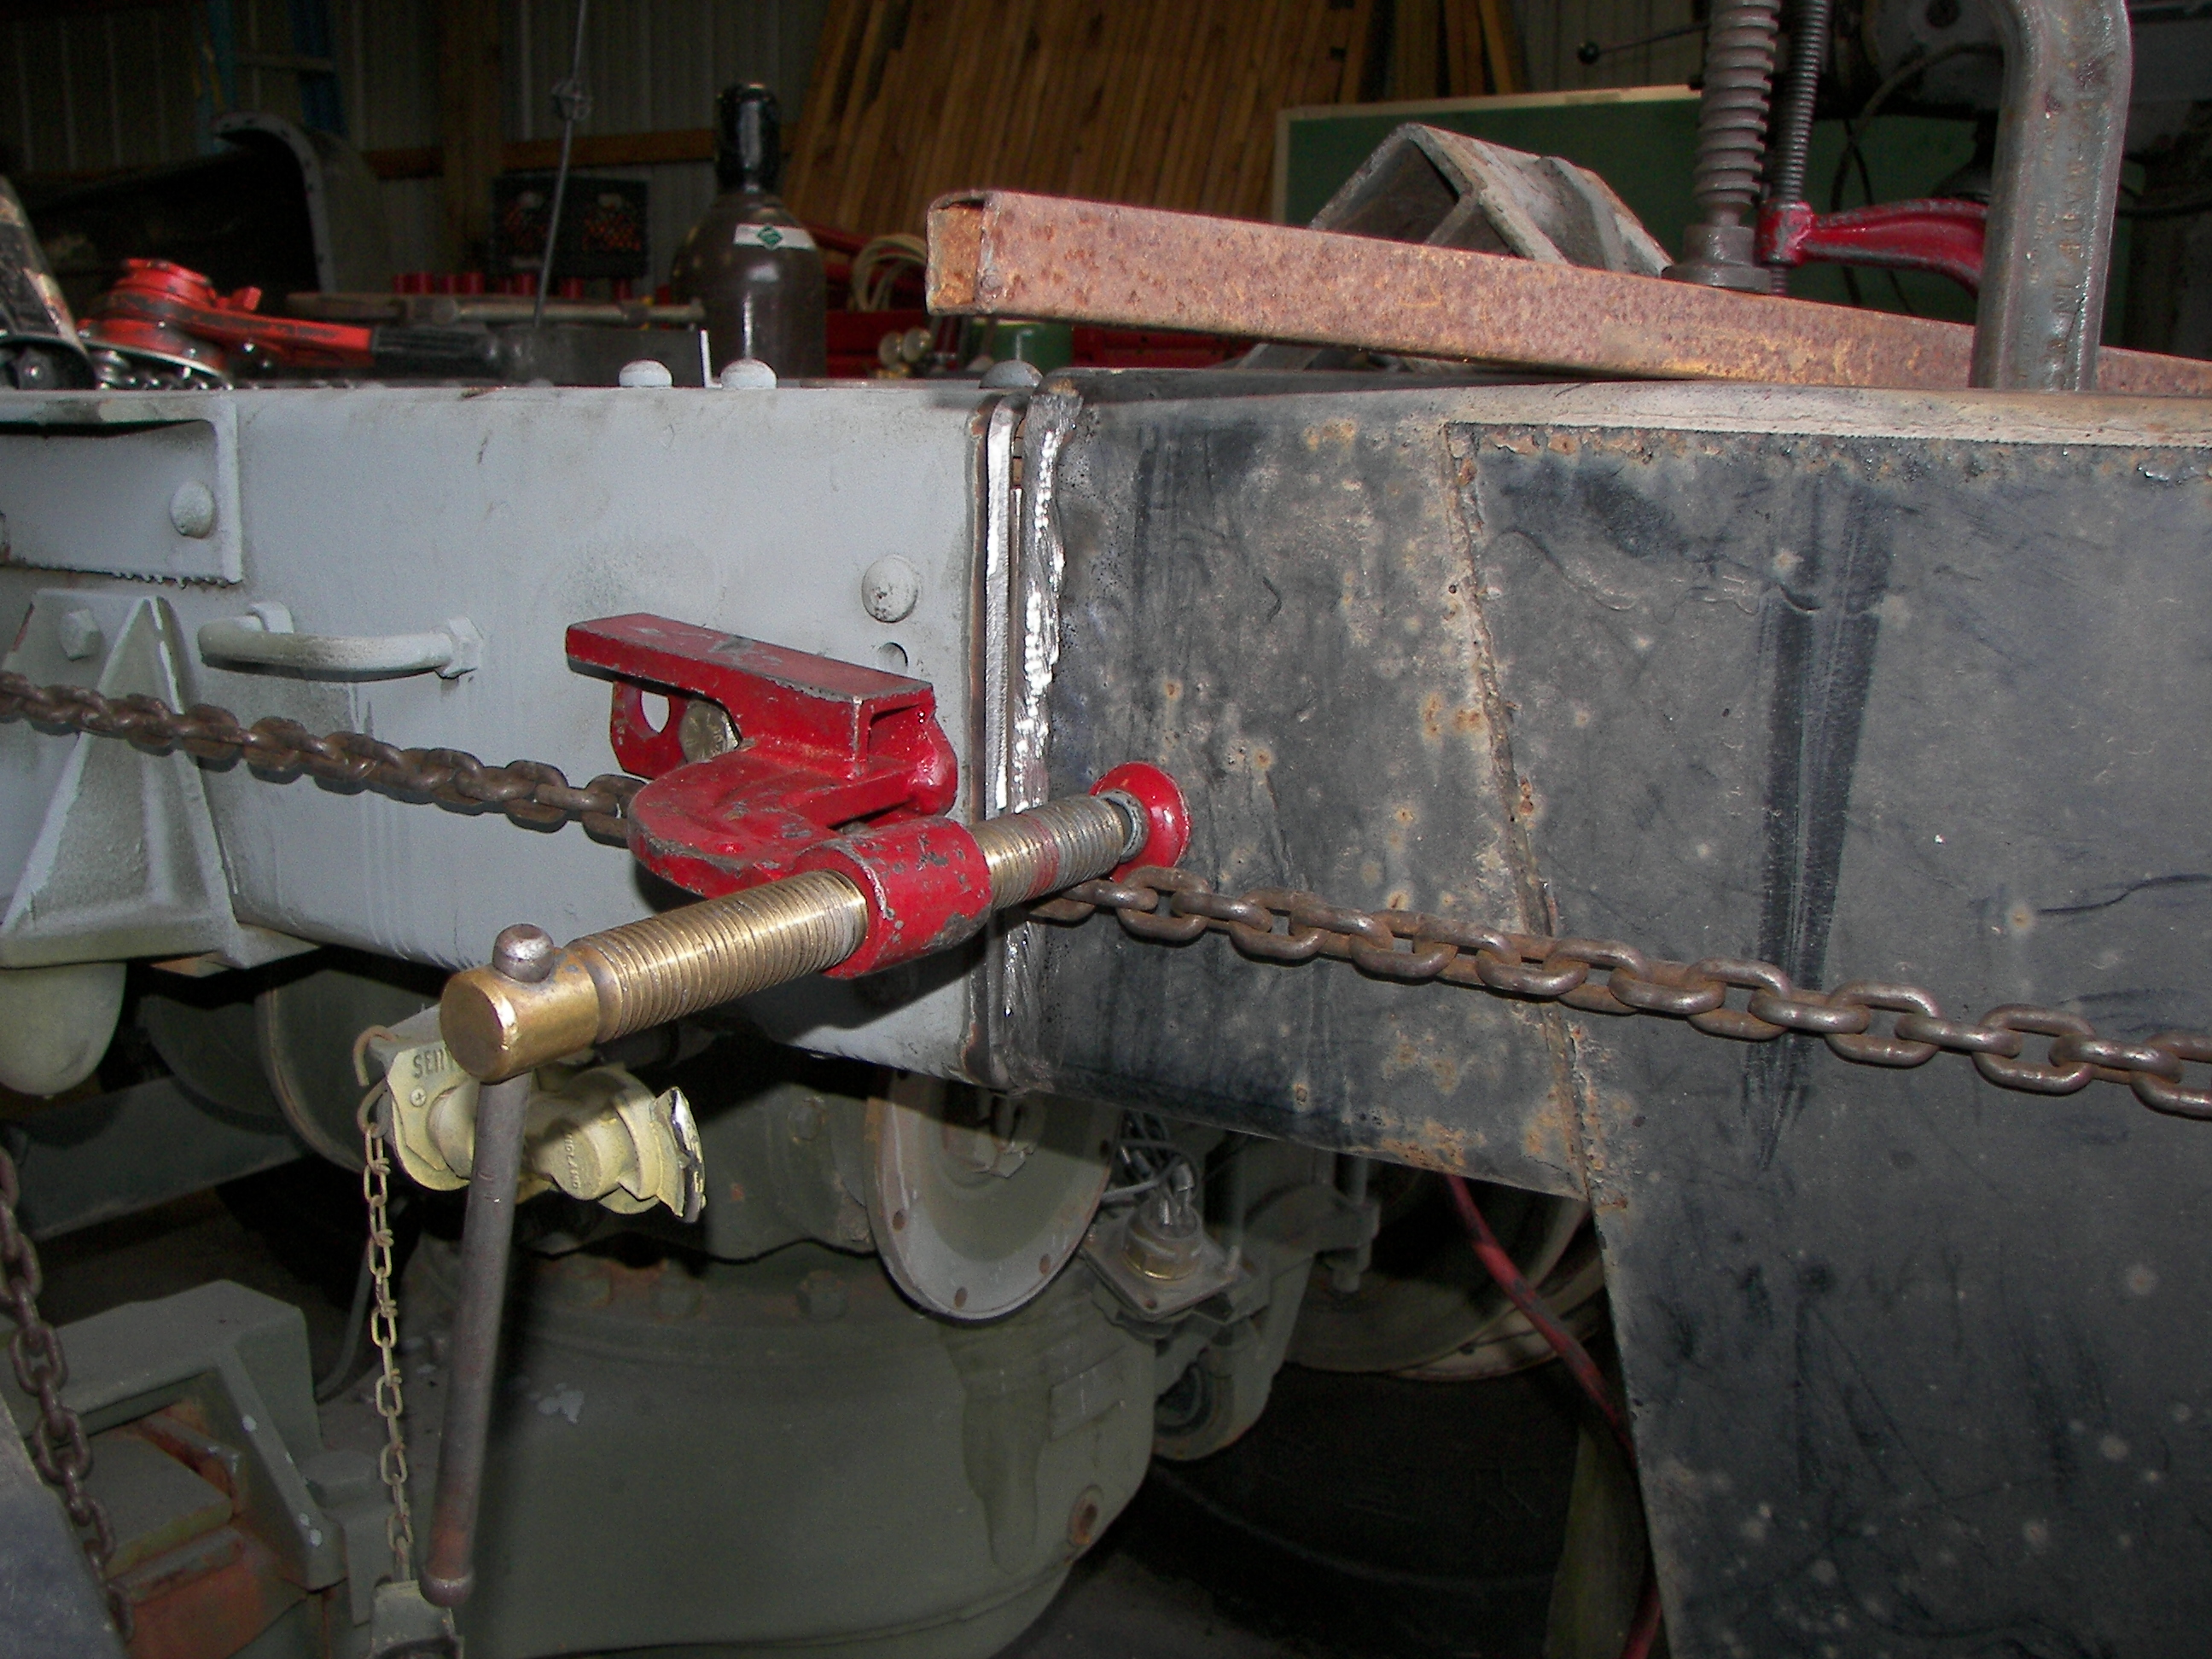
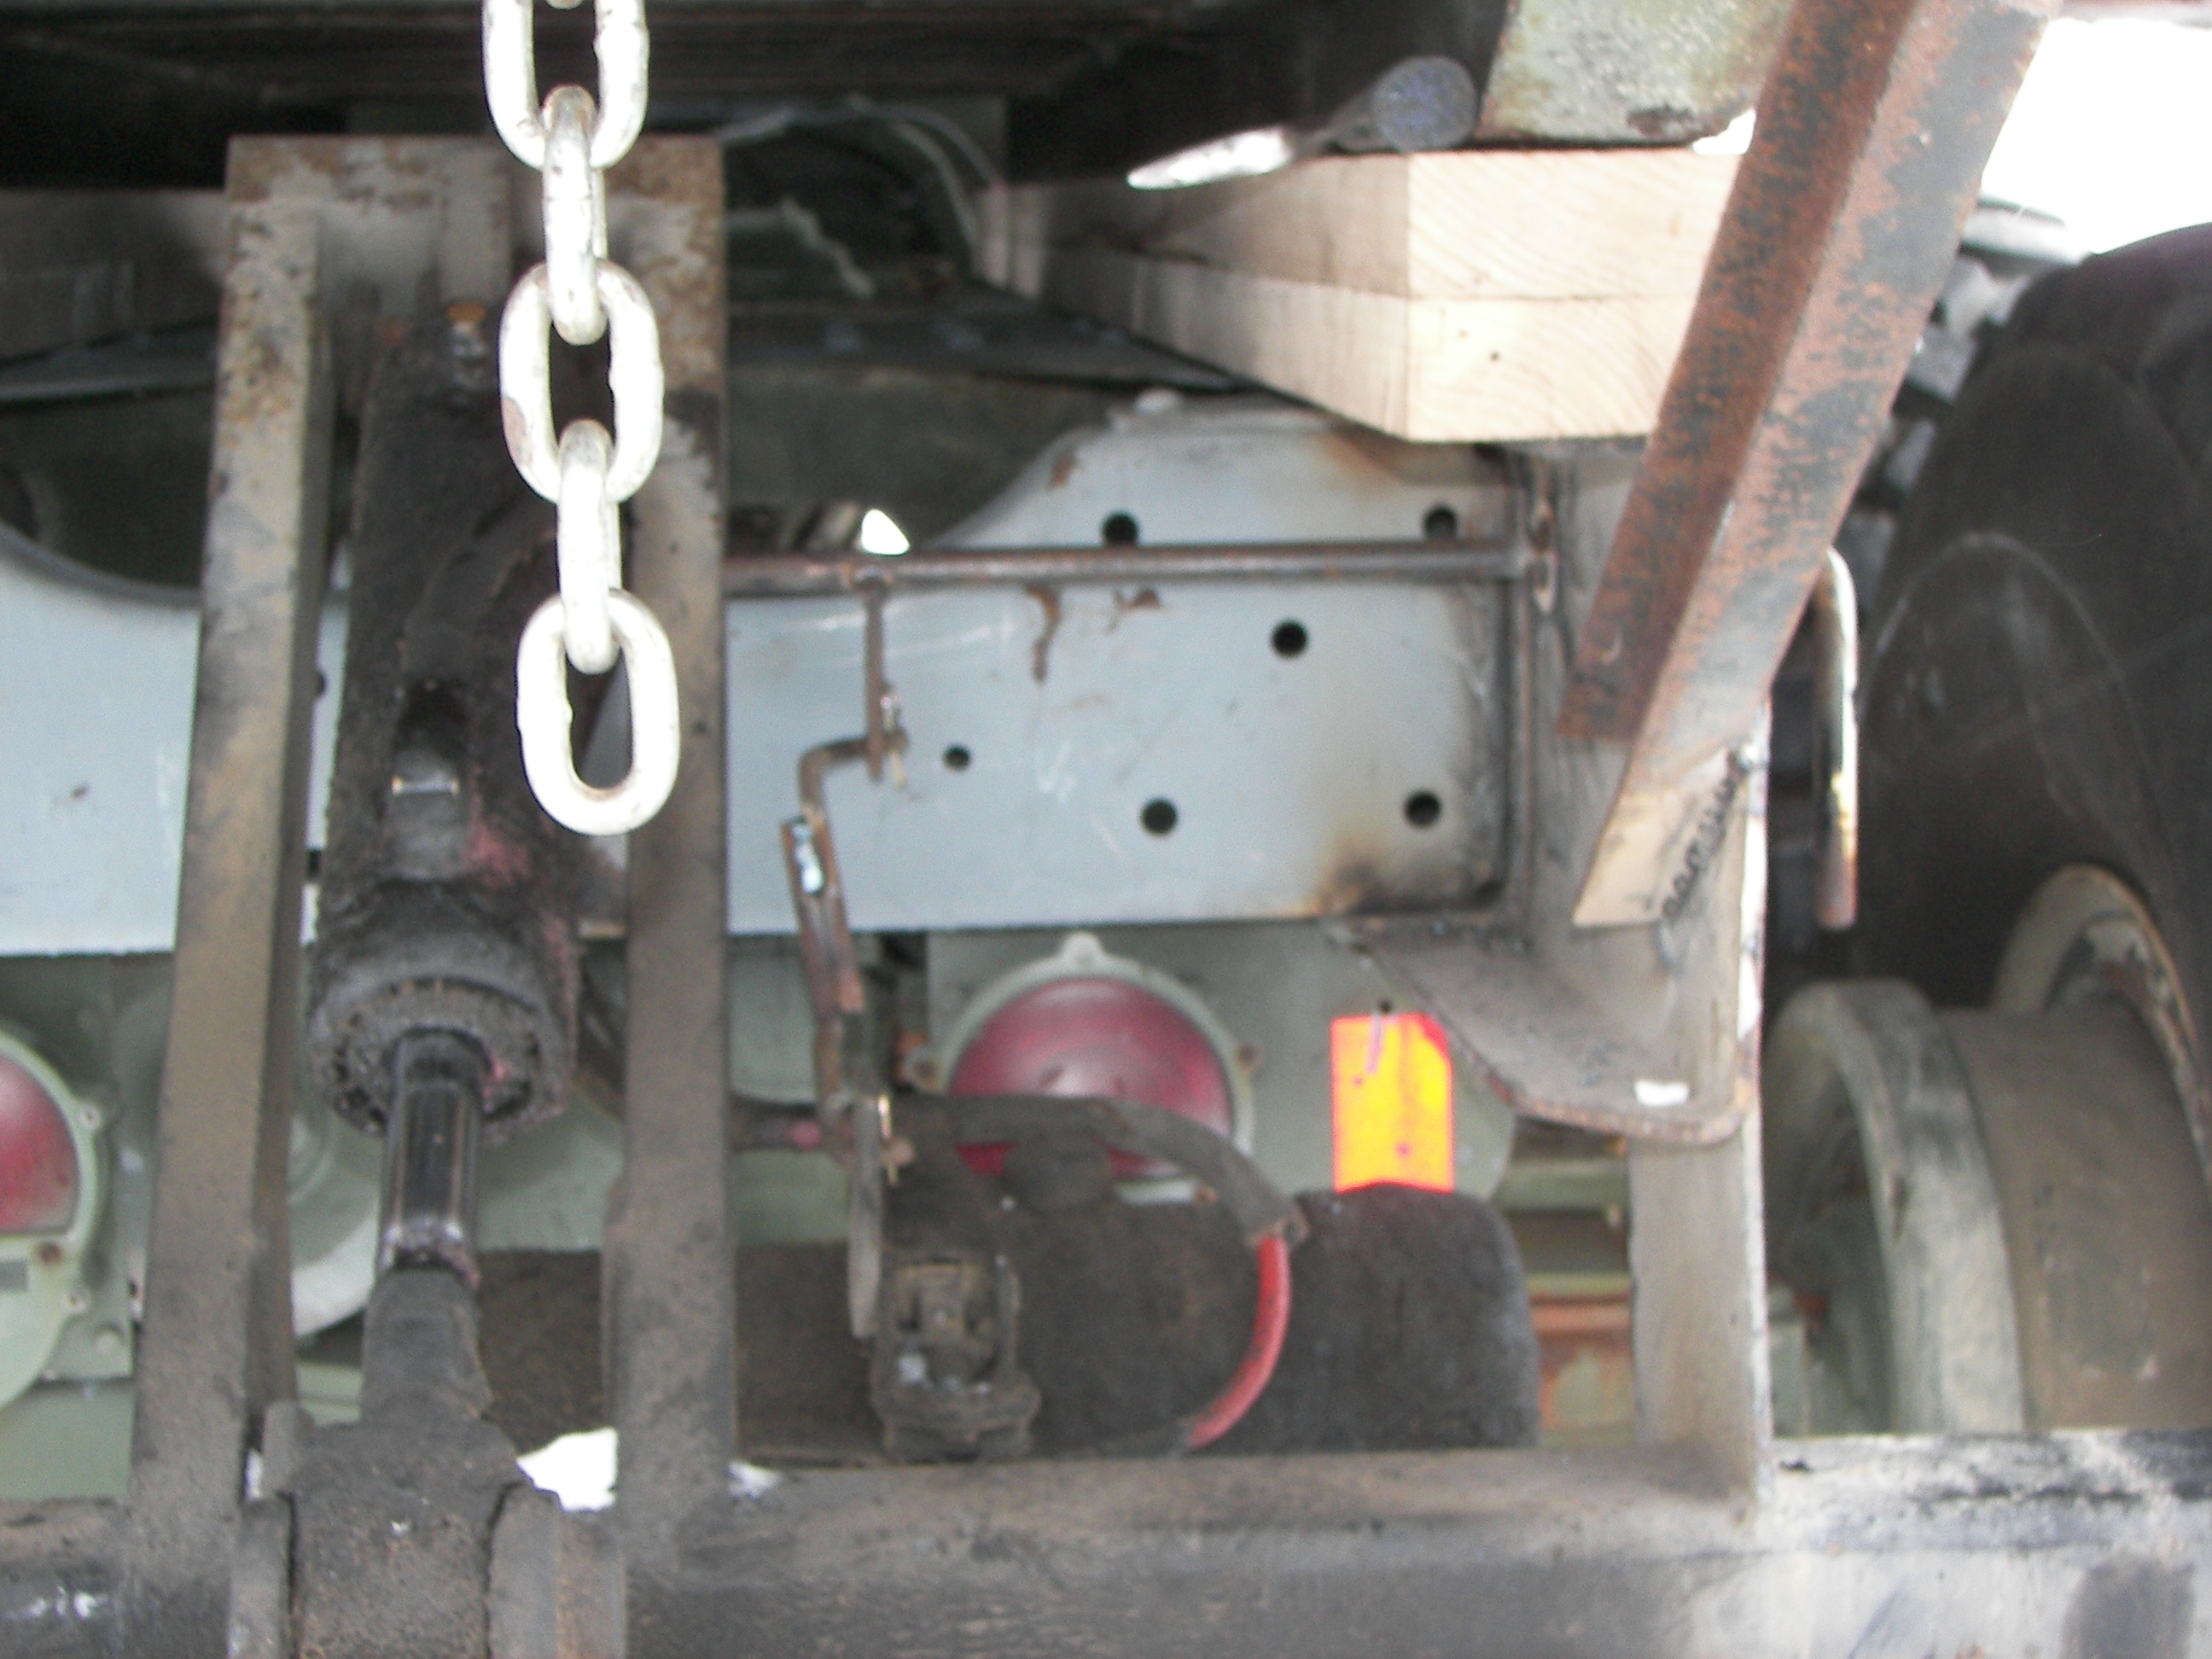
On the M818, the trailer light socket is wired through the frame and the pintle plate. Nothing to worry about. |

video: I show you how to remove this without cutting wires or steel, and put it back in the hole after. |
|
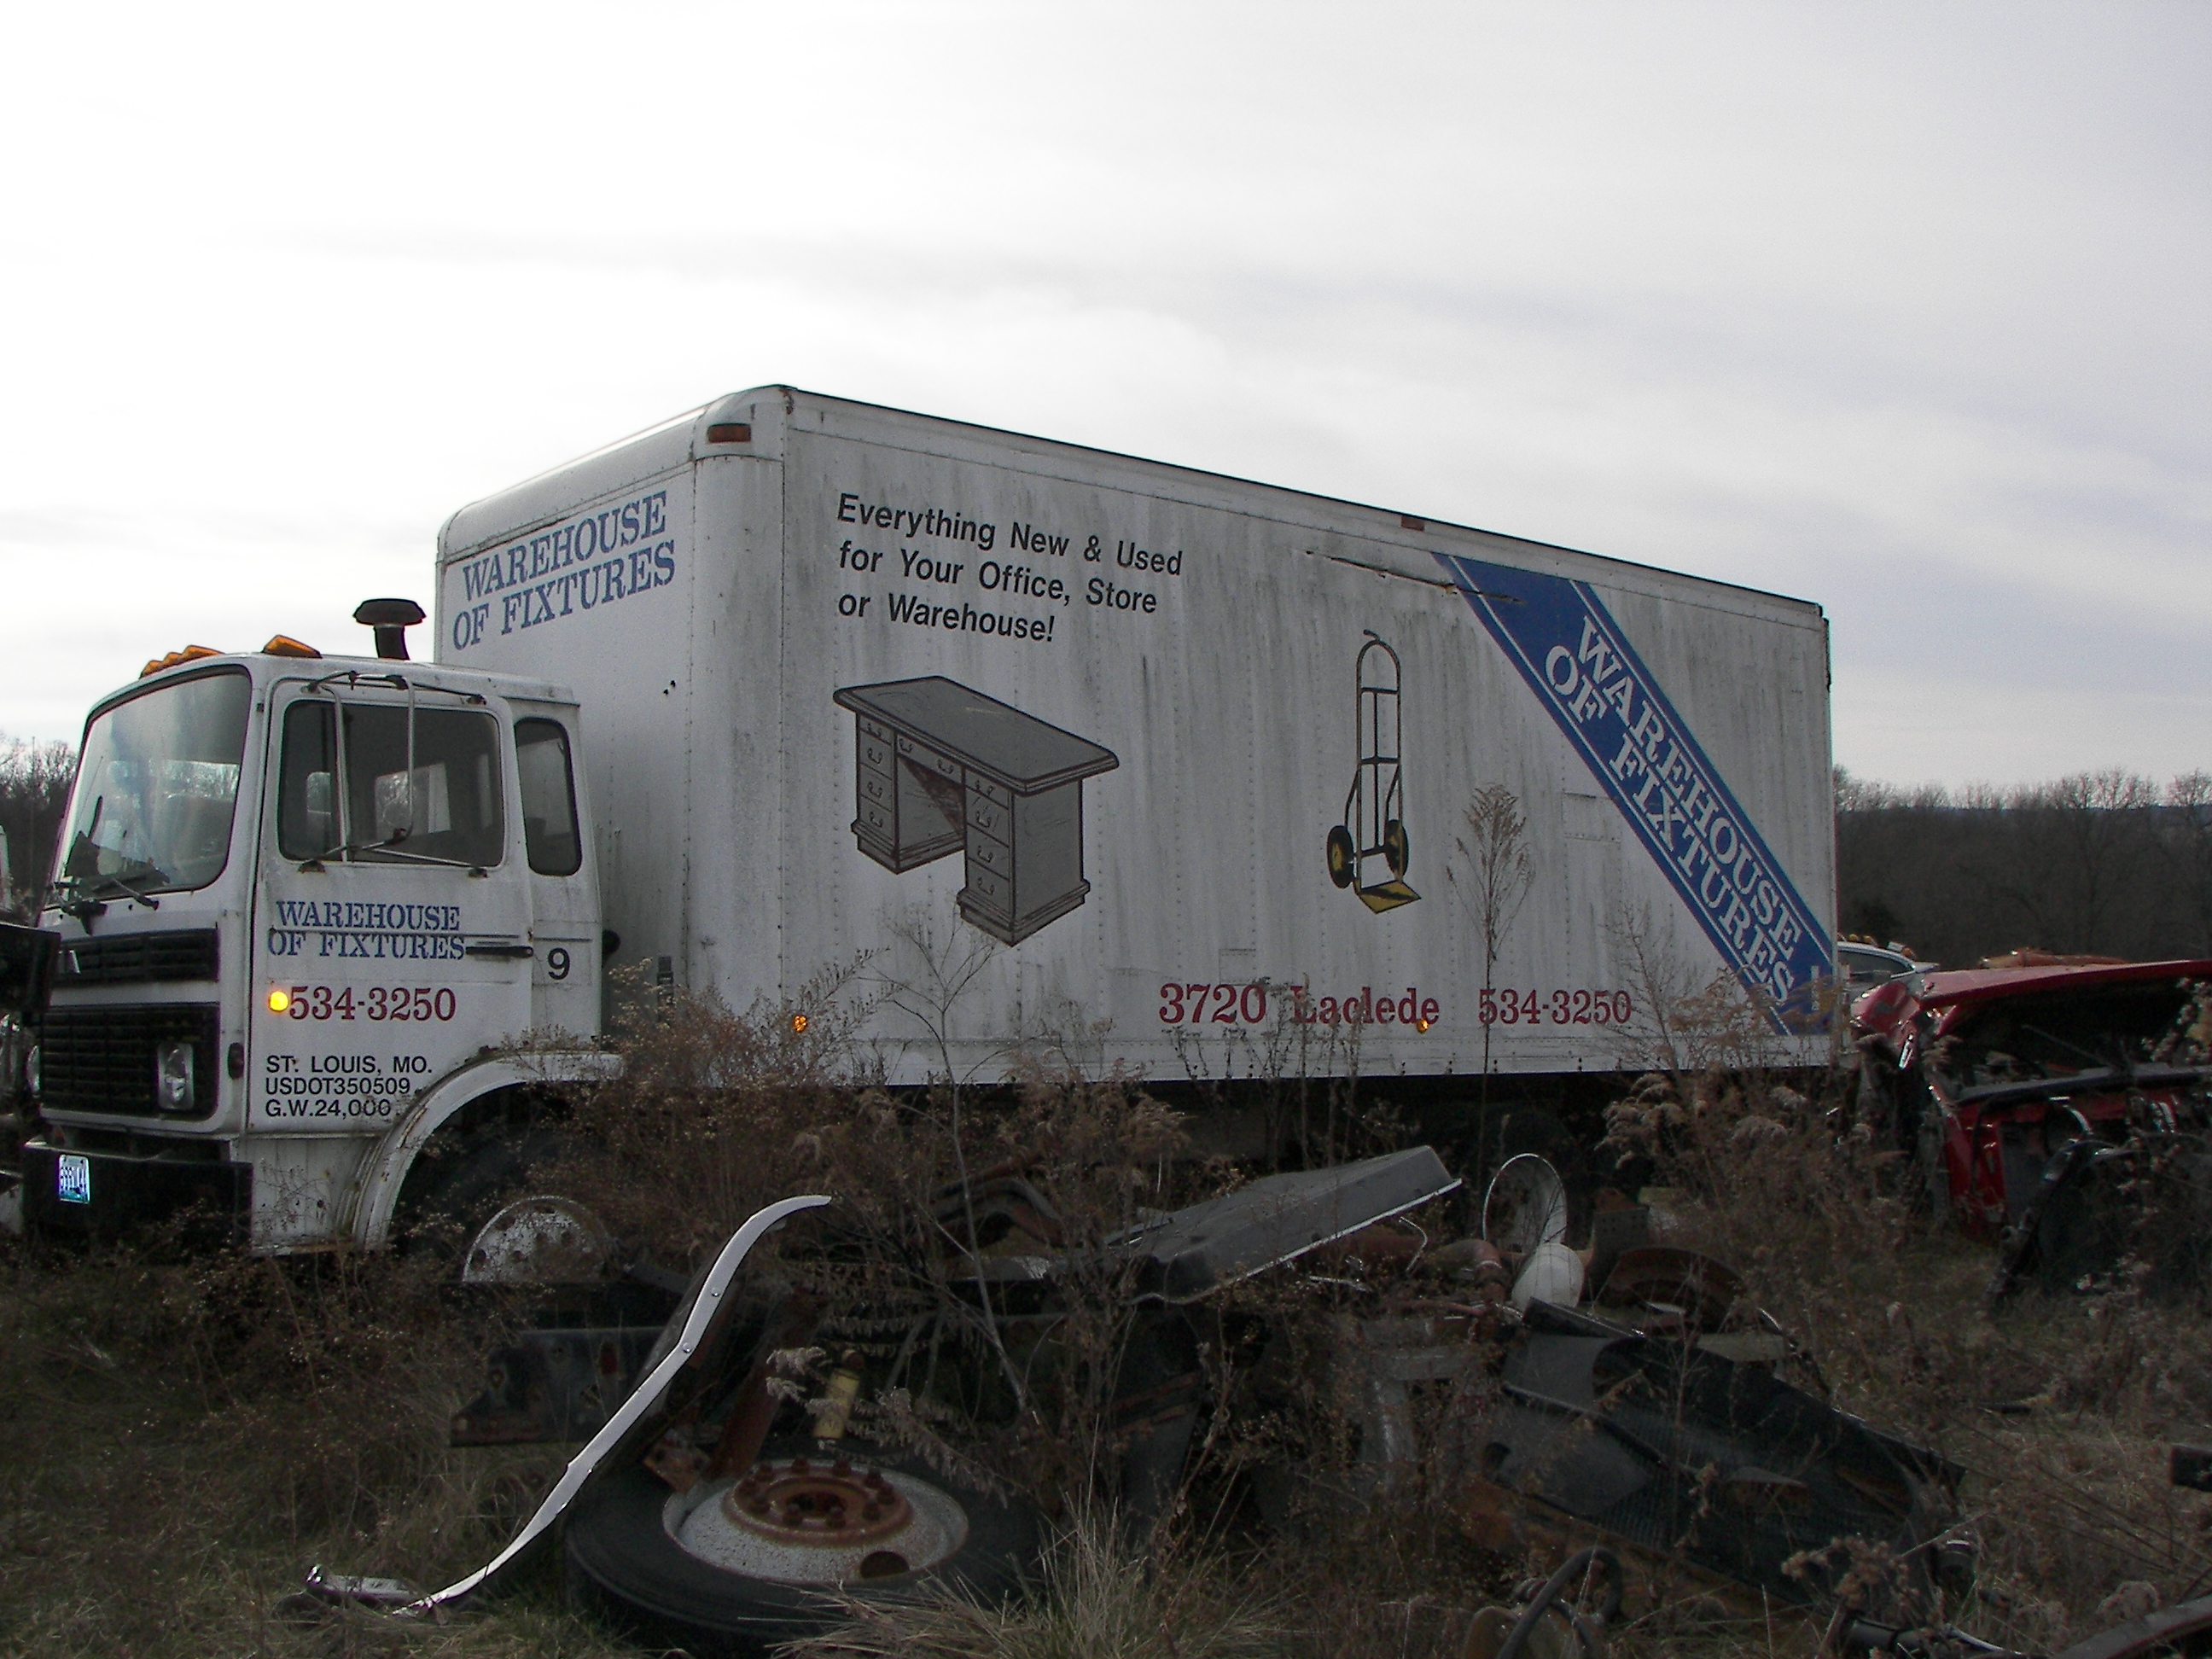
The lift gate is a 2500 LB MAXON unit from this old Mack furniture truck. It had a few rusty places for us to repair but otherwise was in pretty good shape and works fine. The wrecking yard removed it for us, cutting the frame of the donor truck, and leaving some 25 FT of #0 wire attached to boot. |
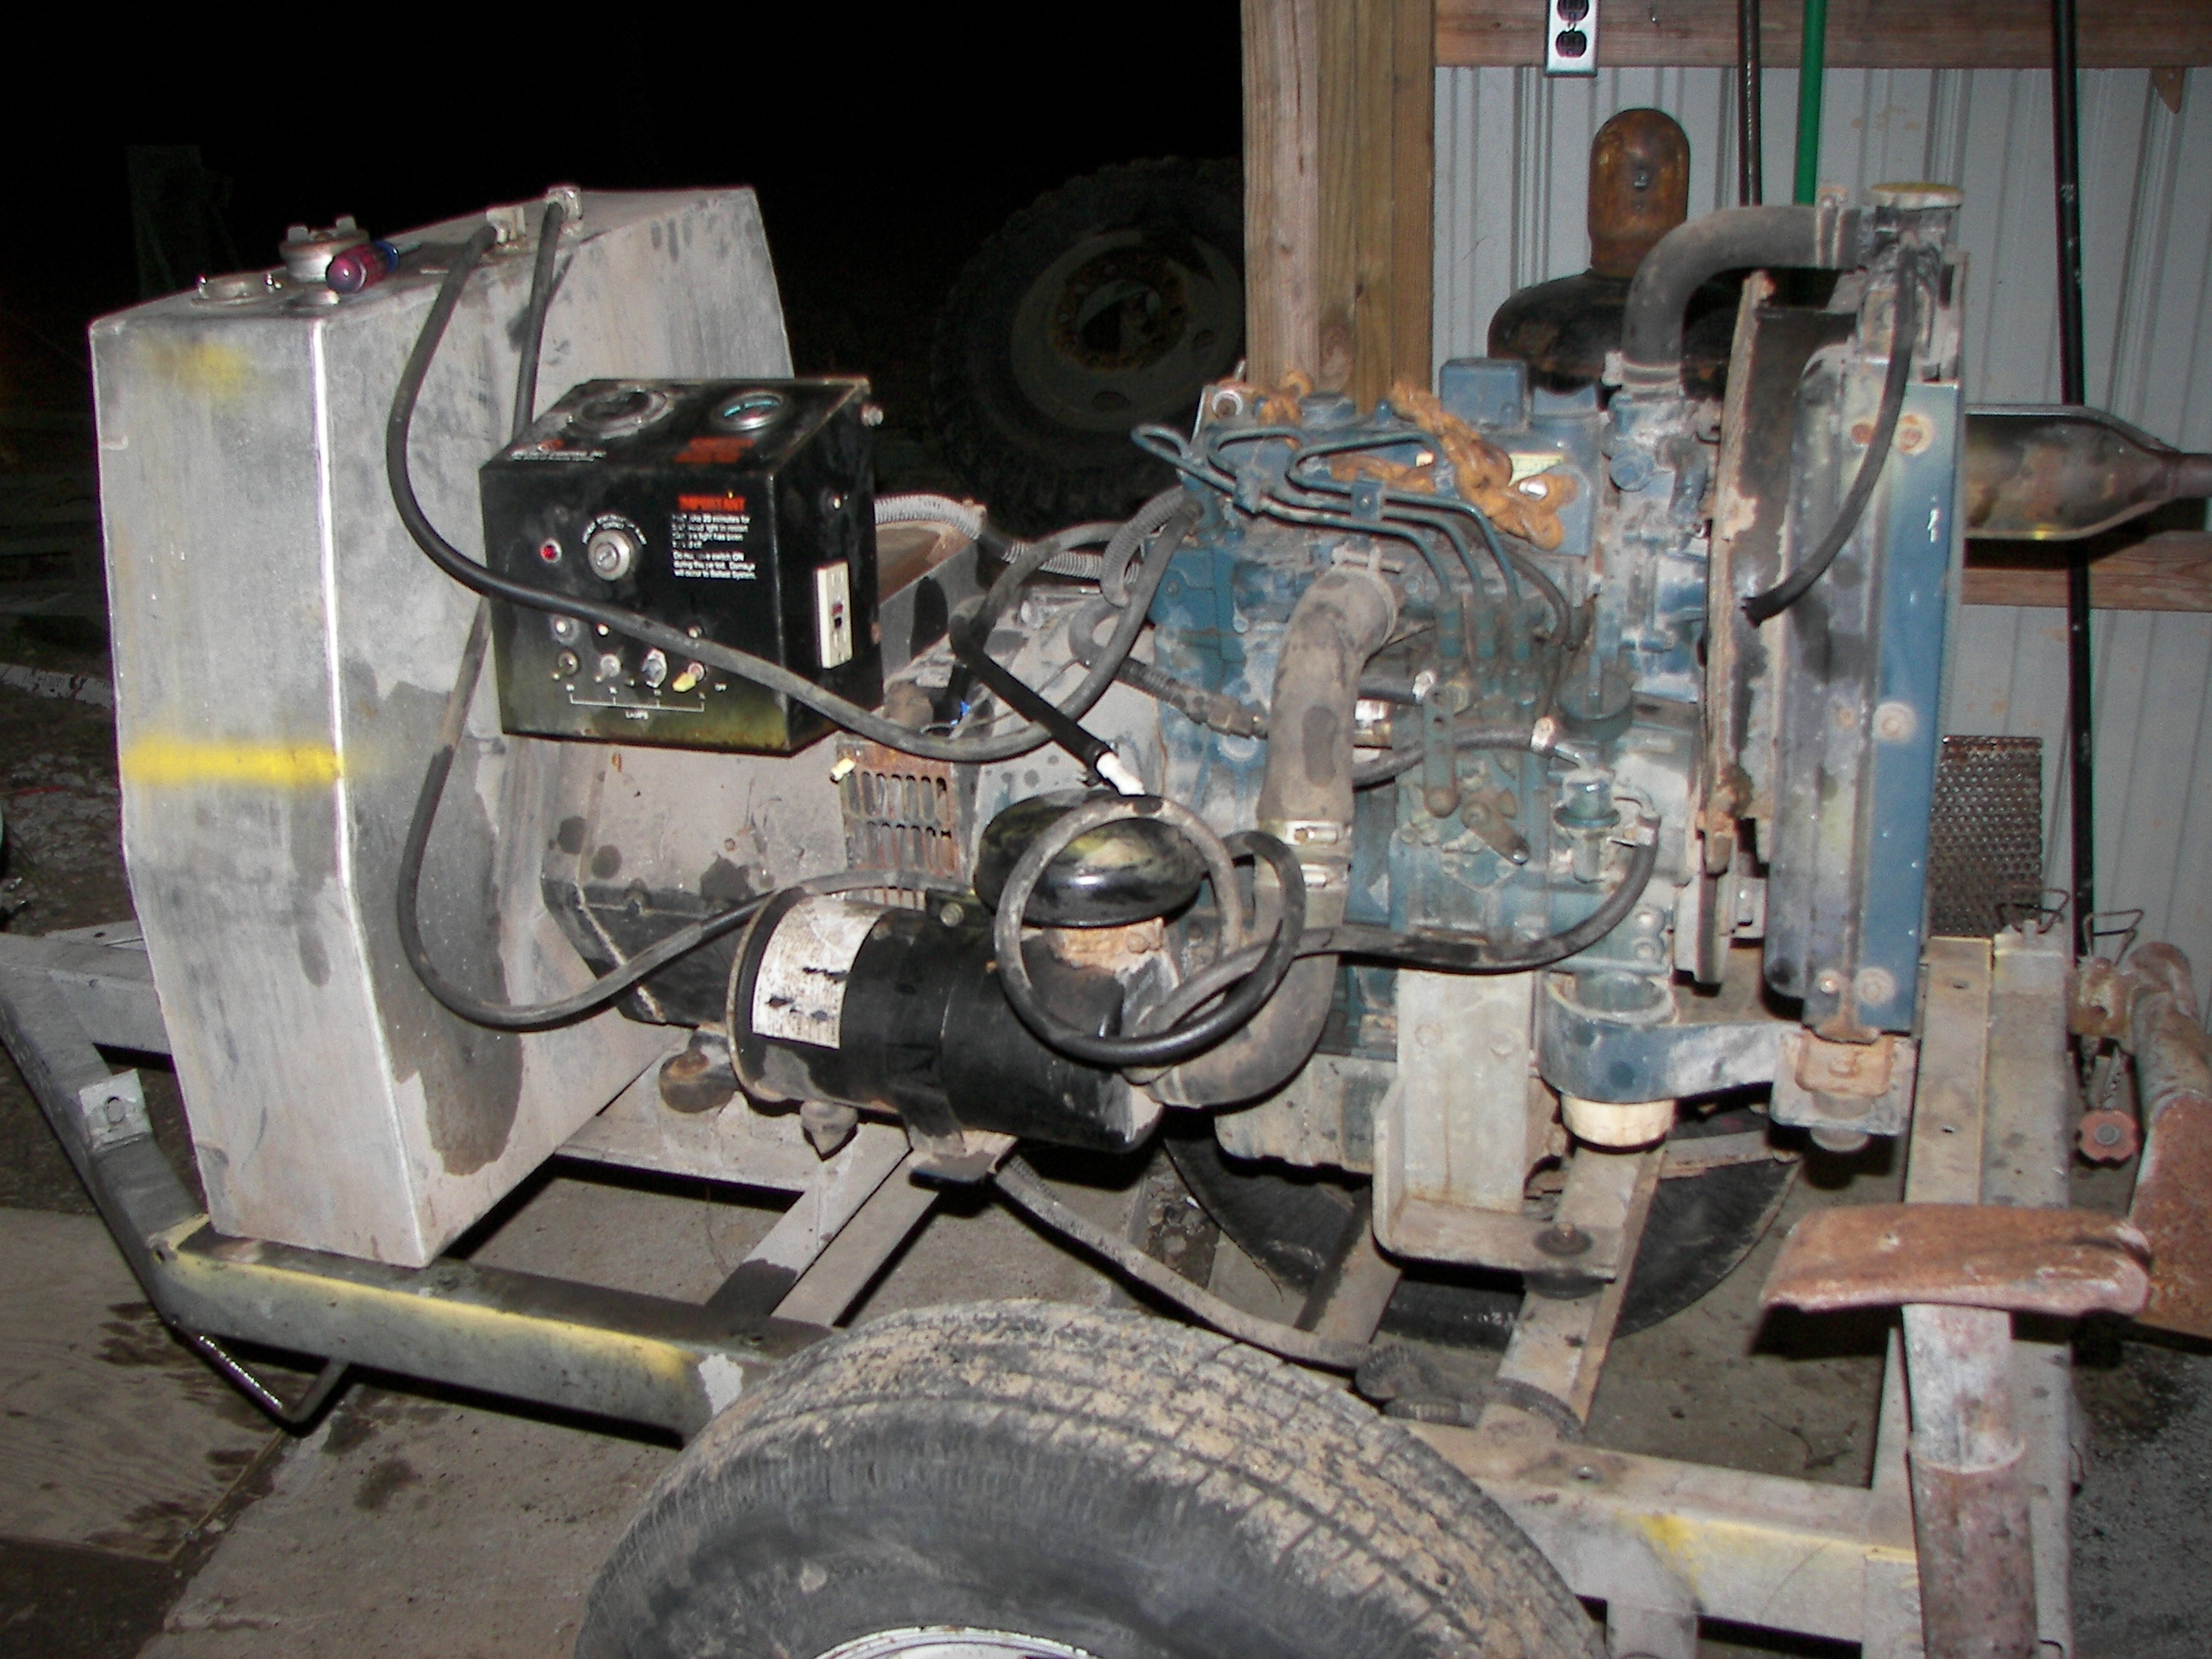
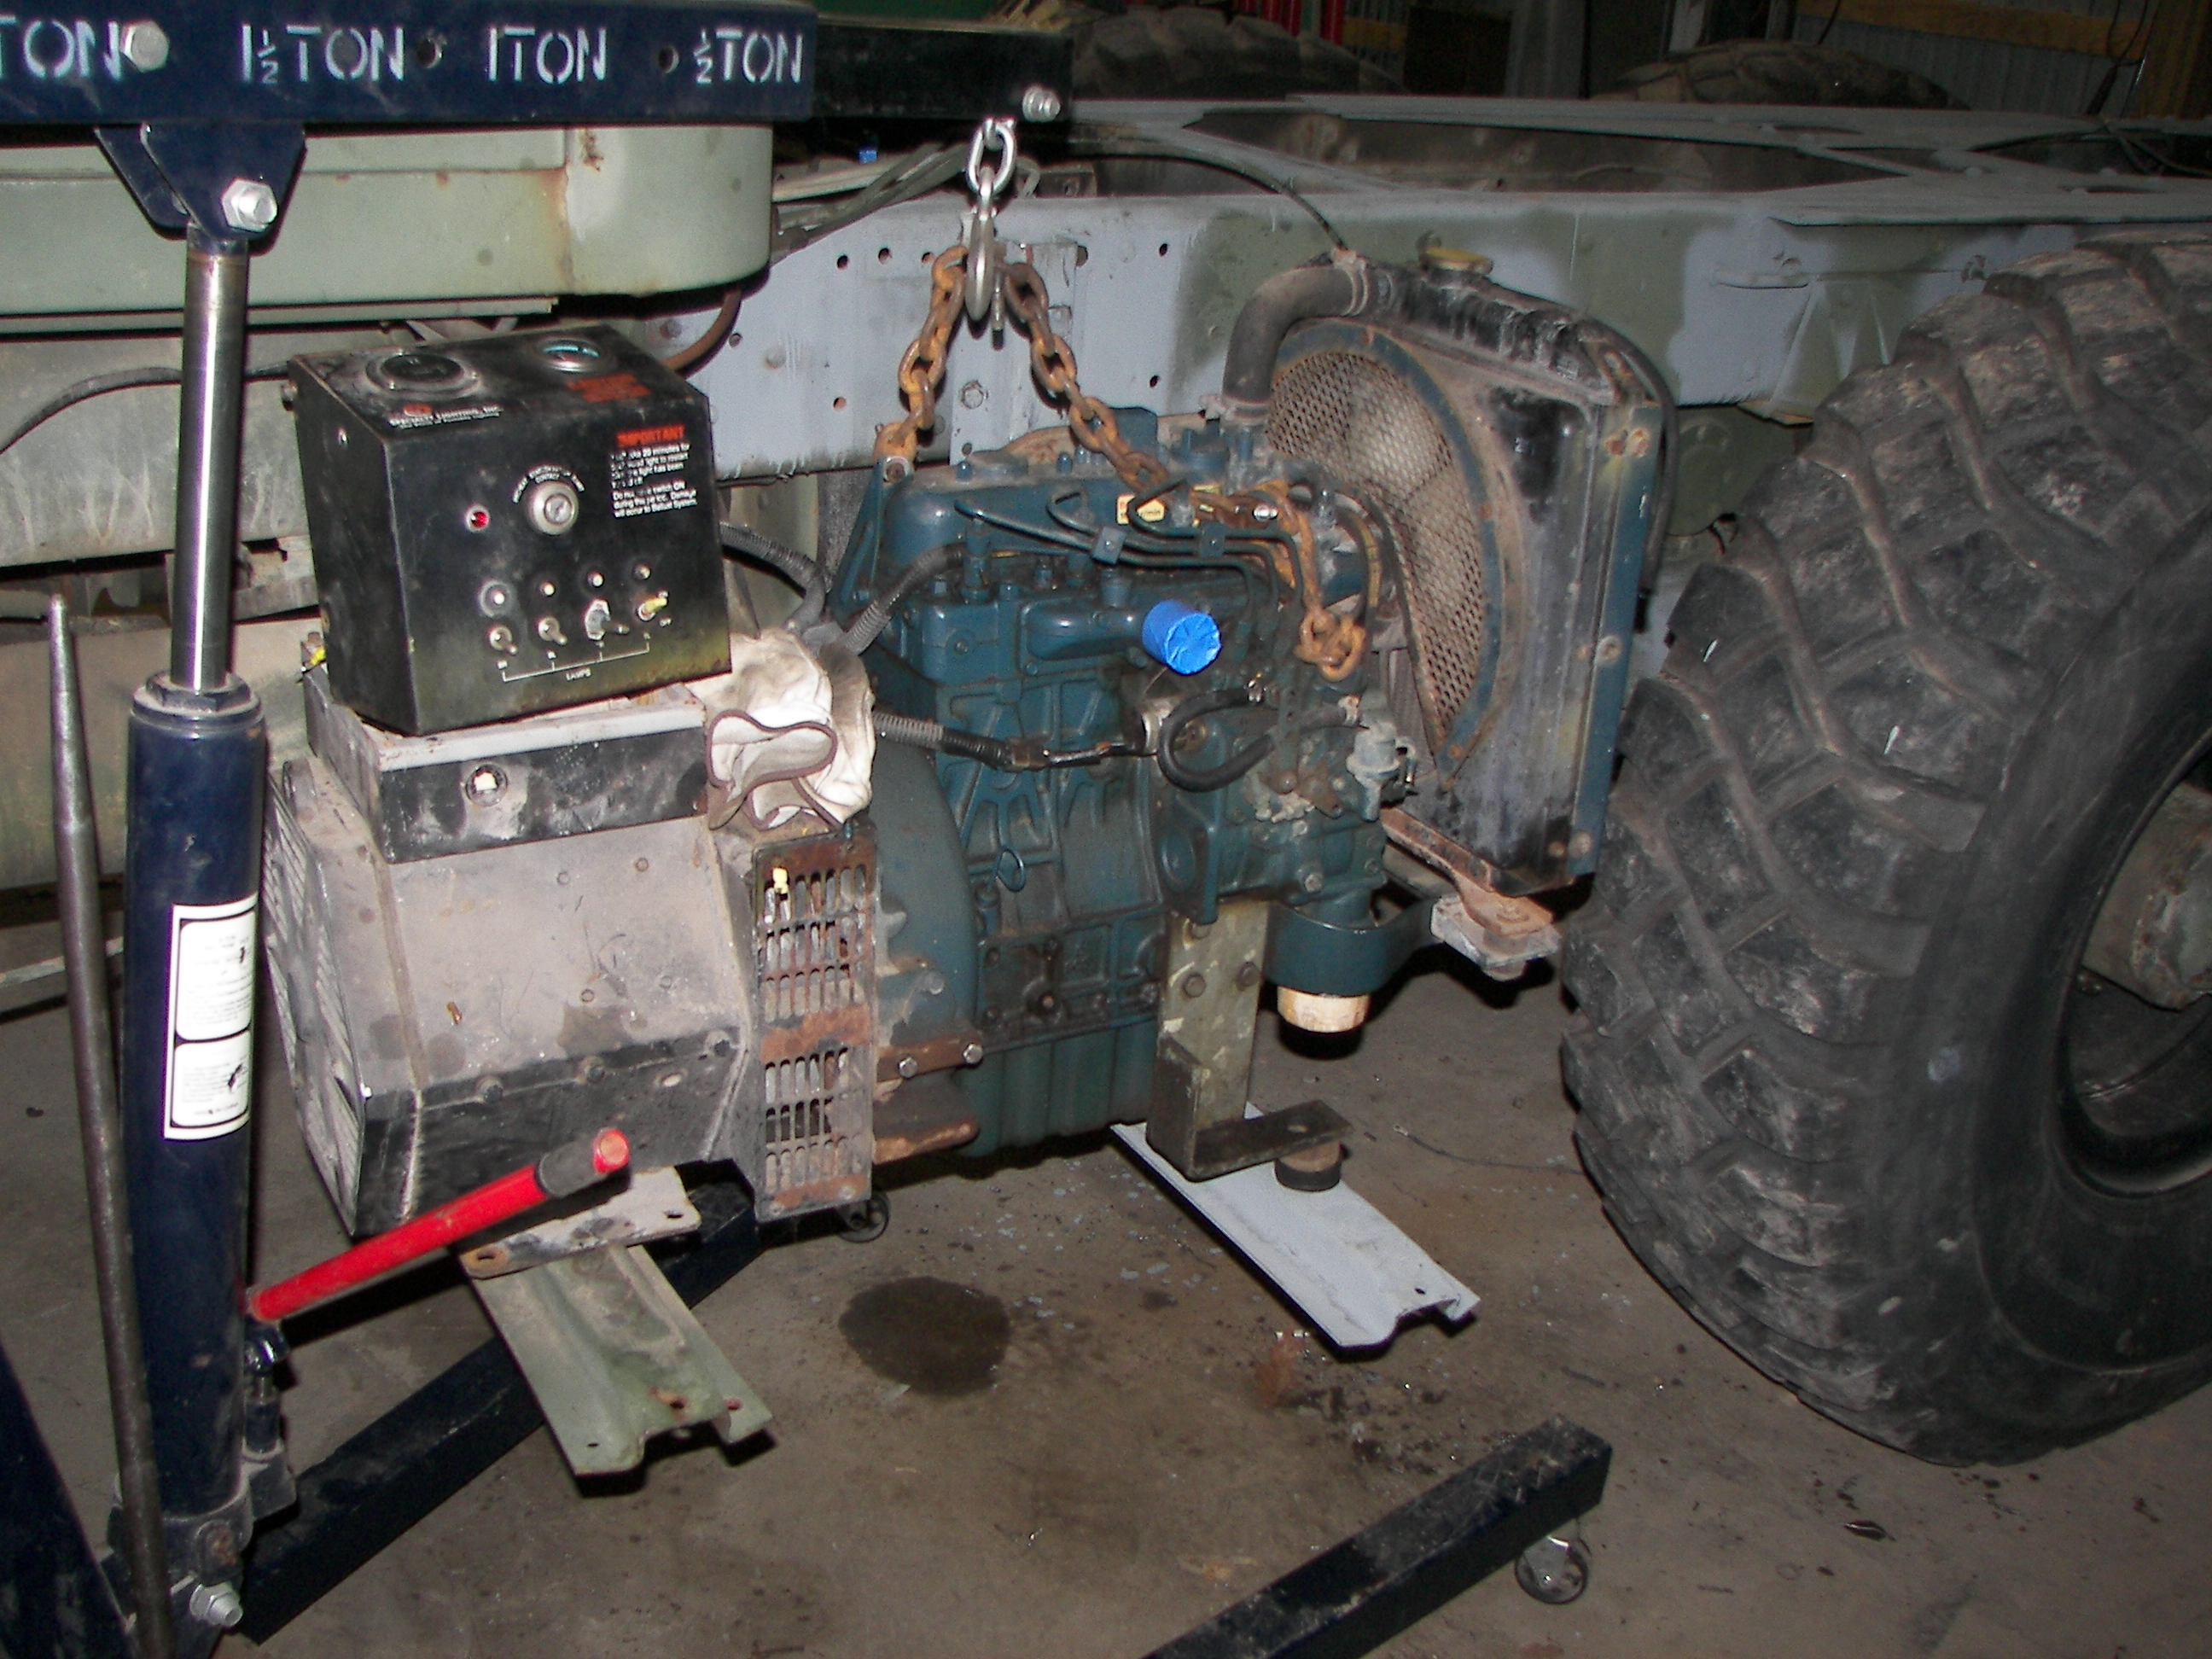
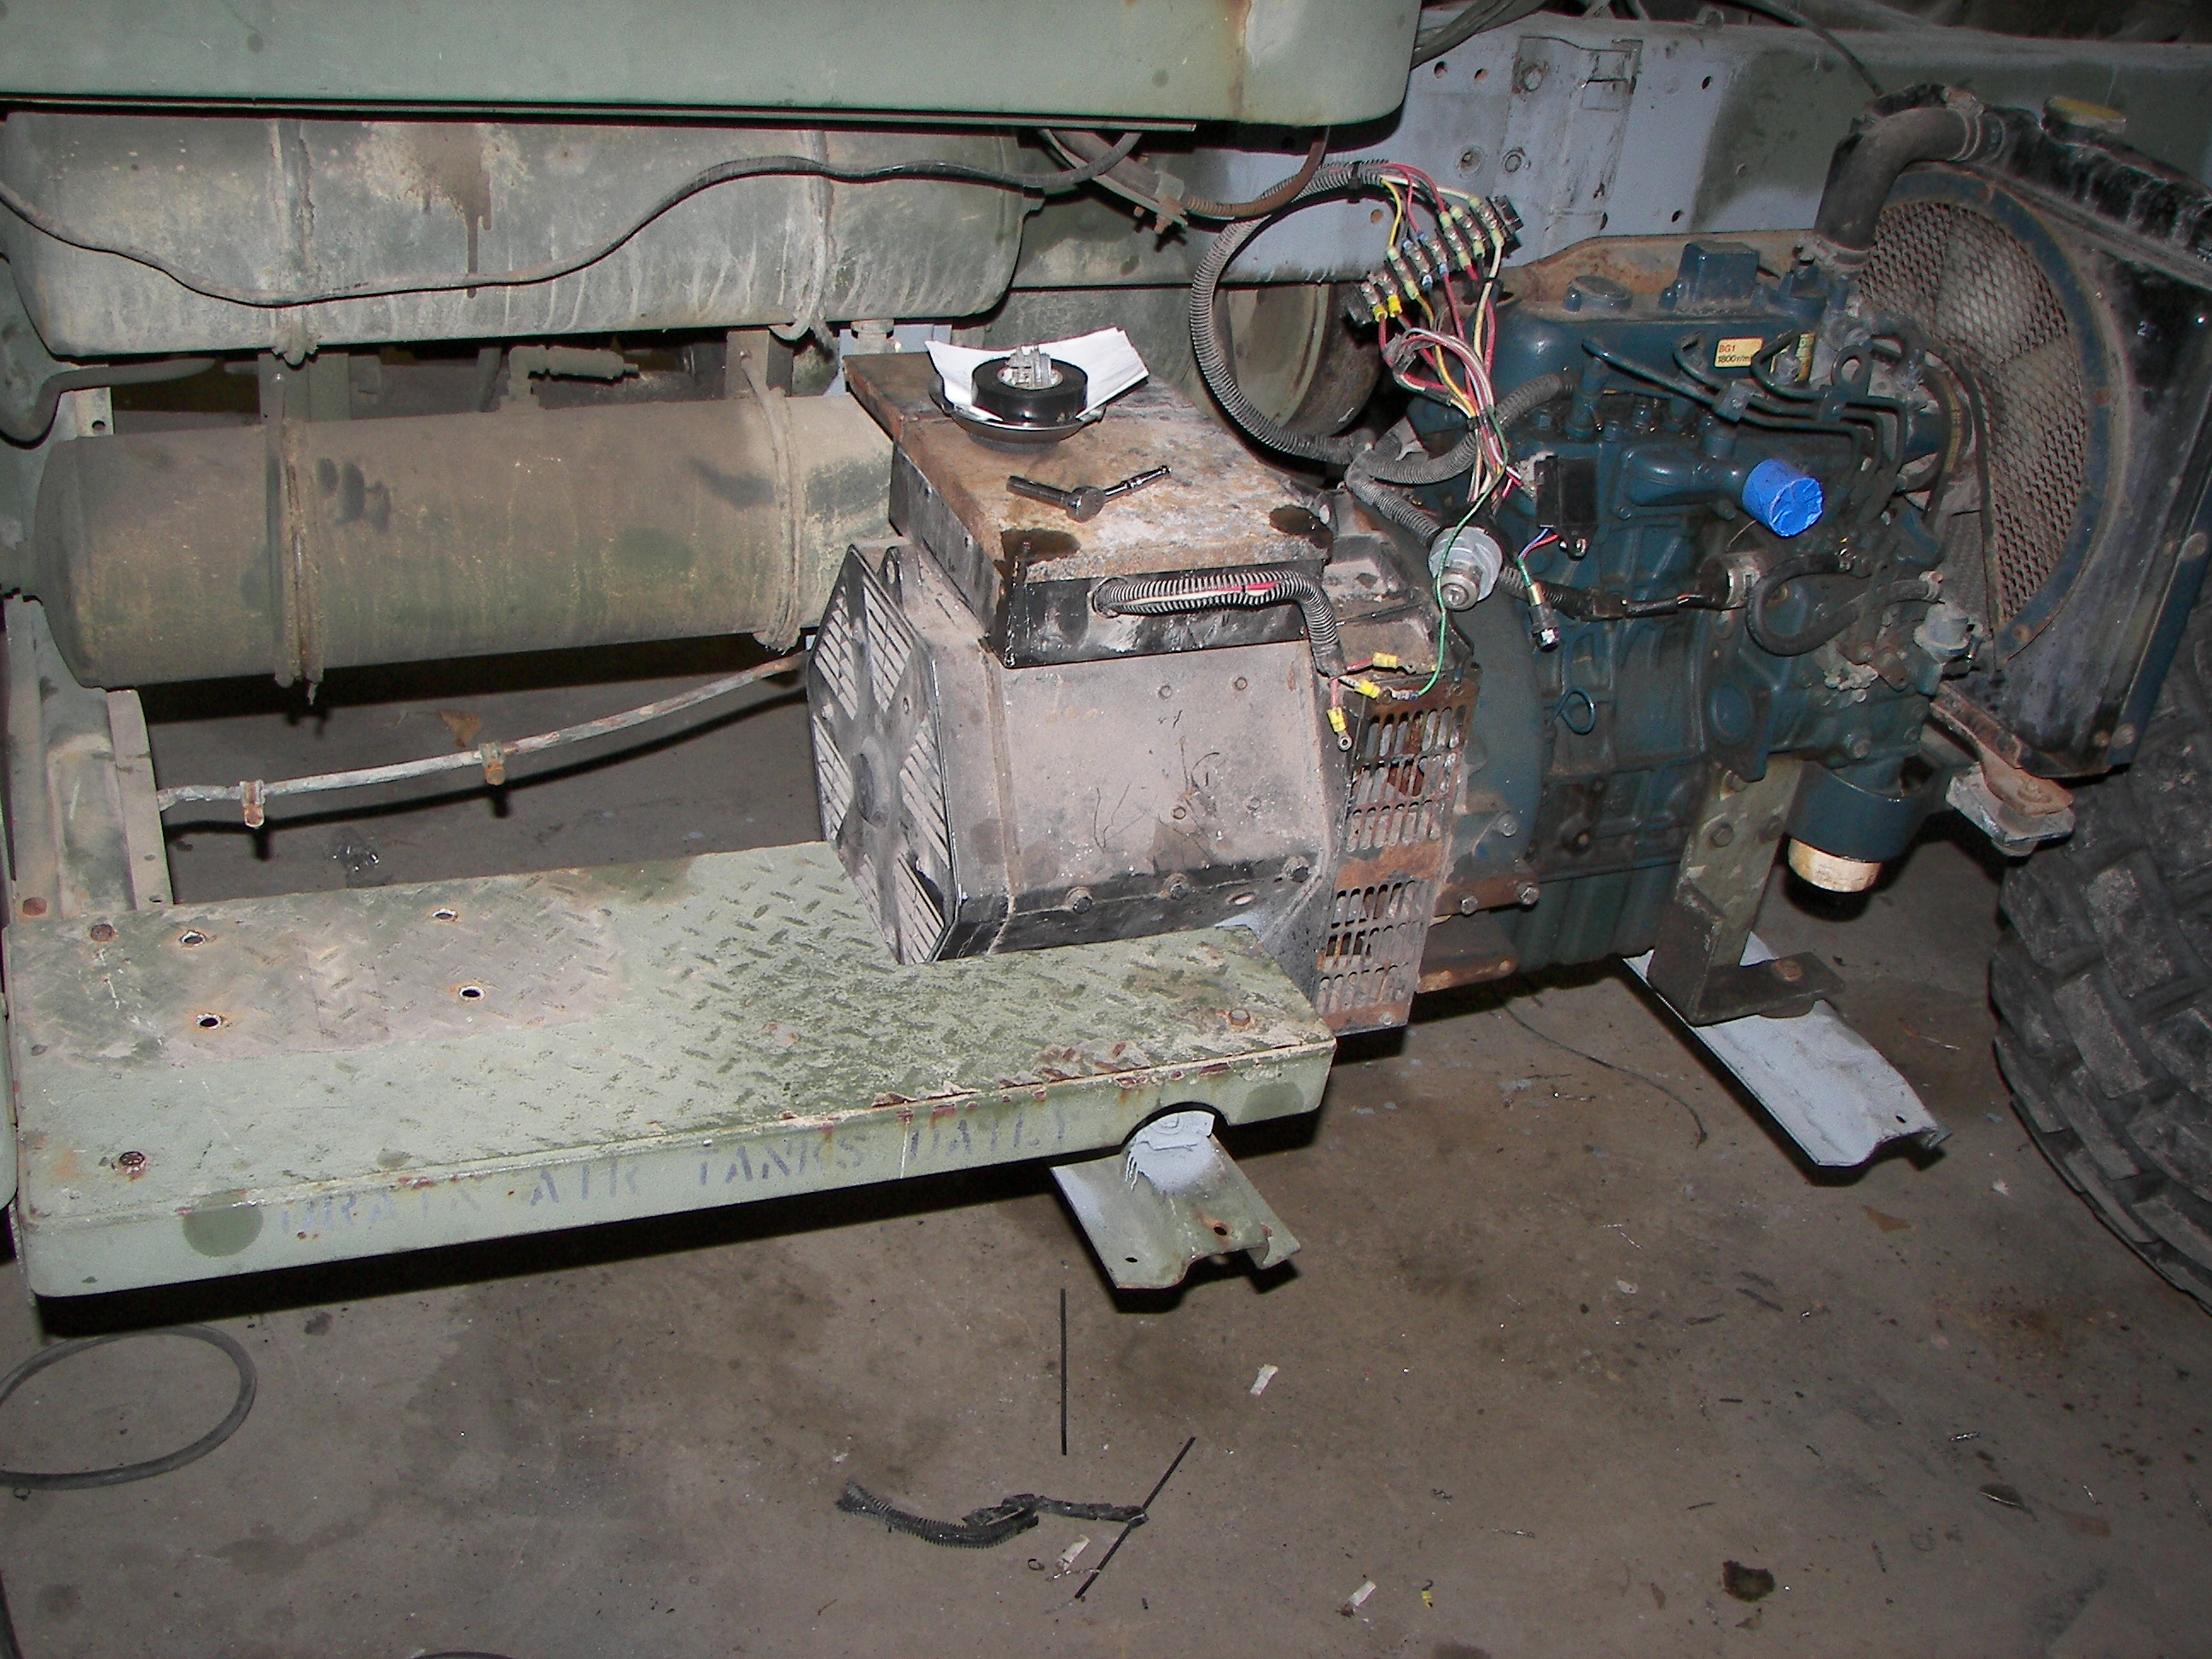
Part of the build was to install a diesel generator as the APU. Here is the donor unit, stripped of its covering. |
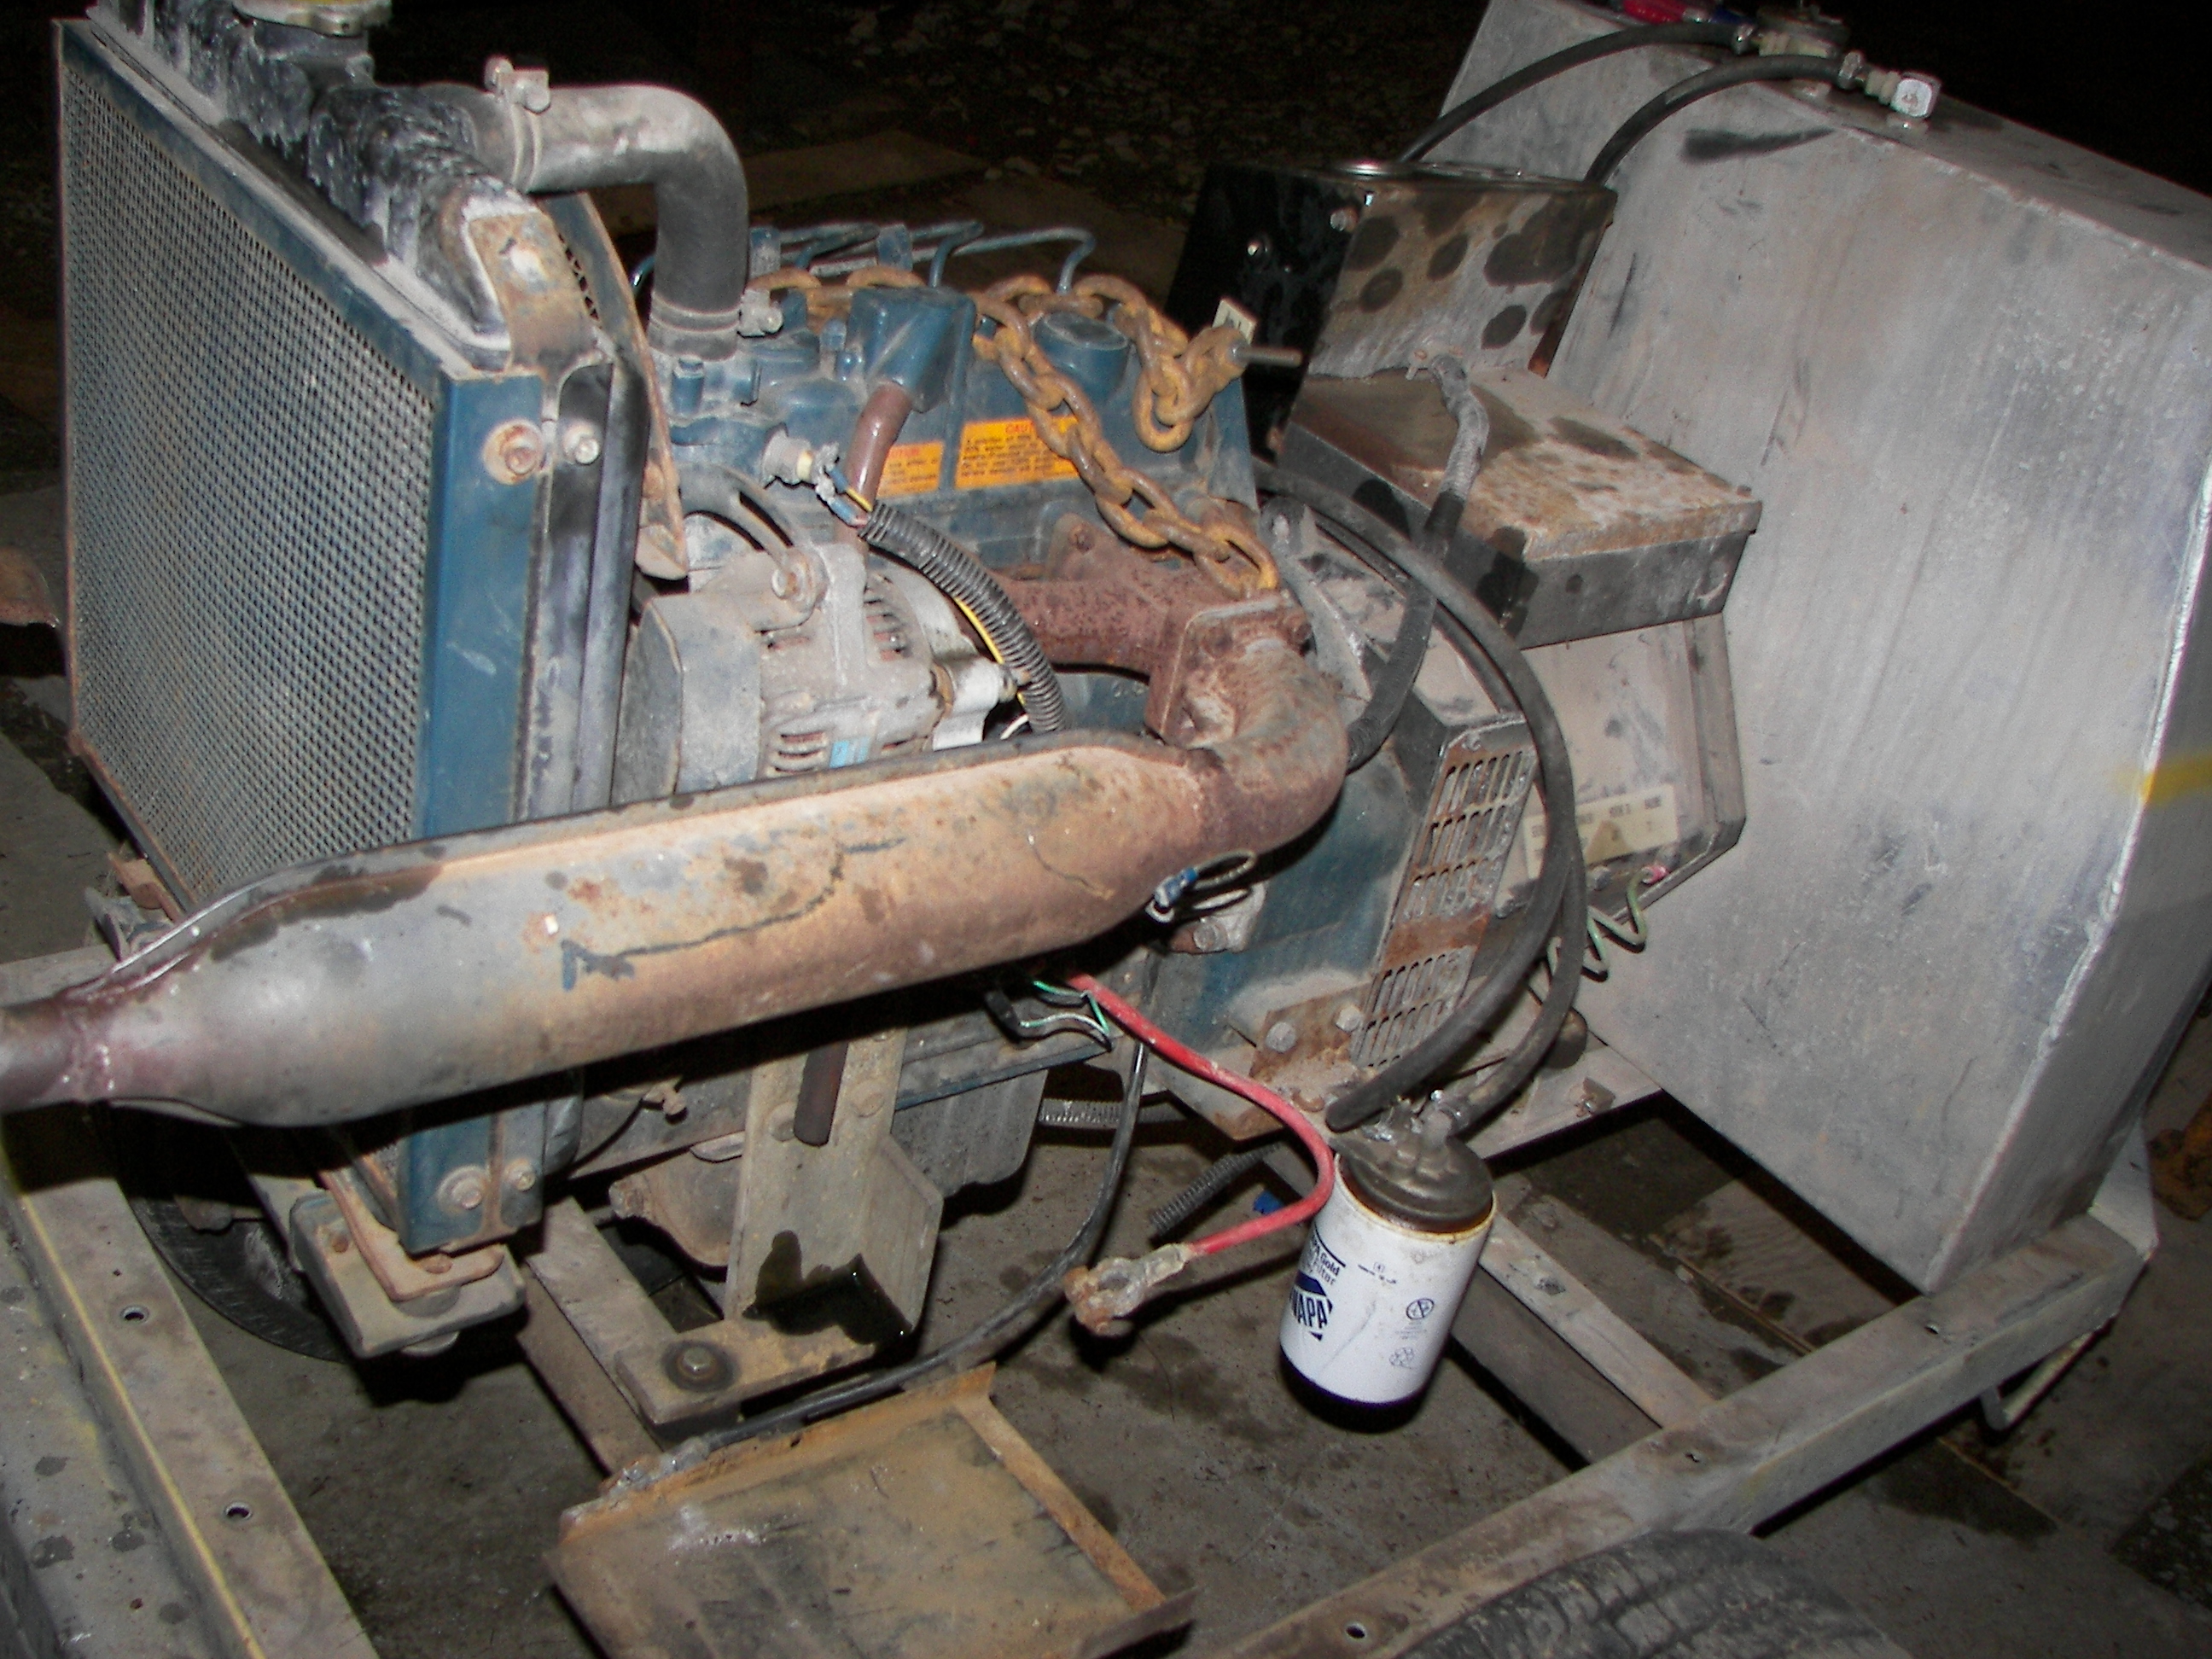
The genset is a 6KW diesel powered machine from a lighting trailer. |
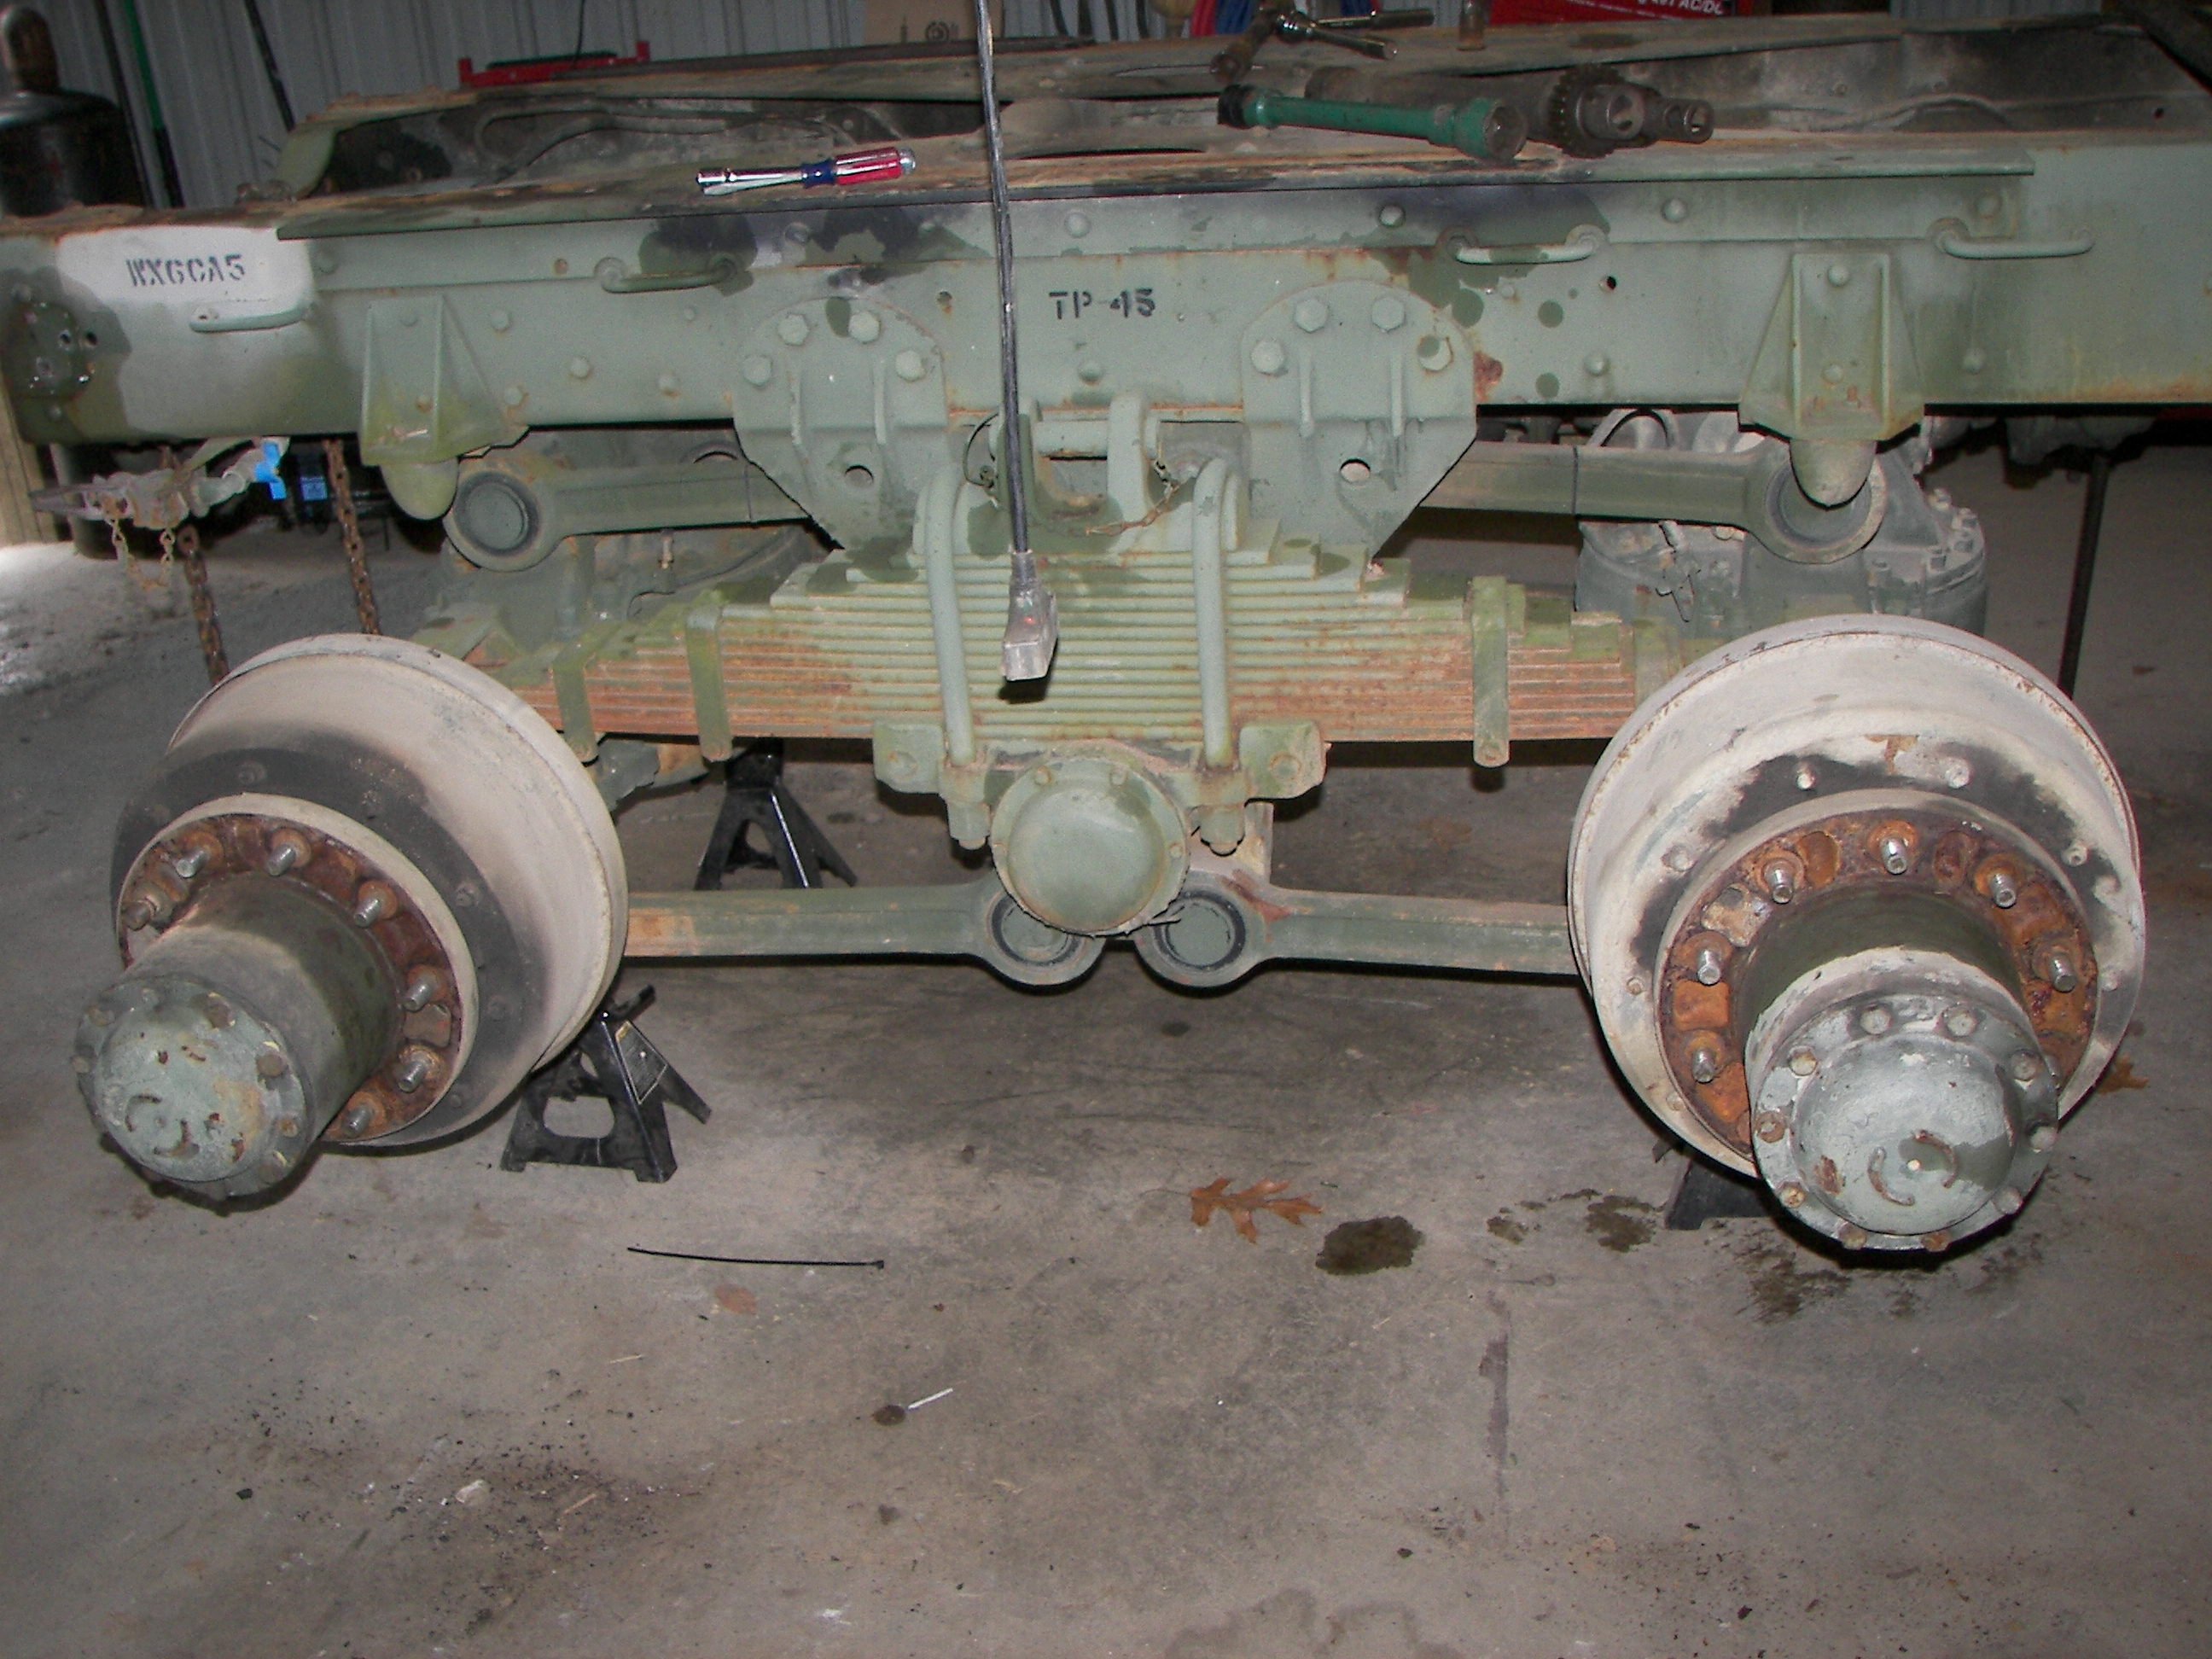
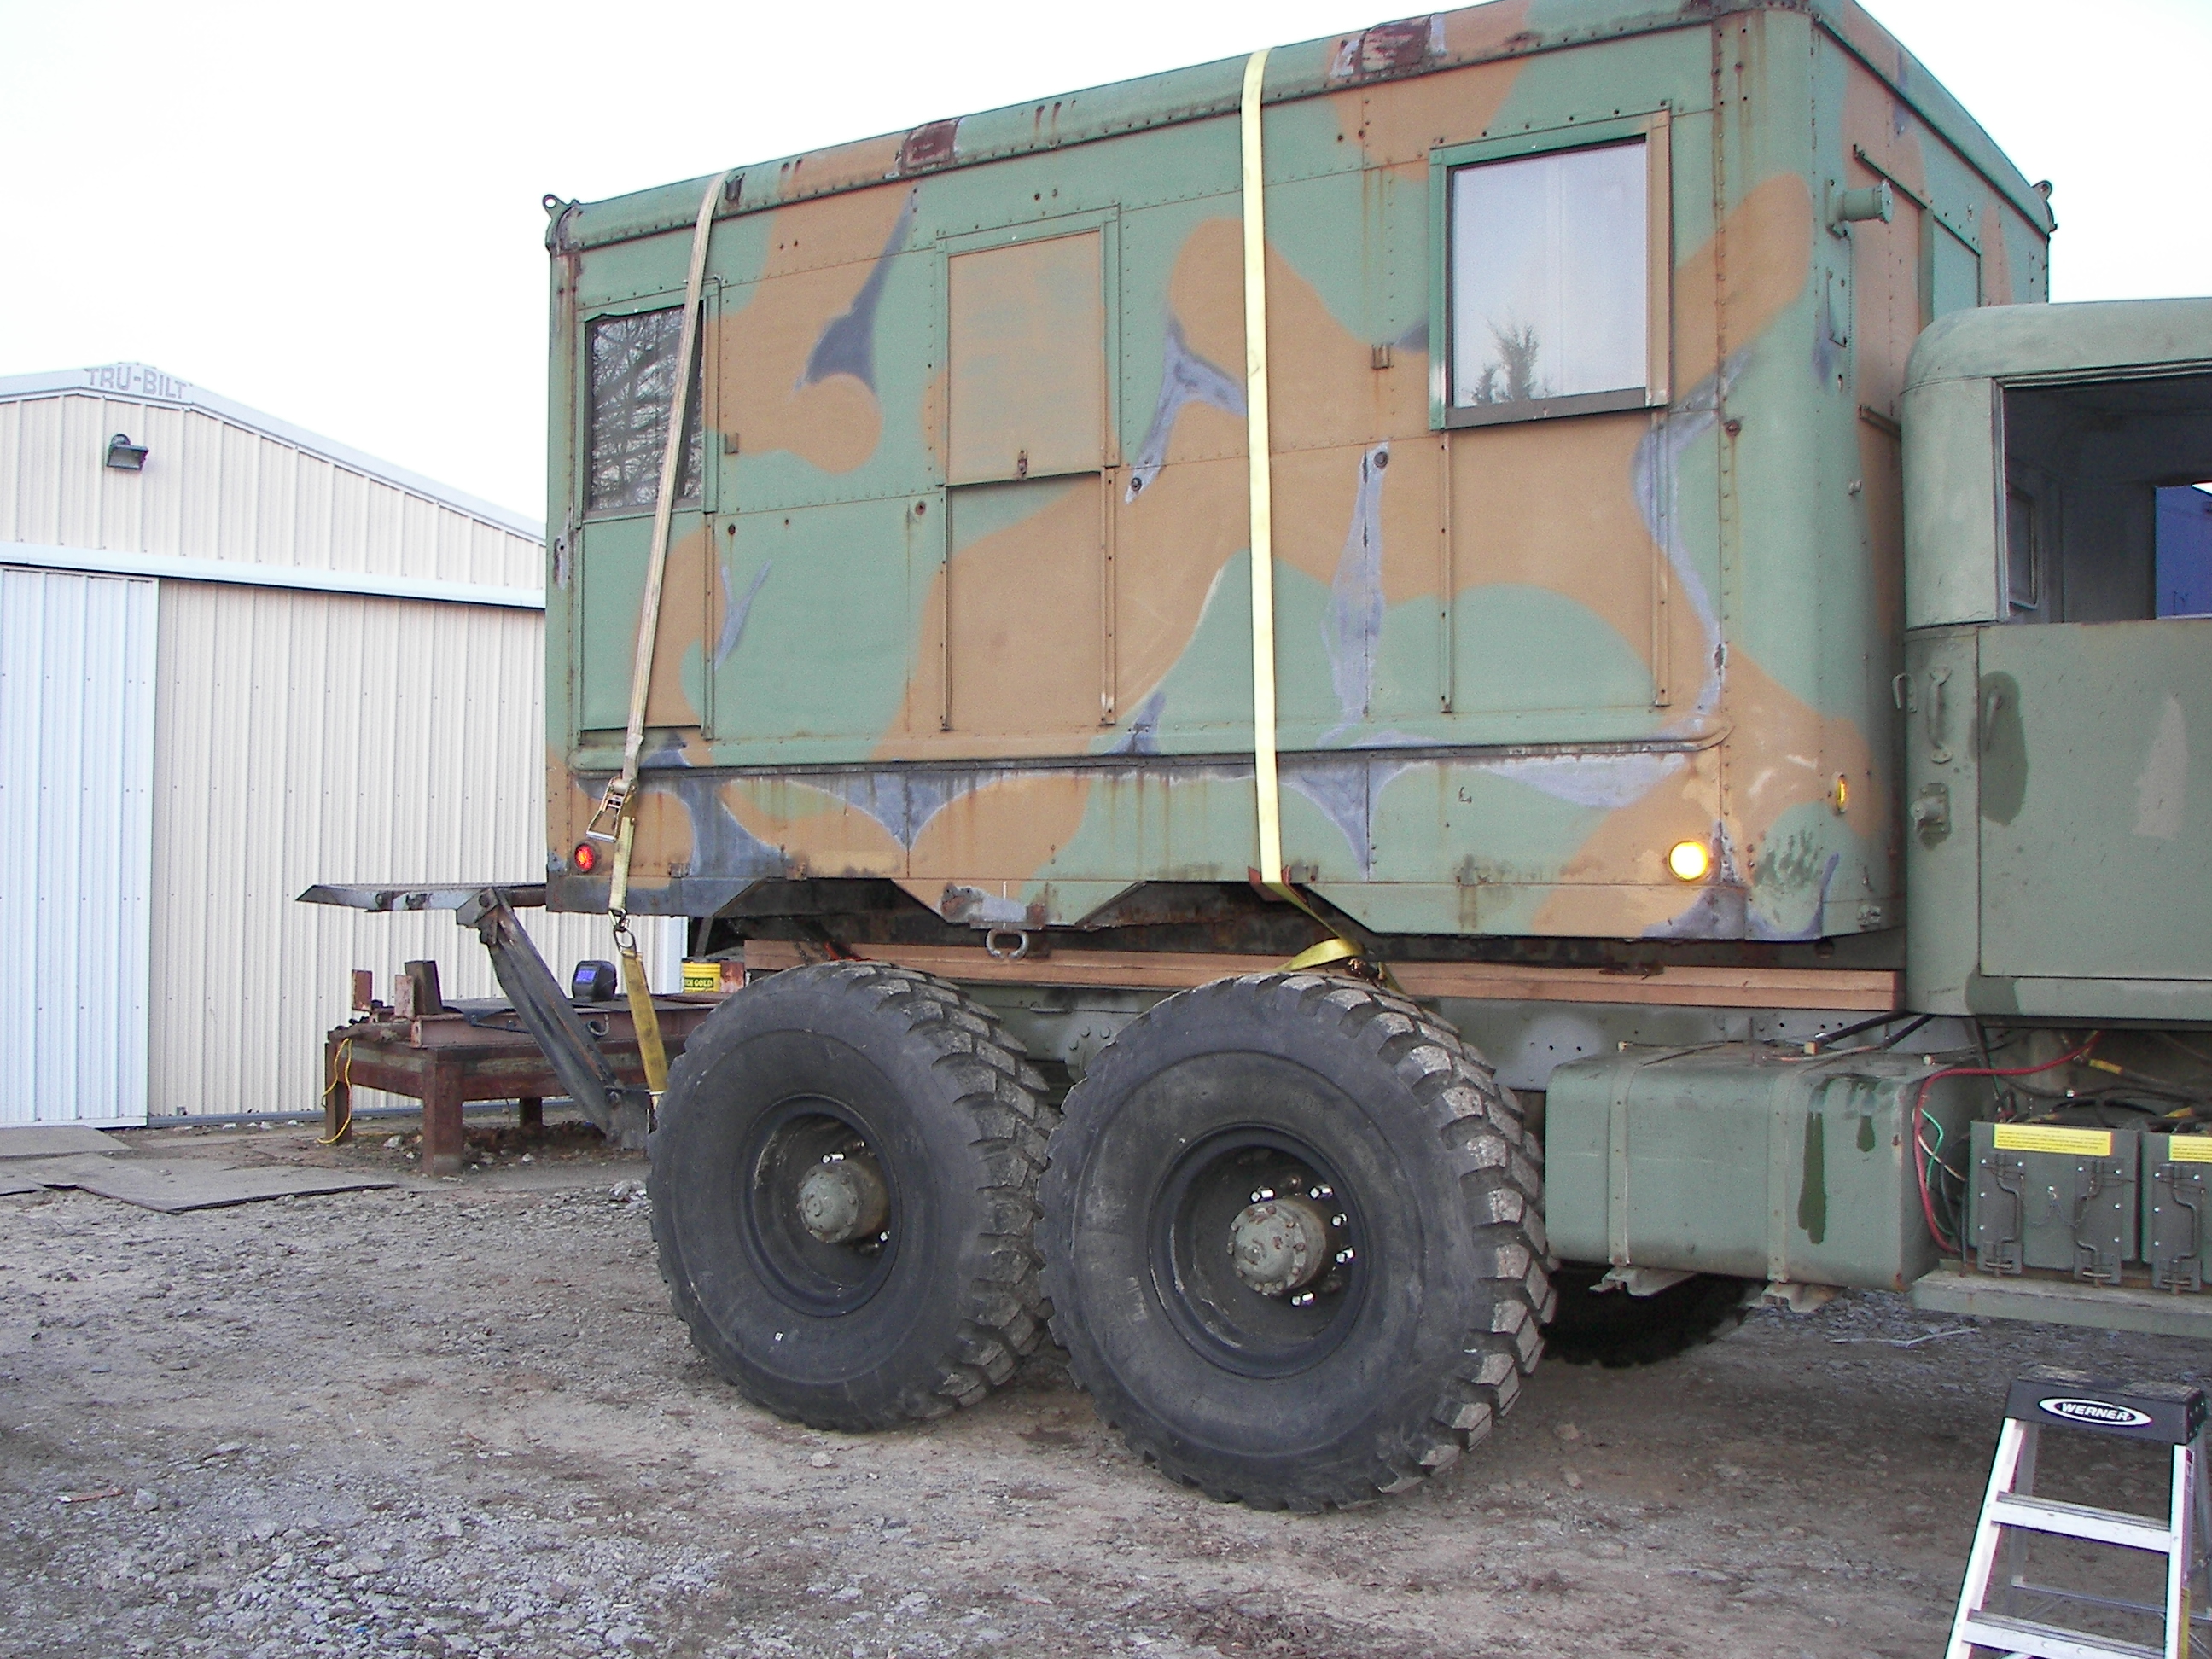
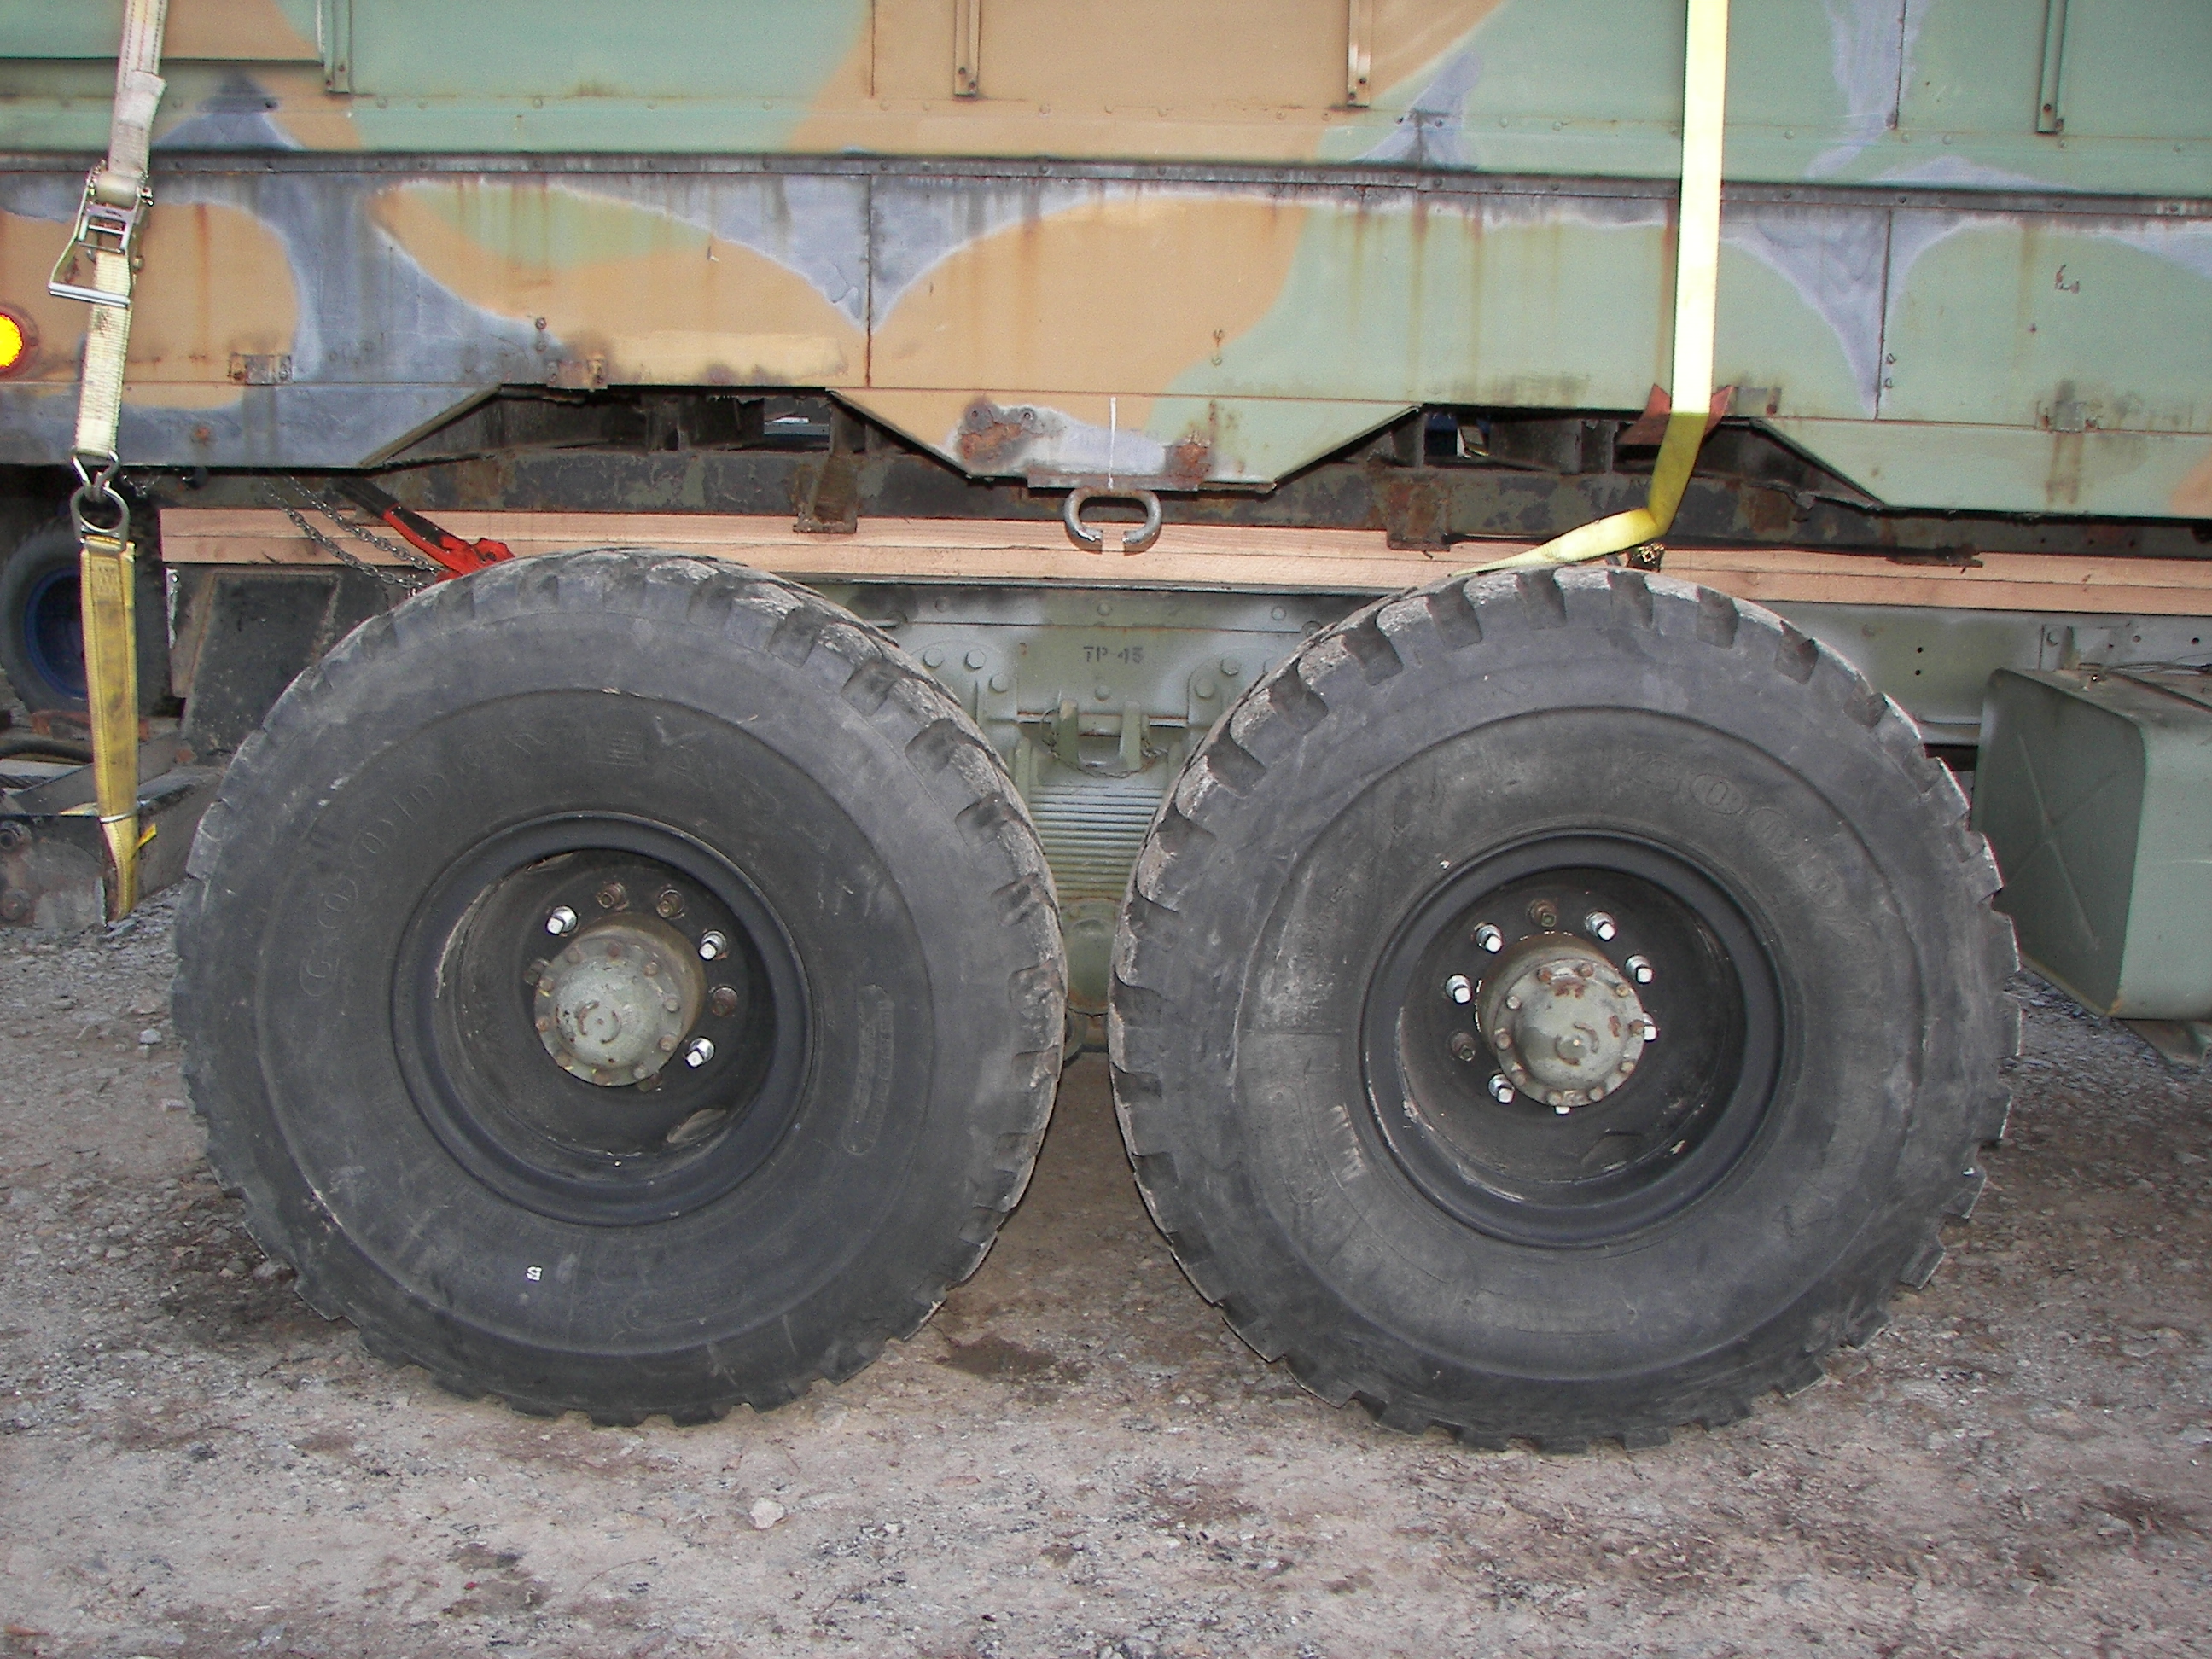
The 16.00x20 tires and wheels will come from Brian's 5-ton wrecker. For now, the somewhat worn tires and the wheels off the M818 will be put on the wrecker. Fine -looking beast, eh? |
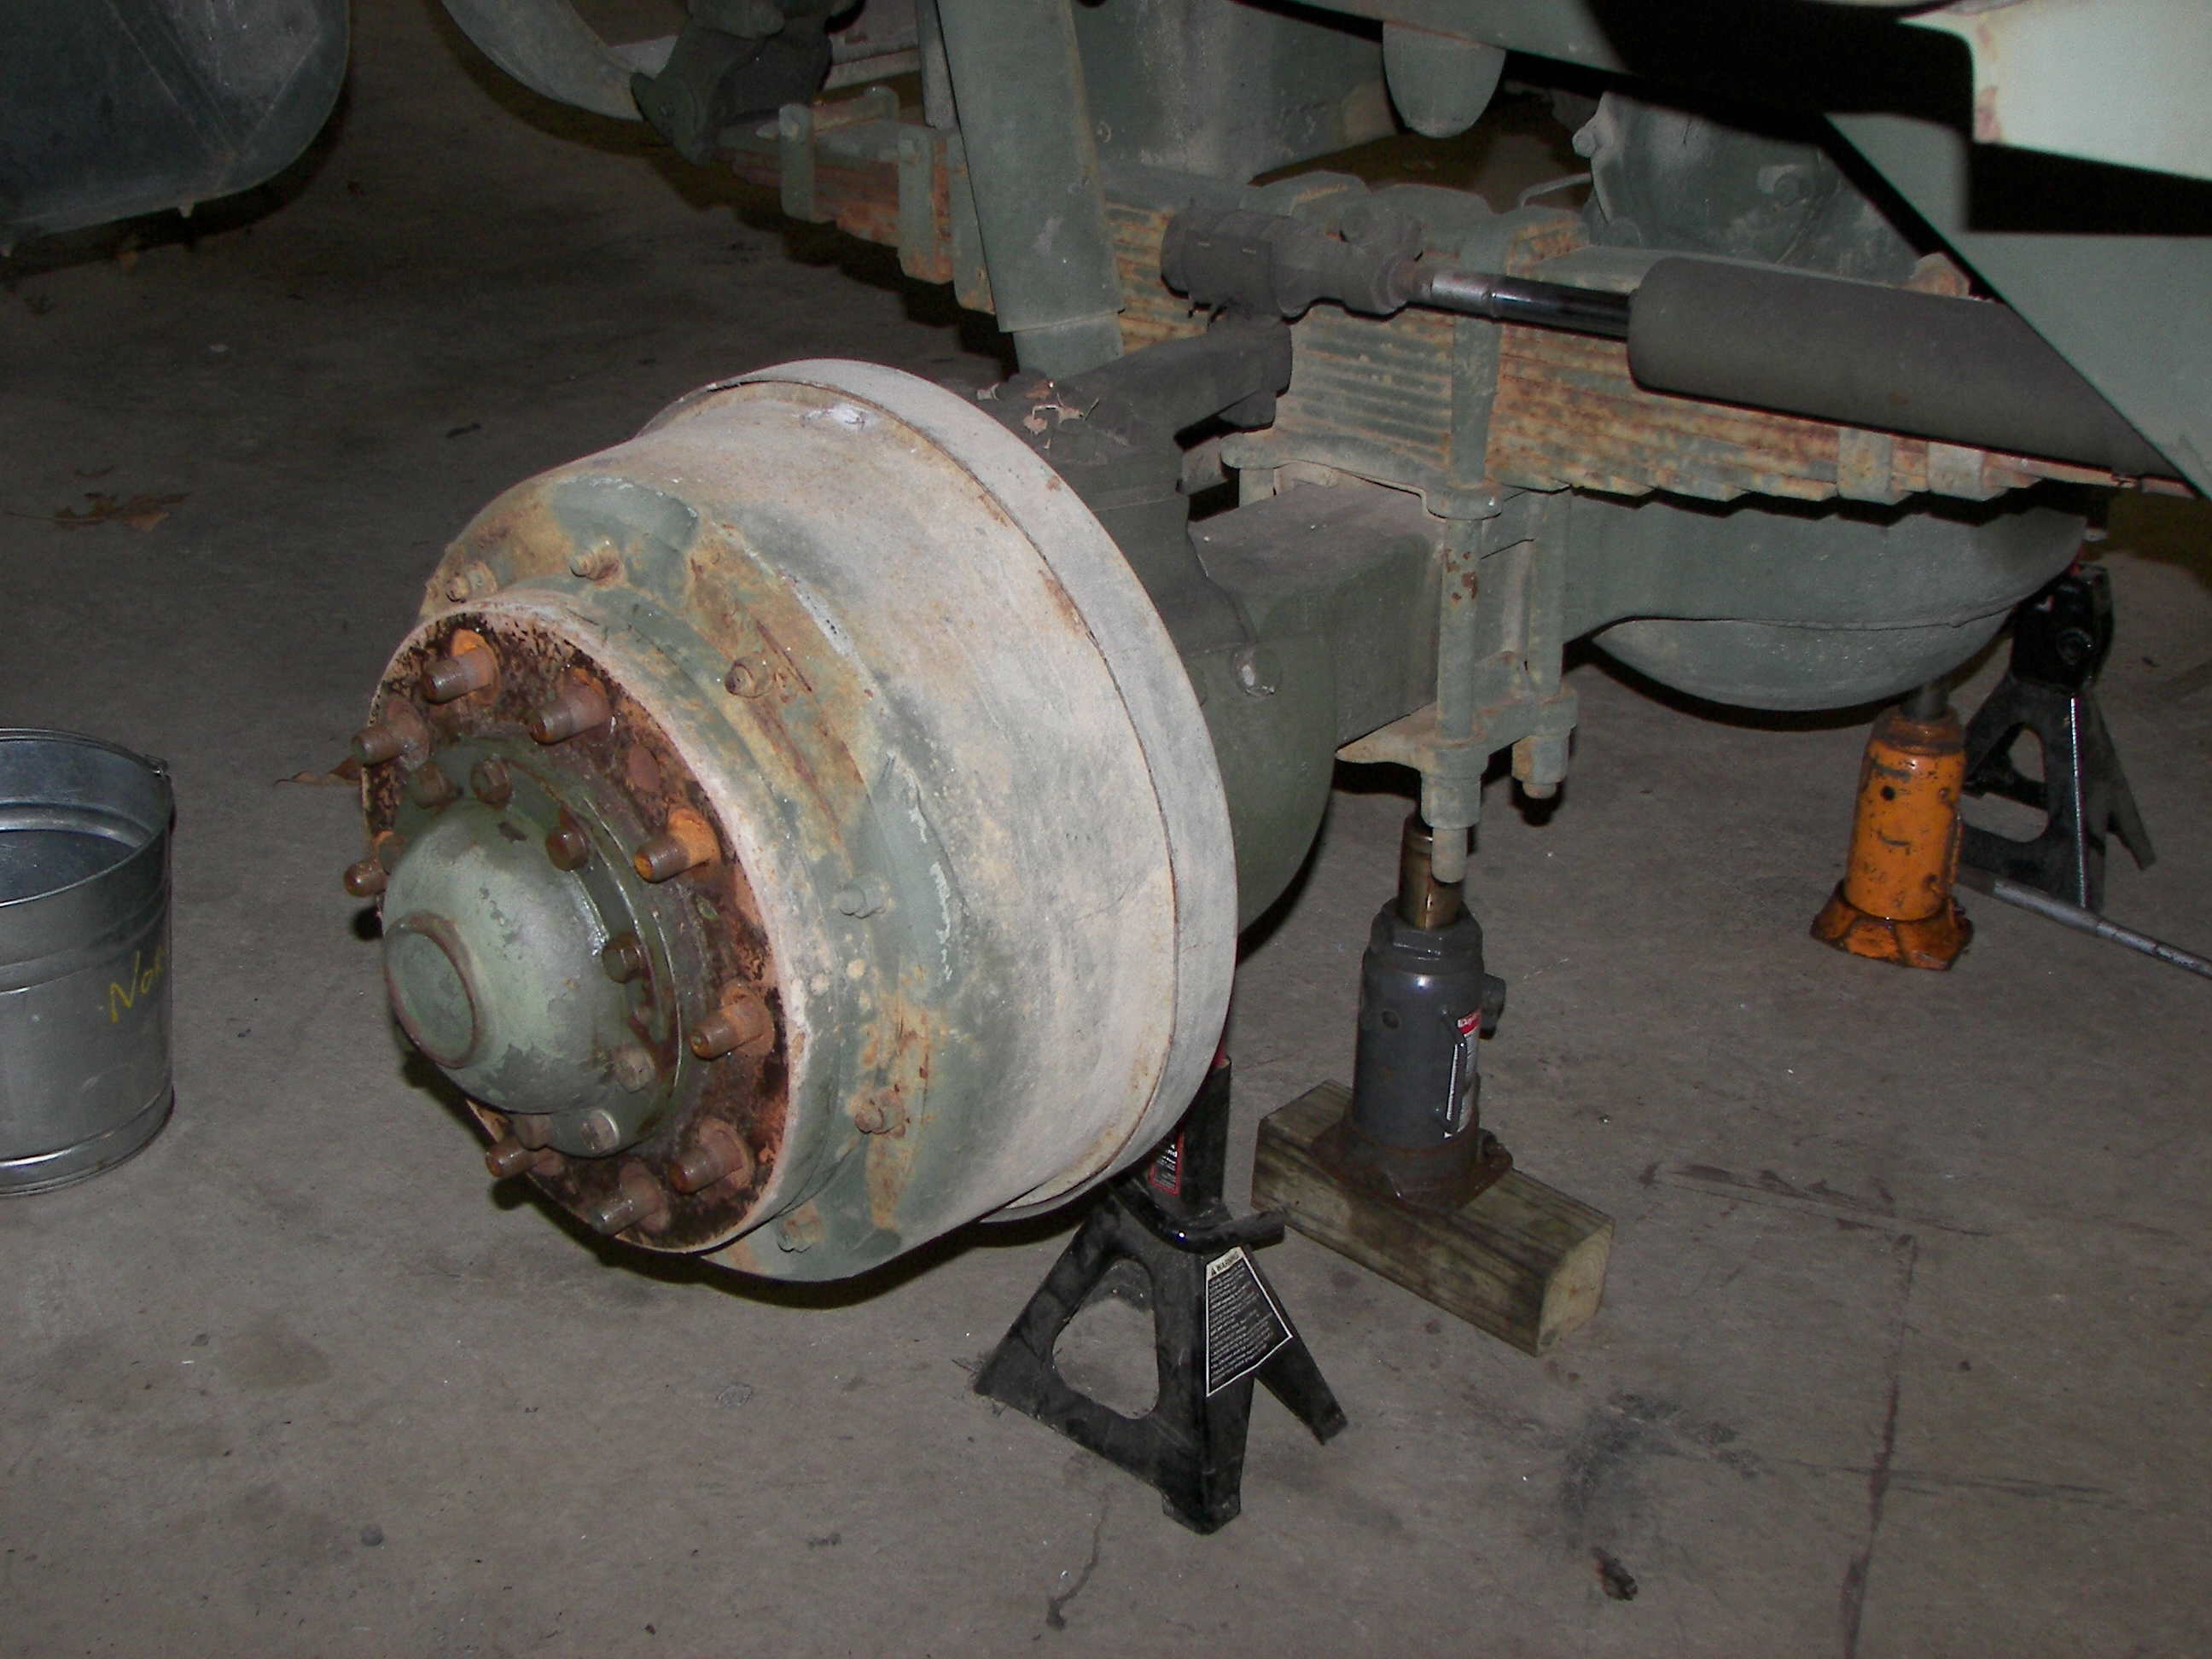
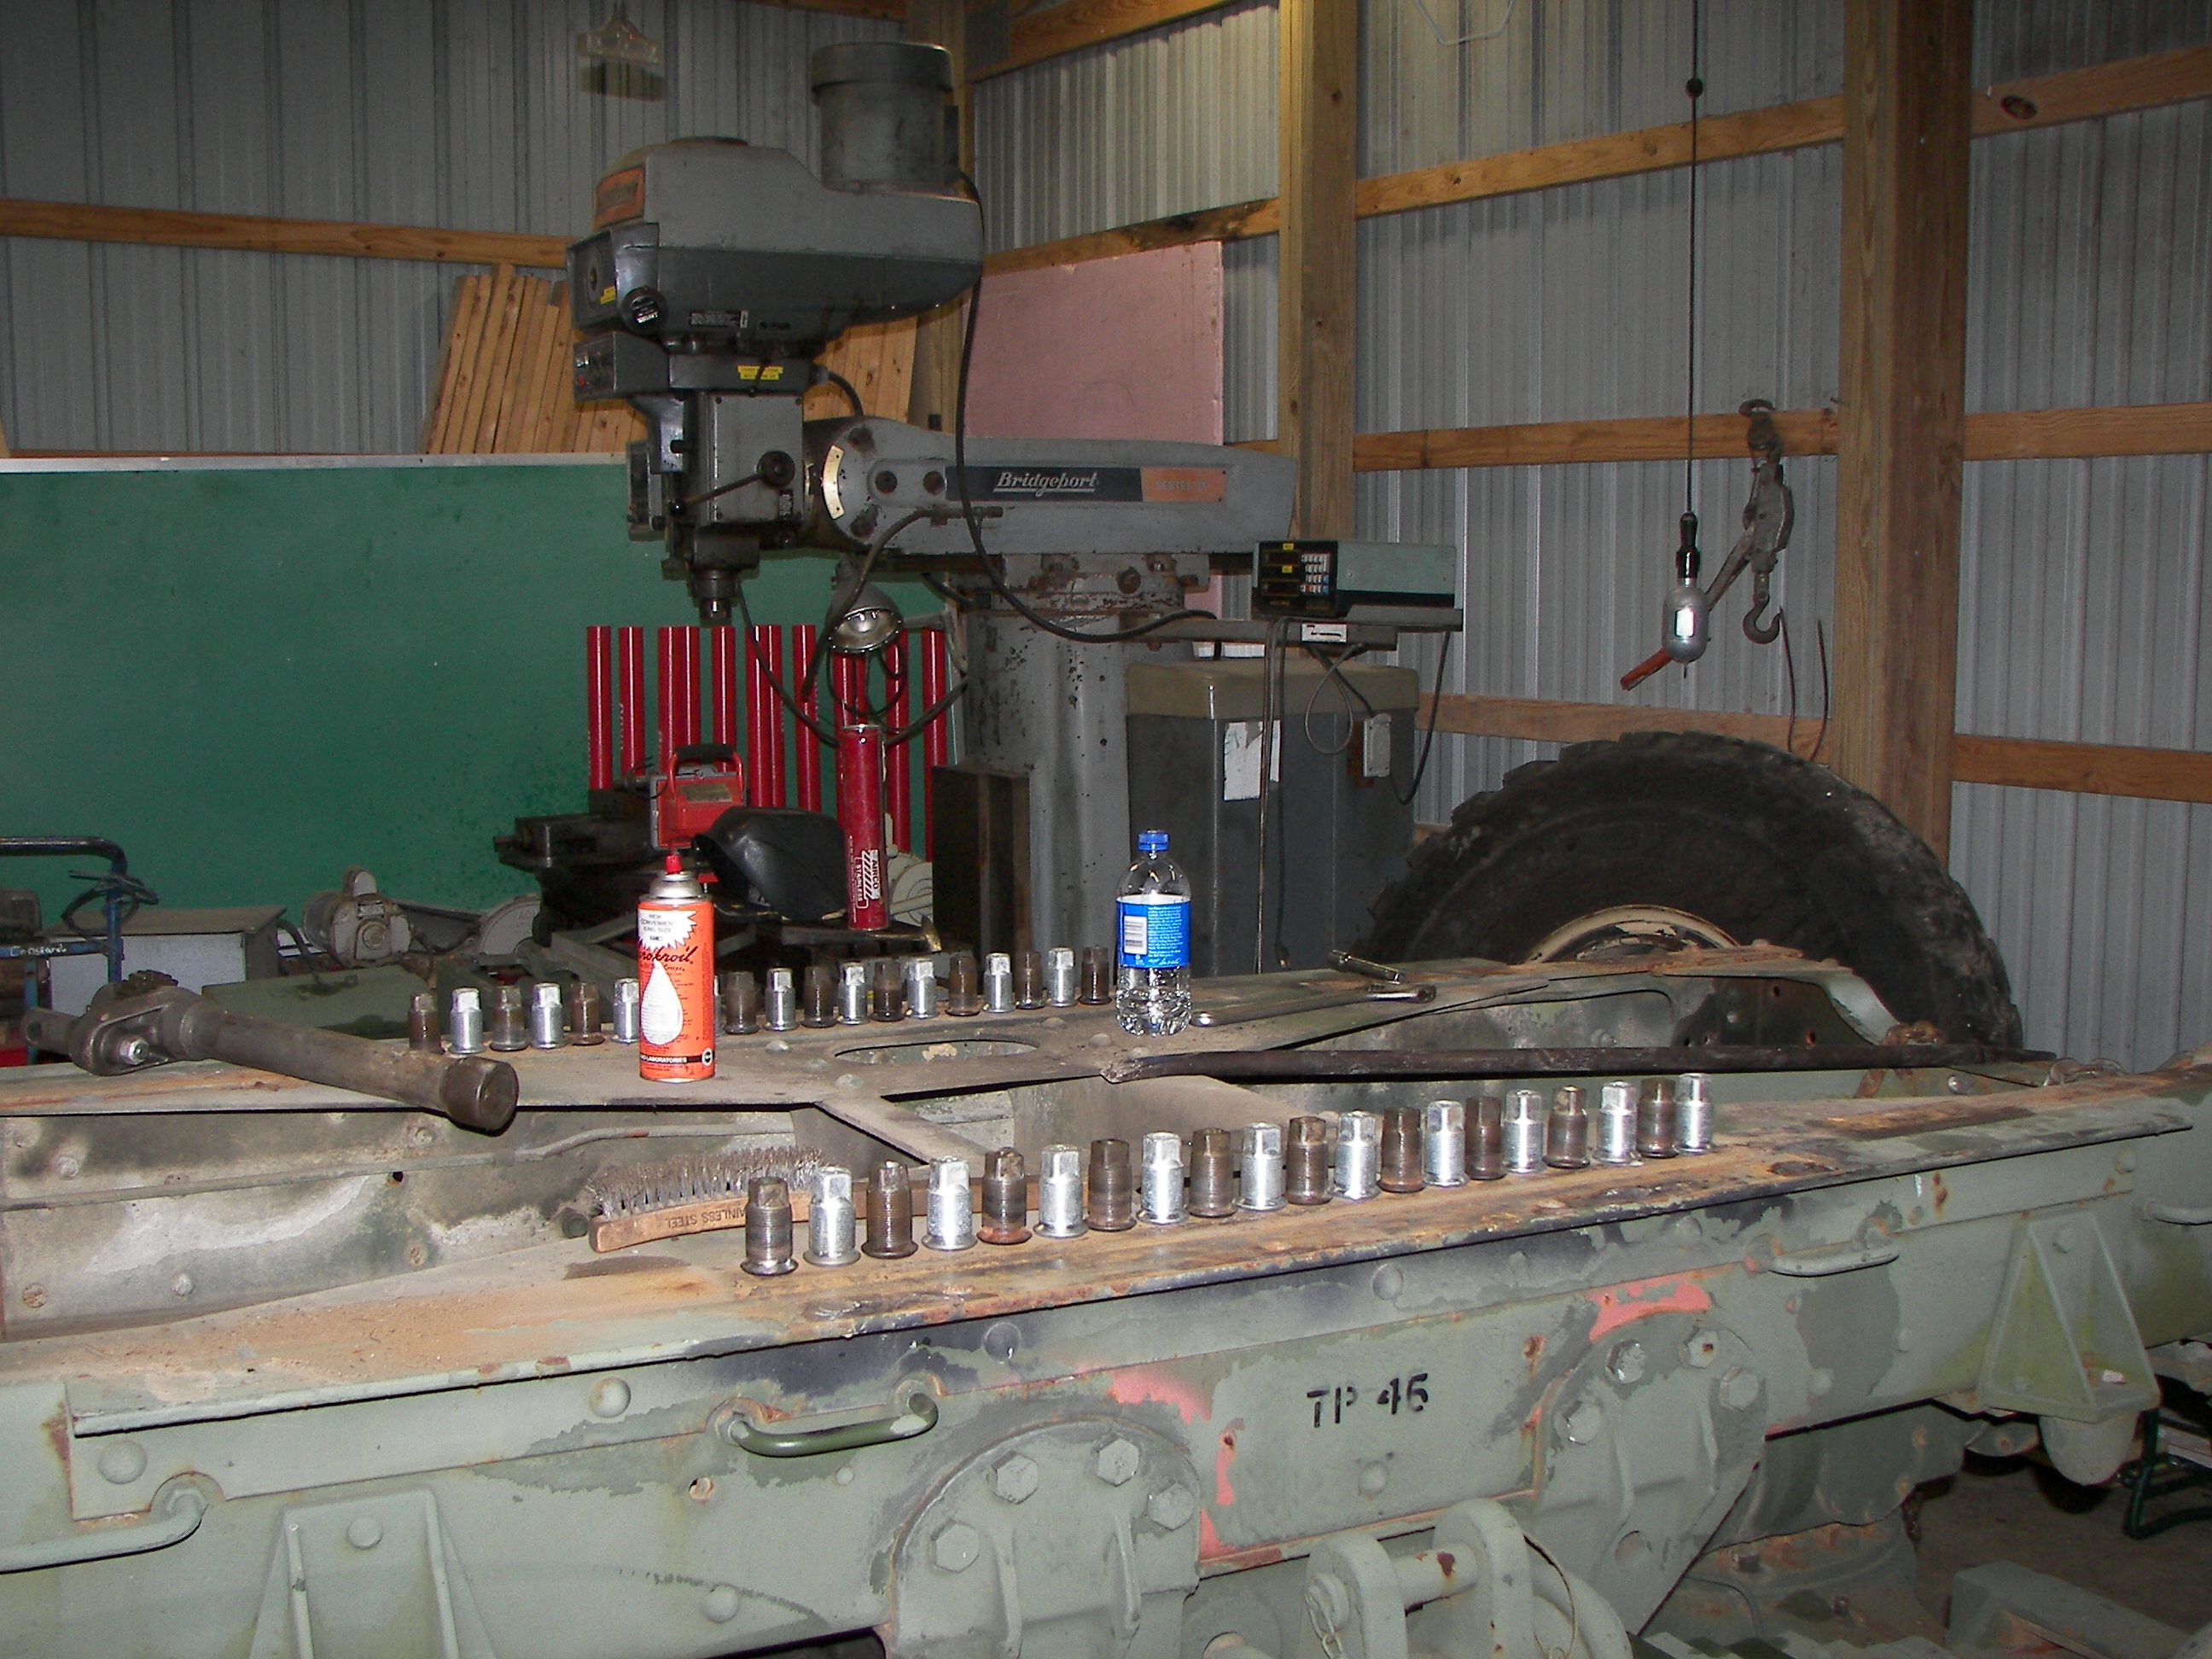
Once the wheels were off the M818, it was time to take the wire brush and elbow grease to all 60 wheel studs and also inspect the brakes and check the adjustments. There were no issues found beforehand with the brakes but only a fool ignores them. |
|
The tan color here shows that the truck was tan at some time. A MWO was previously applied to coat the M818 in OD CARC giving it the nice green color. |
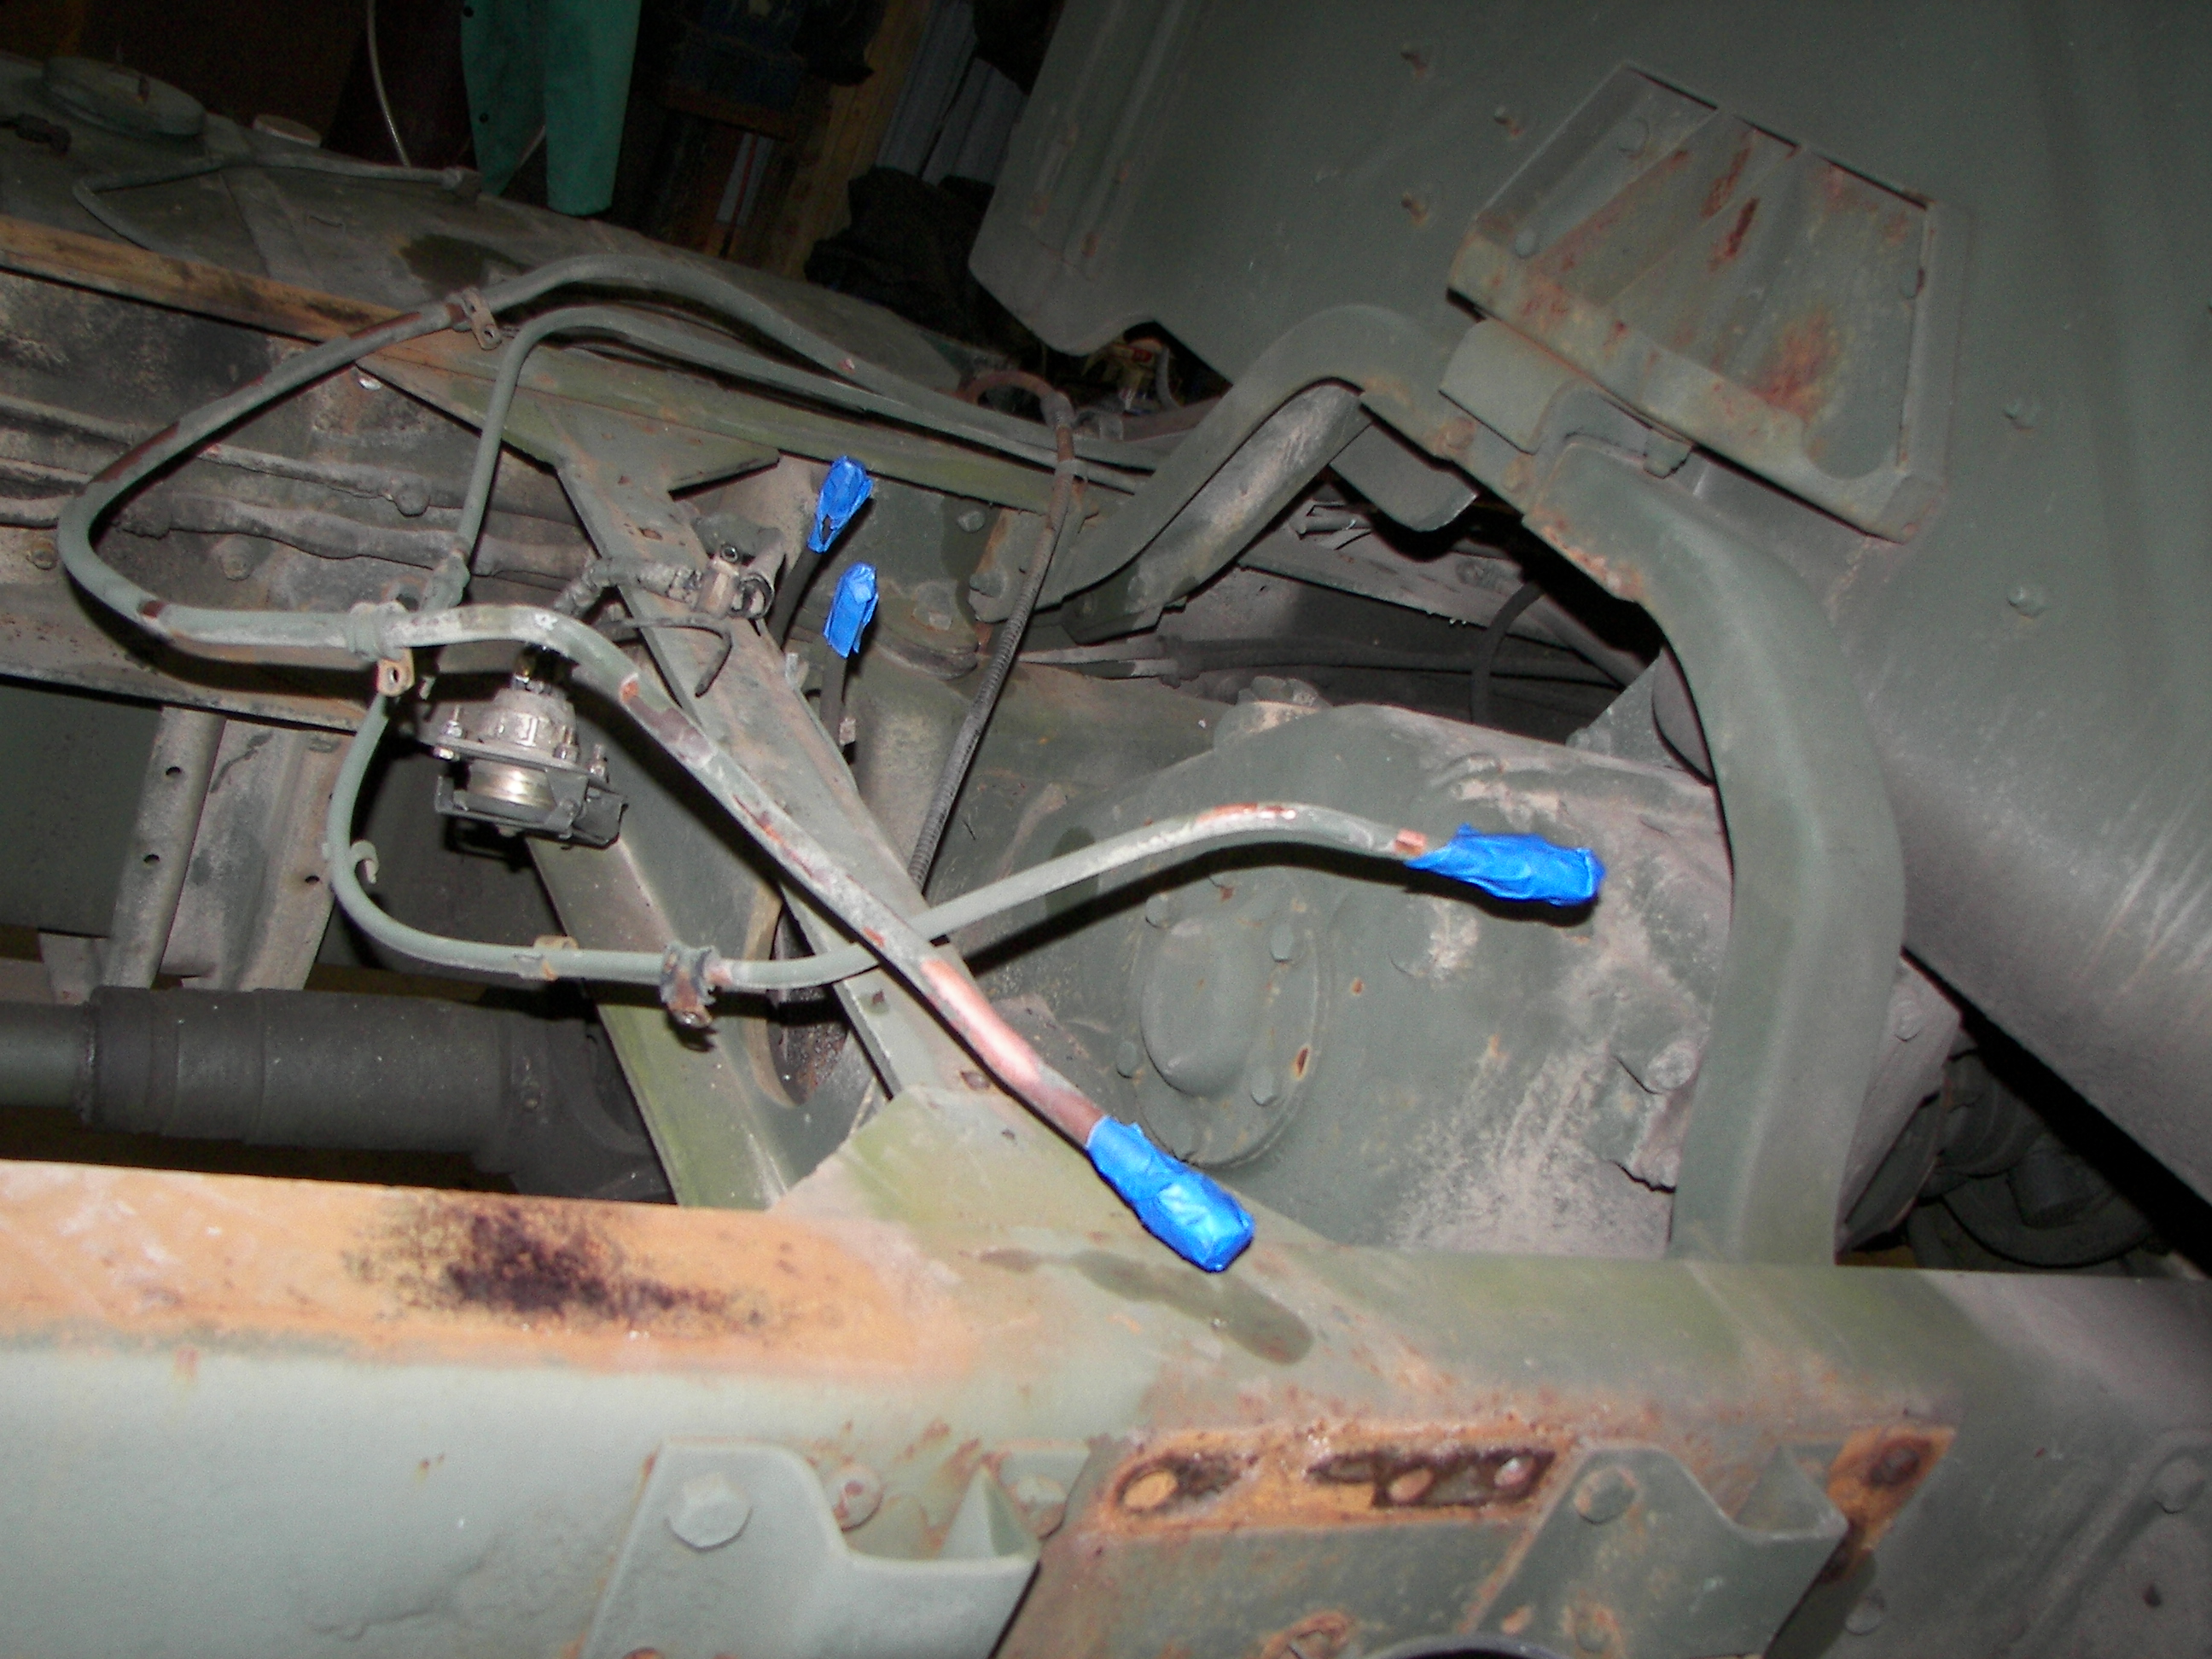
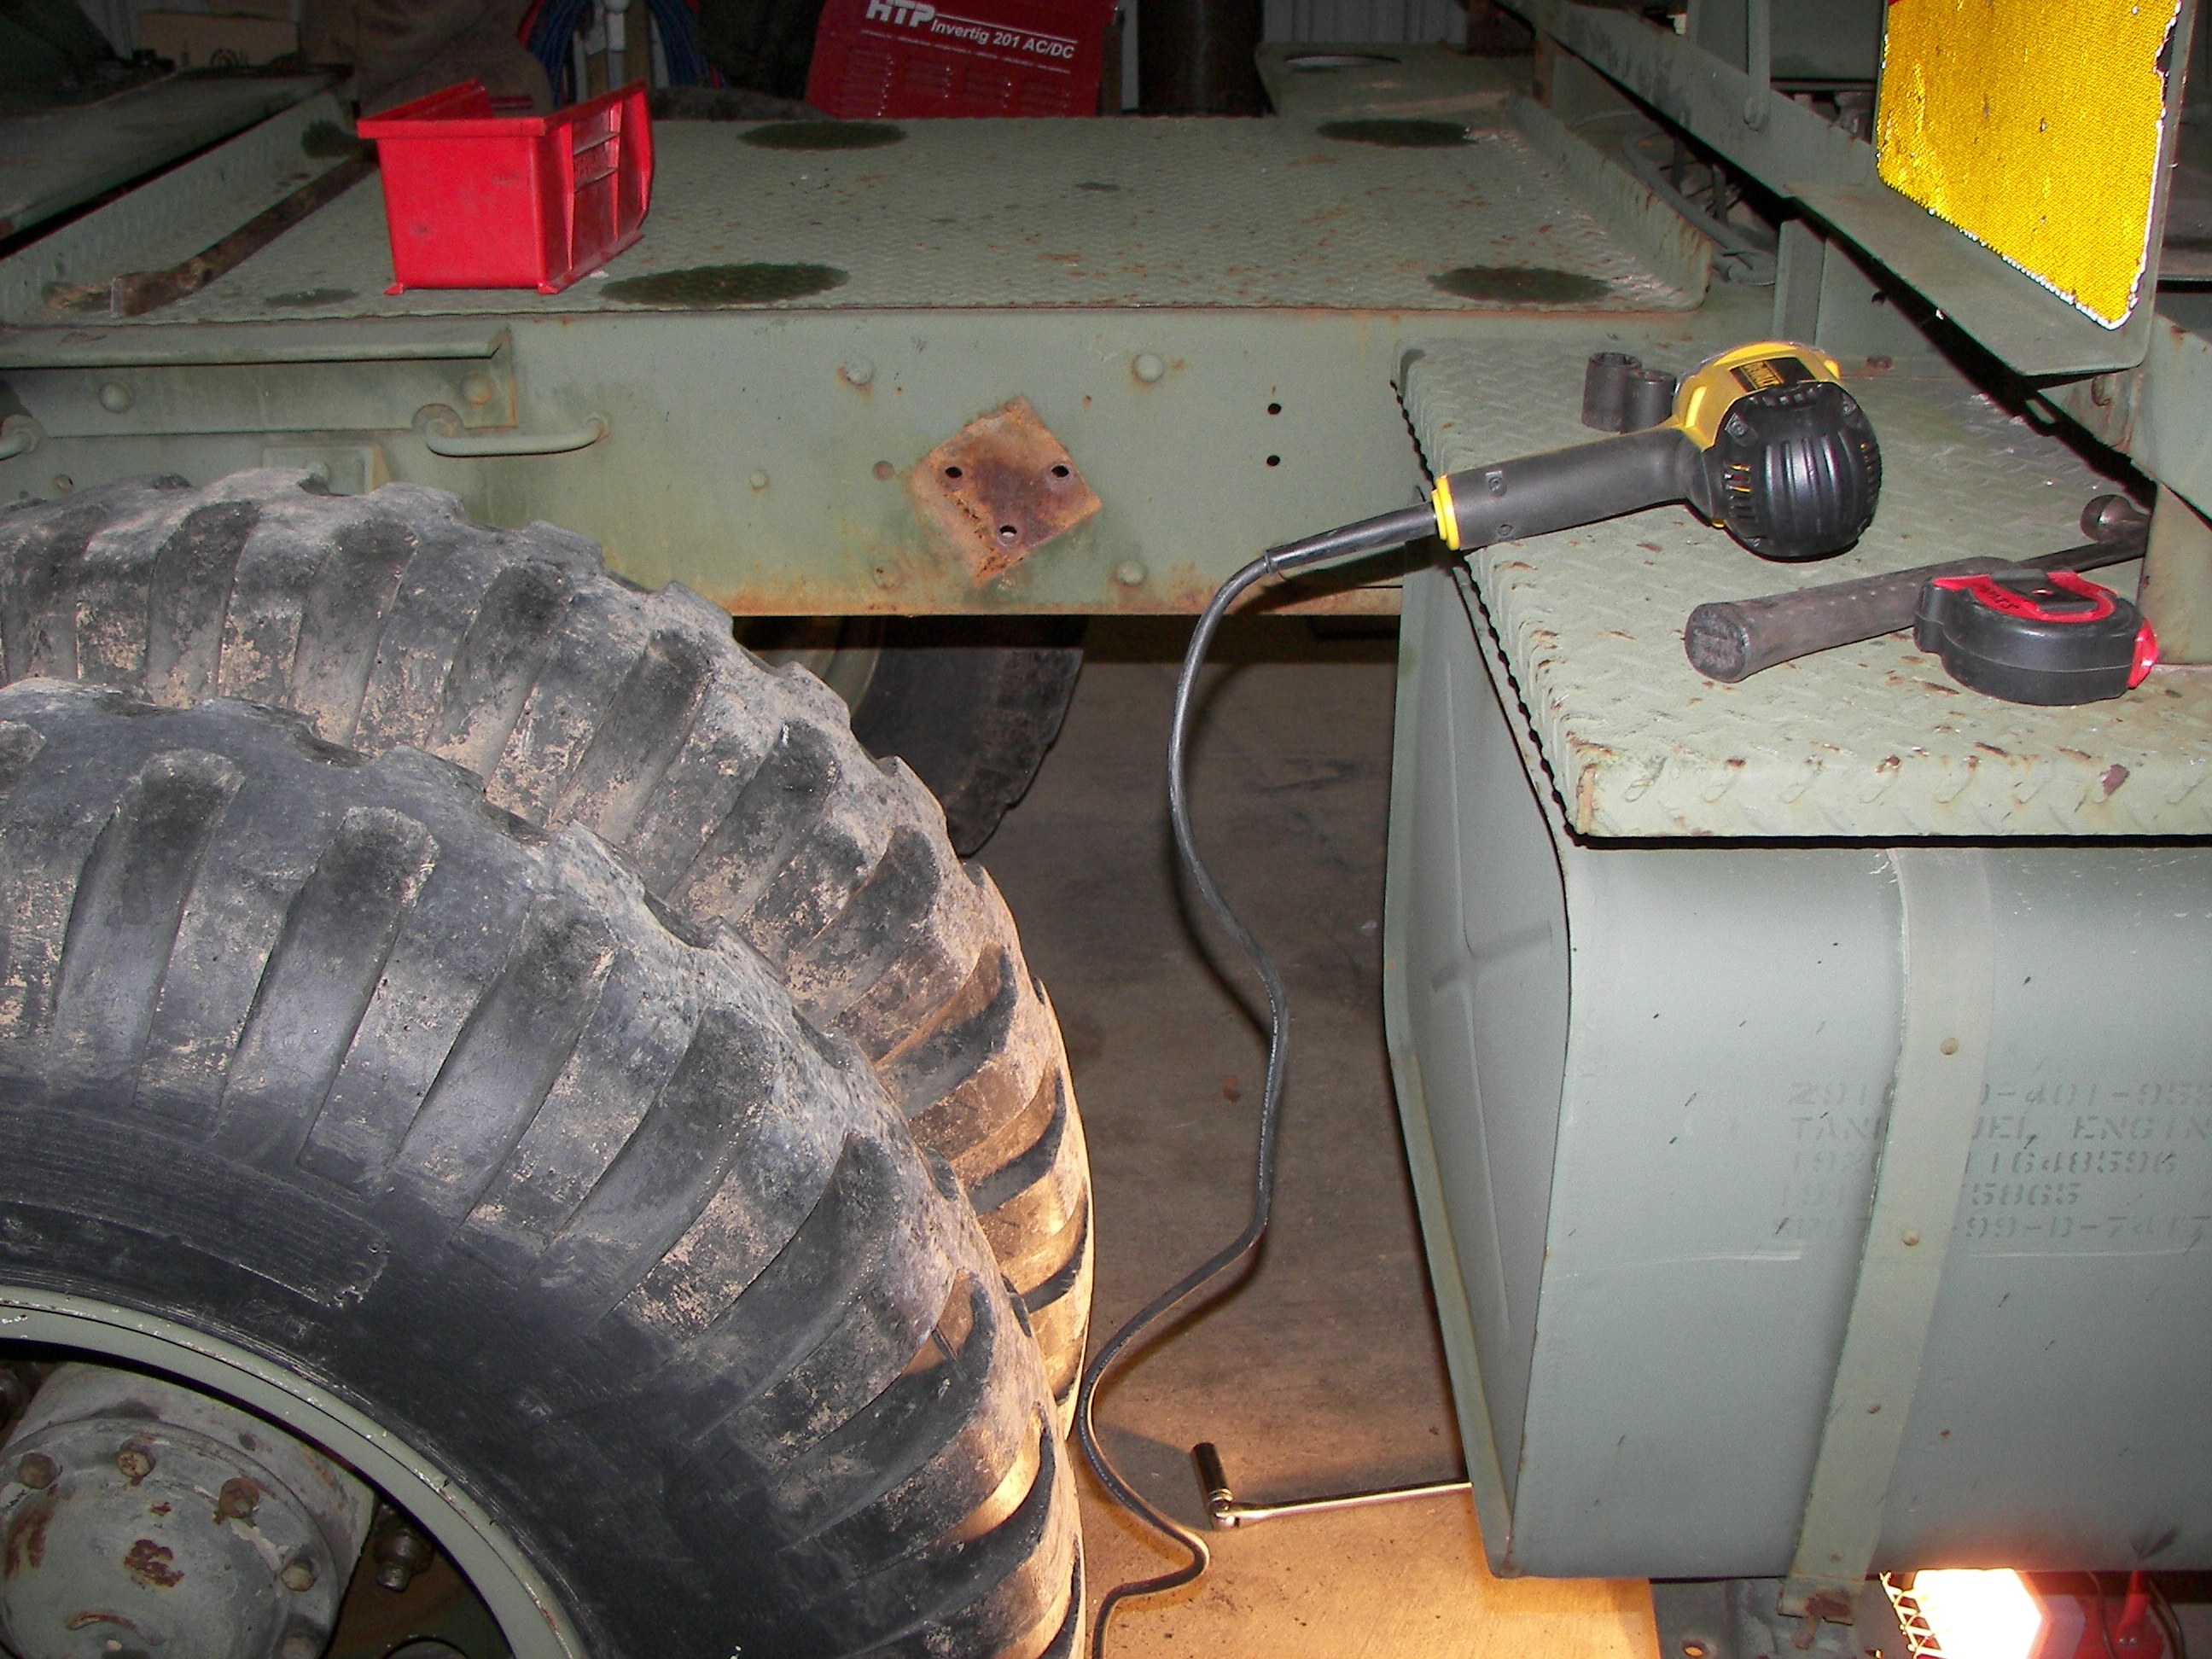
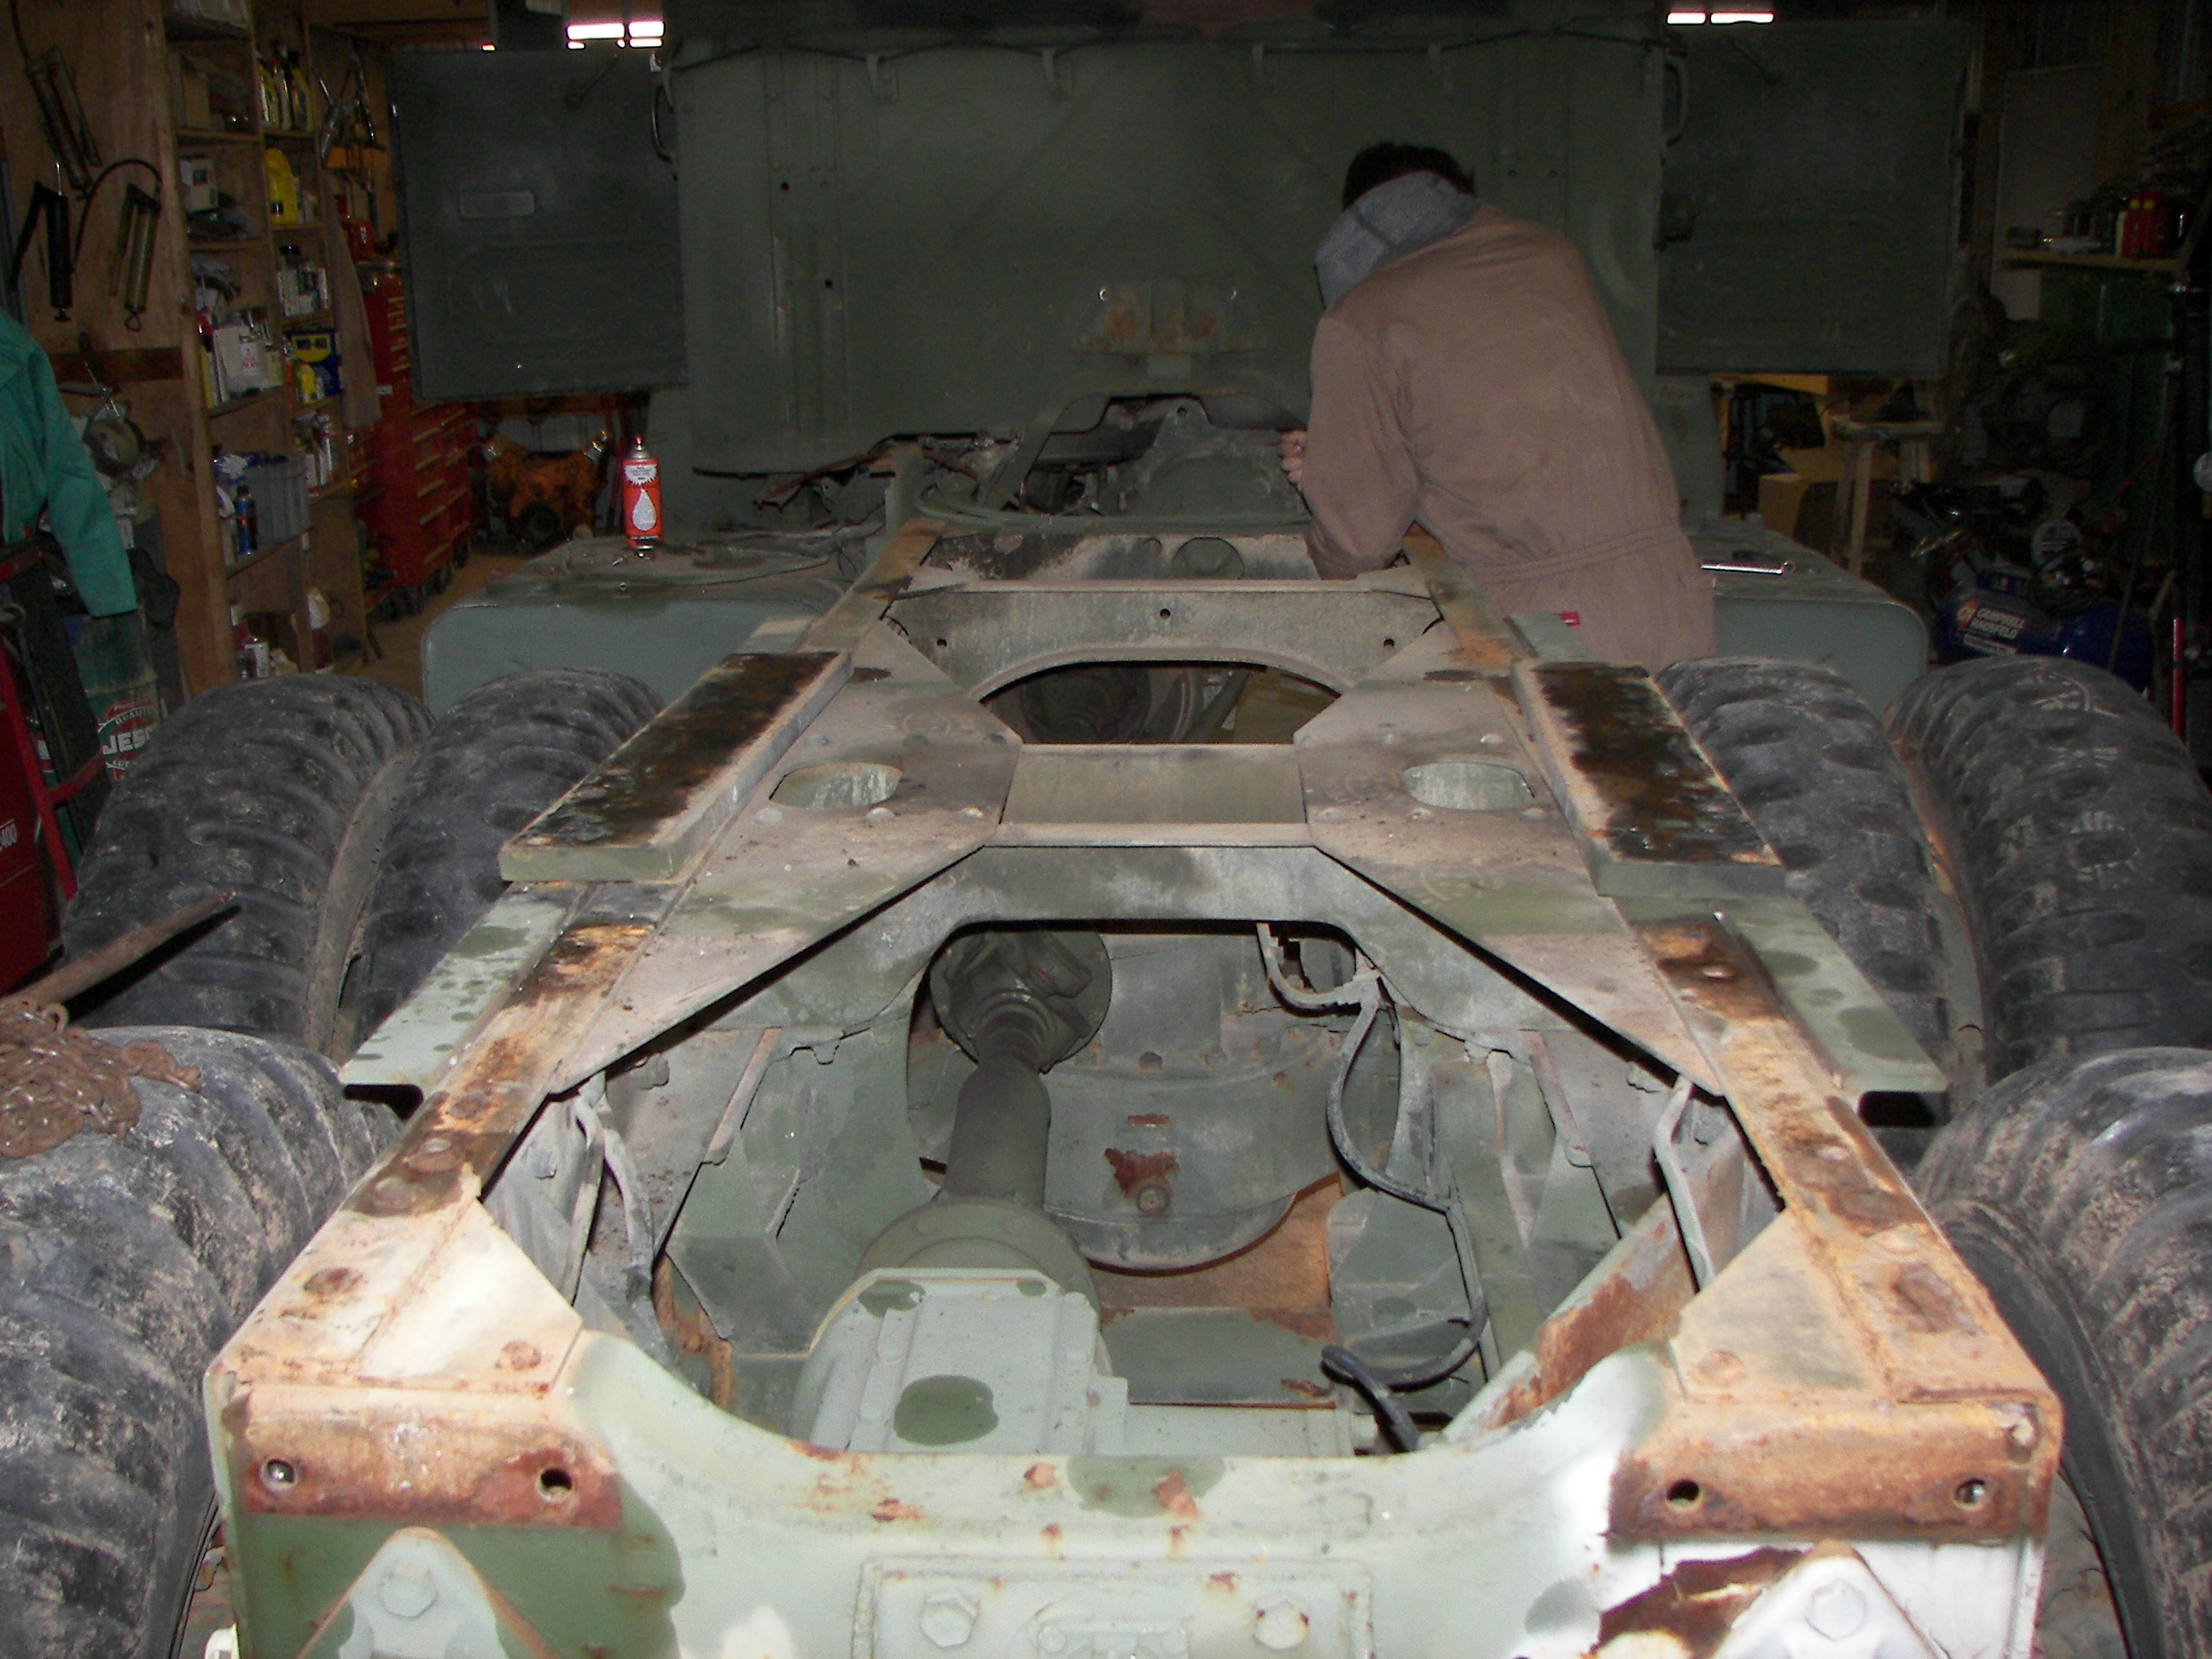
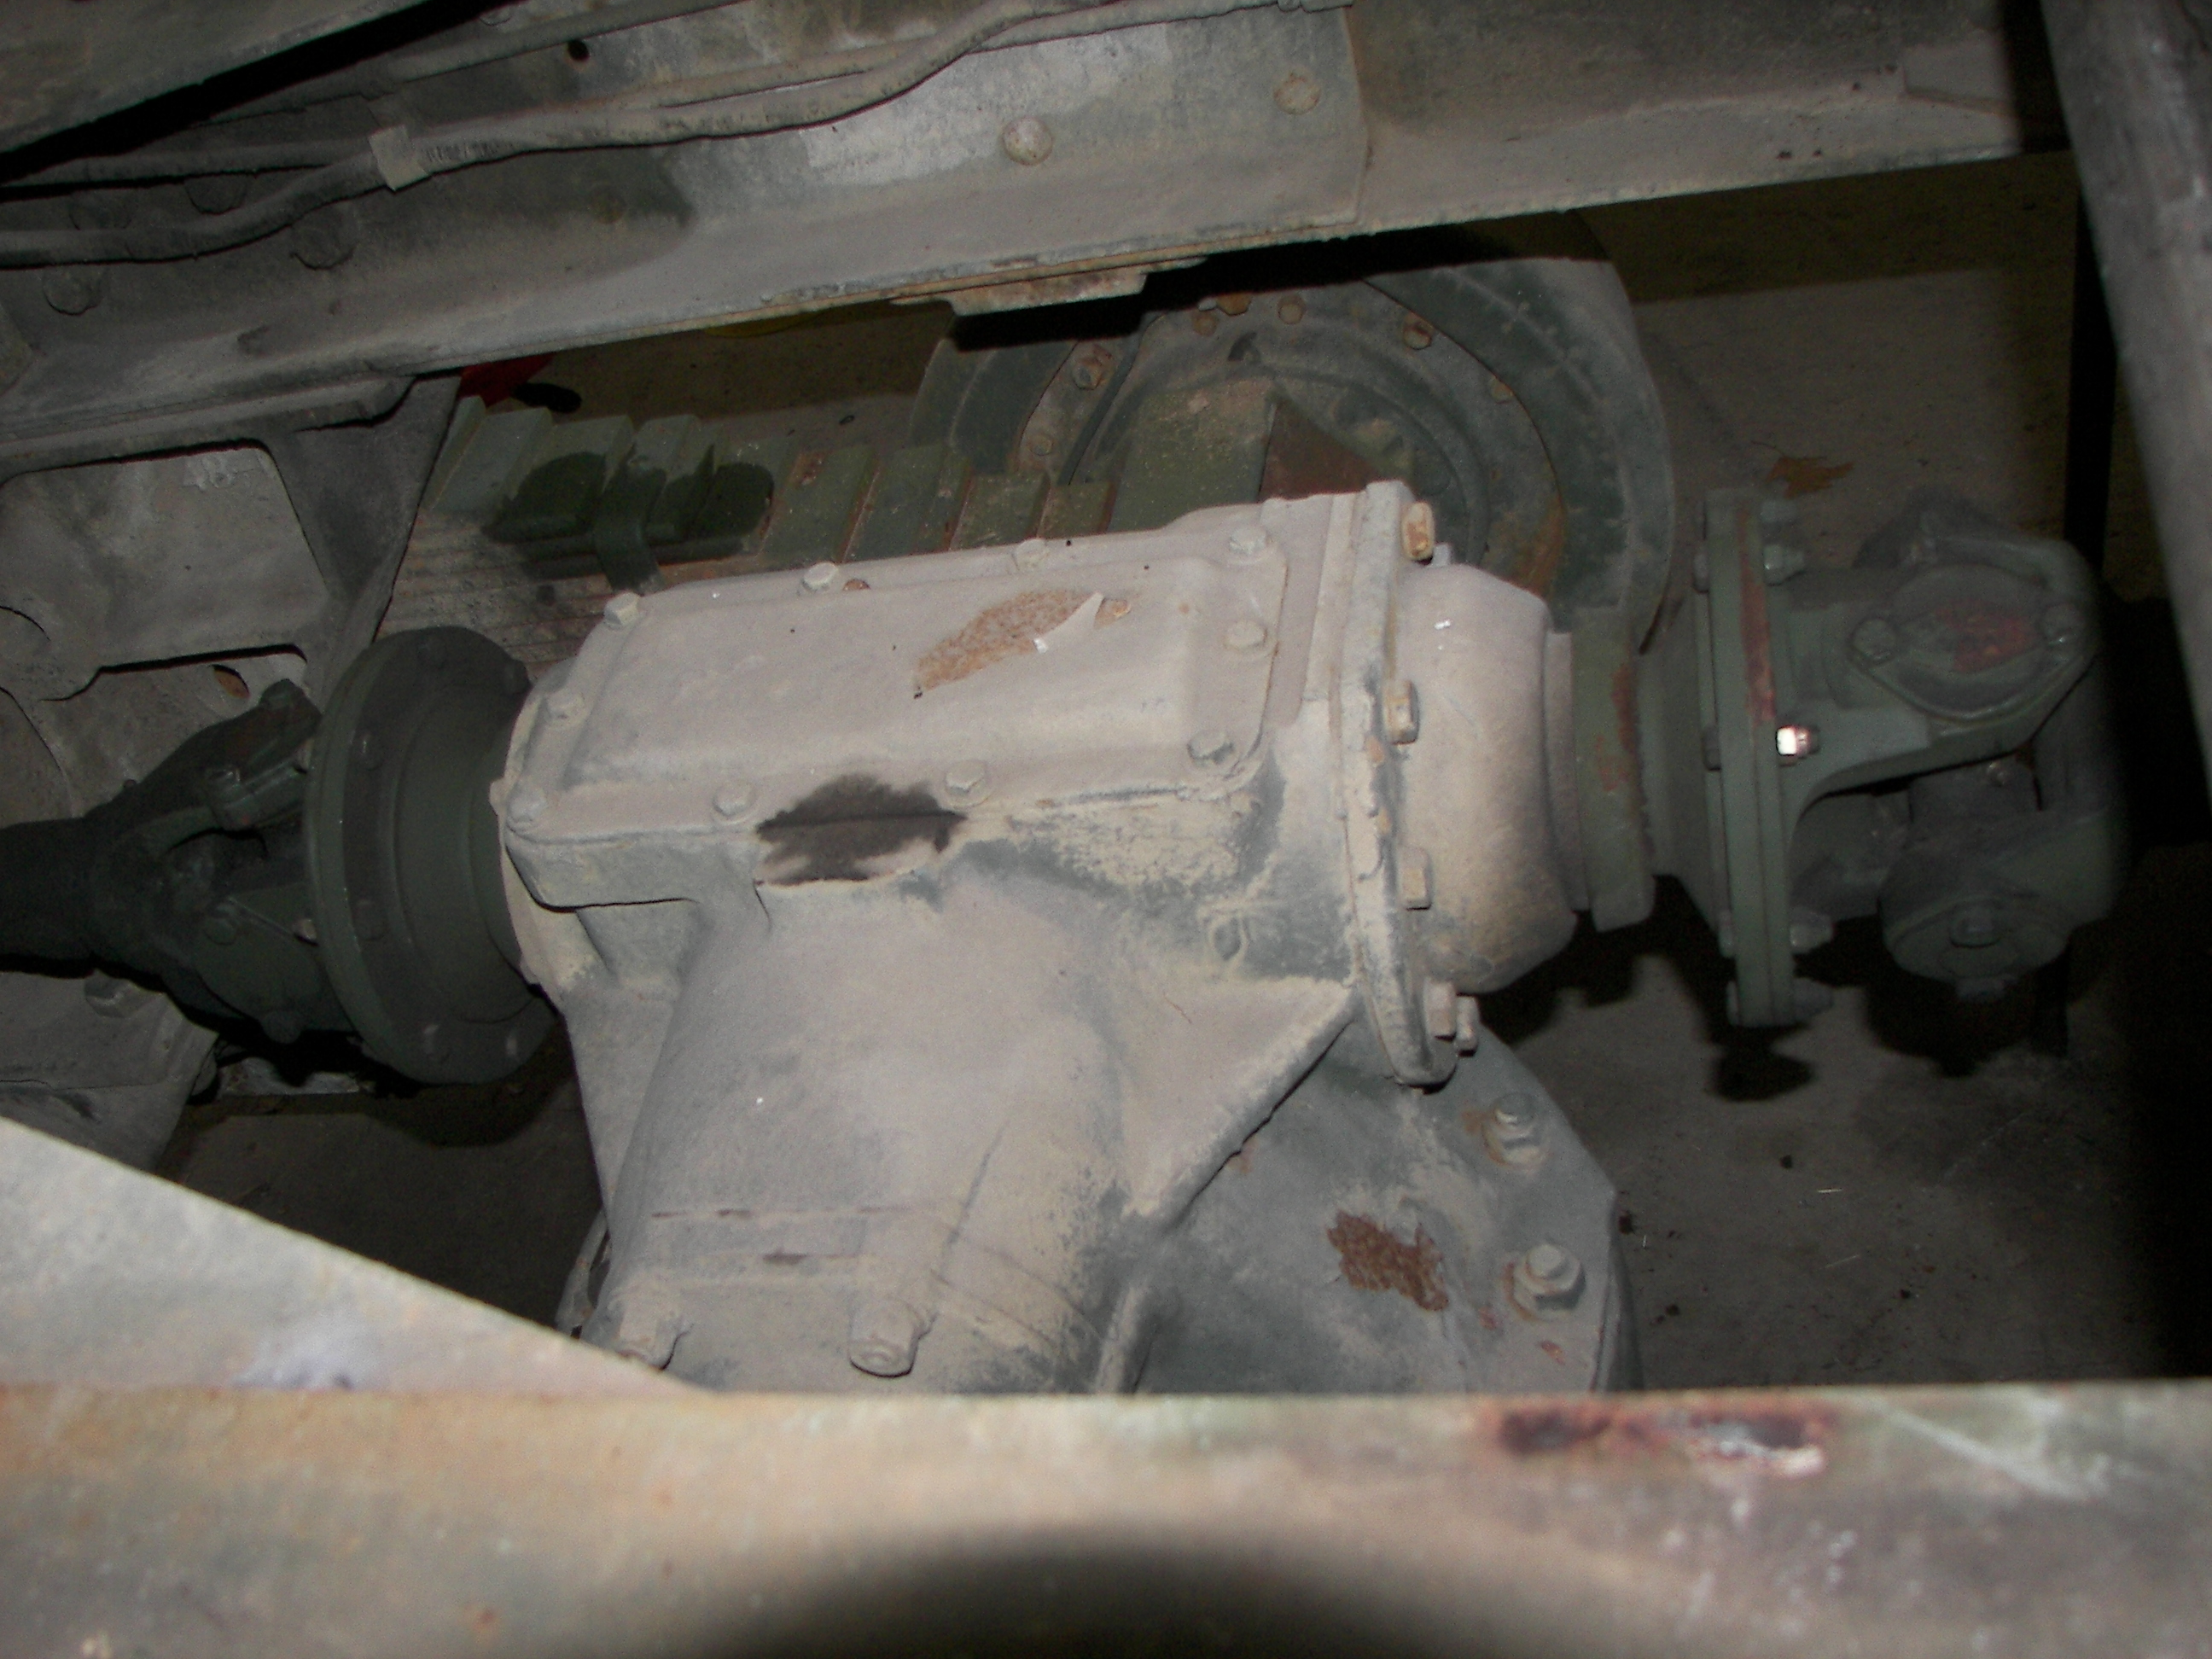
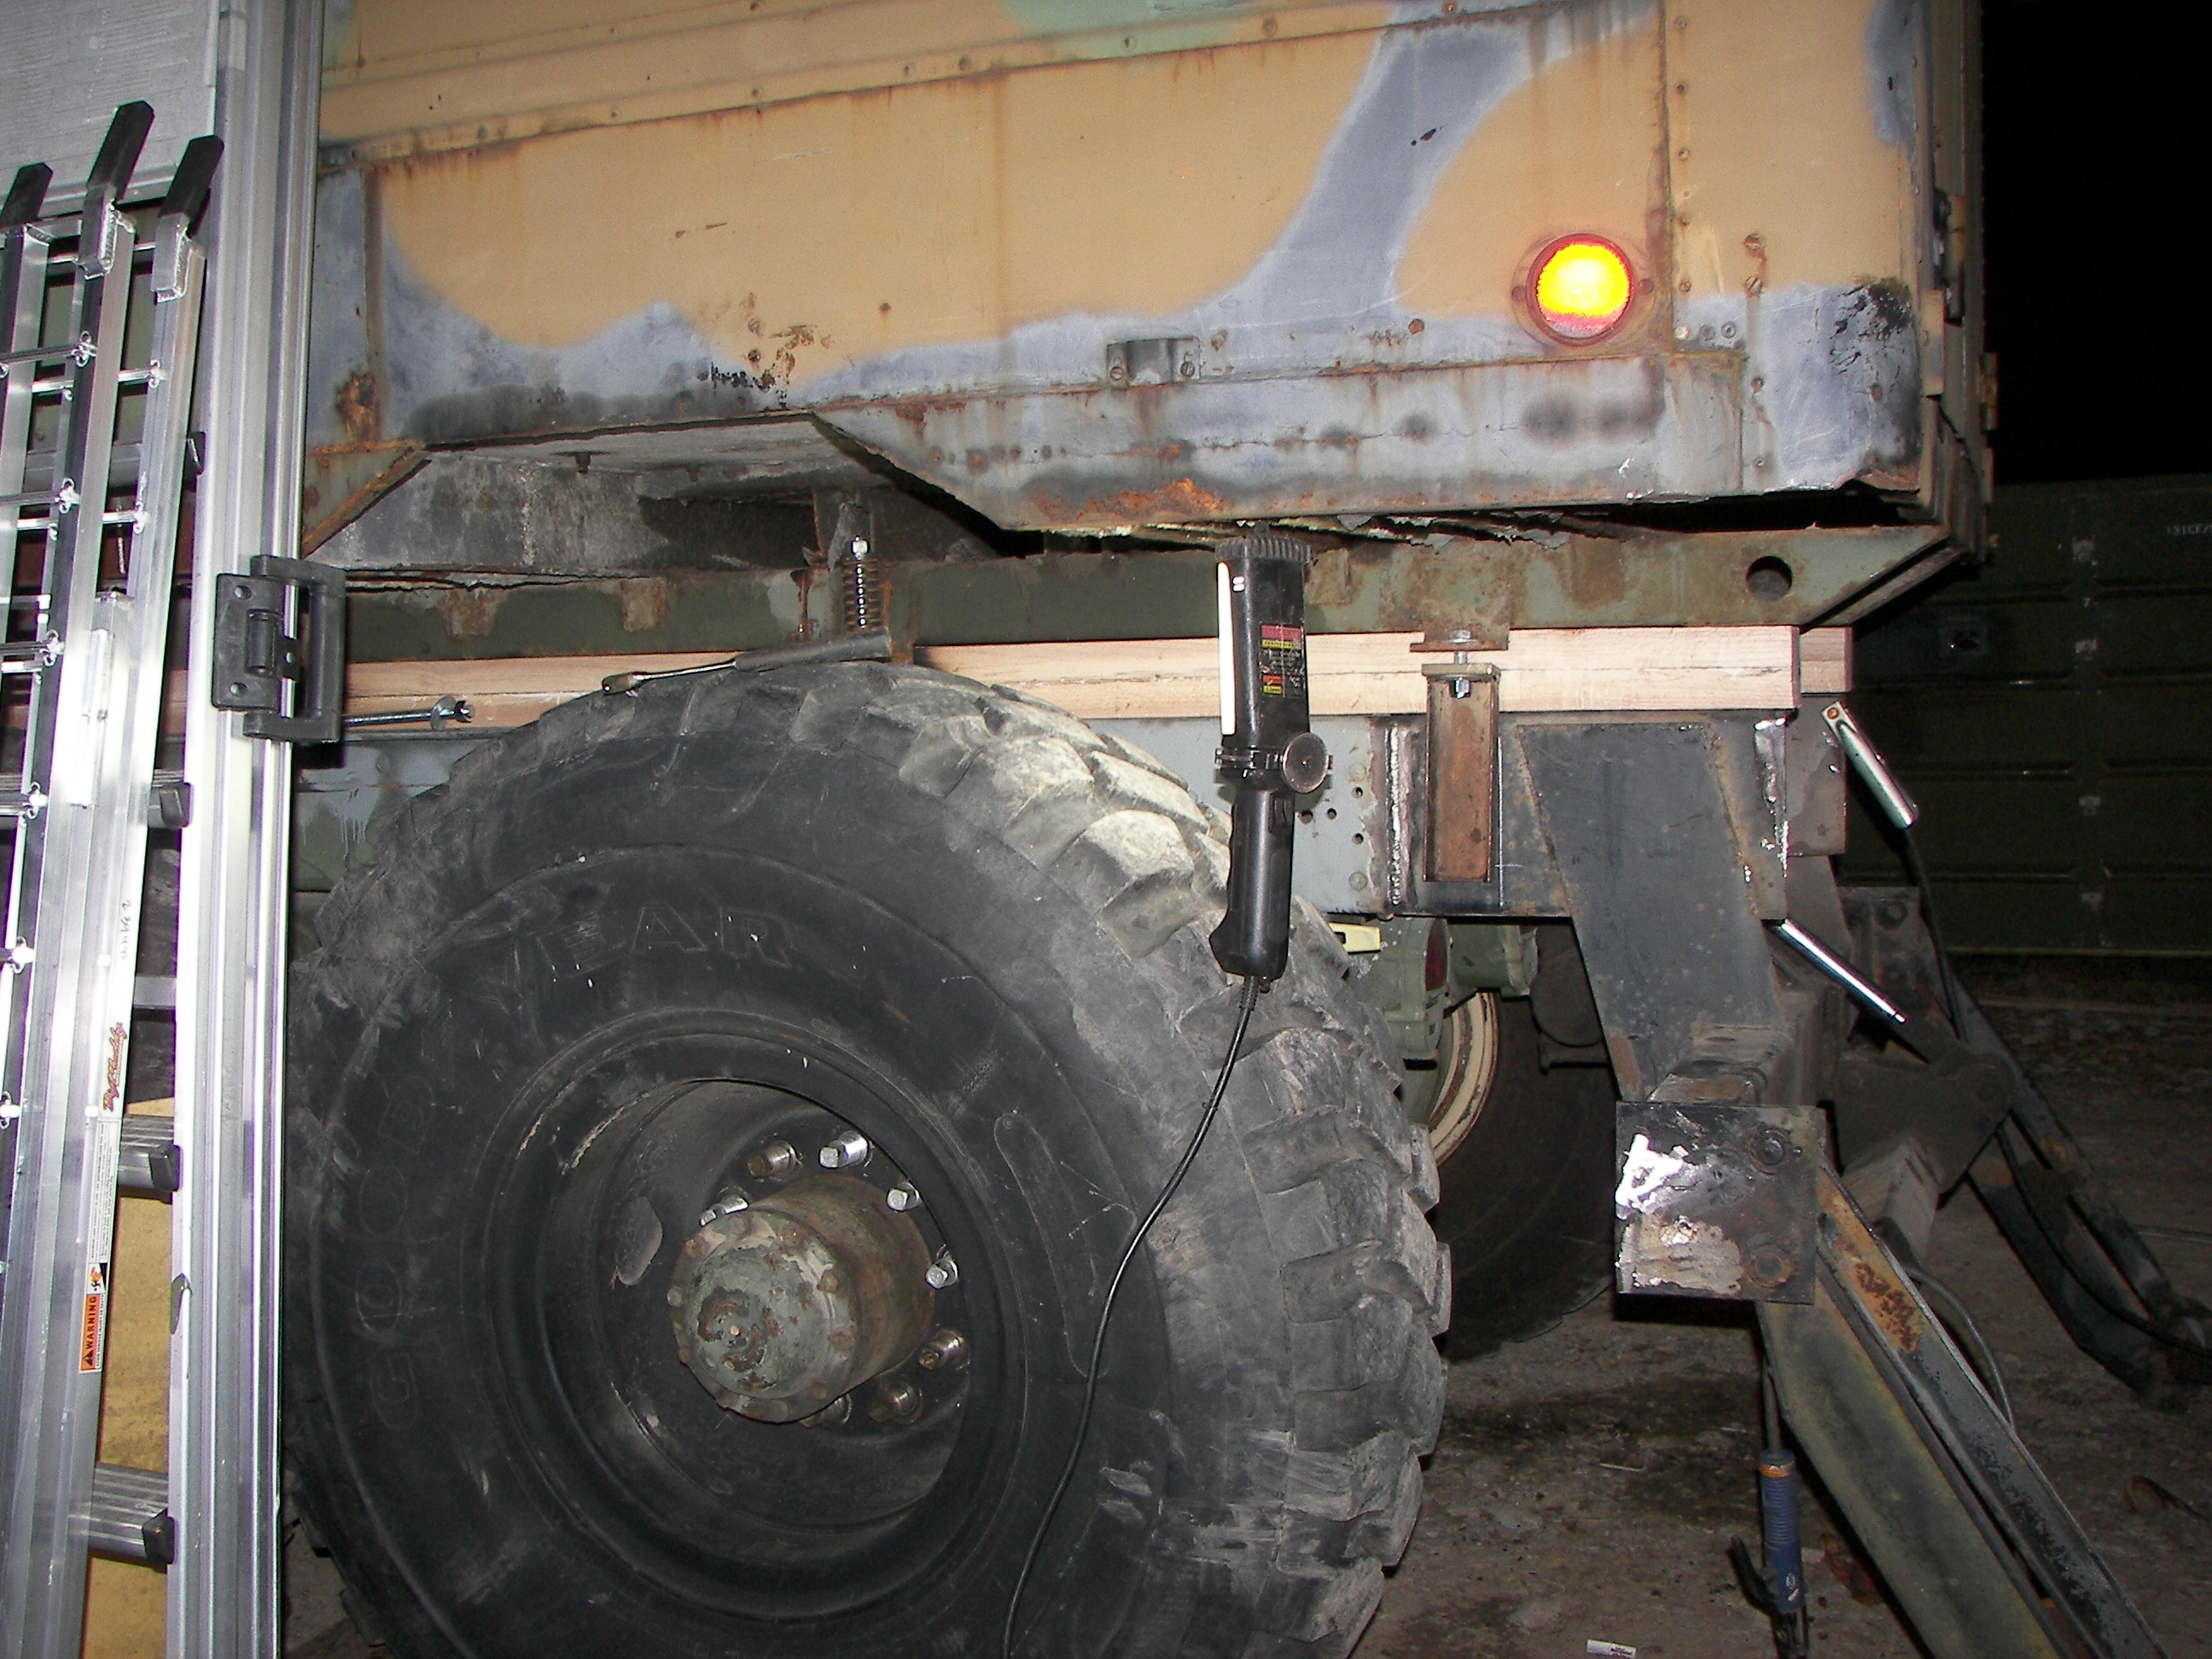
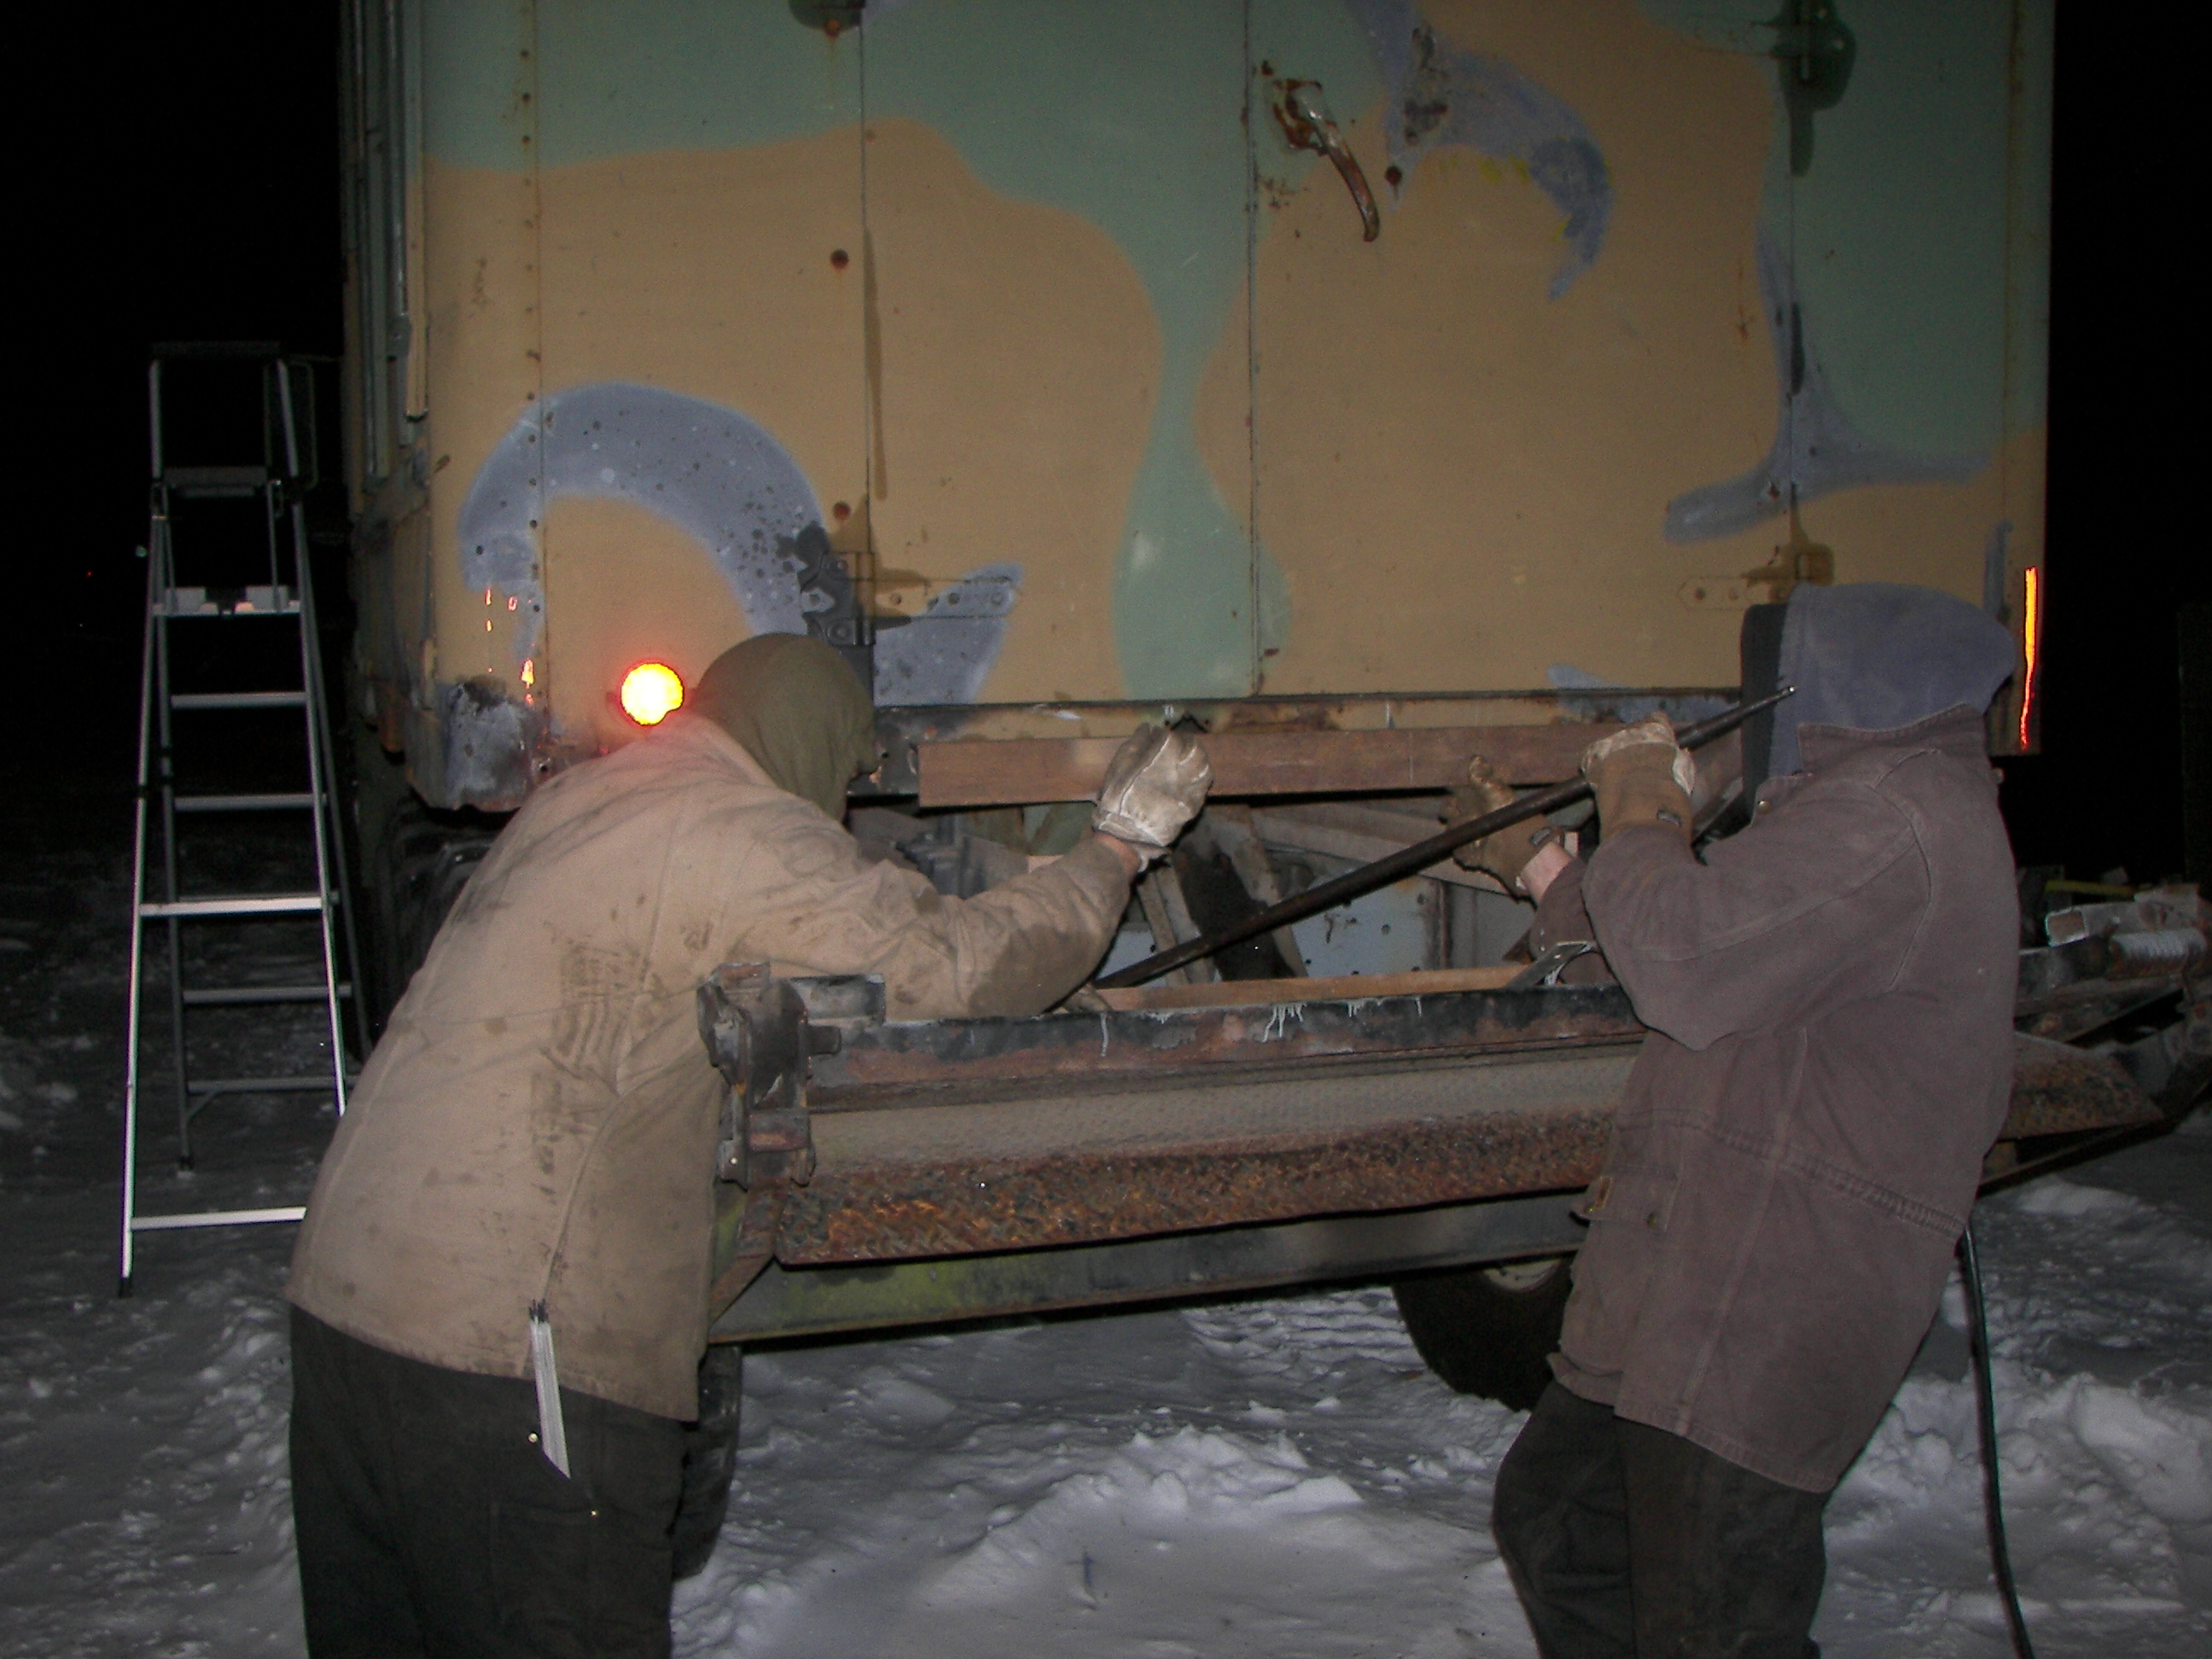
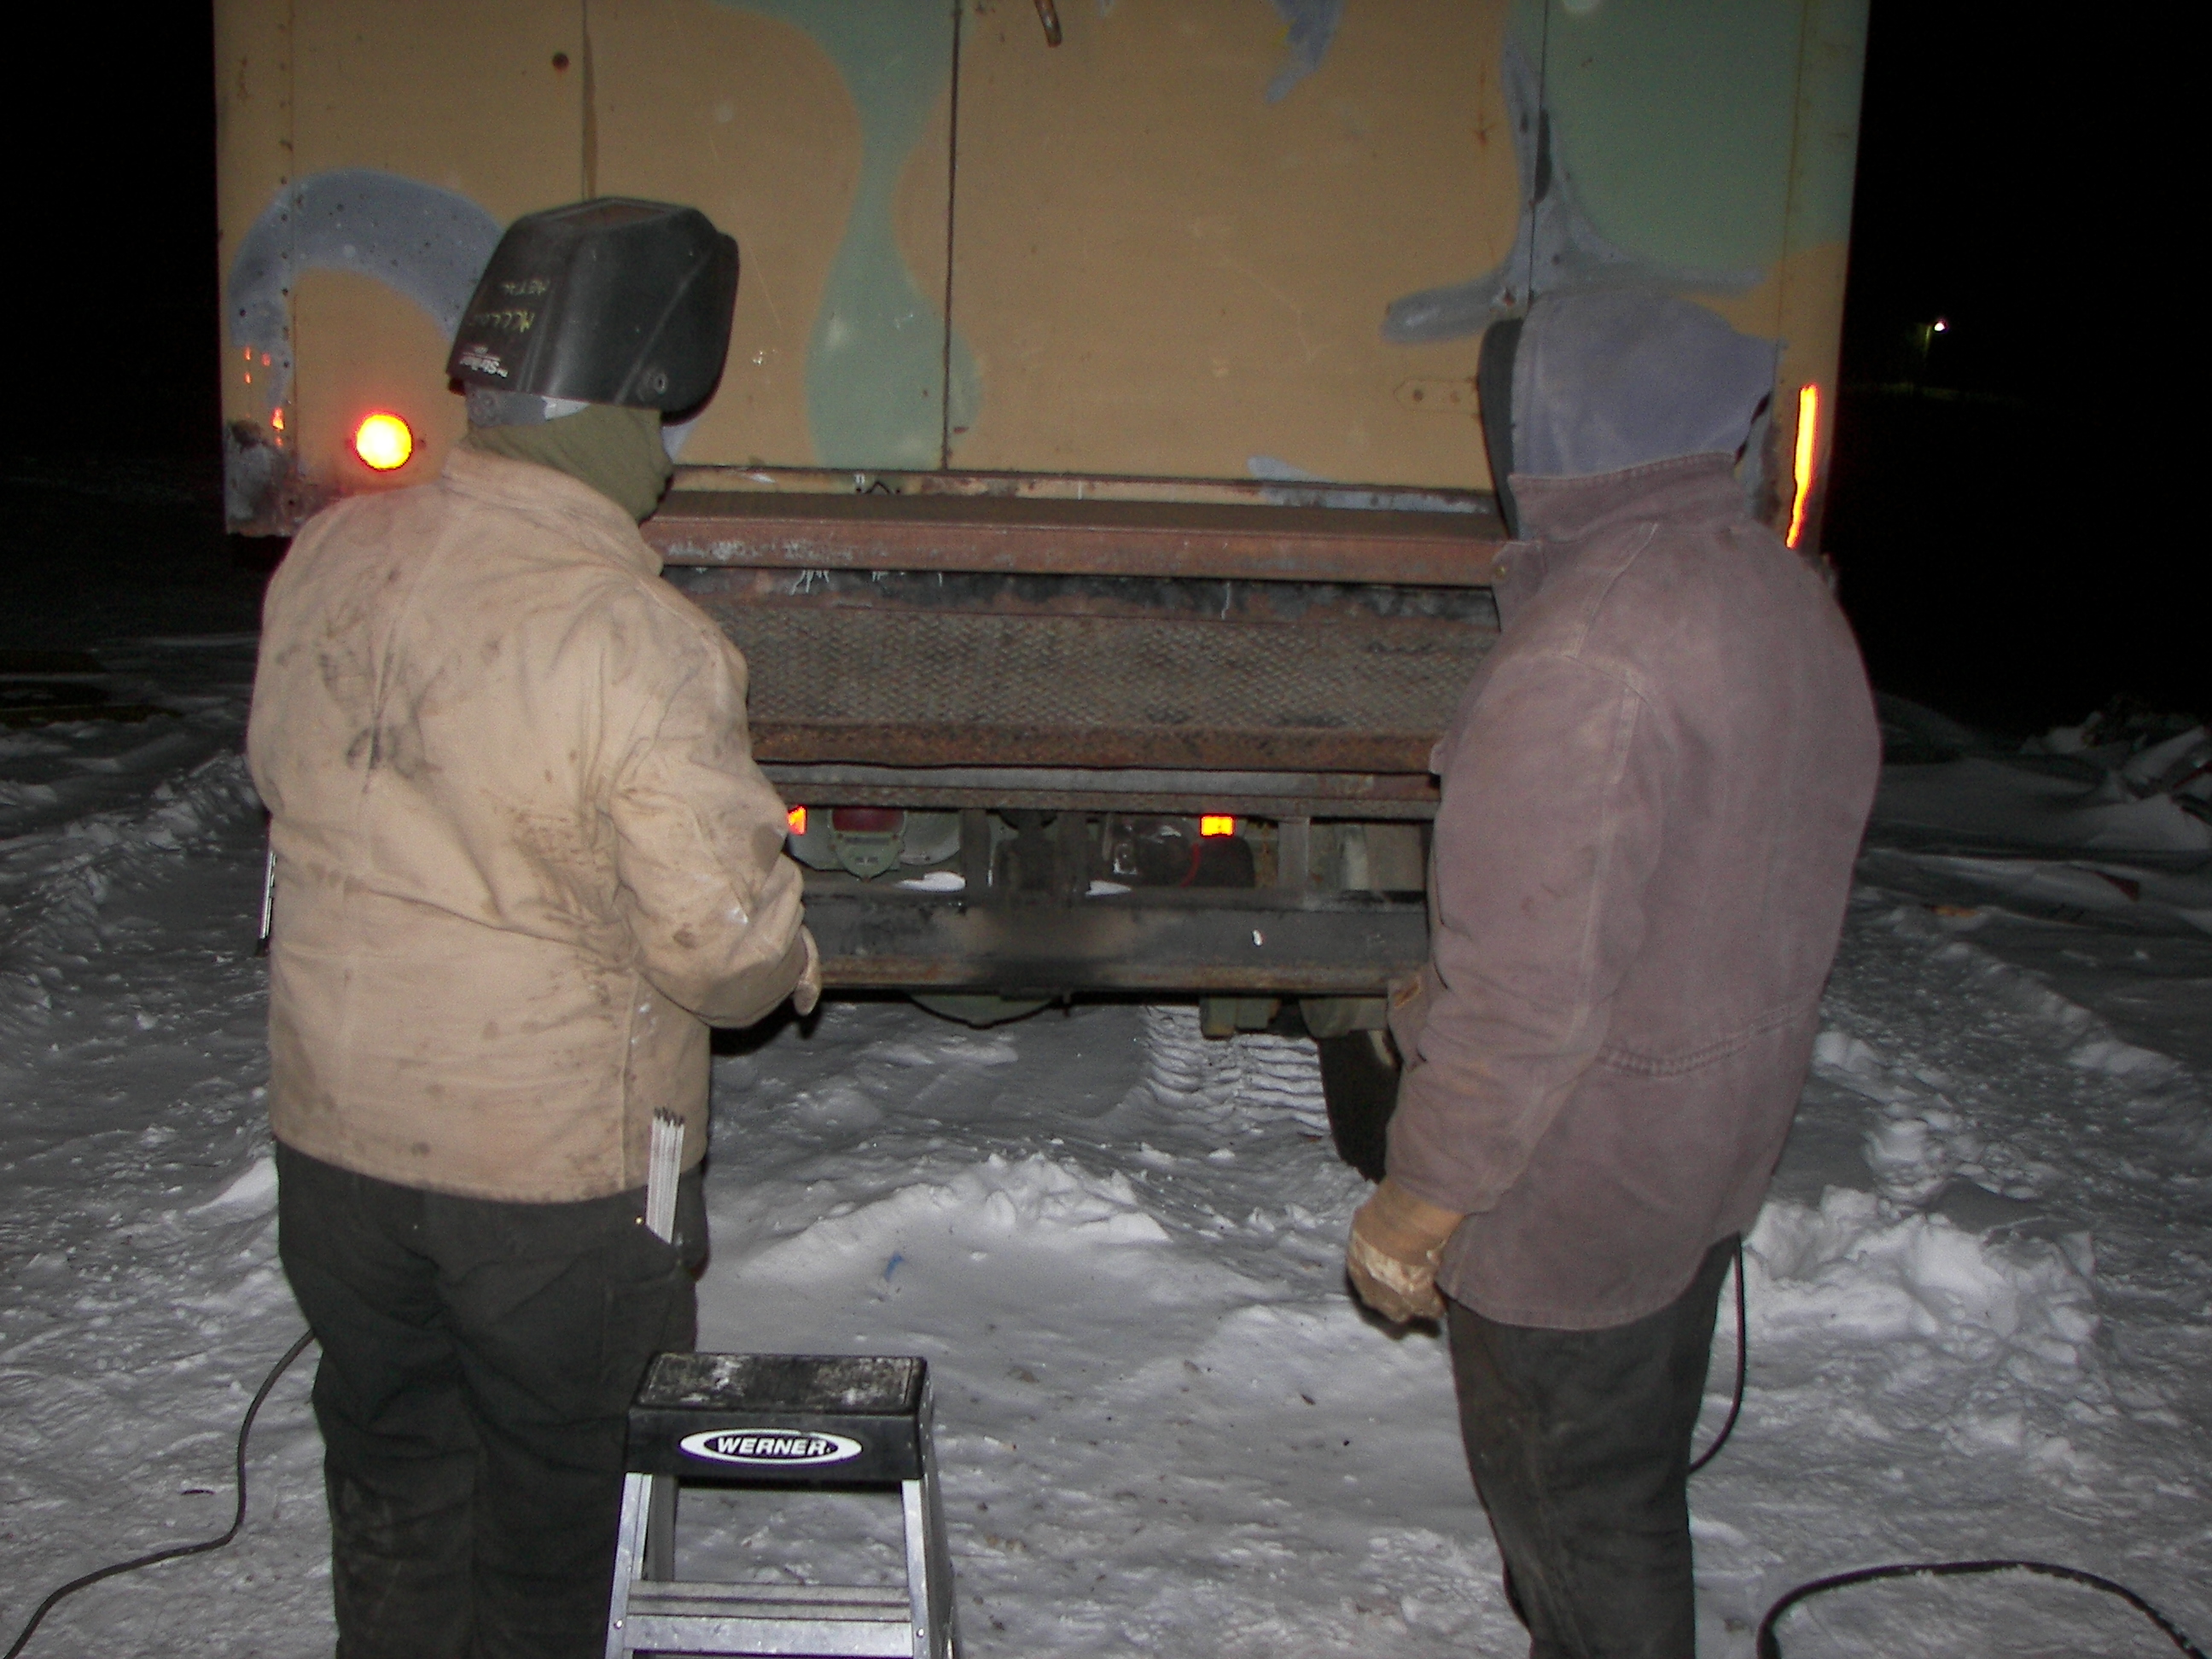
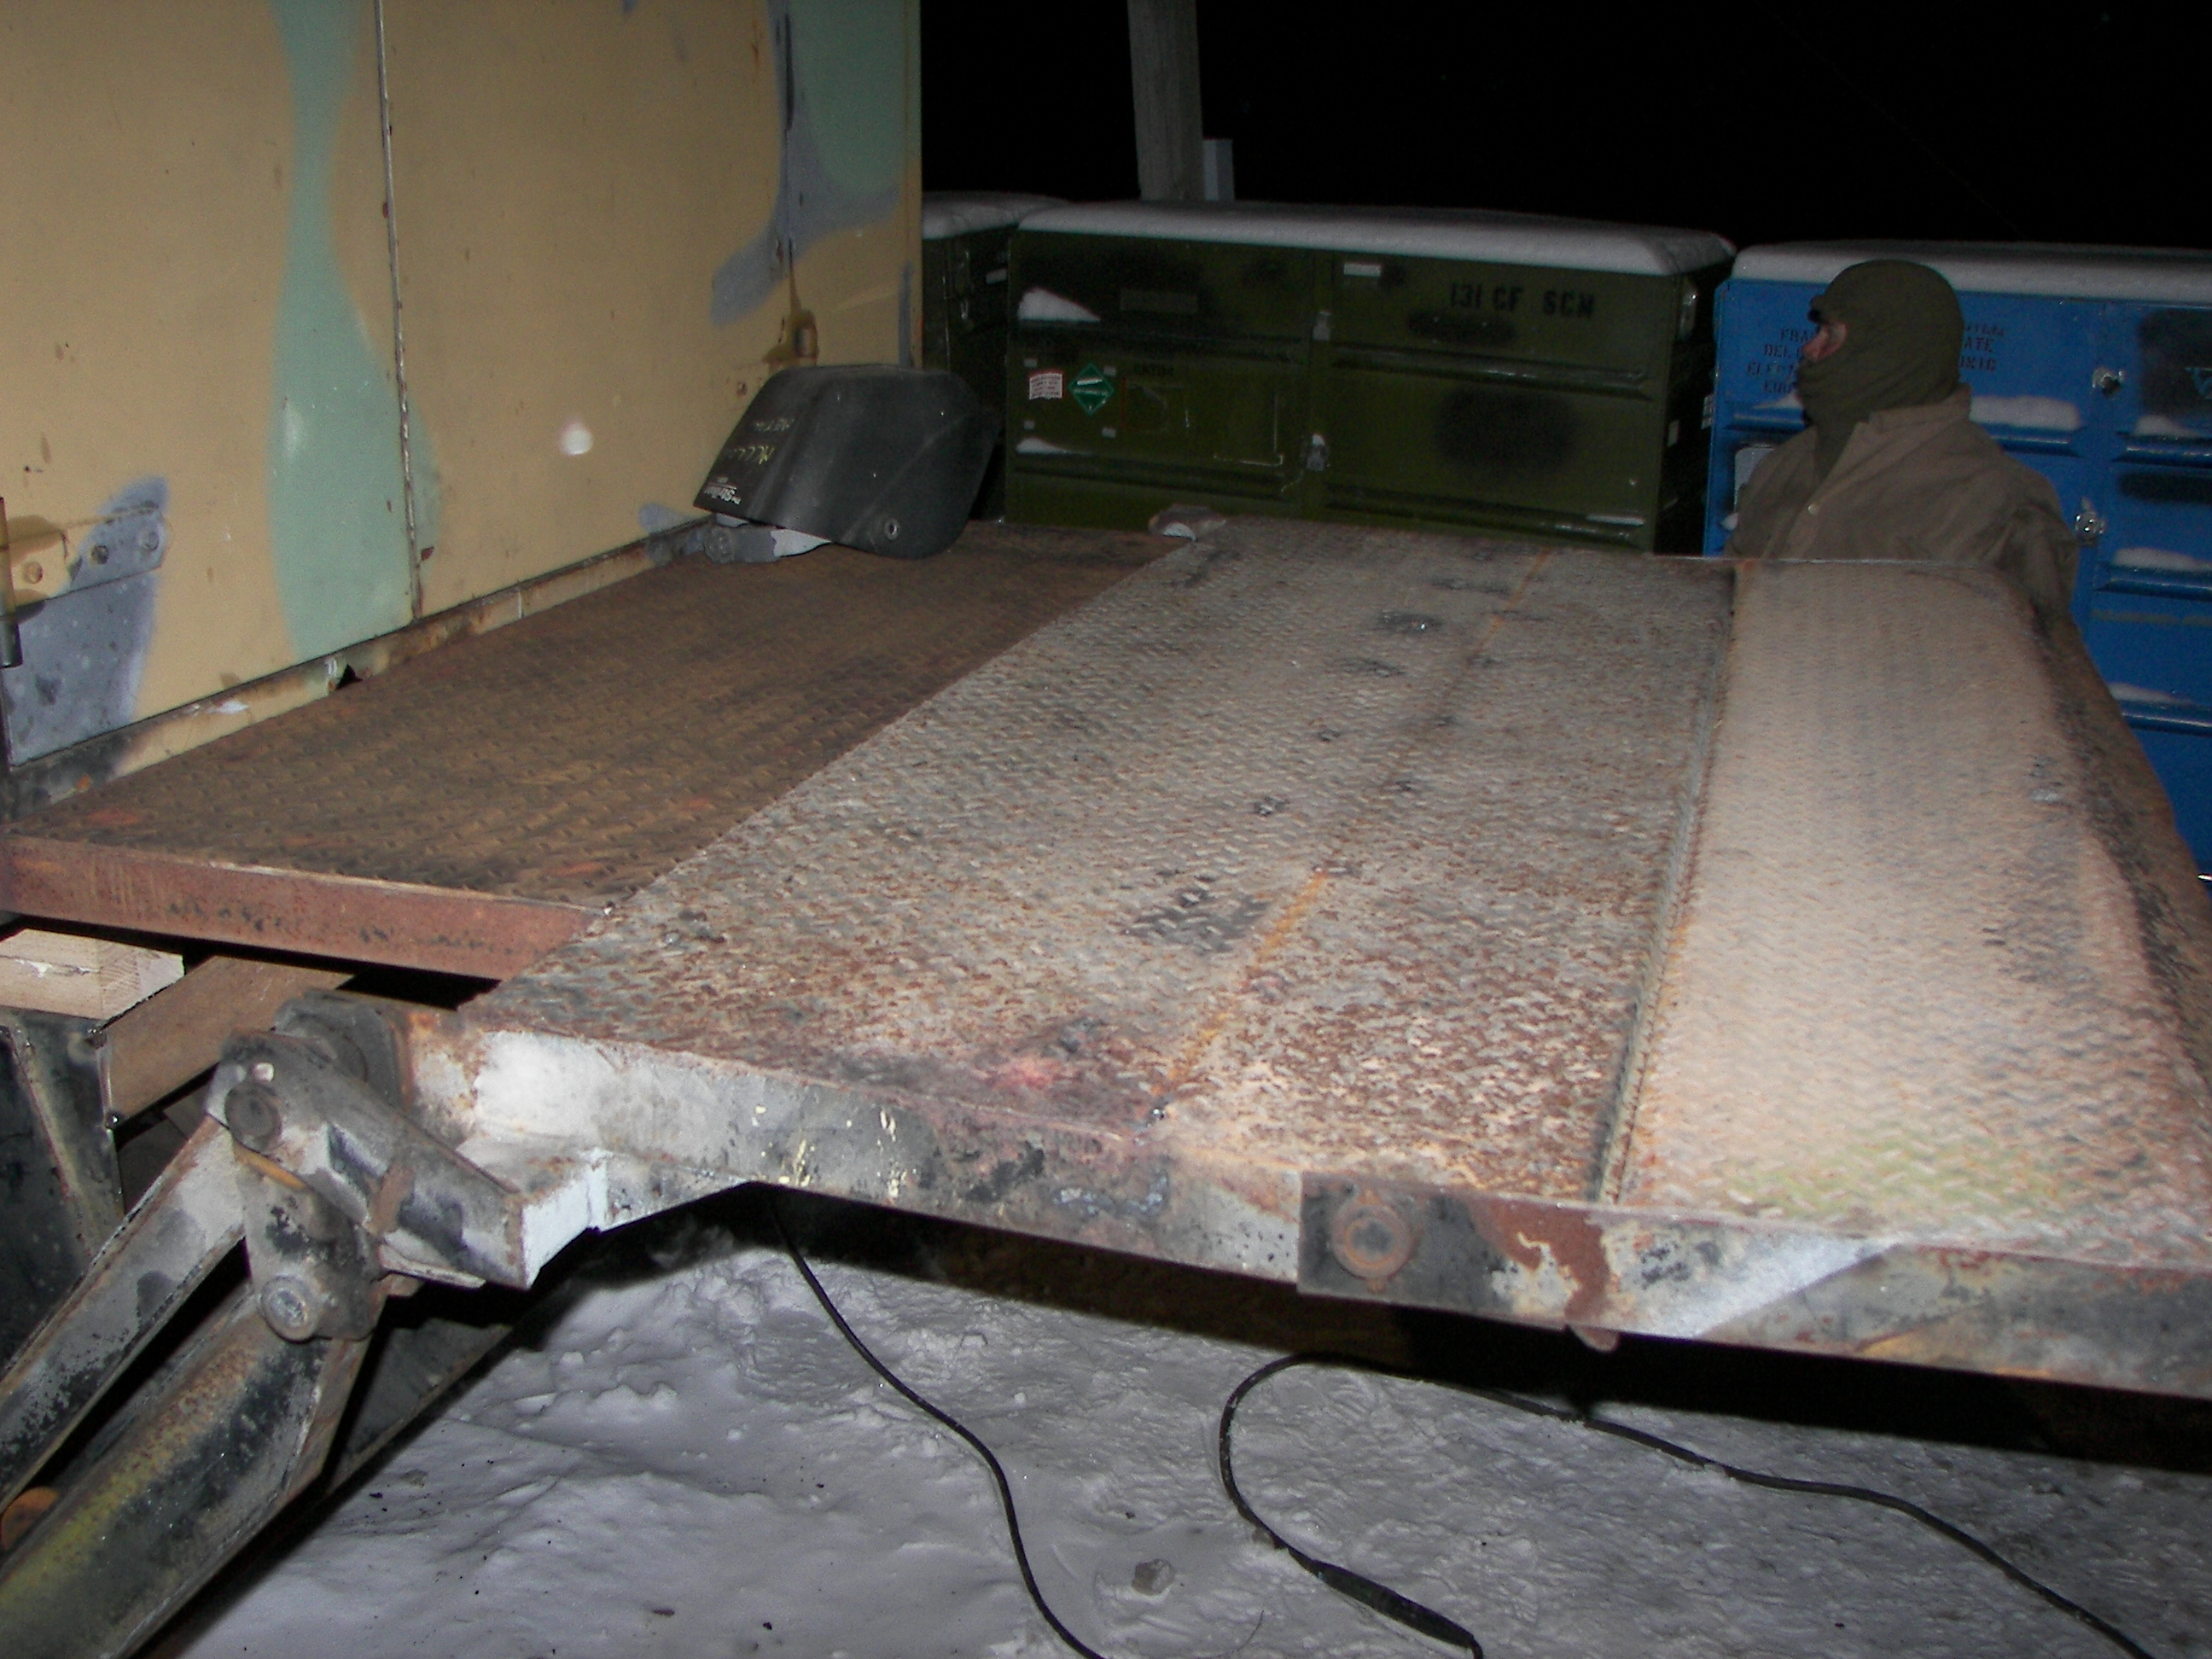
Once the toolbox and spare tire mount were removed, along with the deck plate, the air and fuel lines were taped up to keep dirt out. The air valves will be reinstalled and capped, and the fuel lines (supply, return) will be re-routed to keep them out of the way of the M109 box when it is mounted. |
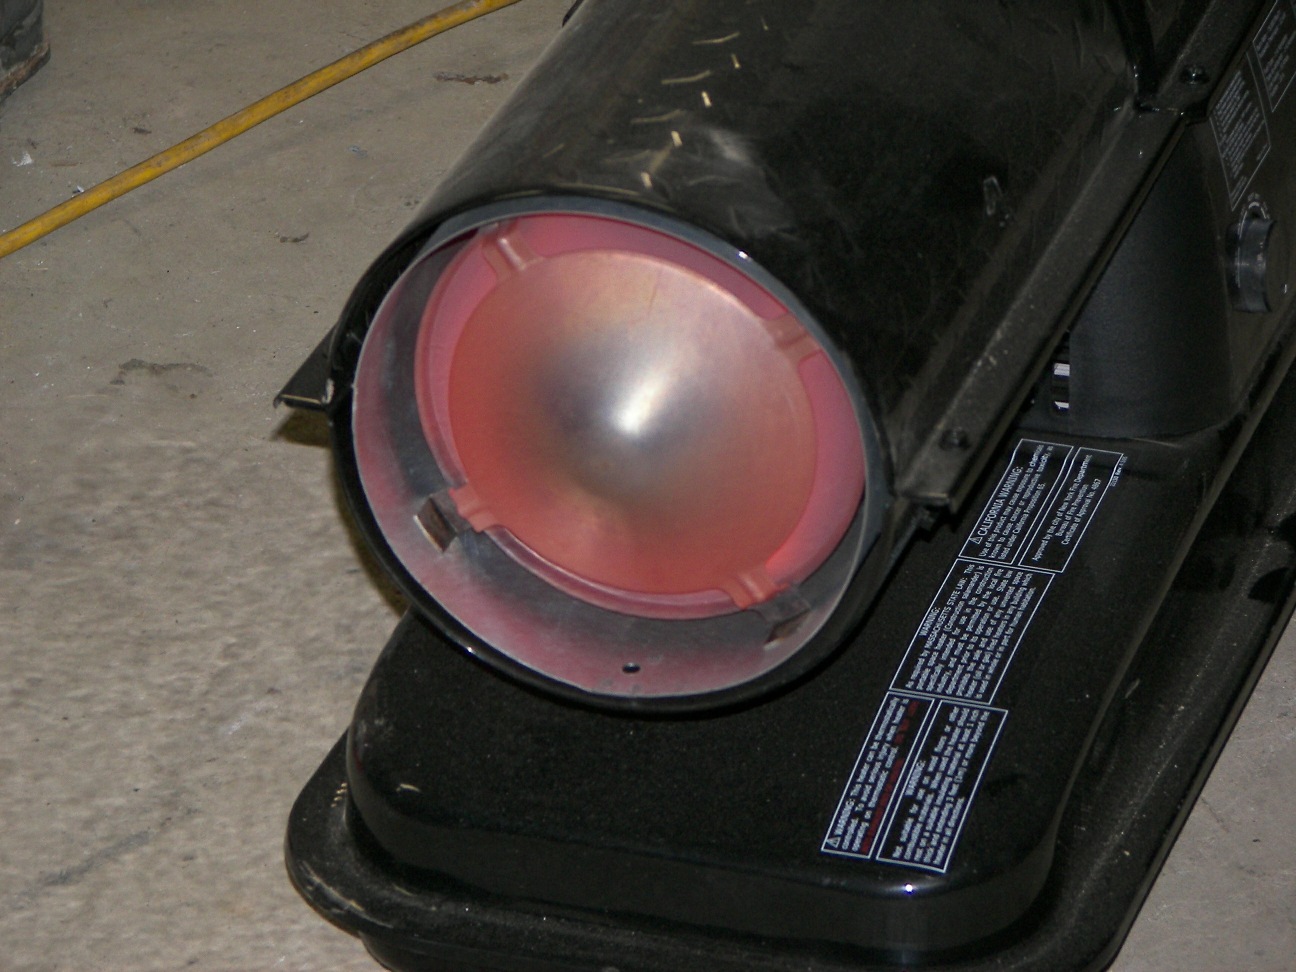
Temperatures ranged from 1 to 20 degrees F and the heater is not a luxury but a necessity. |
New Budd studs were fitted smooth as butter. Any roughness resulted in further attention to the old threads. The studs on the fronts are too short to allow the stock nuts to have full engagement. Once the wheel is on, the larger outer nuts will hold them. |
|
Jacob made good use of shop towels and electrical tape for the skinned knuckles. |
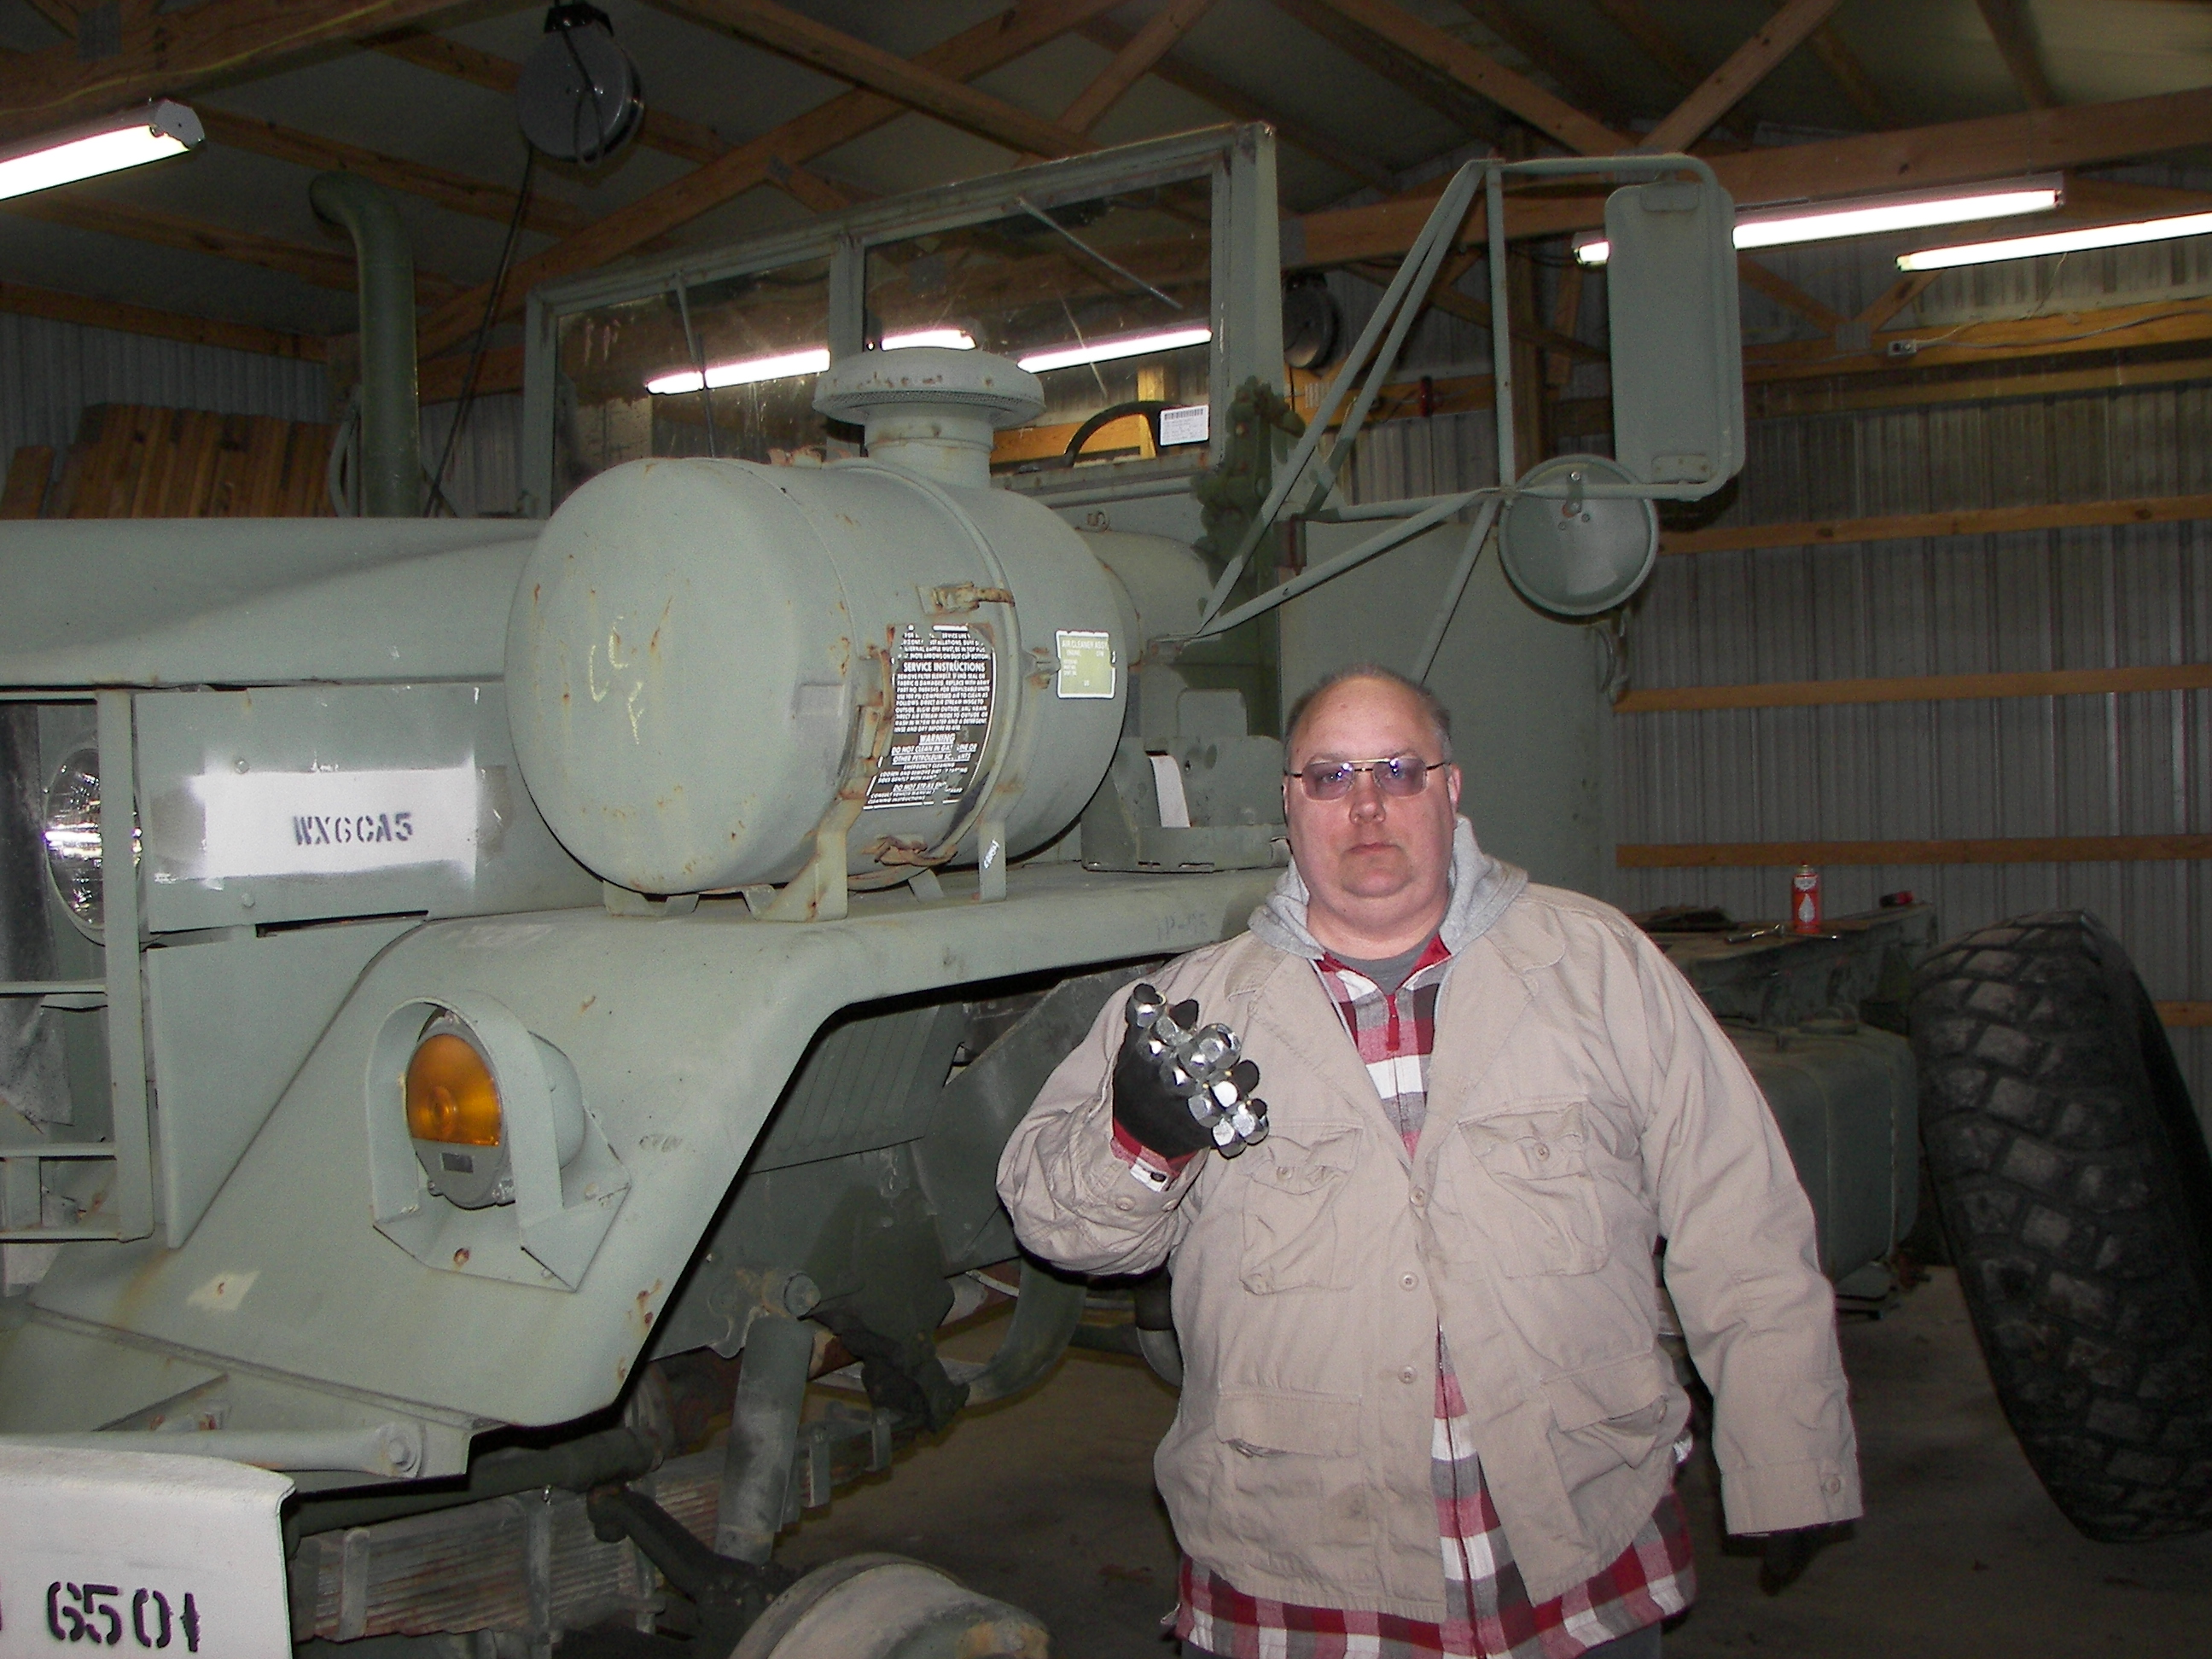
Here I am sporting the latest in bling. Budd outer nuts. Cheap and shiny! |
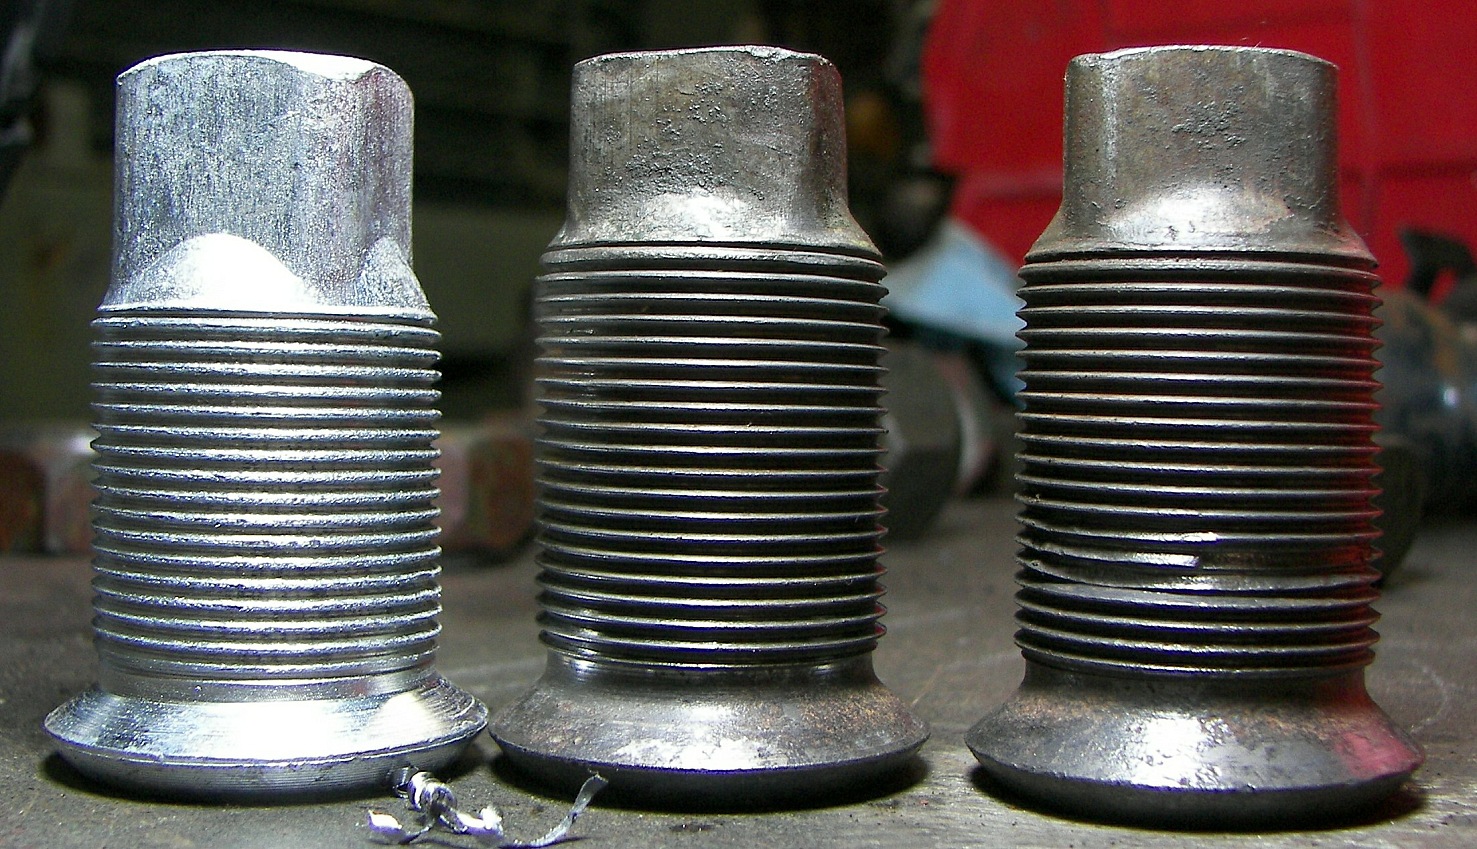
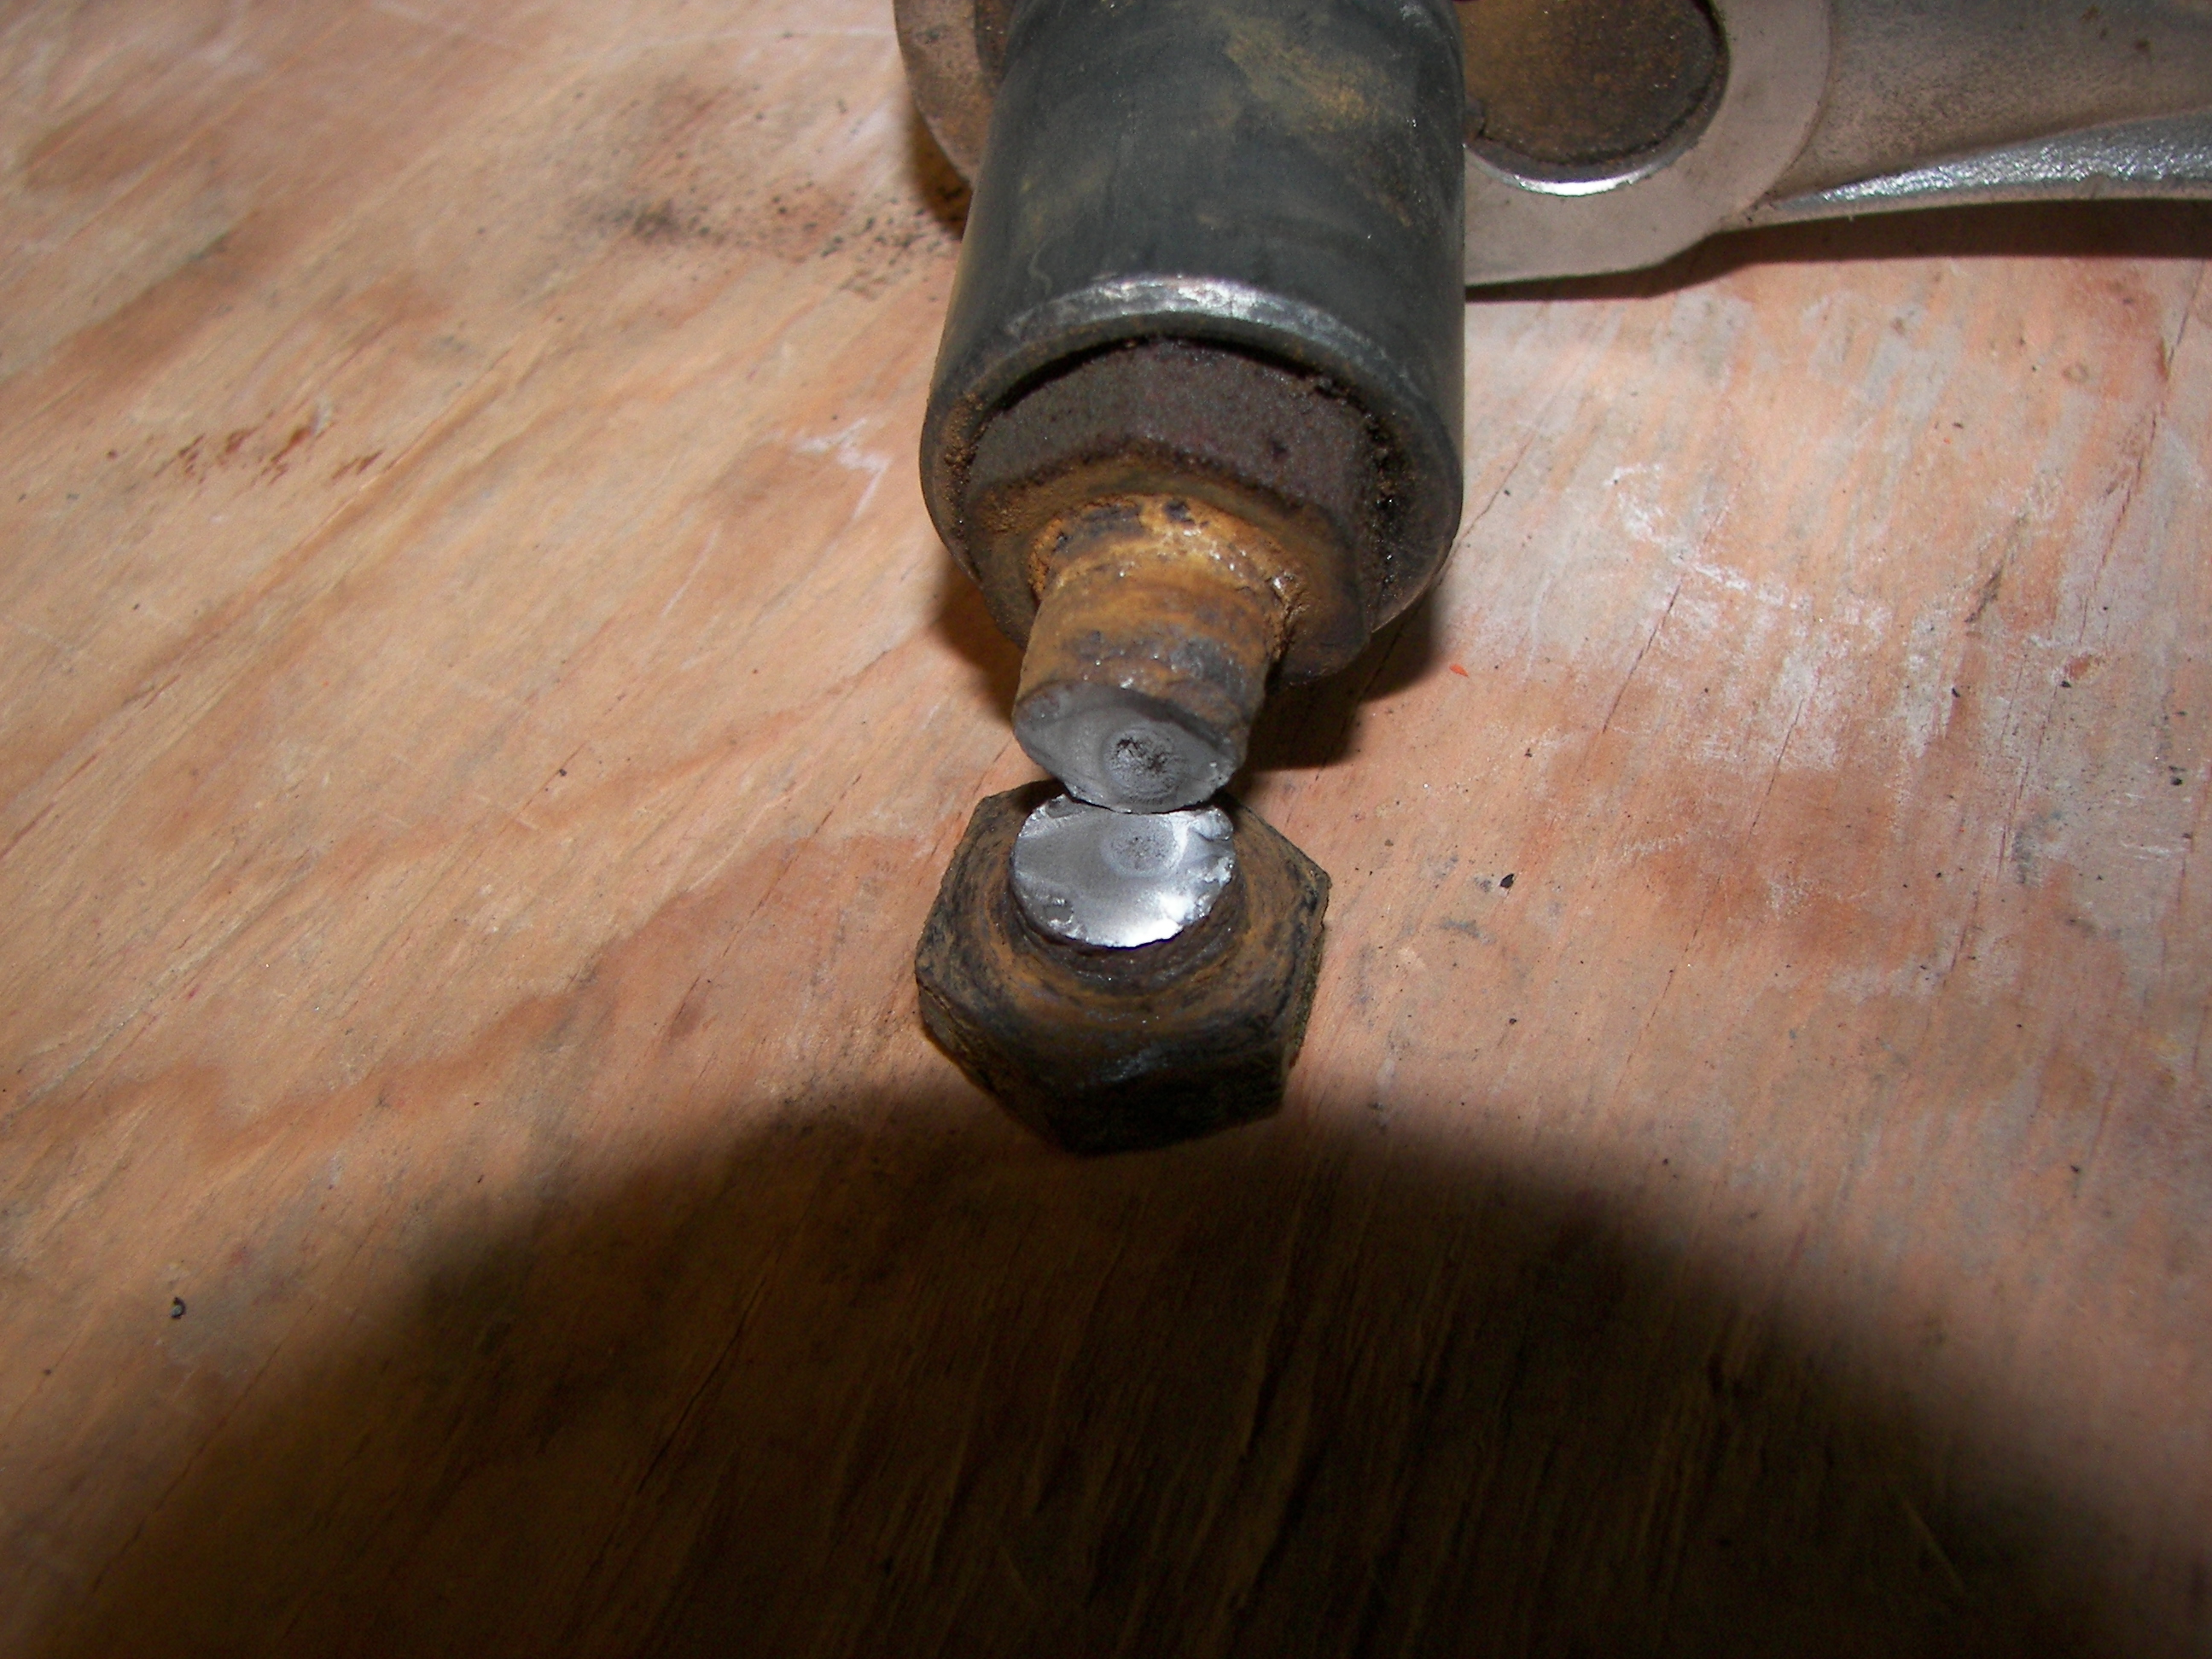
Inspection of some of the original studs showed that several should be discarded due to thread damage. Left: new stud. Center: very good original stud. Right: unacceptable original stud. |
Same comparison. The two center studs have only minor damage and are re-usable. |
|
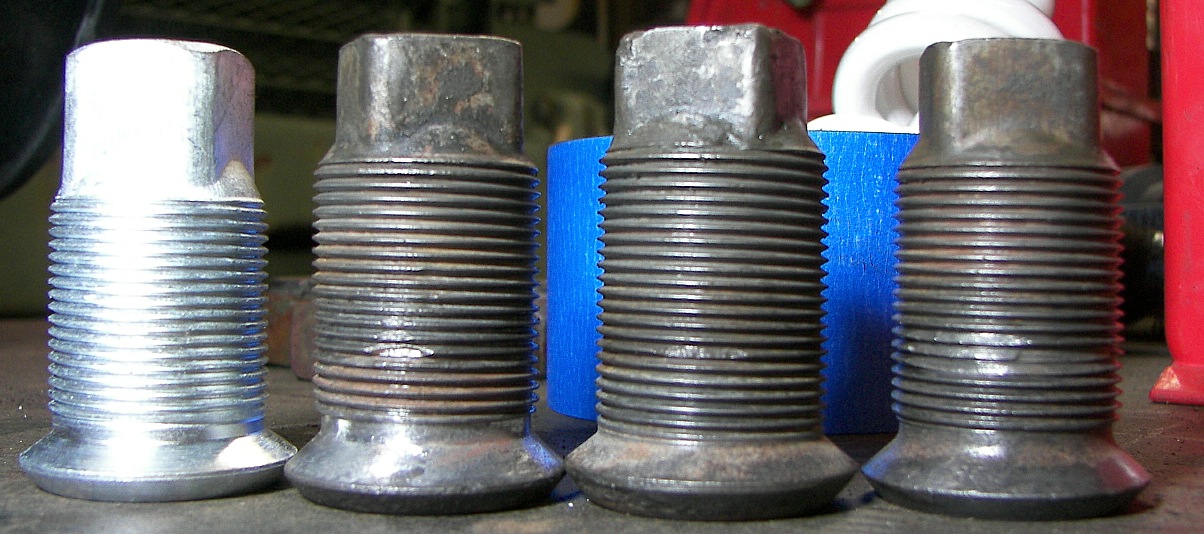
Studs inspected and lined up for installation. On the rears, the outer stud will hold the single wheels. Torqued to 450 FT LBs. It is important to torque them properly and evenly, otherwise they'll work loose. Always re-torque after the first 150 miles. |
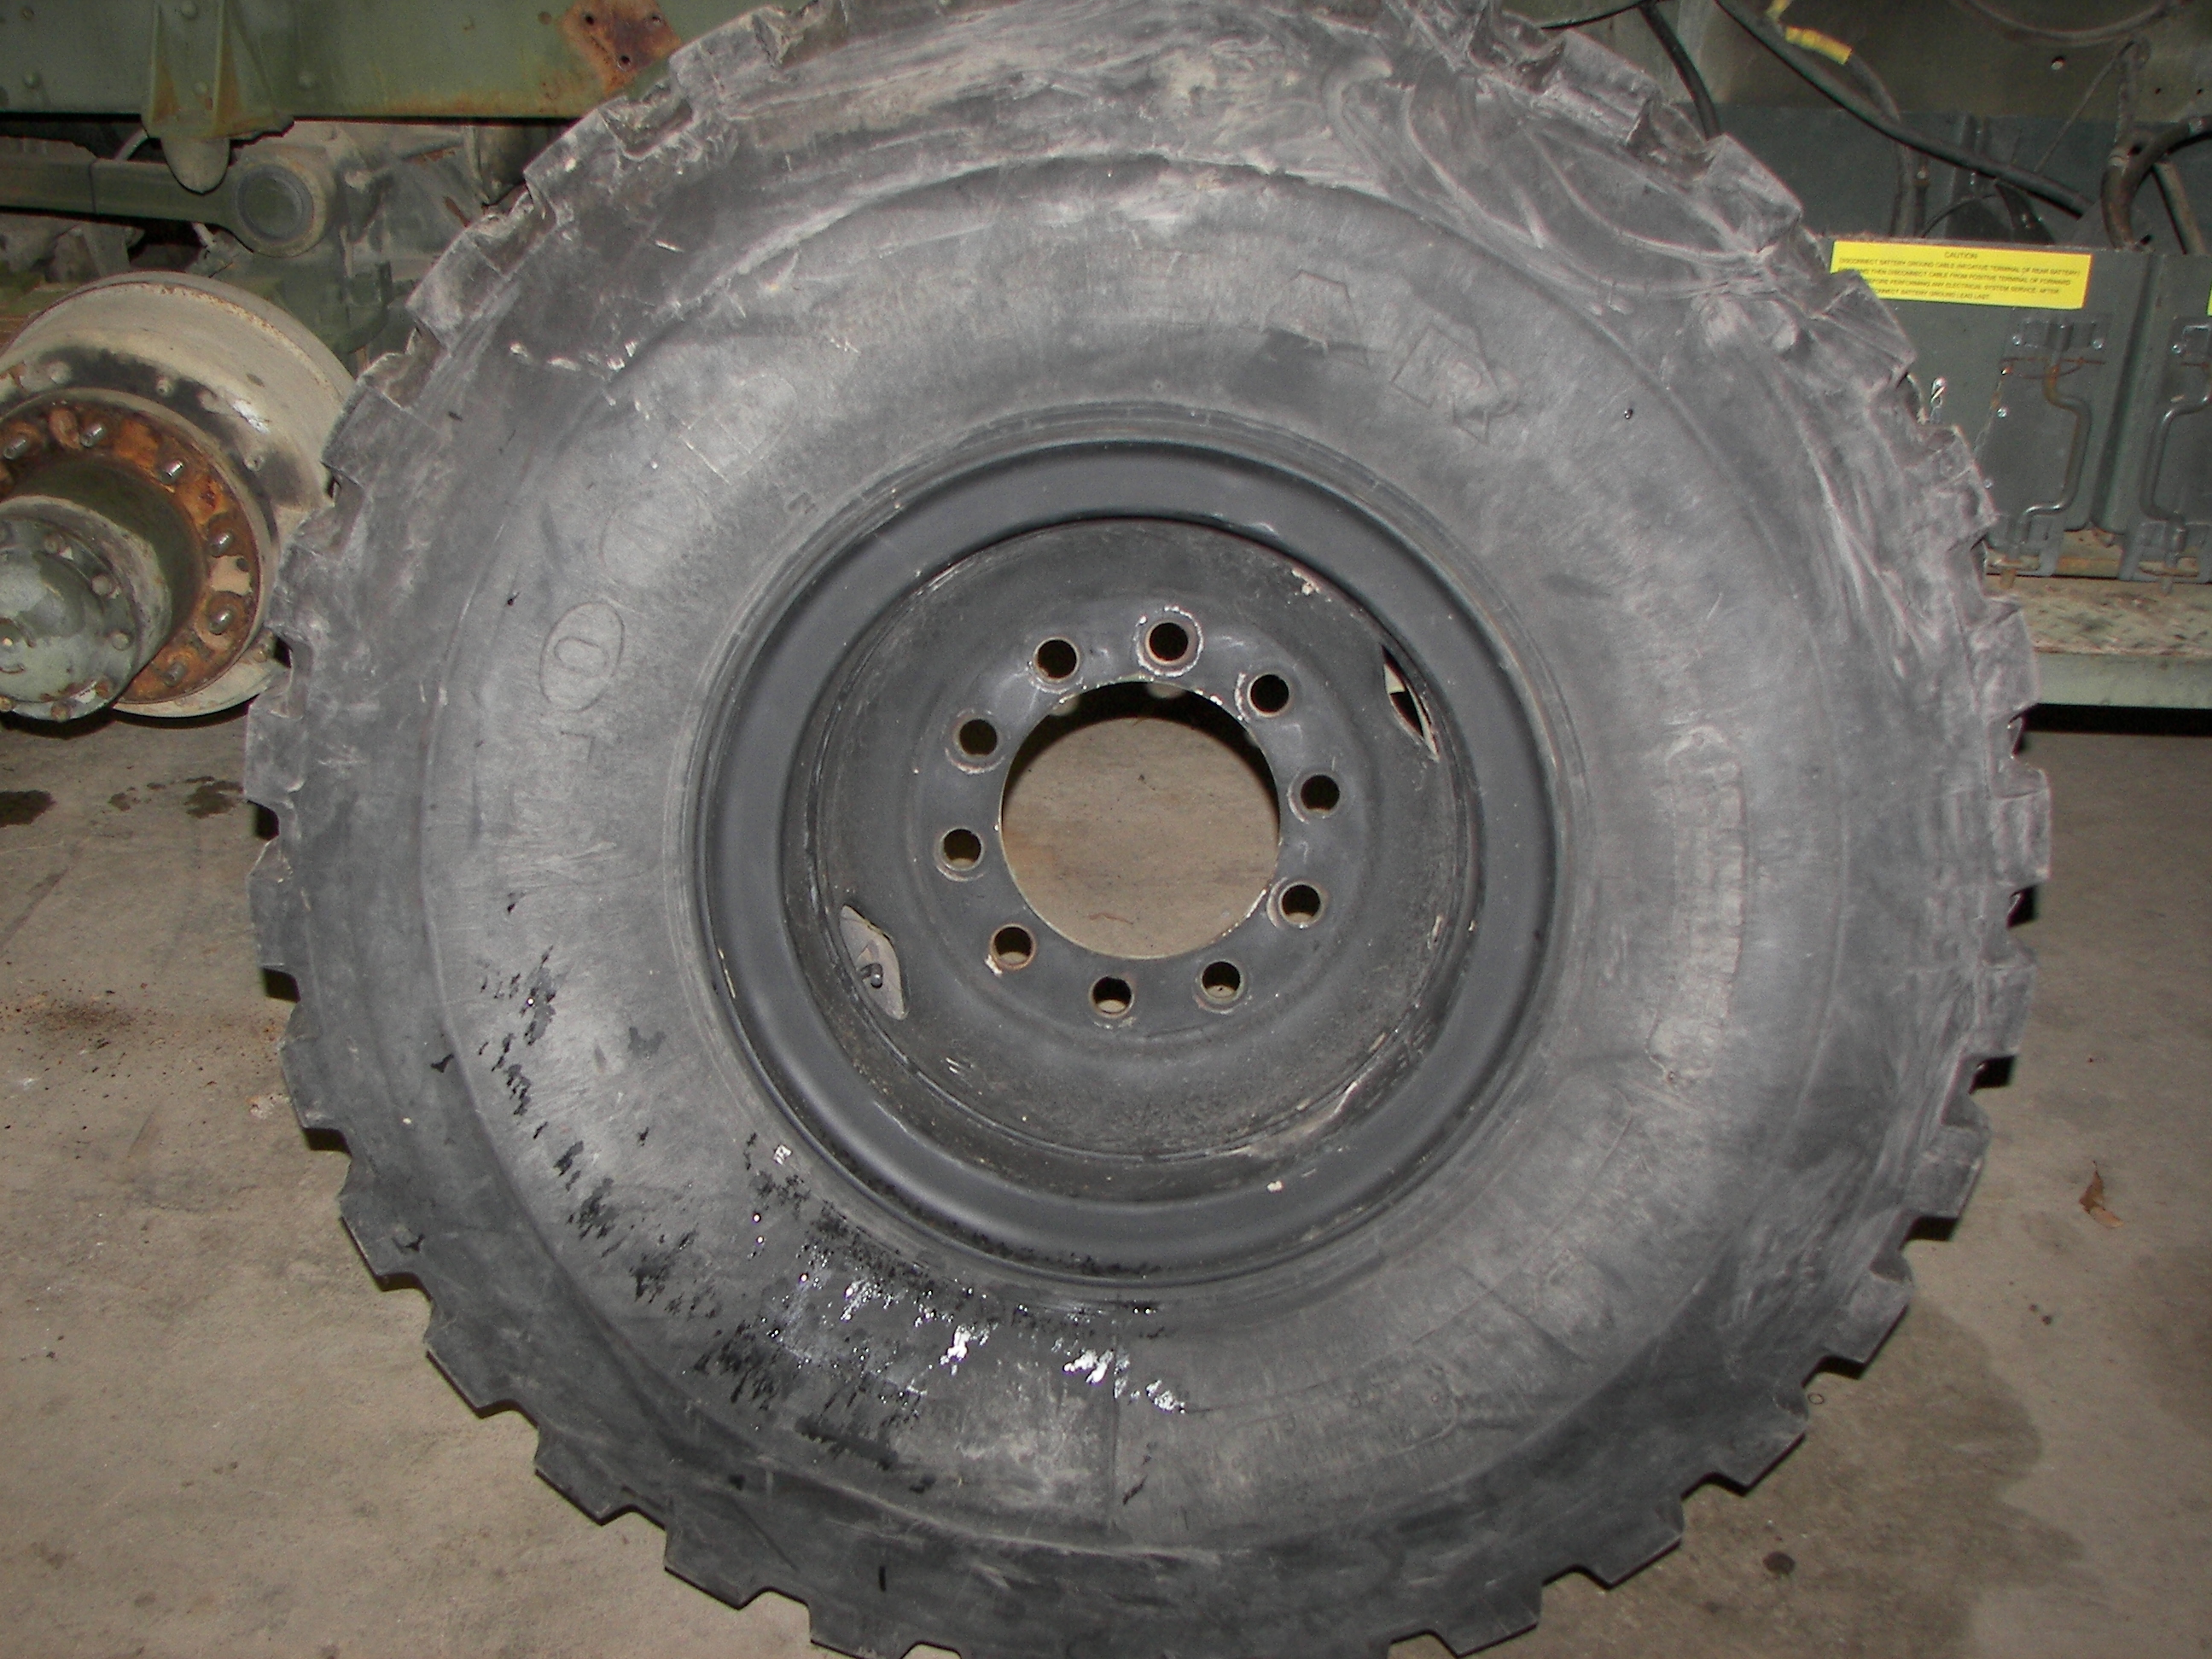
16.00x20 Goodyear radial on Goodyear 10x20 LAV rim. These centers are 1/2 inch thick steel. The entire assembly weighs about 500 lbs. |
Jacob removing the GPS antenna from the old M35A2. Things removed will be installed in the new truck later. |
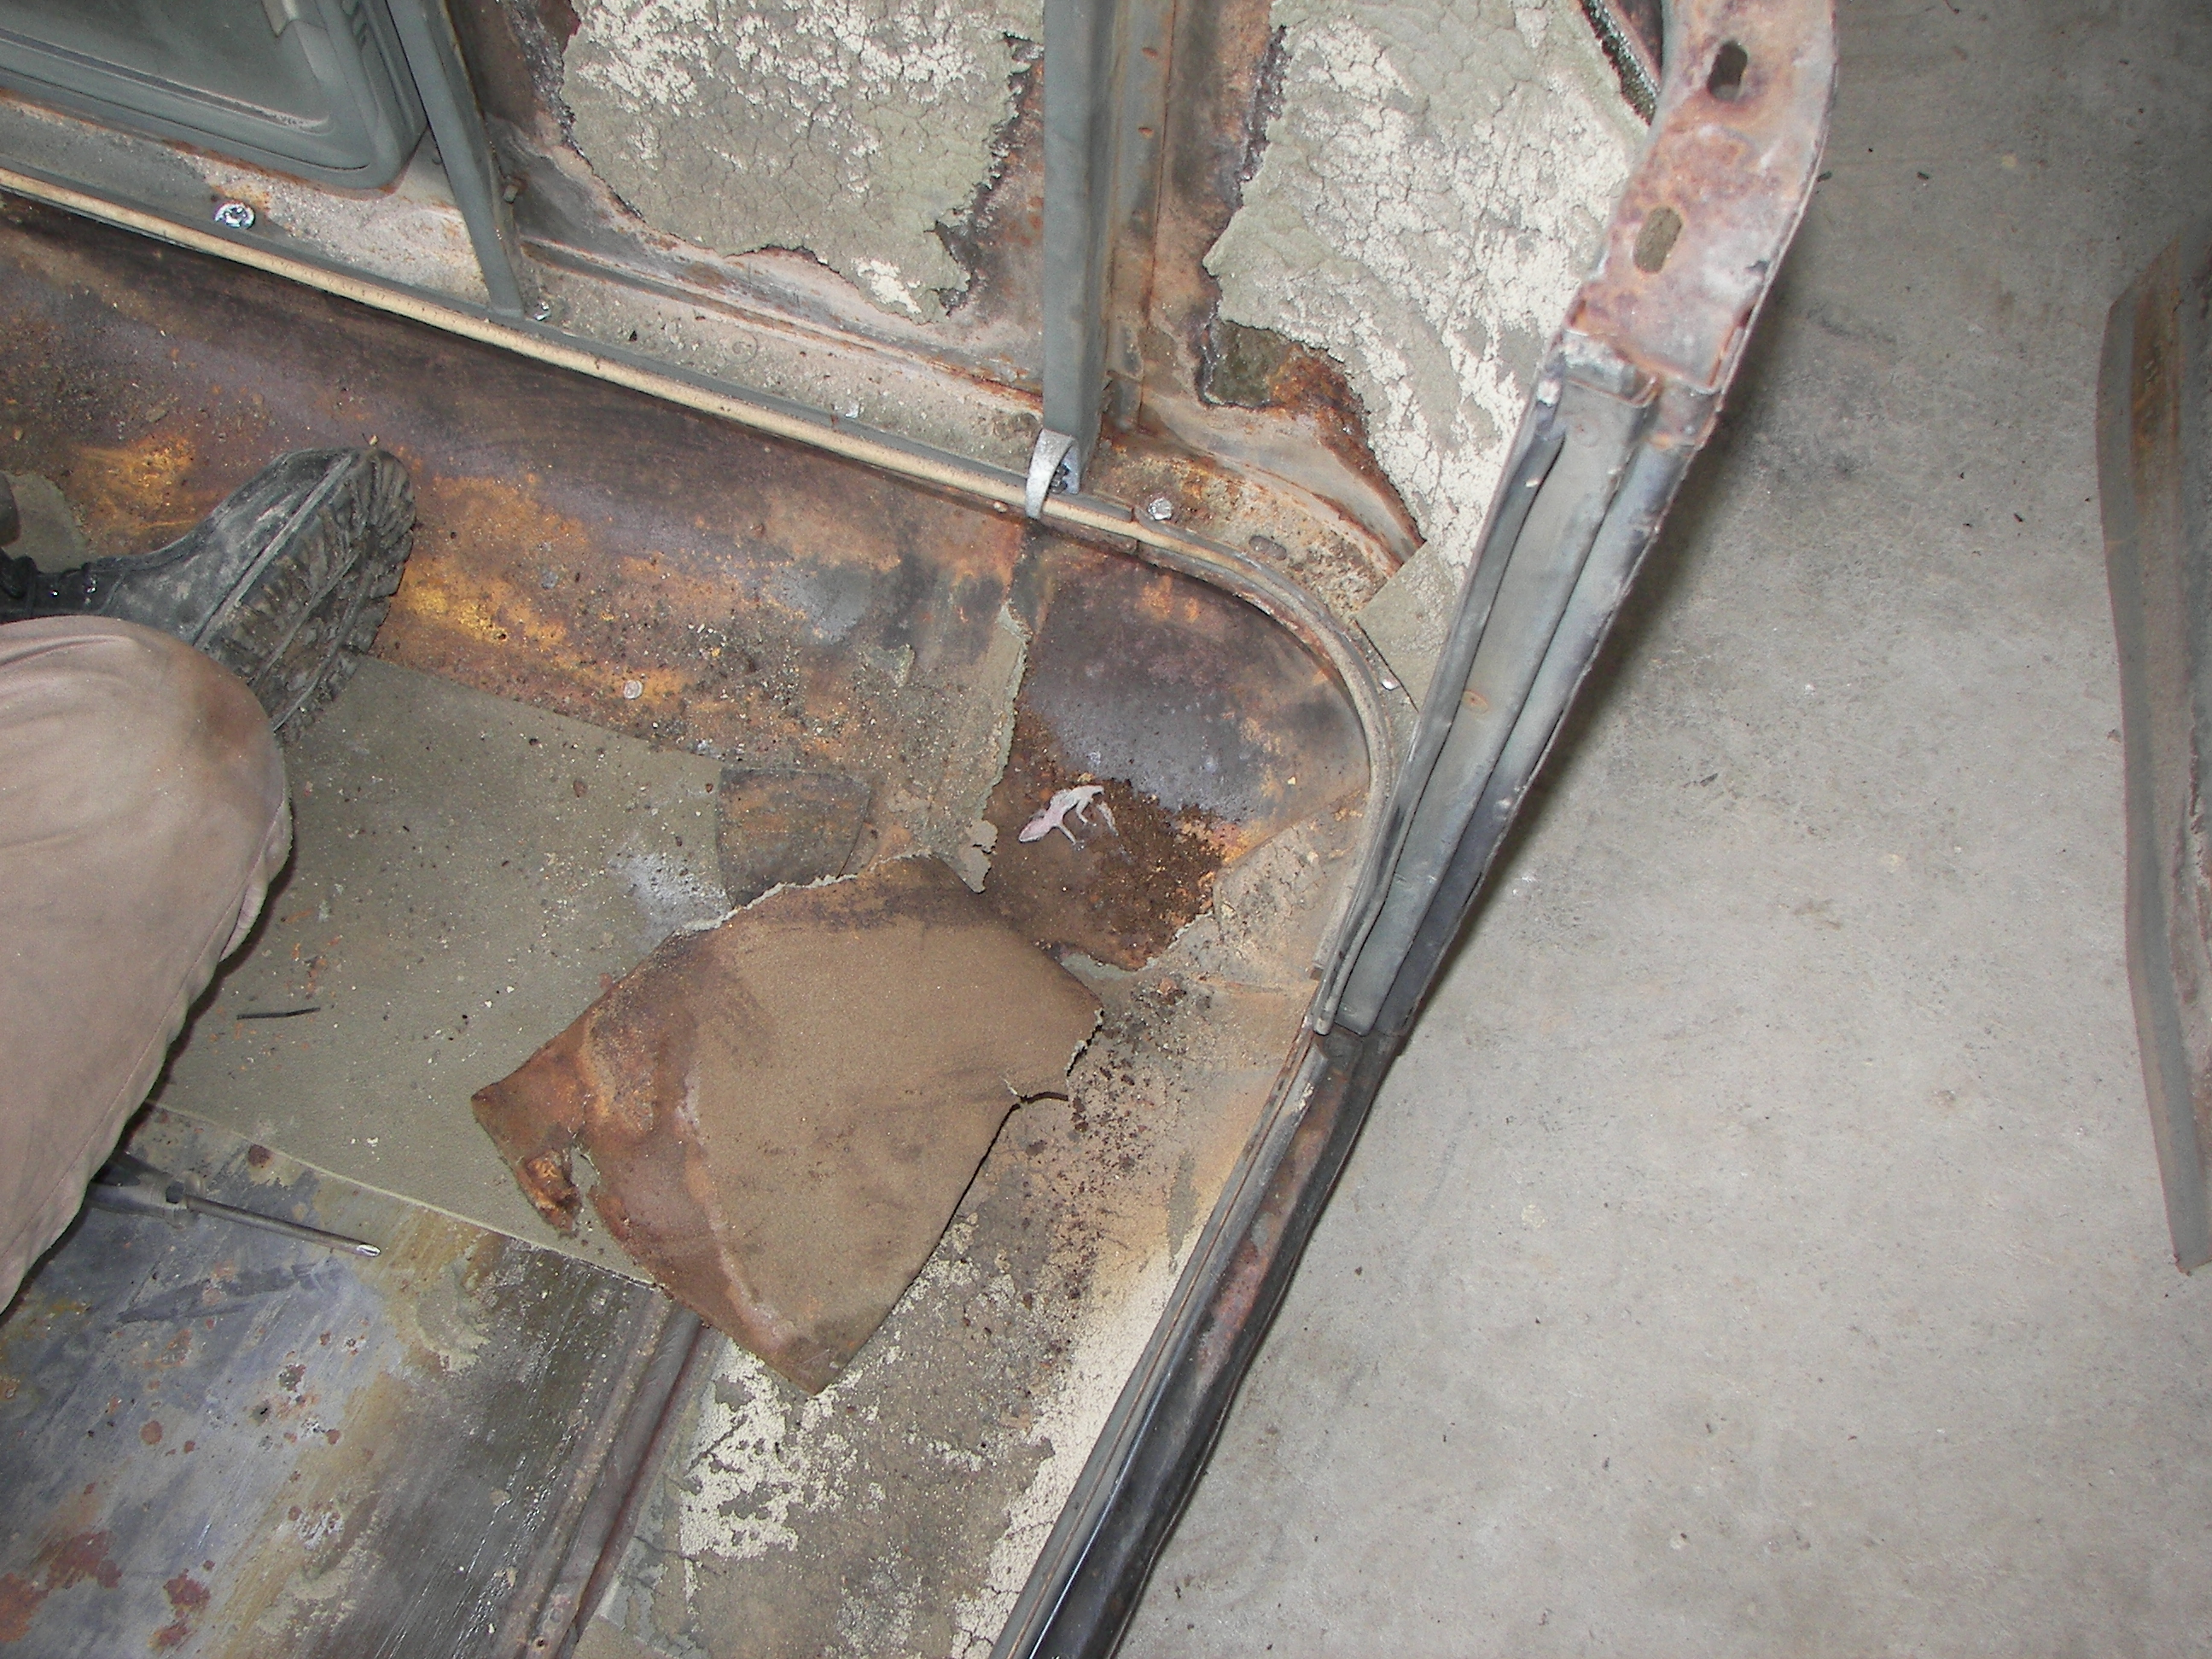
The hardtop was taken off the M35 to be put on the project truck. It was decided to remove the nasty old foam insulation, clean the top, patch it, and give it some paint. |
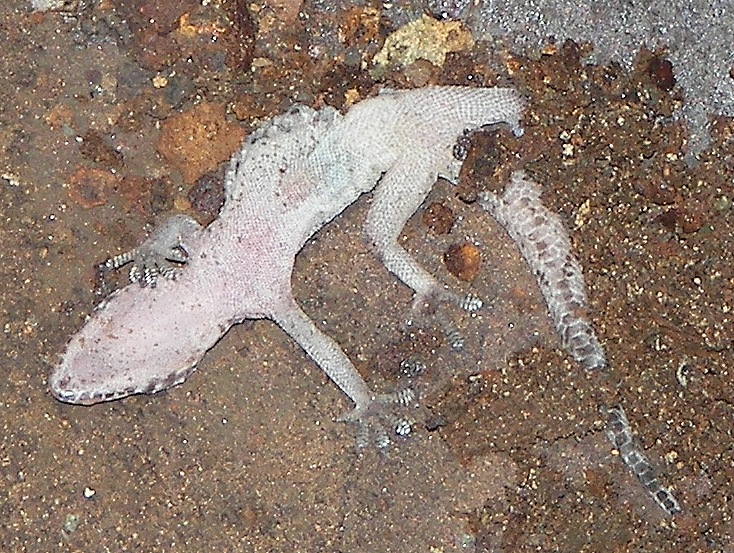
In Texas, we have these small pinkish lizards. They are beneficial, harmless, and pleasant. Unfortunately one decided to get into the top at some time. |

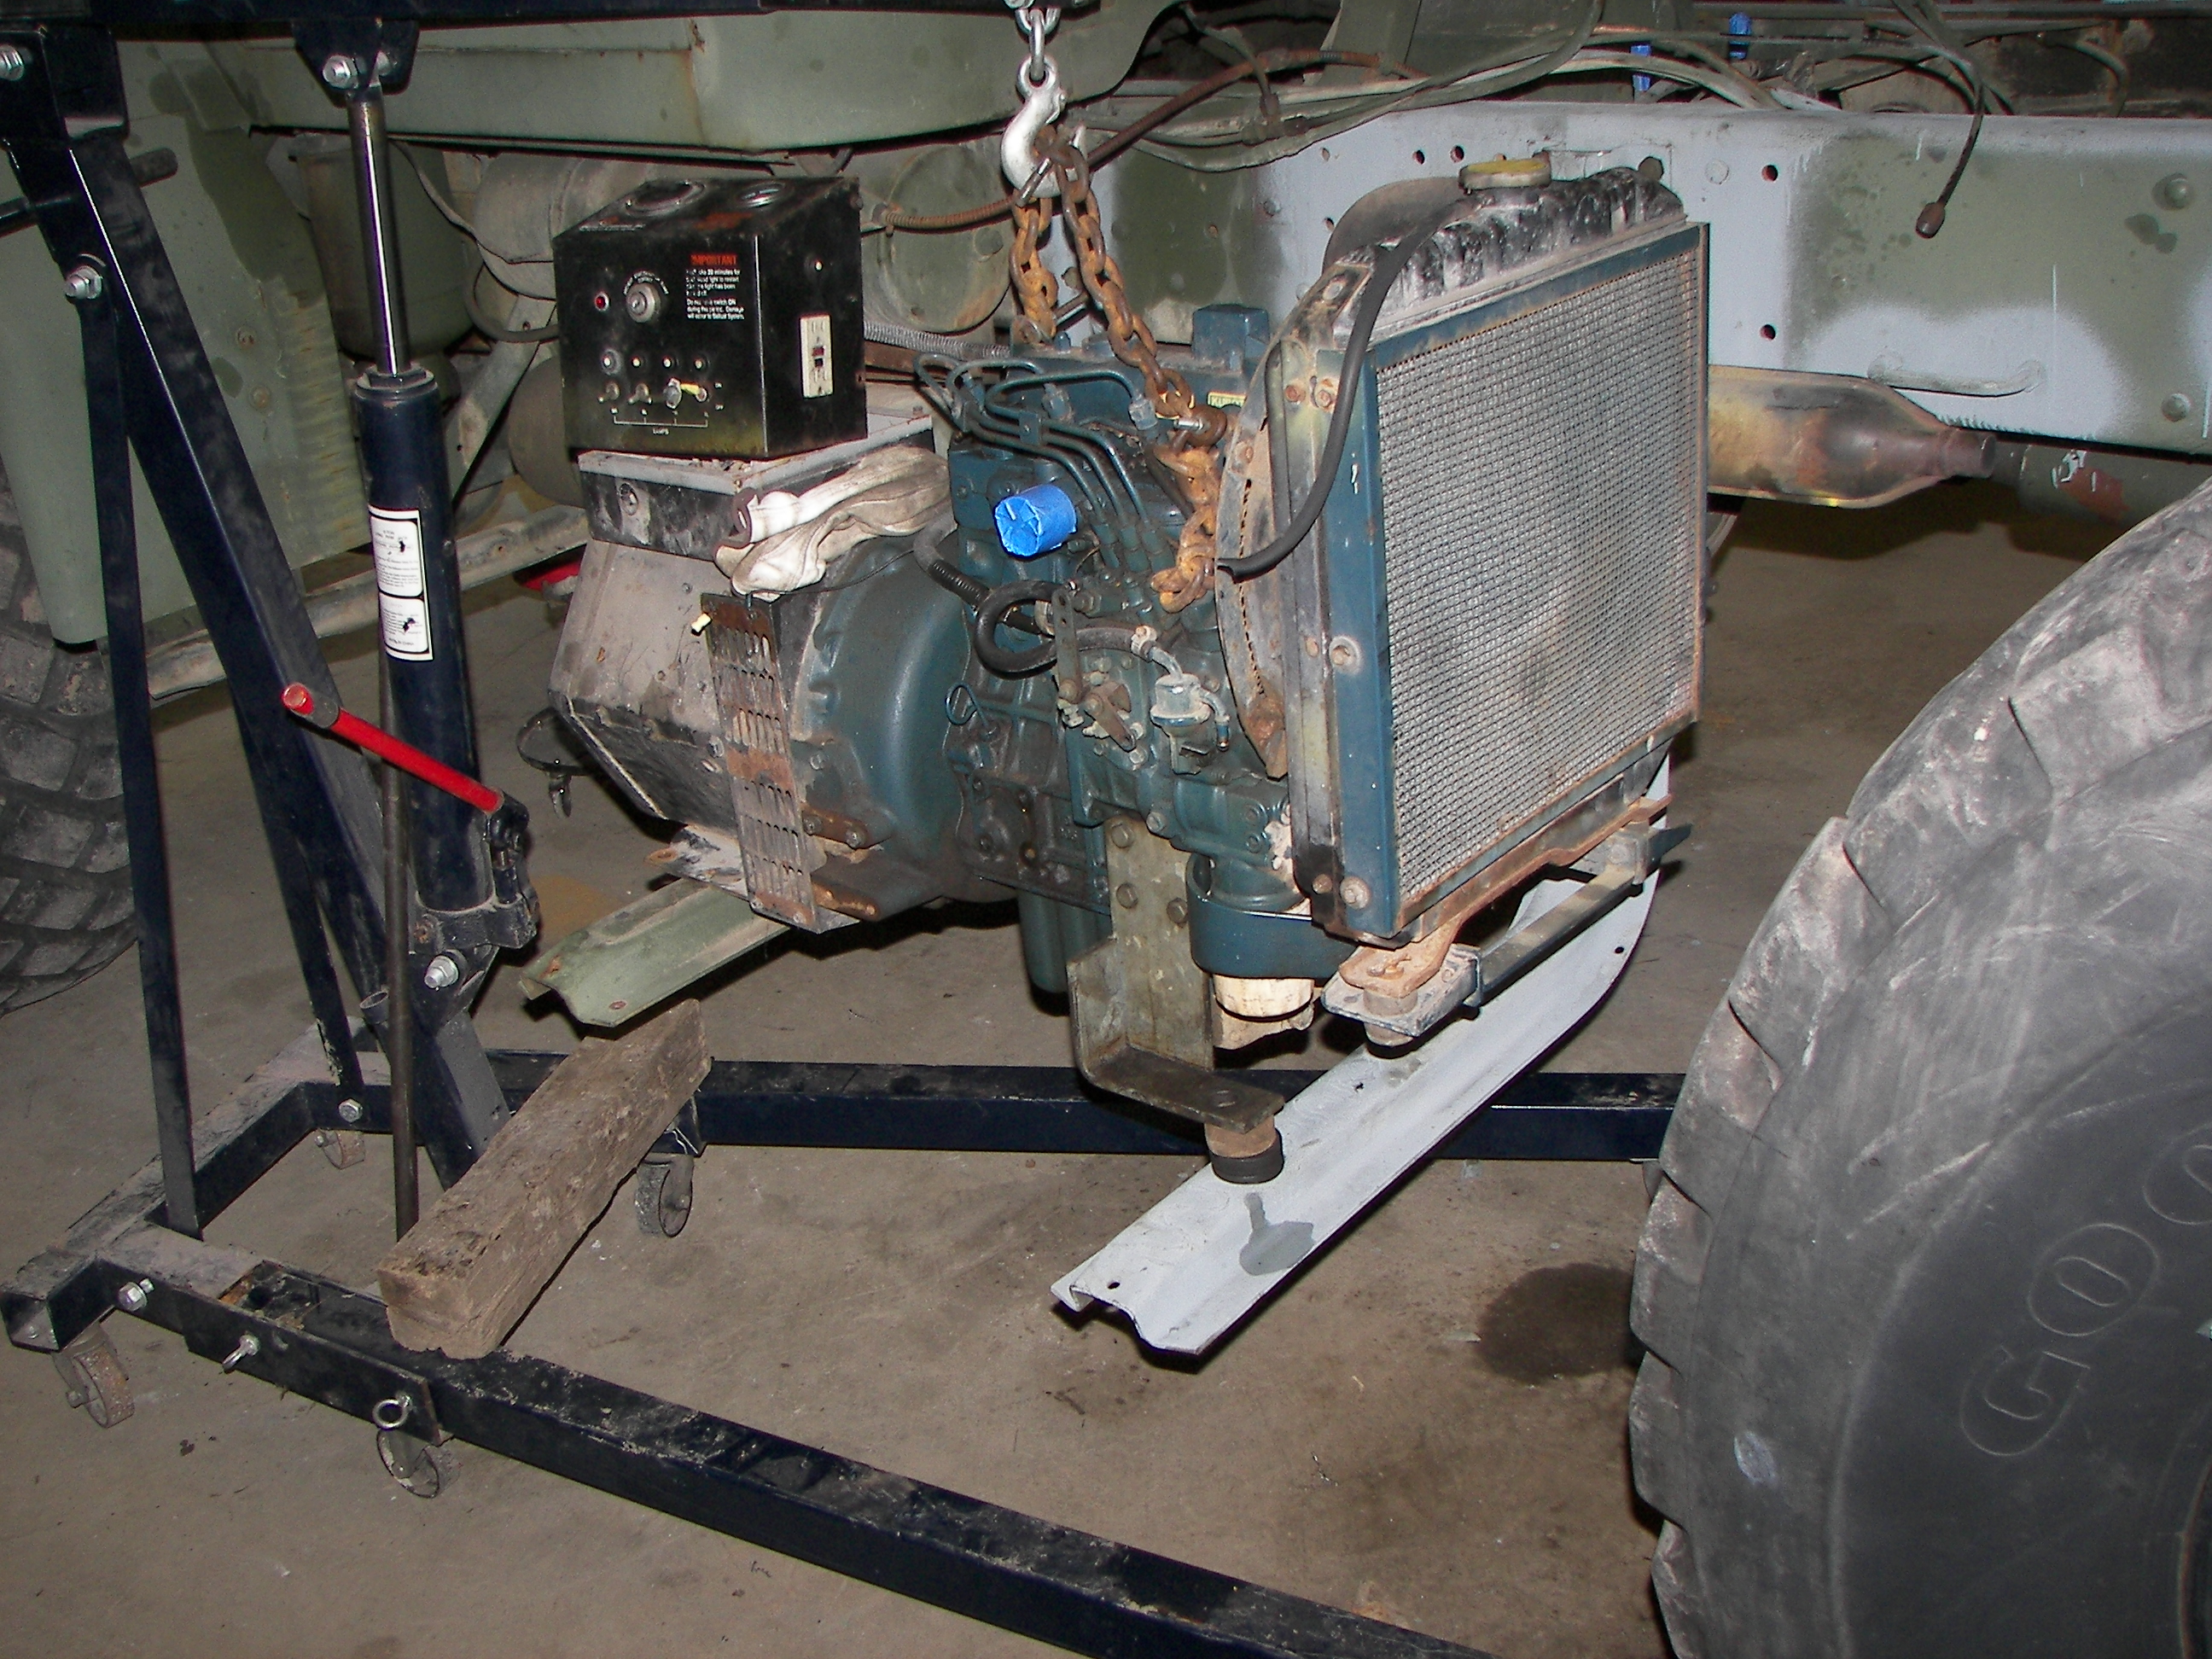
Fitting up the generator set. The driver side fuel tank and tool box were removed and quite a bit of serious fabrication was done for this. |
|
|
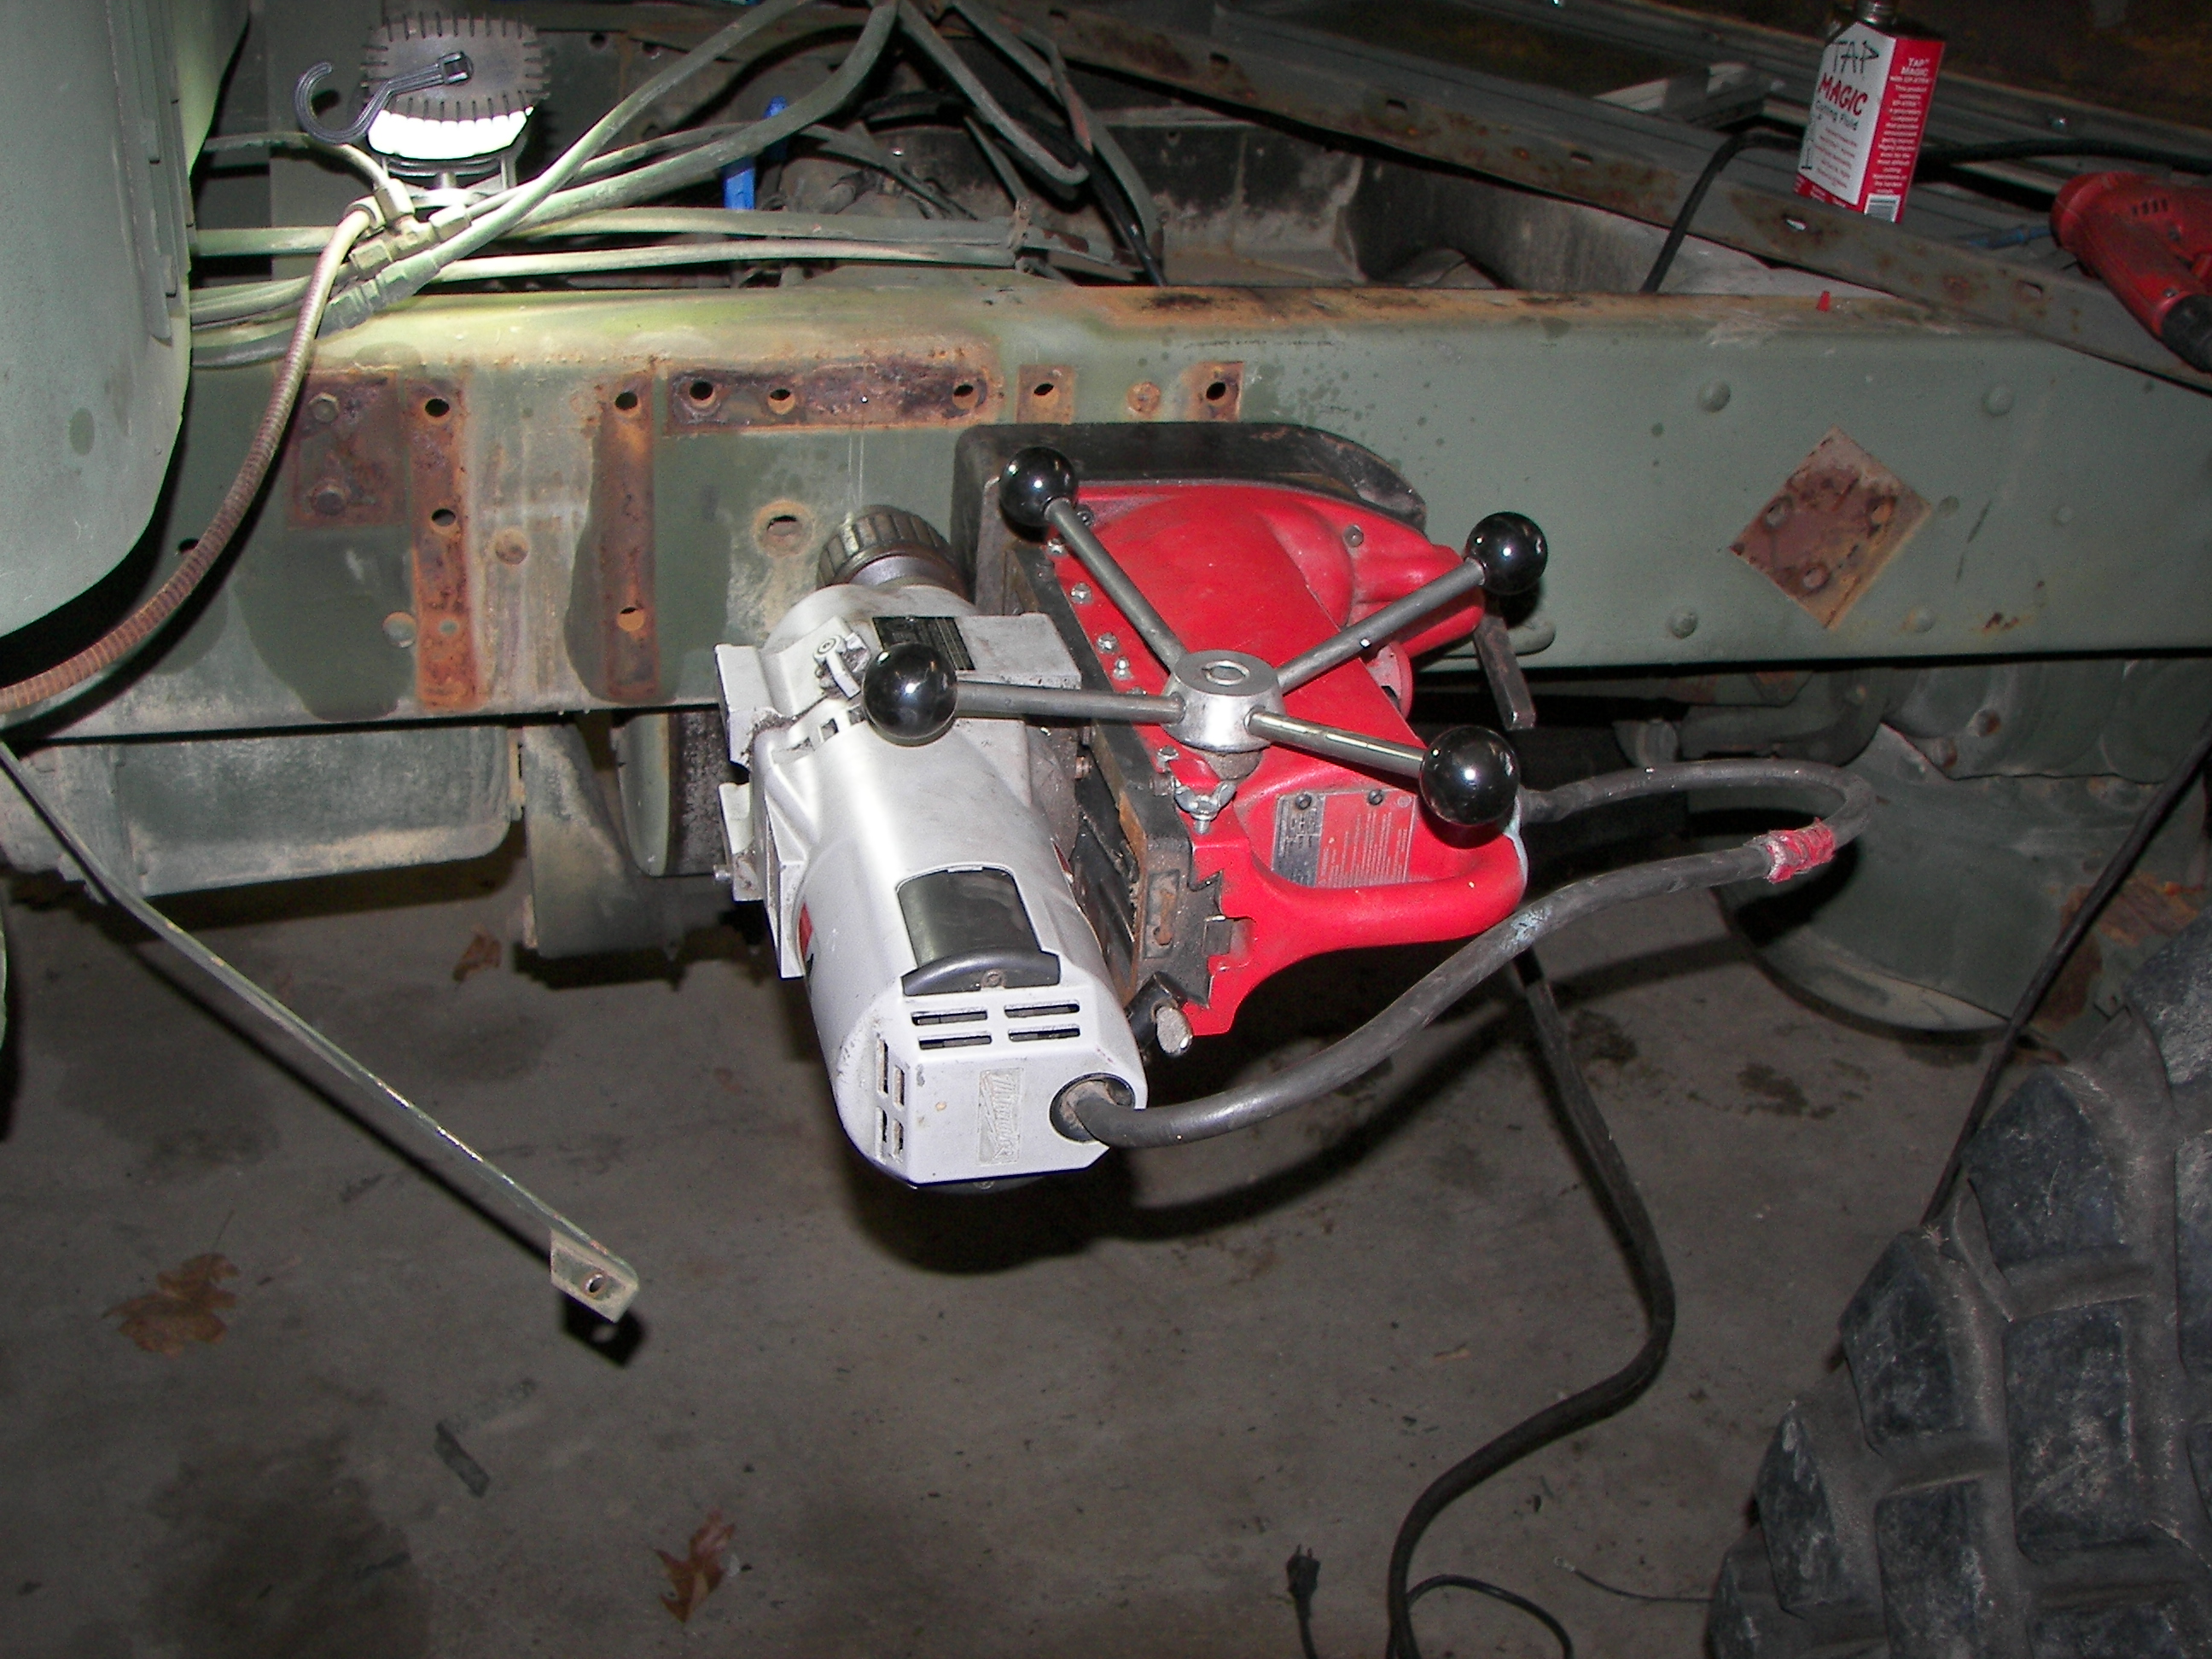
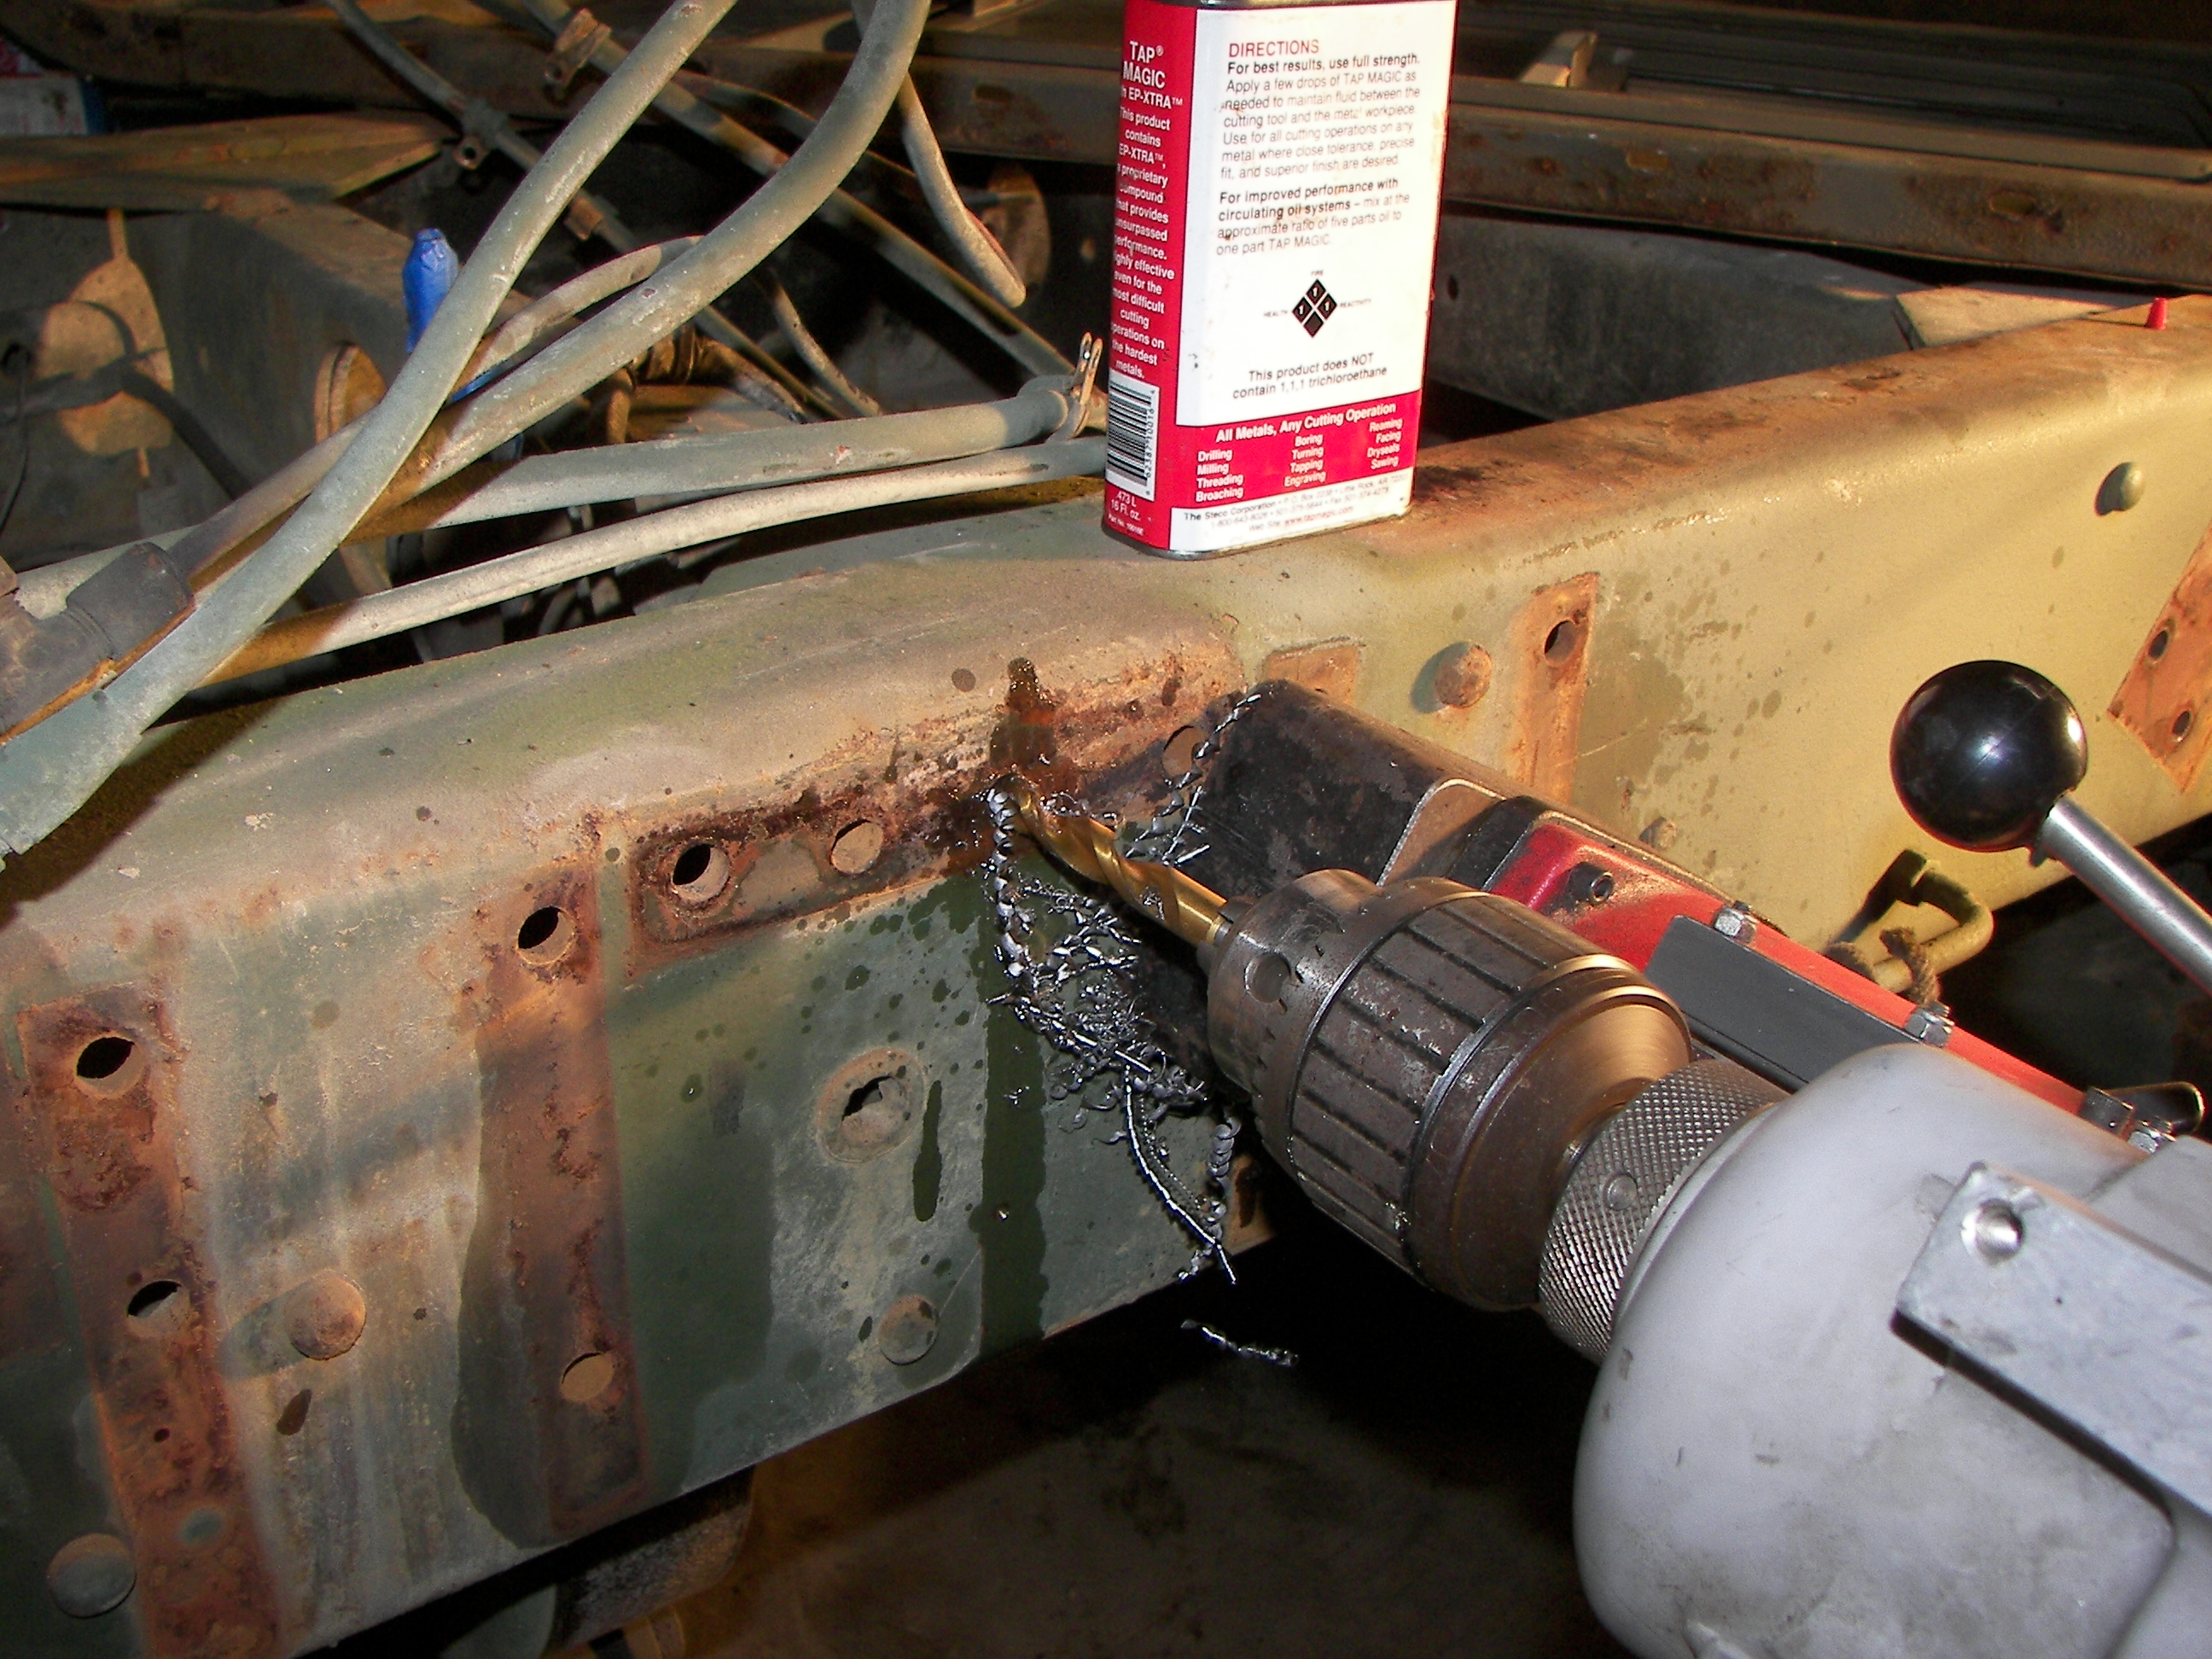
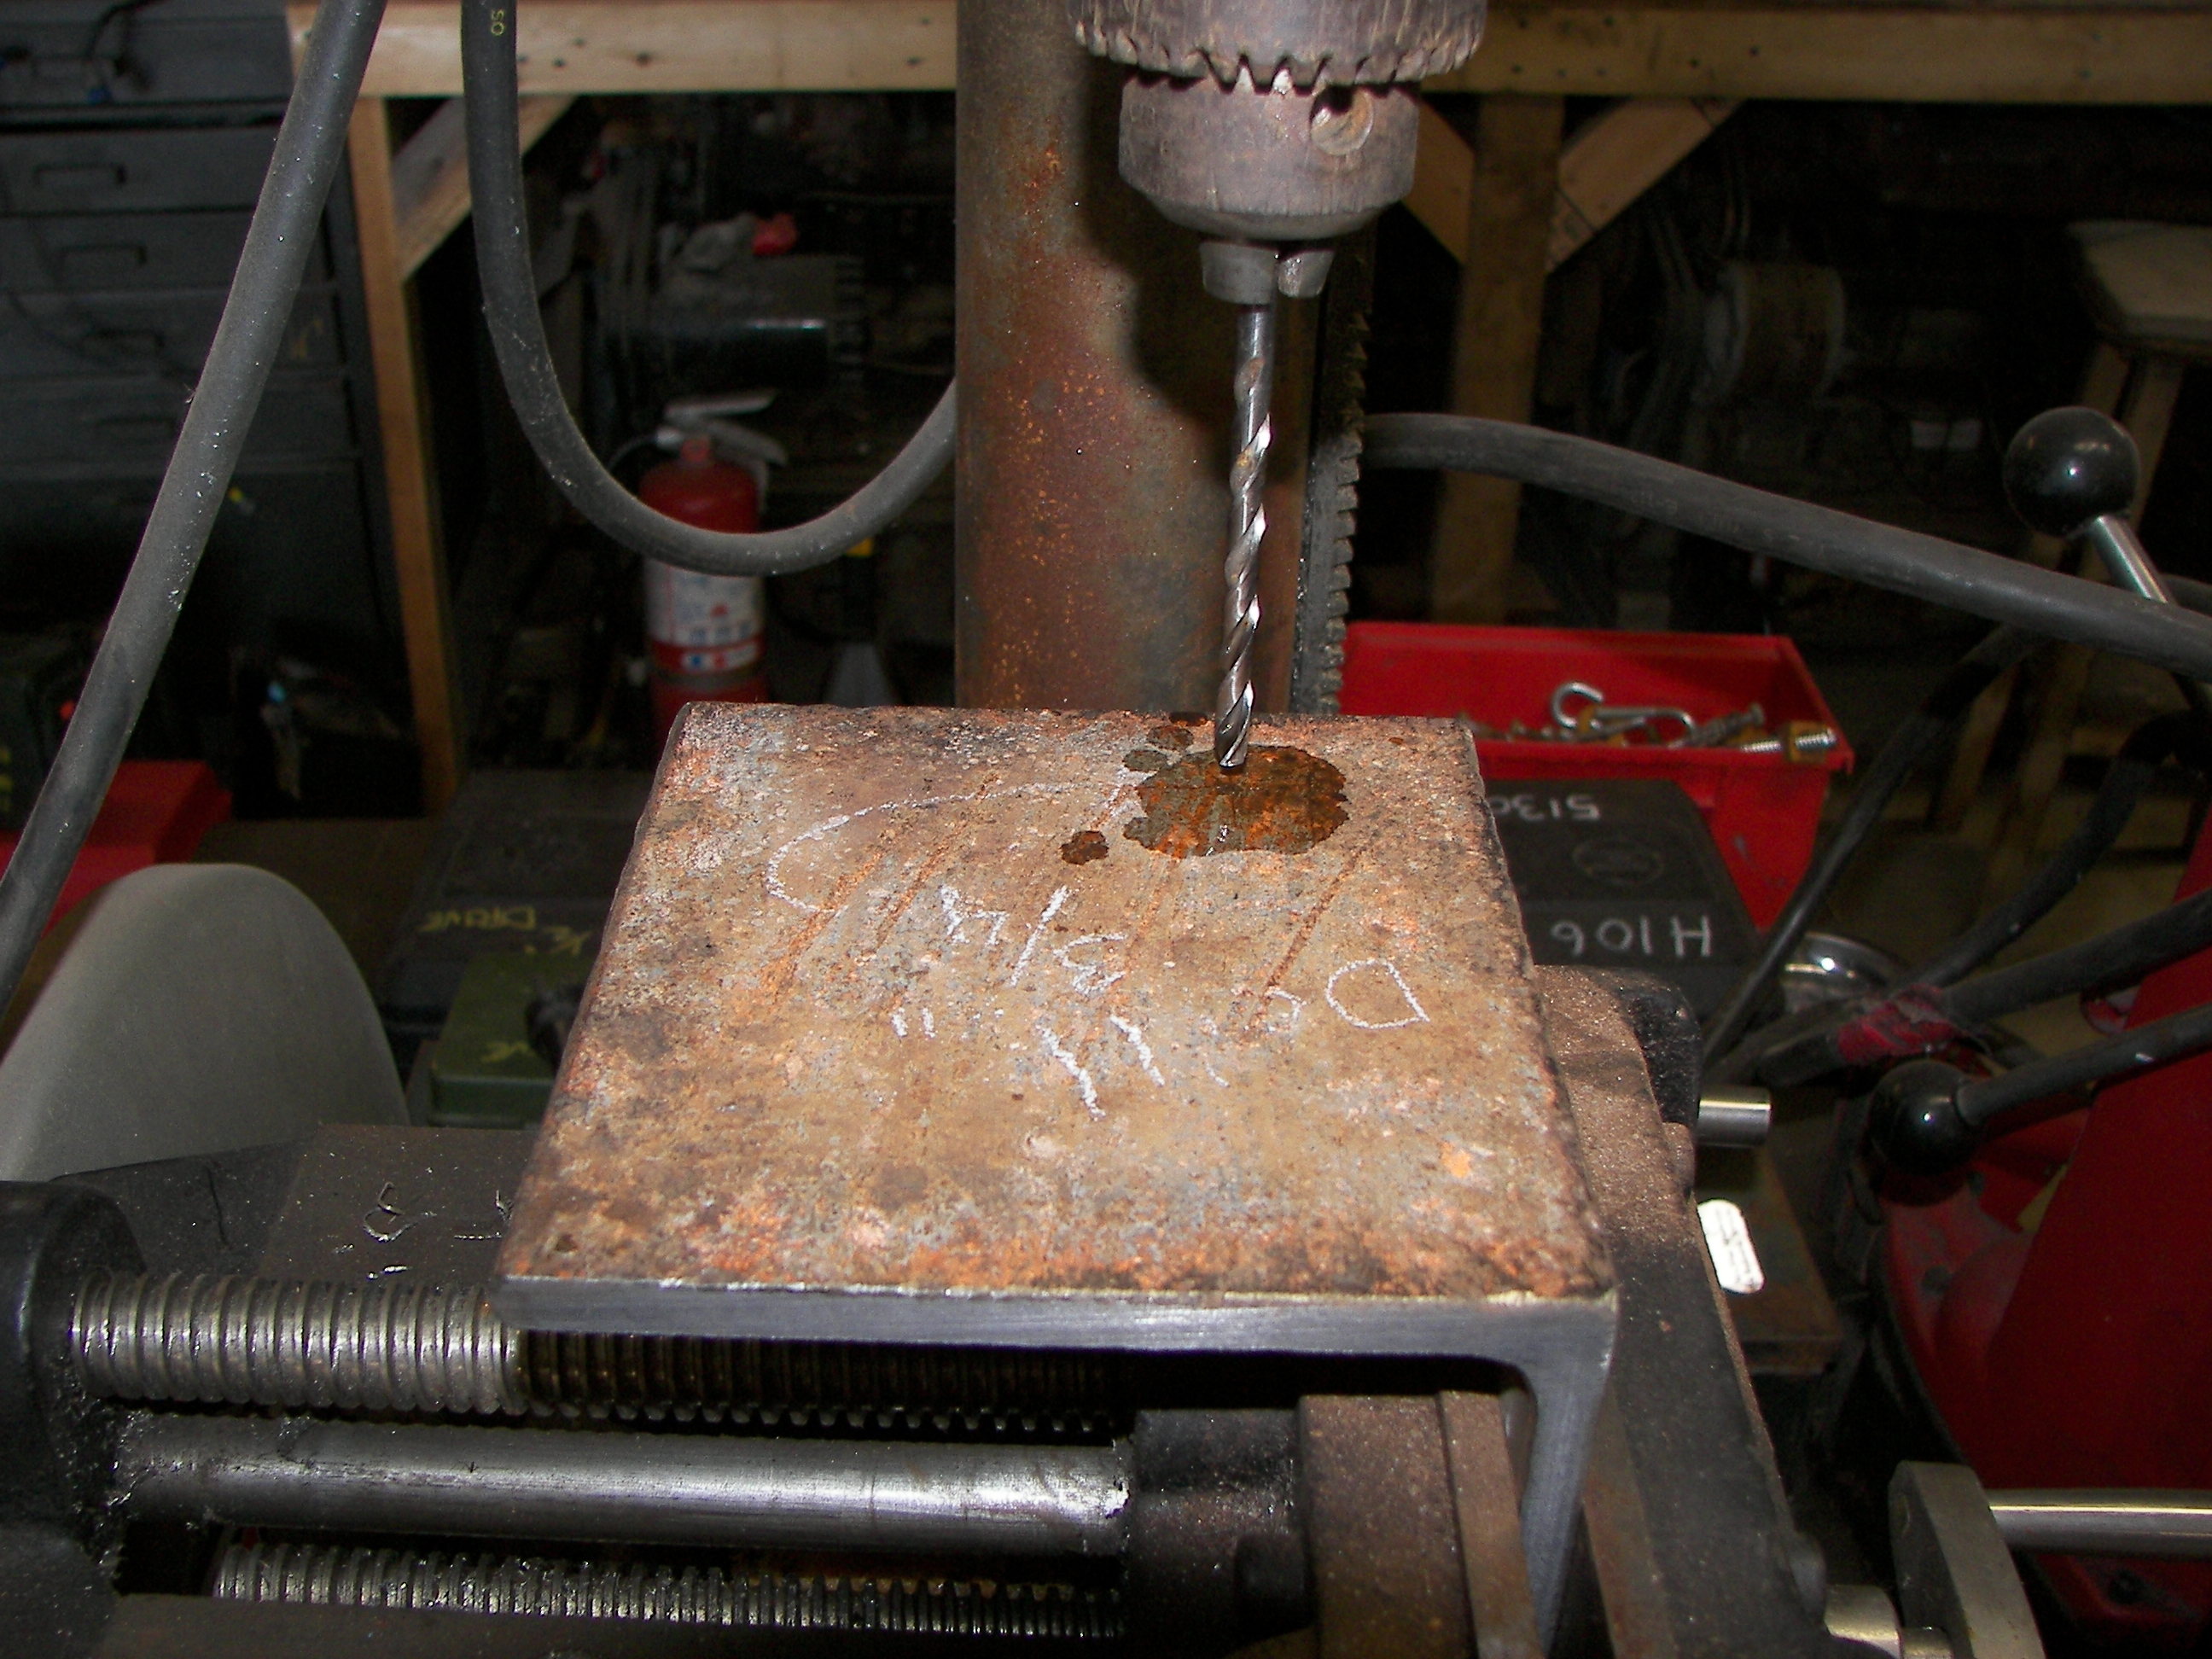
A magnetic drill was used to make holes for the generator mounts. The old fuel tank mounts were modified and relocated. Great care was taken to avoid drilling through air, brake, and electrical lines bolted to the inside of the frame. Tap Magic is your friend. |
|
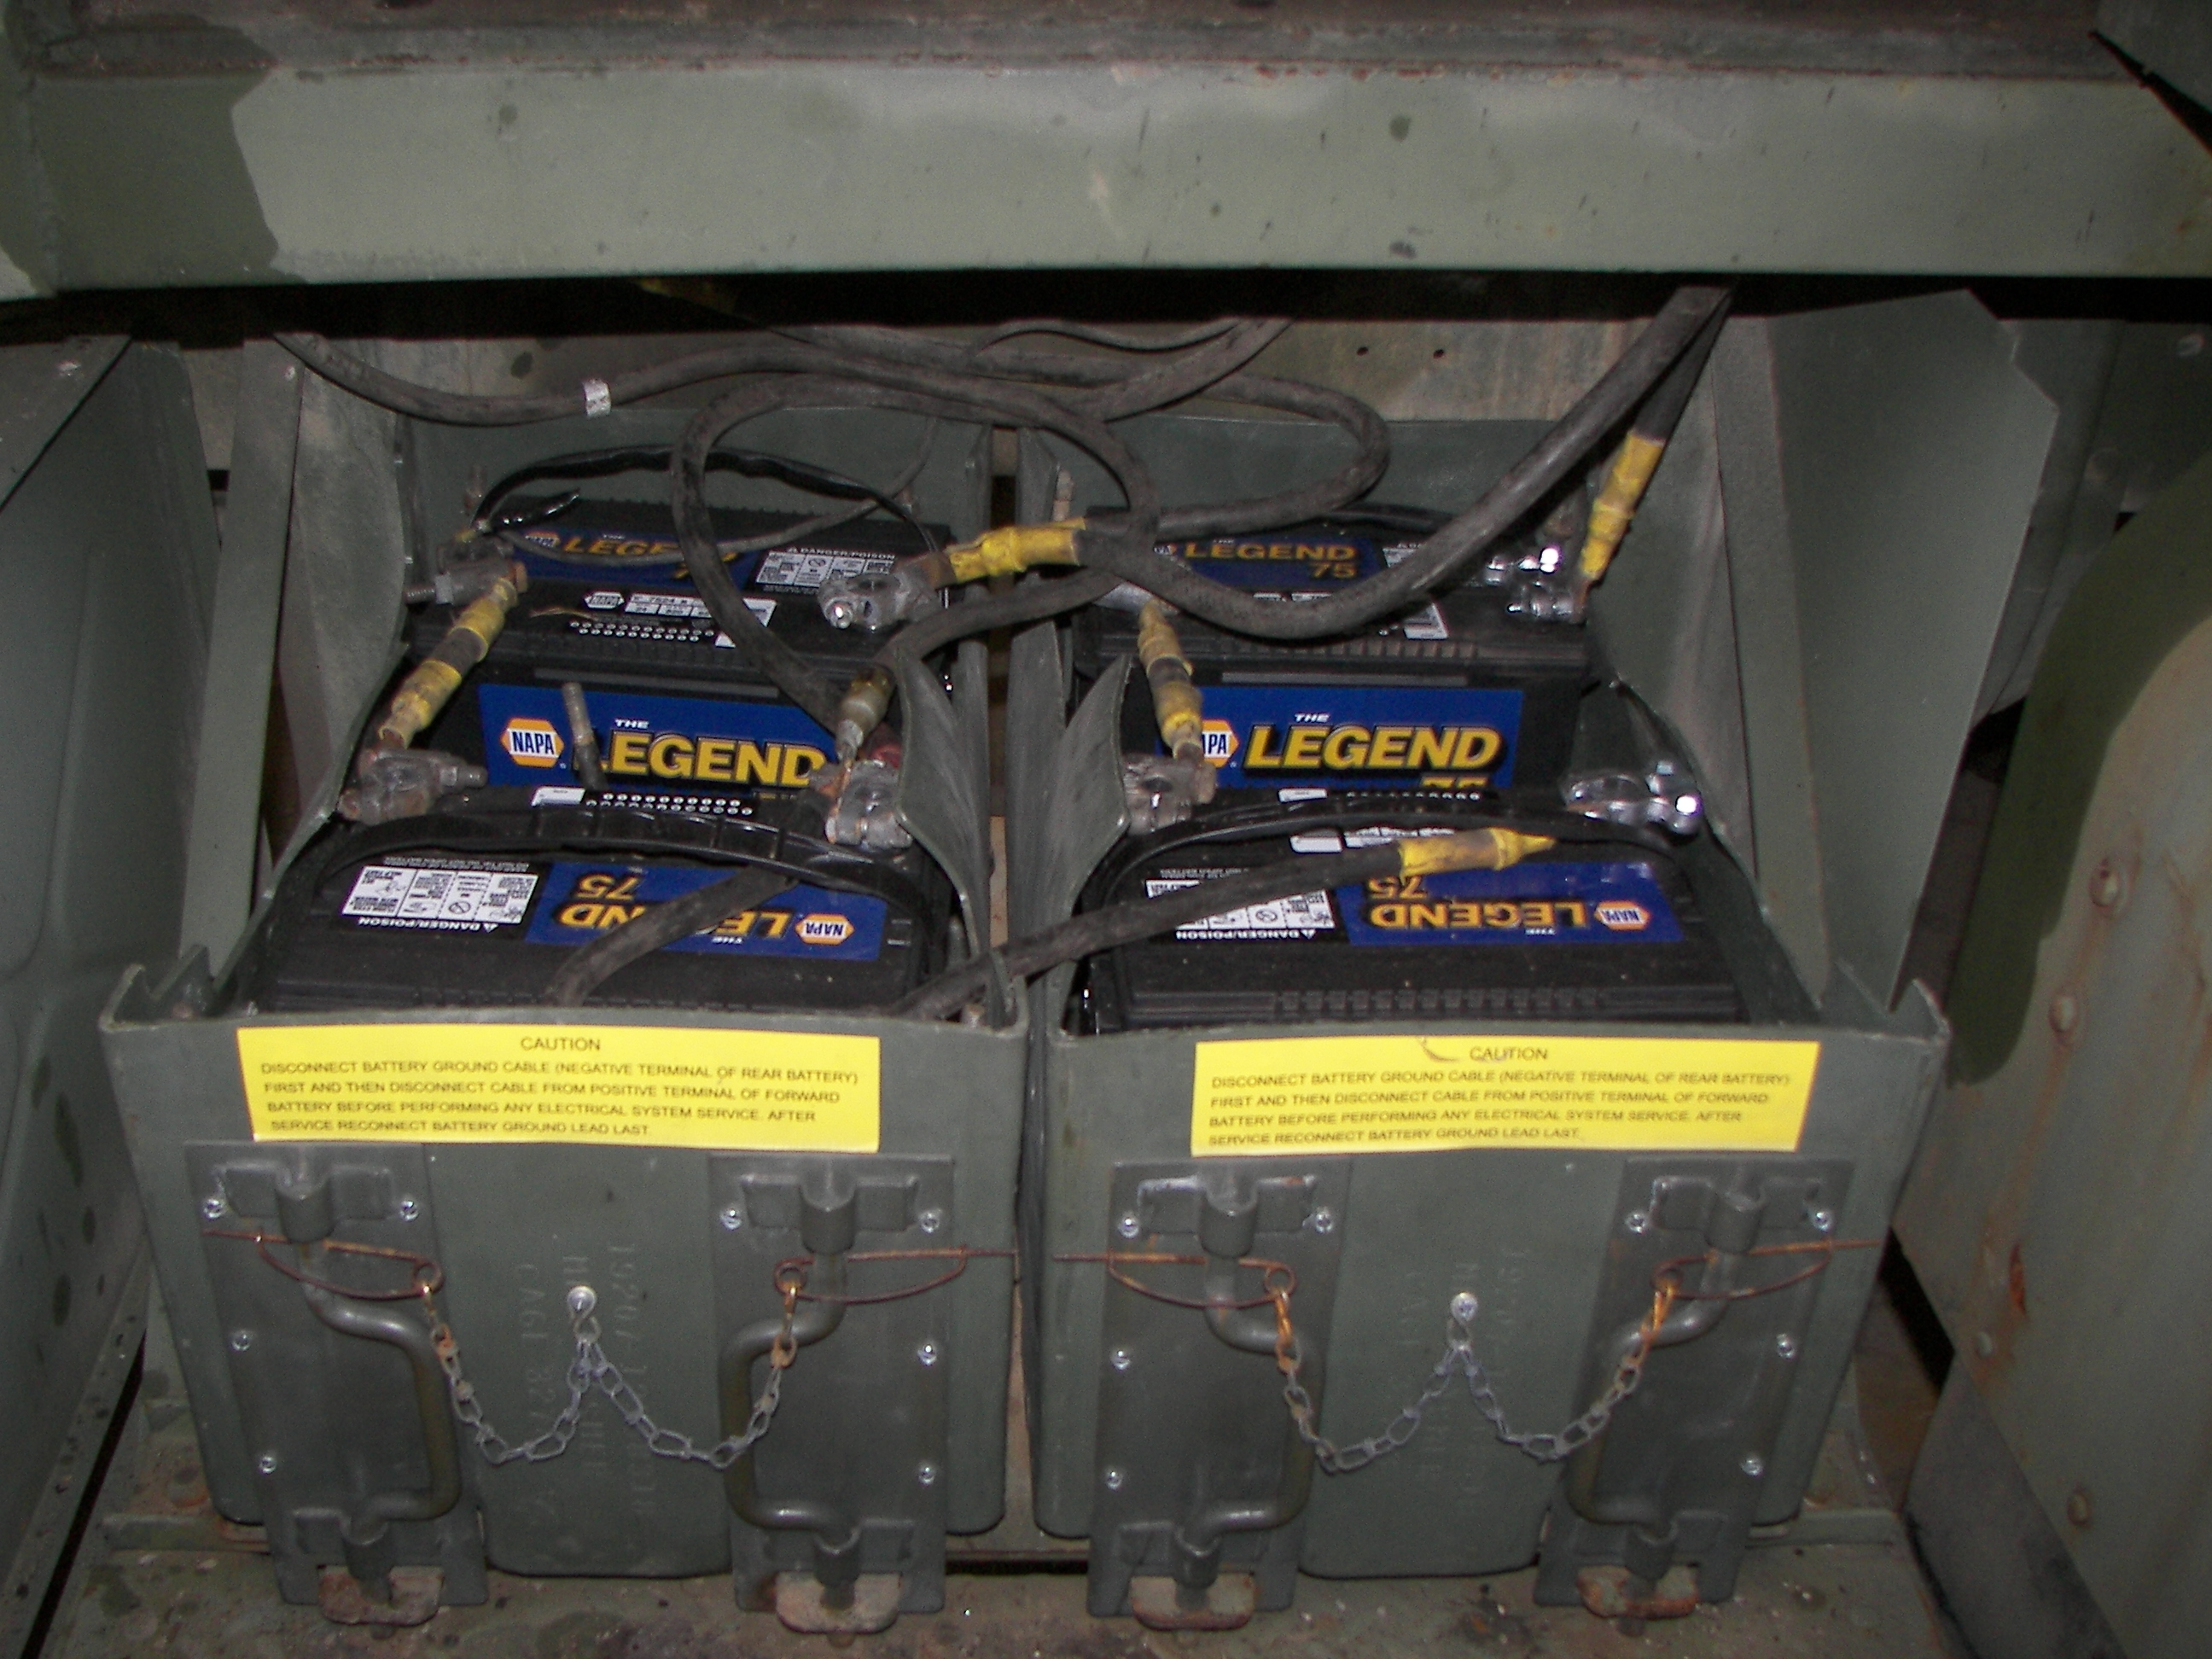
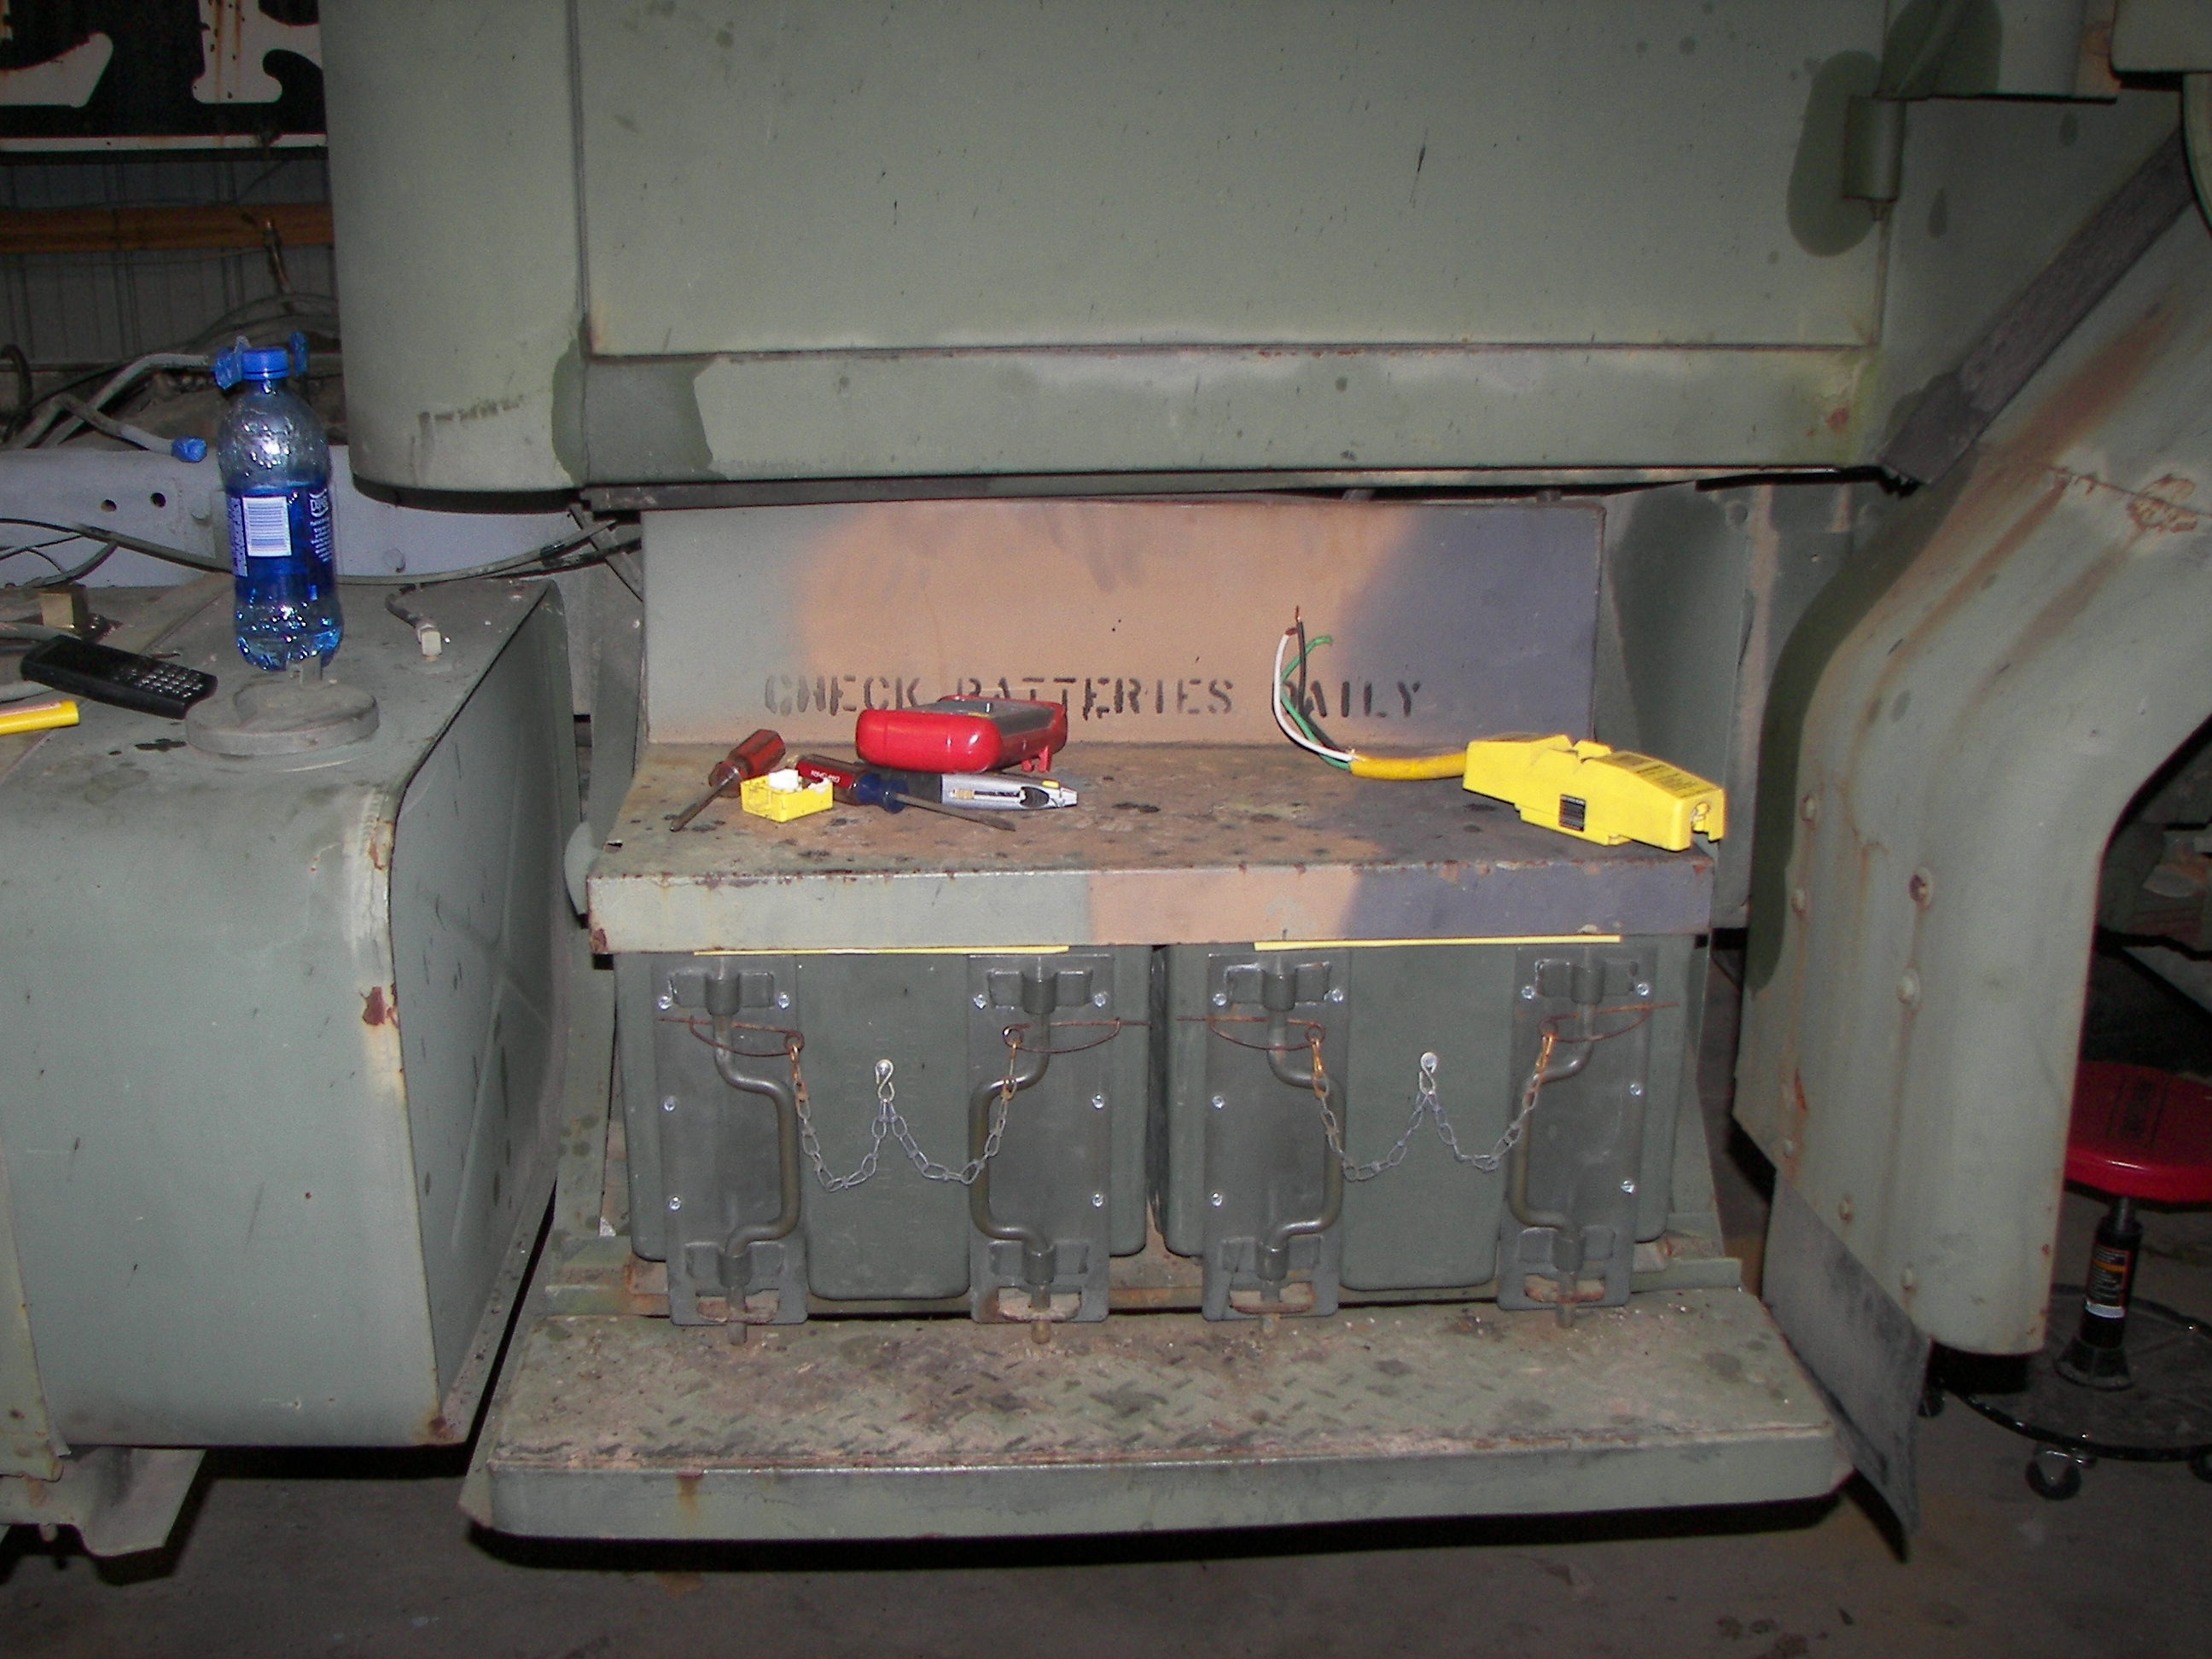
Four new car batteries were installed and several new cables and clamps also found their way into the job. The truck should take 6TL batteries, but the prices quoted locally were ridiculous at twice what they should be. Nevermind. |
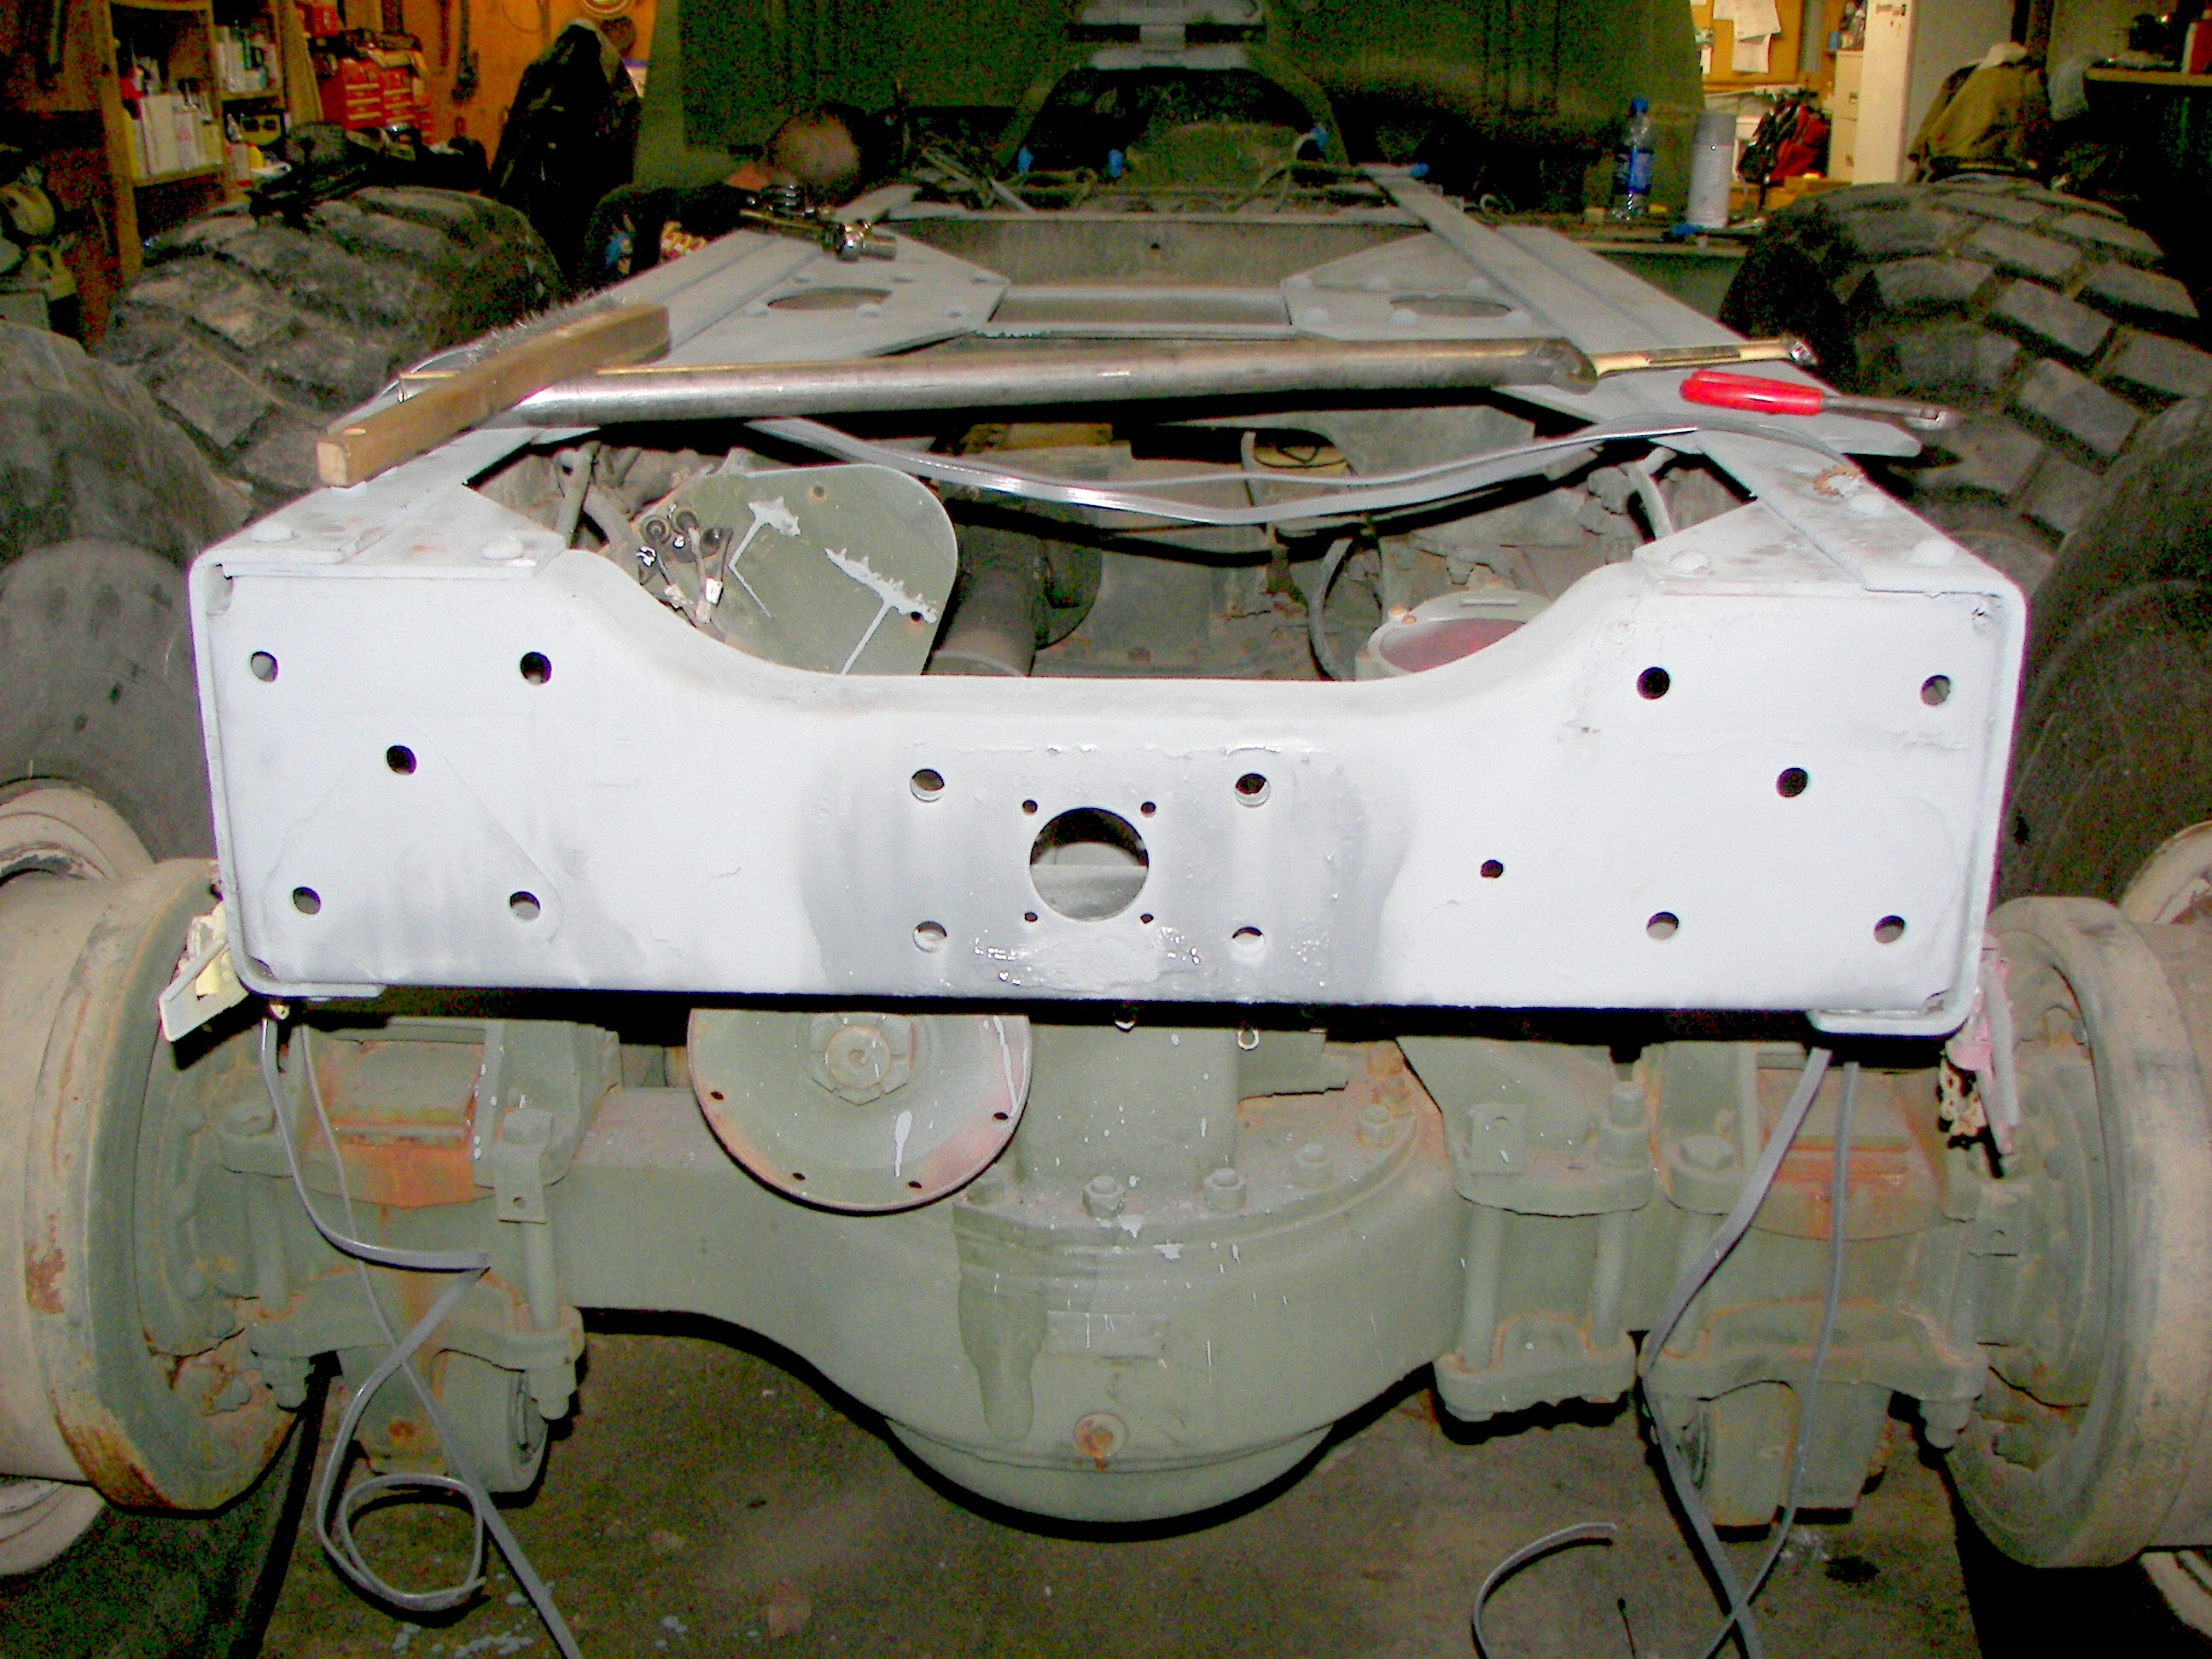
In preparation, the back end of the frame was liberally coated with Zinc paint. This coating of 95% zinc stops and prevents rust. |
|
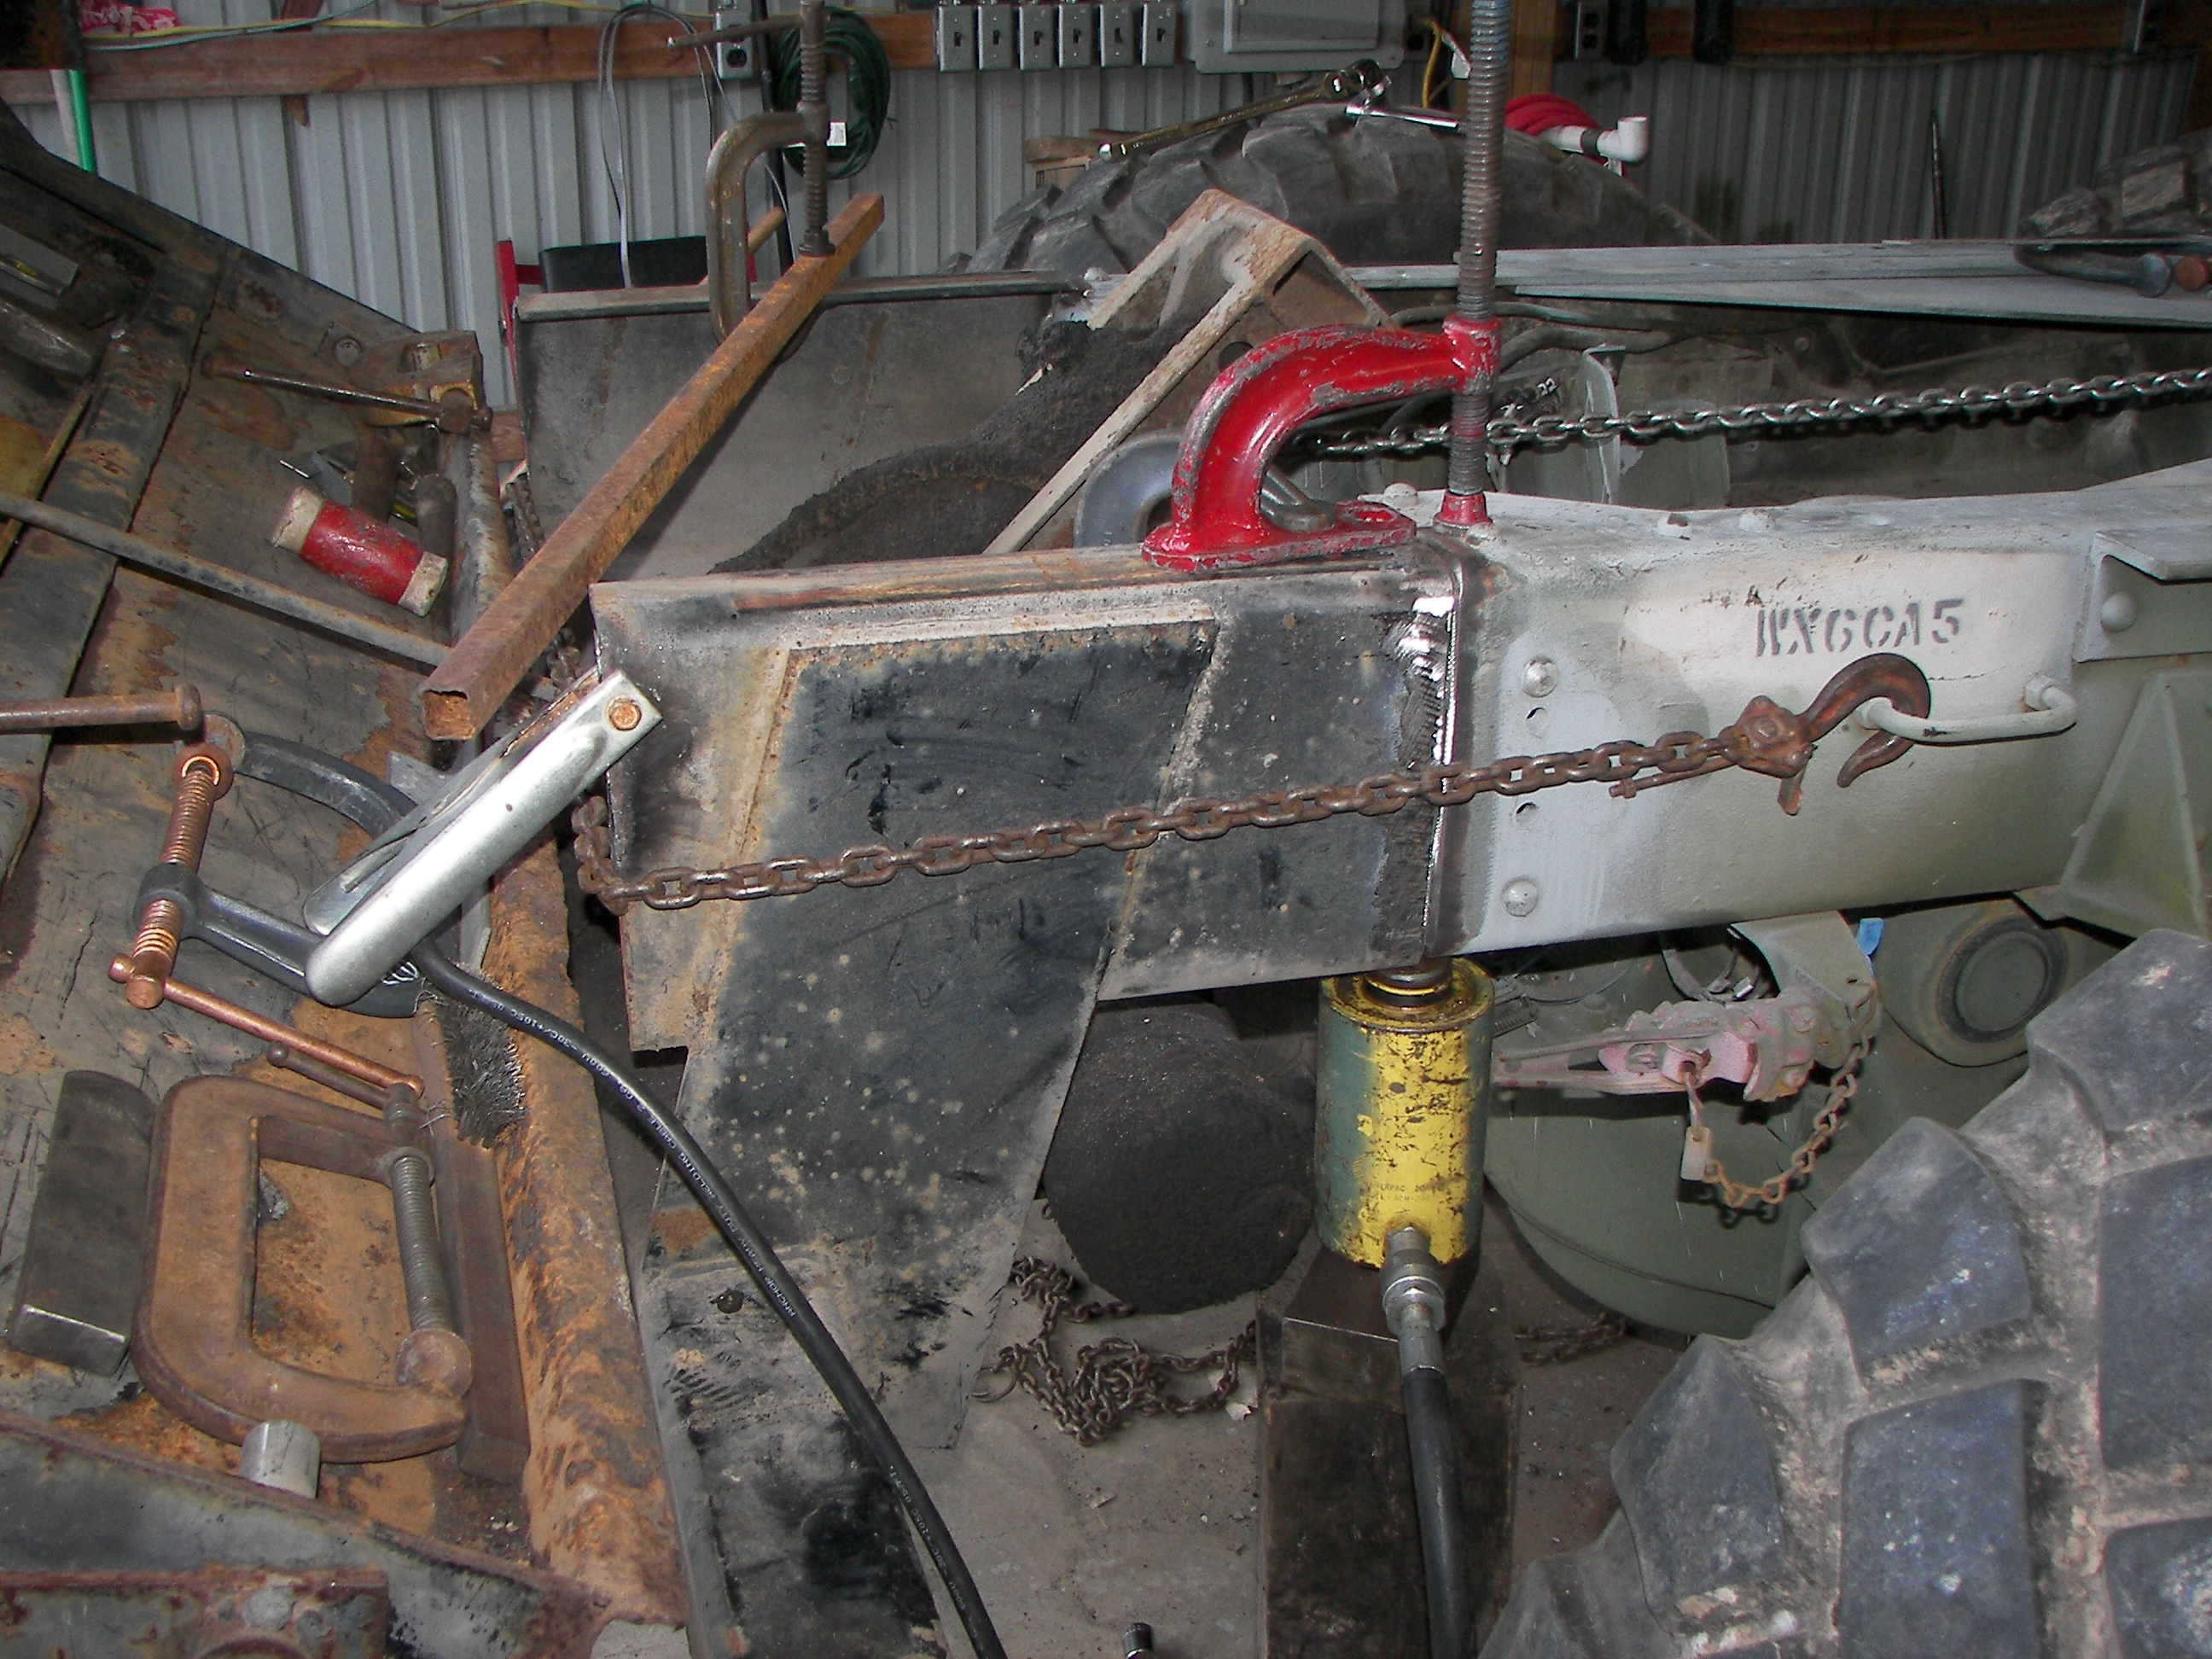
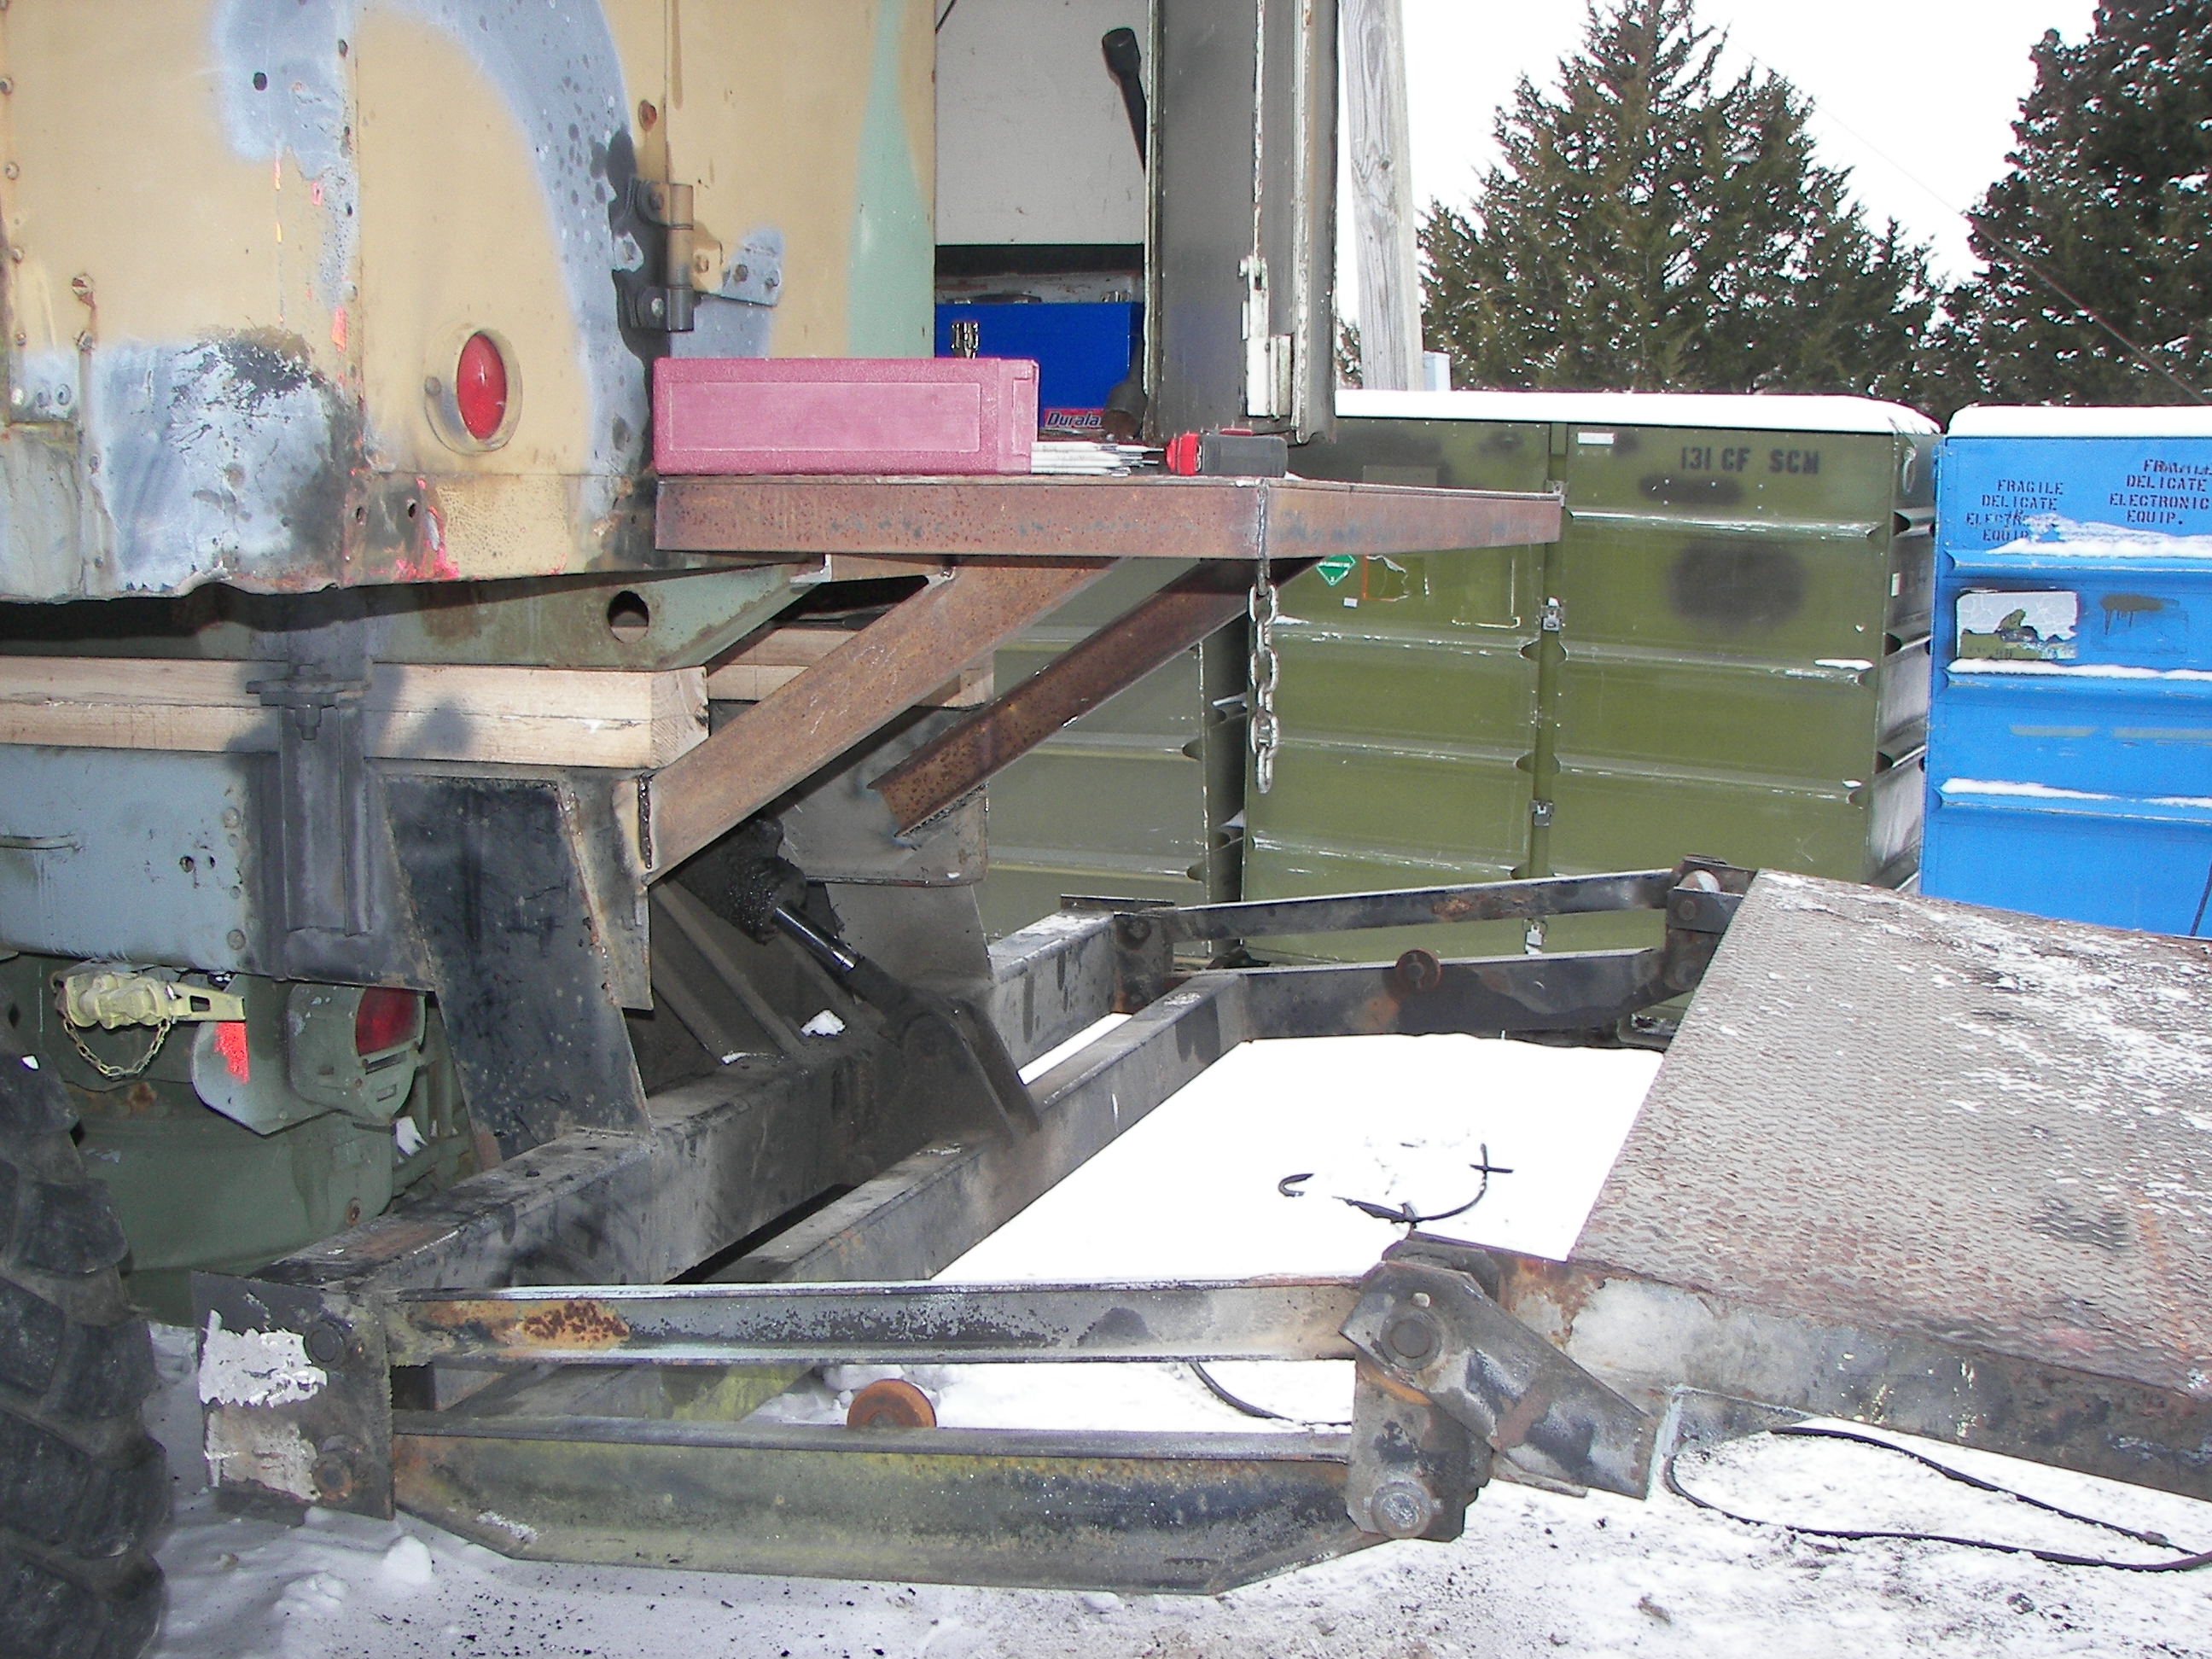
The lift gate was brought and fitted up. Brian is an expert rigger and welder. normally we would never weld to the frame, but the tail end here does not support the chassis, and welding is OK for the lift gate section. The frame section cut from the donor truck was exactly the same size as the M818 frame. |
|
|
At this point, very little weight is on the two large jacks. The rigging is holding the gate section in place. |
|
|
Meanwhile, the step decking has been cut and the generator fitted in place to check clearance. |

video: The lift gate in operation. 24 volts gives it alot of speed, but it was properly connected to 12V later. |
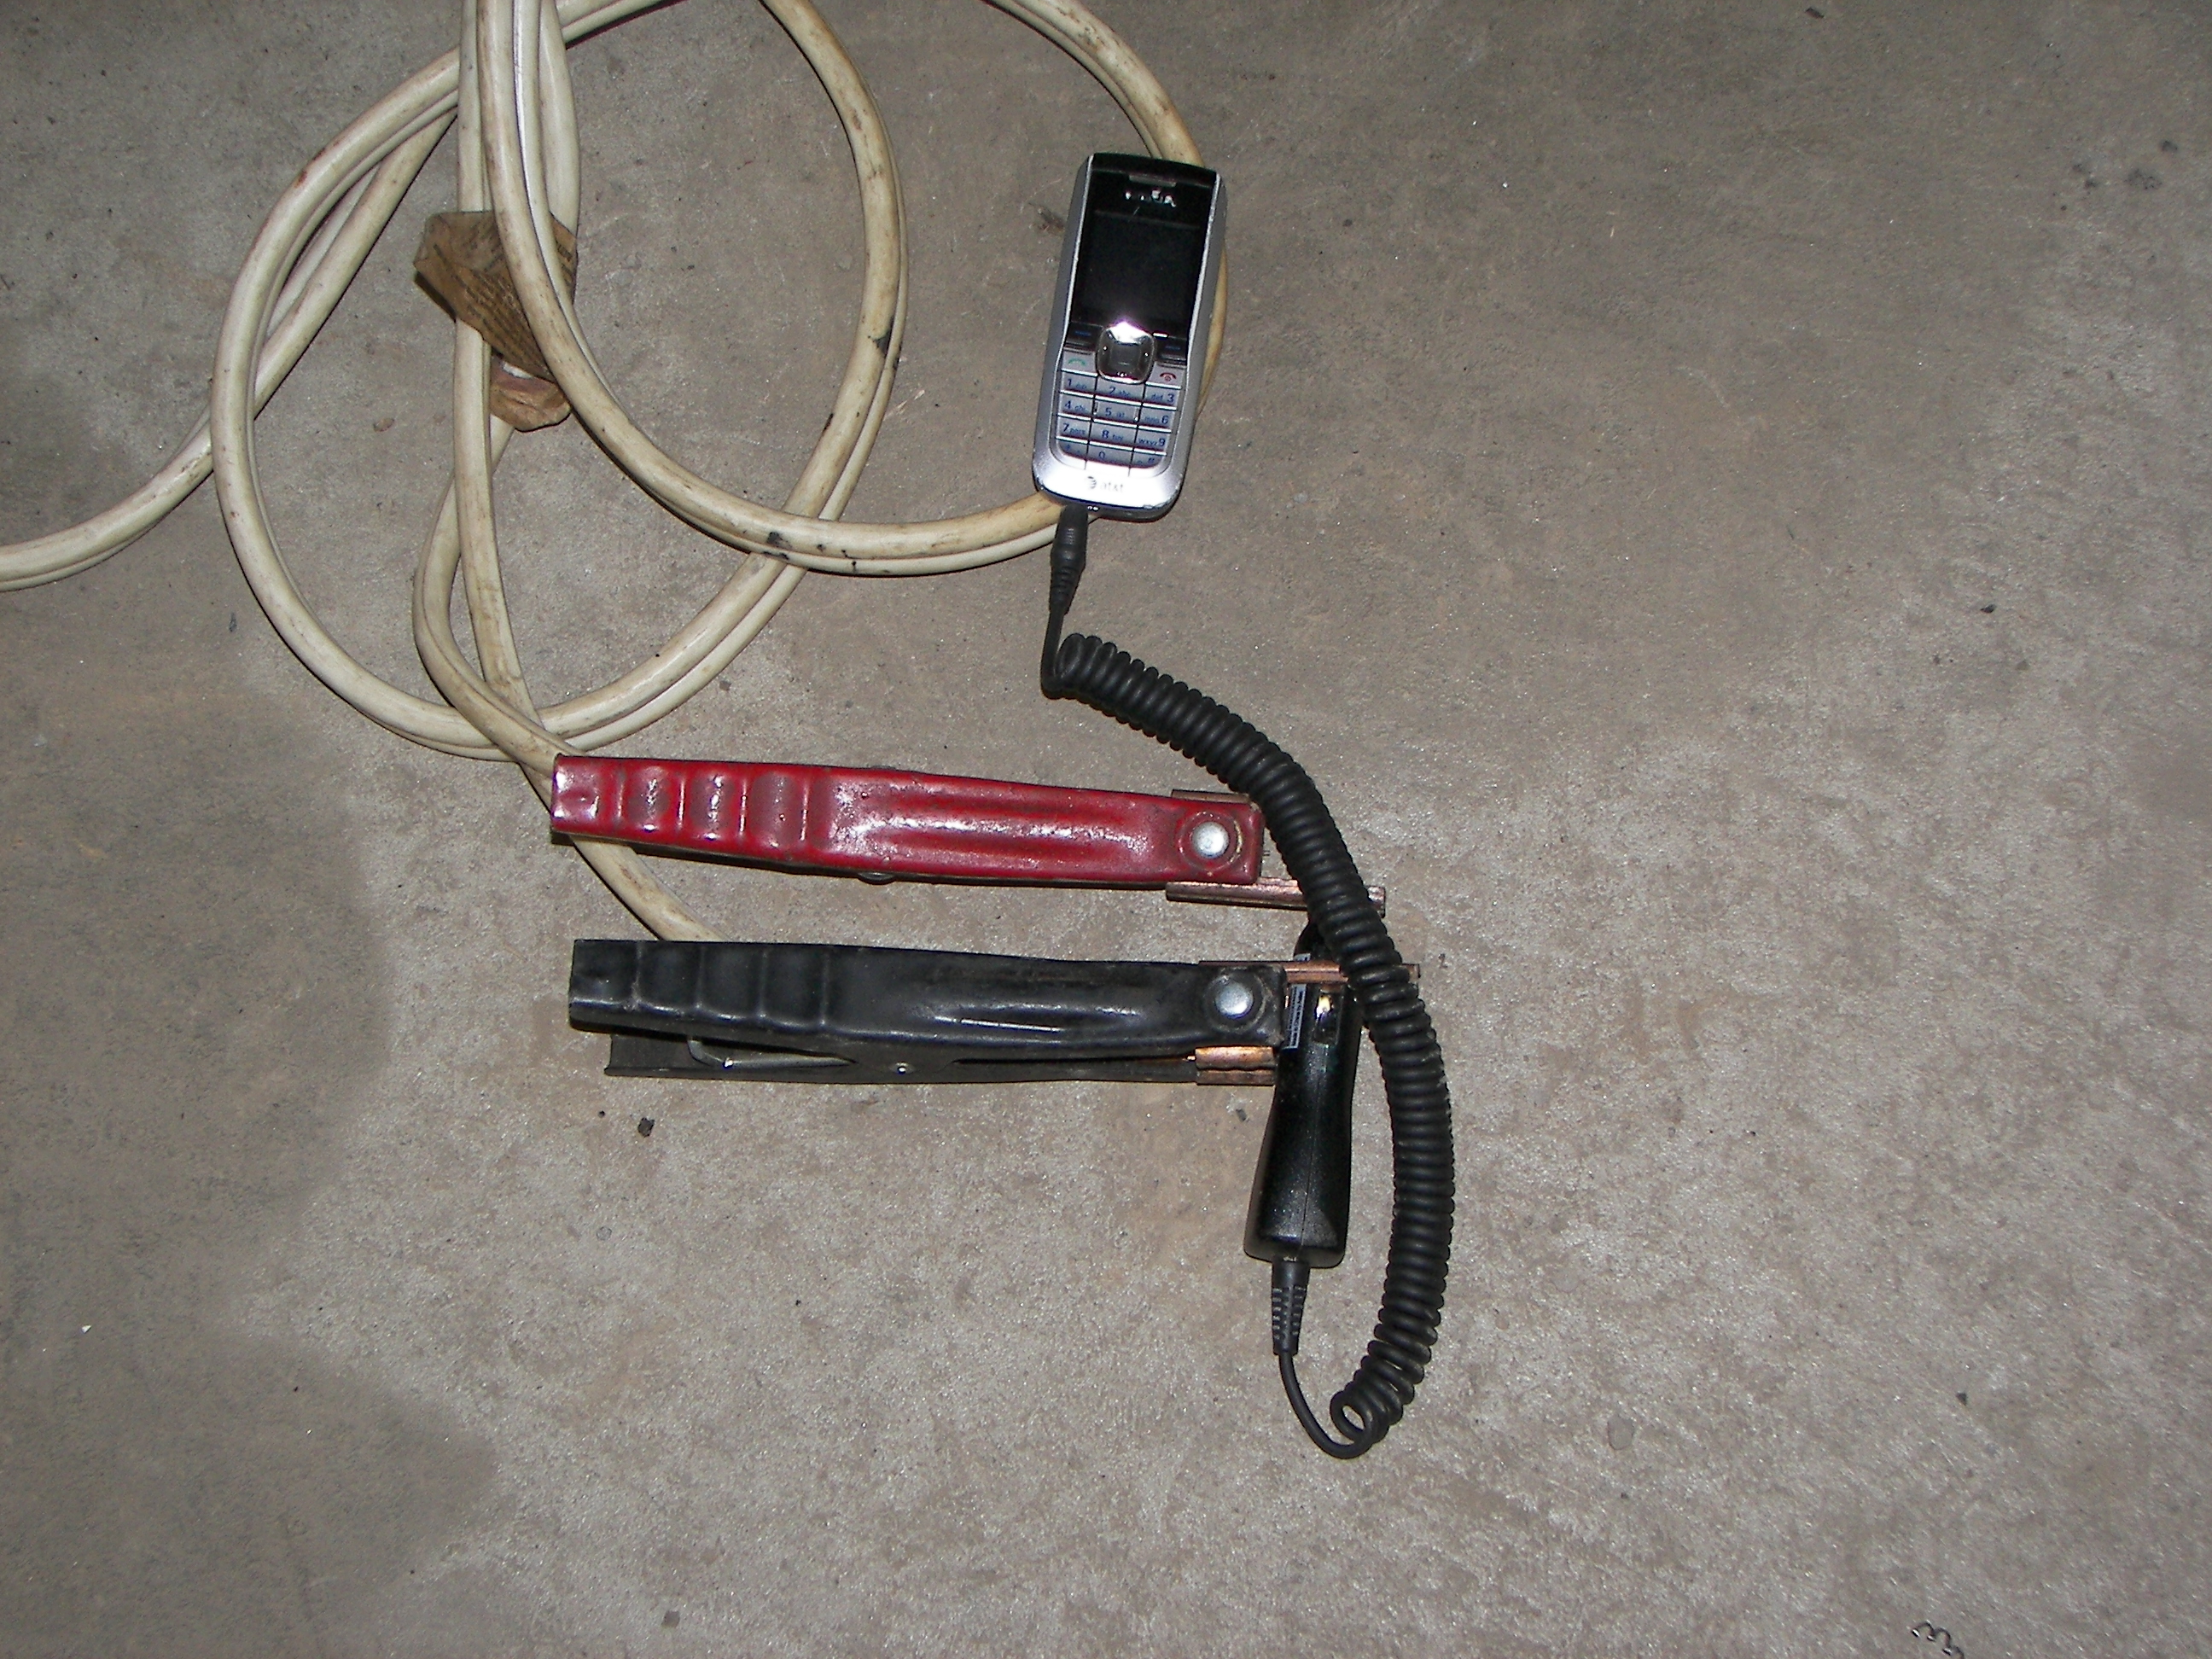
Someone forgot their cellphone charger. 12V will do. |
A rusted member in the underside of the gate deck is removed. It will be replaced with some new C channel. |
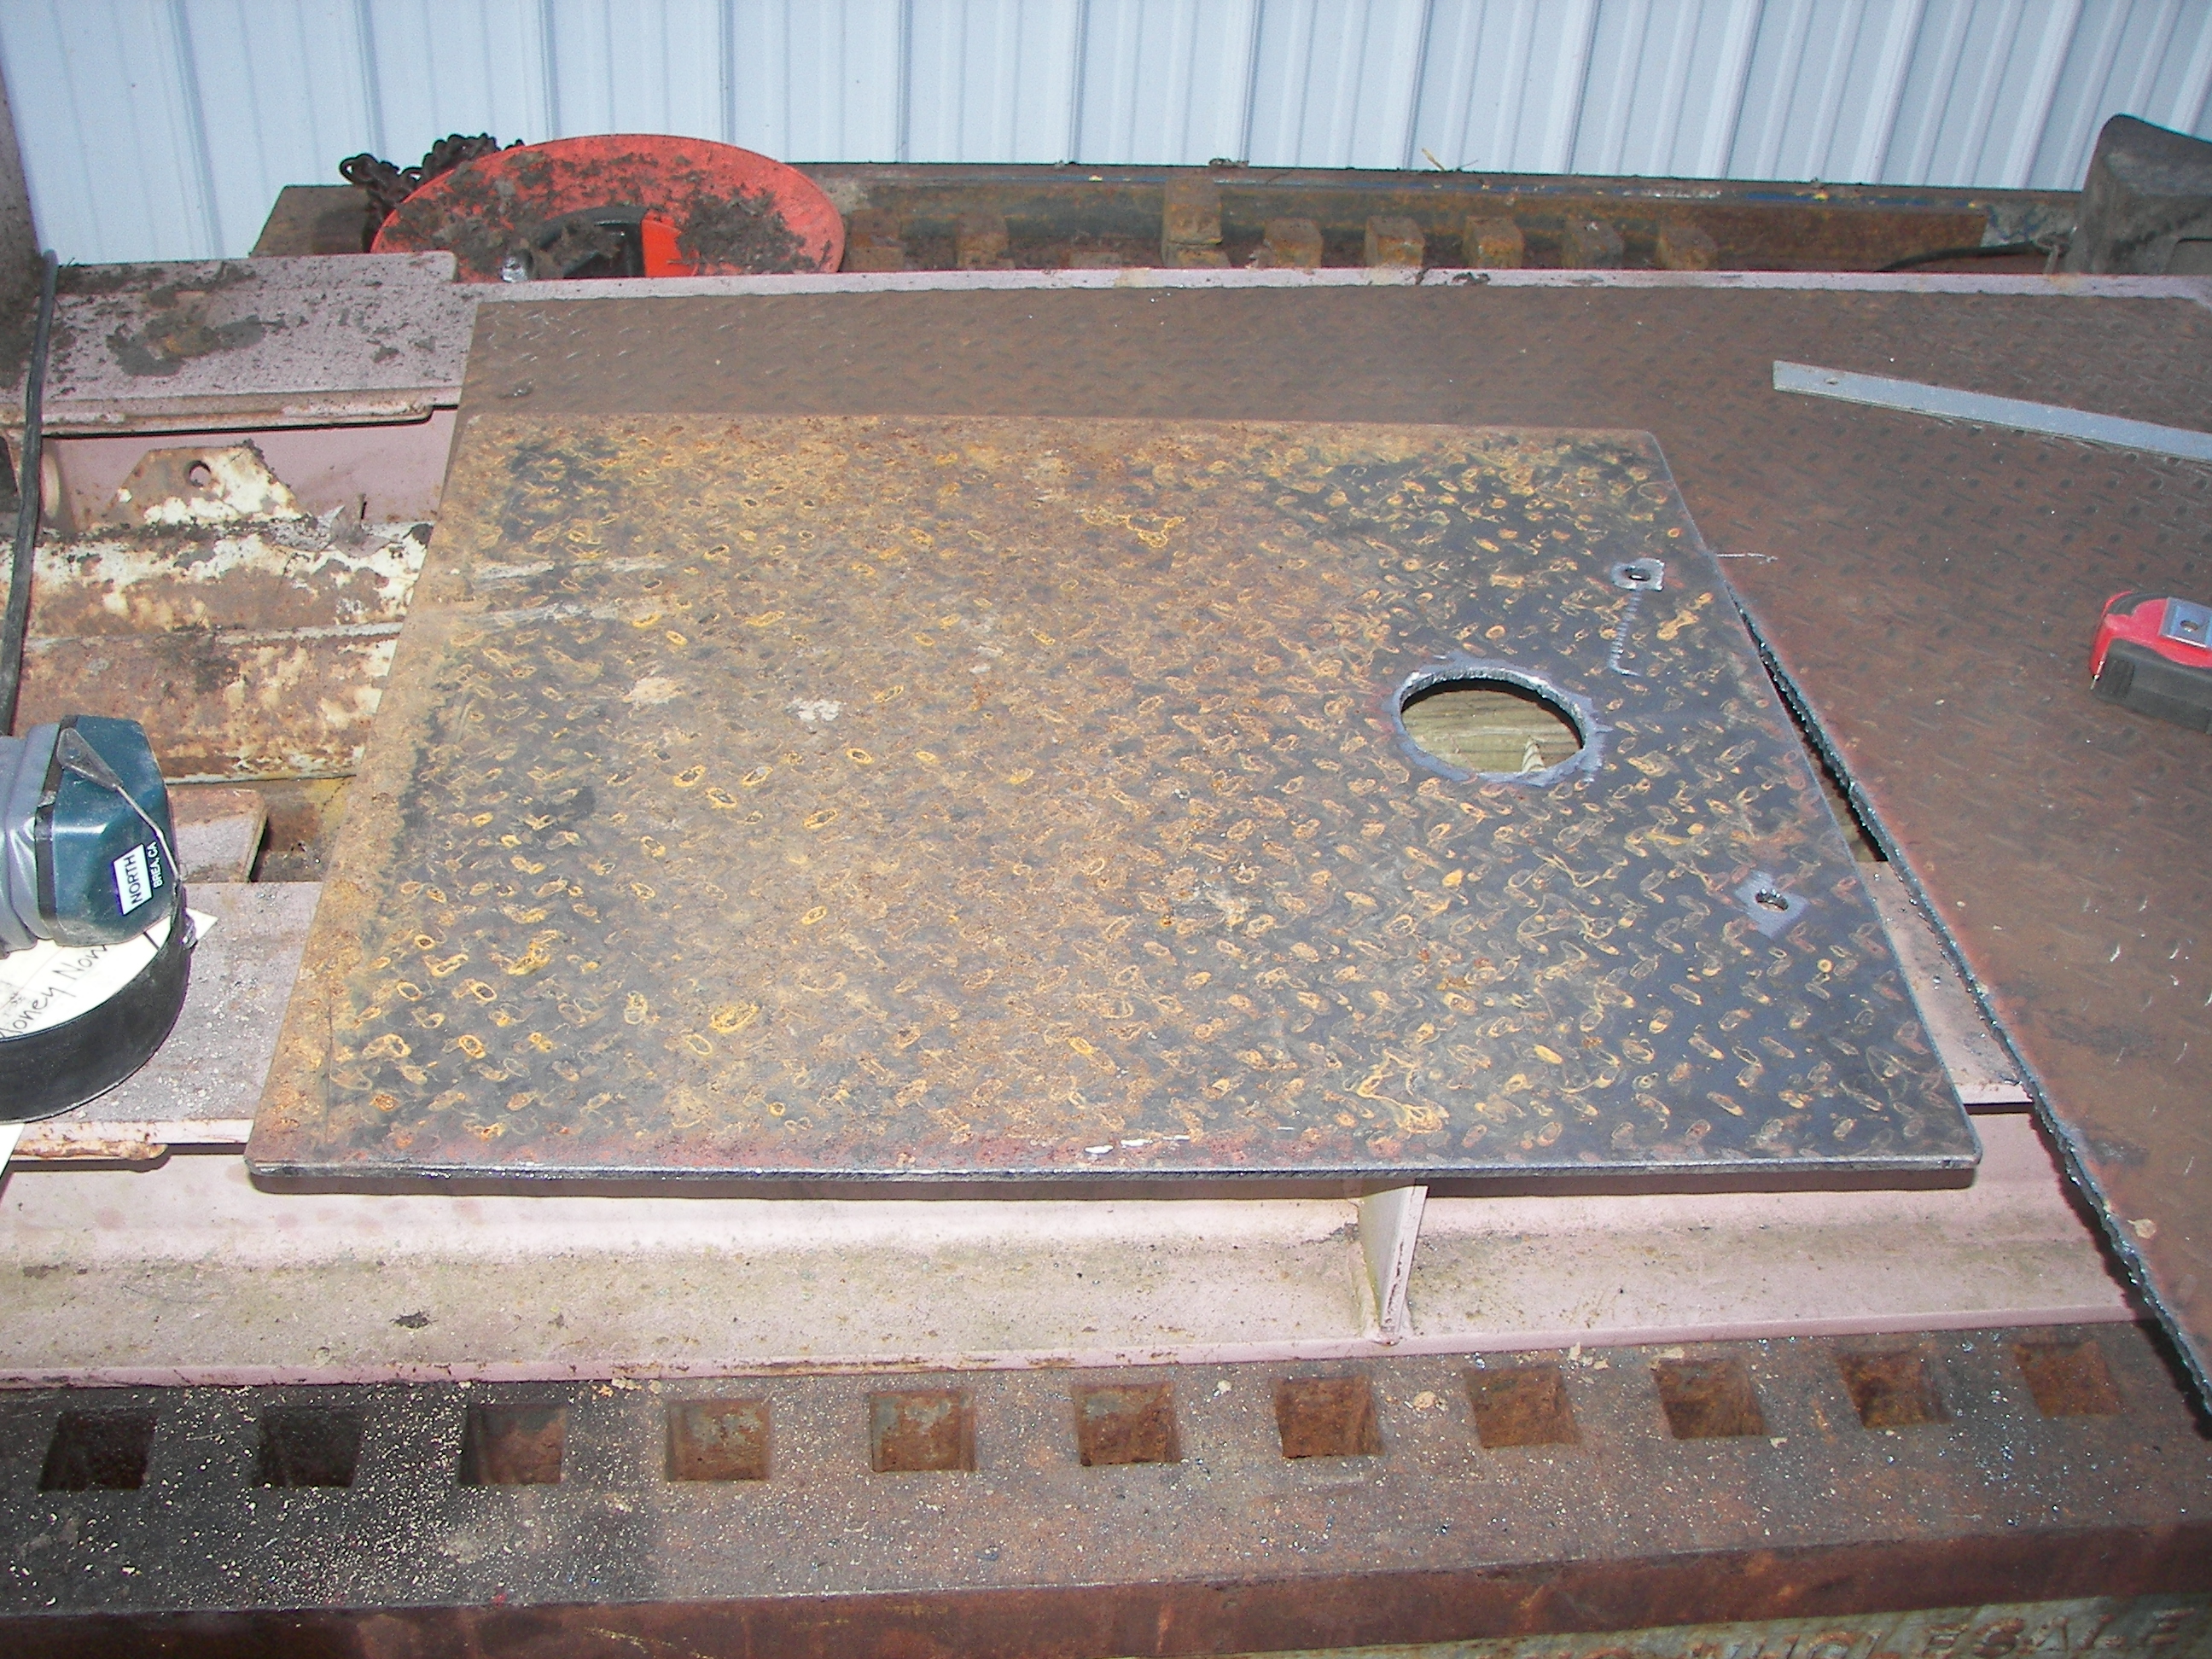
The skid plate for the underside of the generator is fabricated from some 3/8" steel deck plate. The hole is for oil changes. |
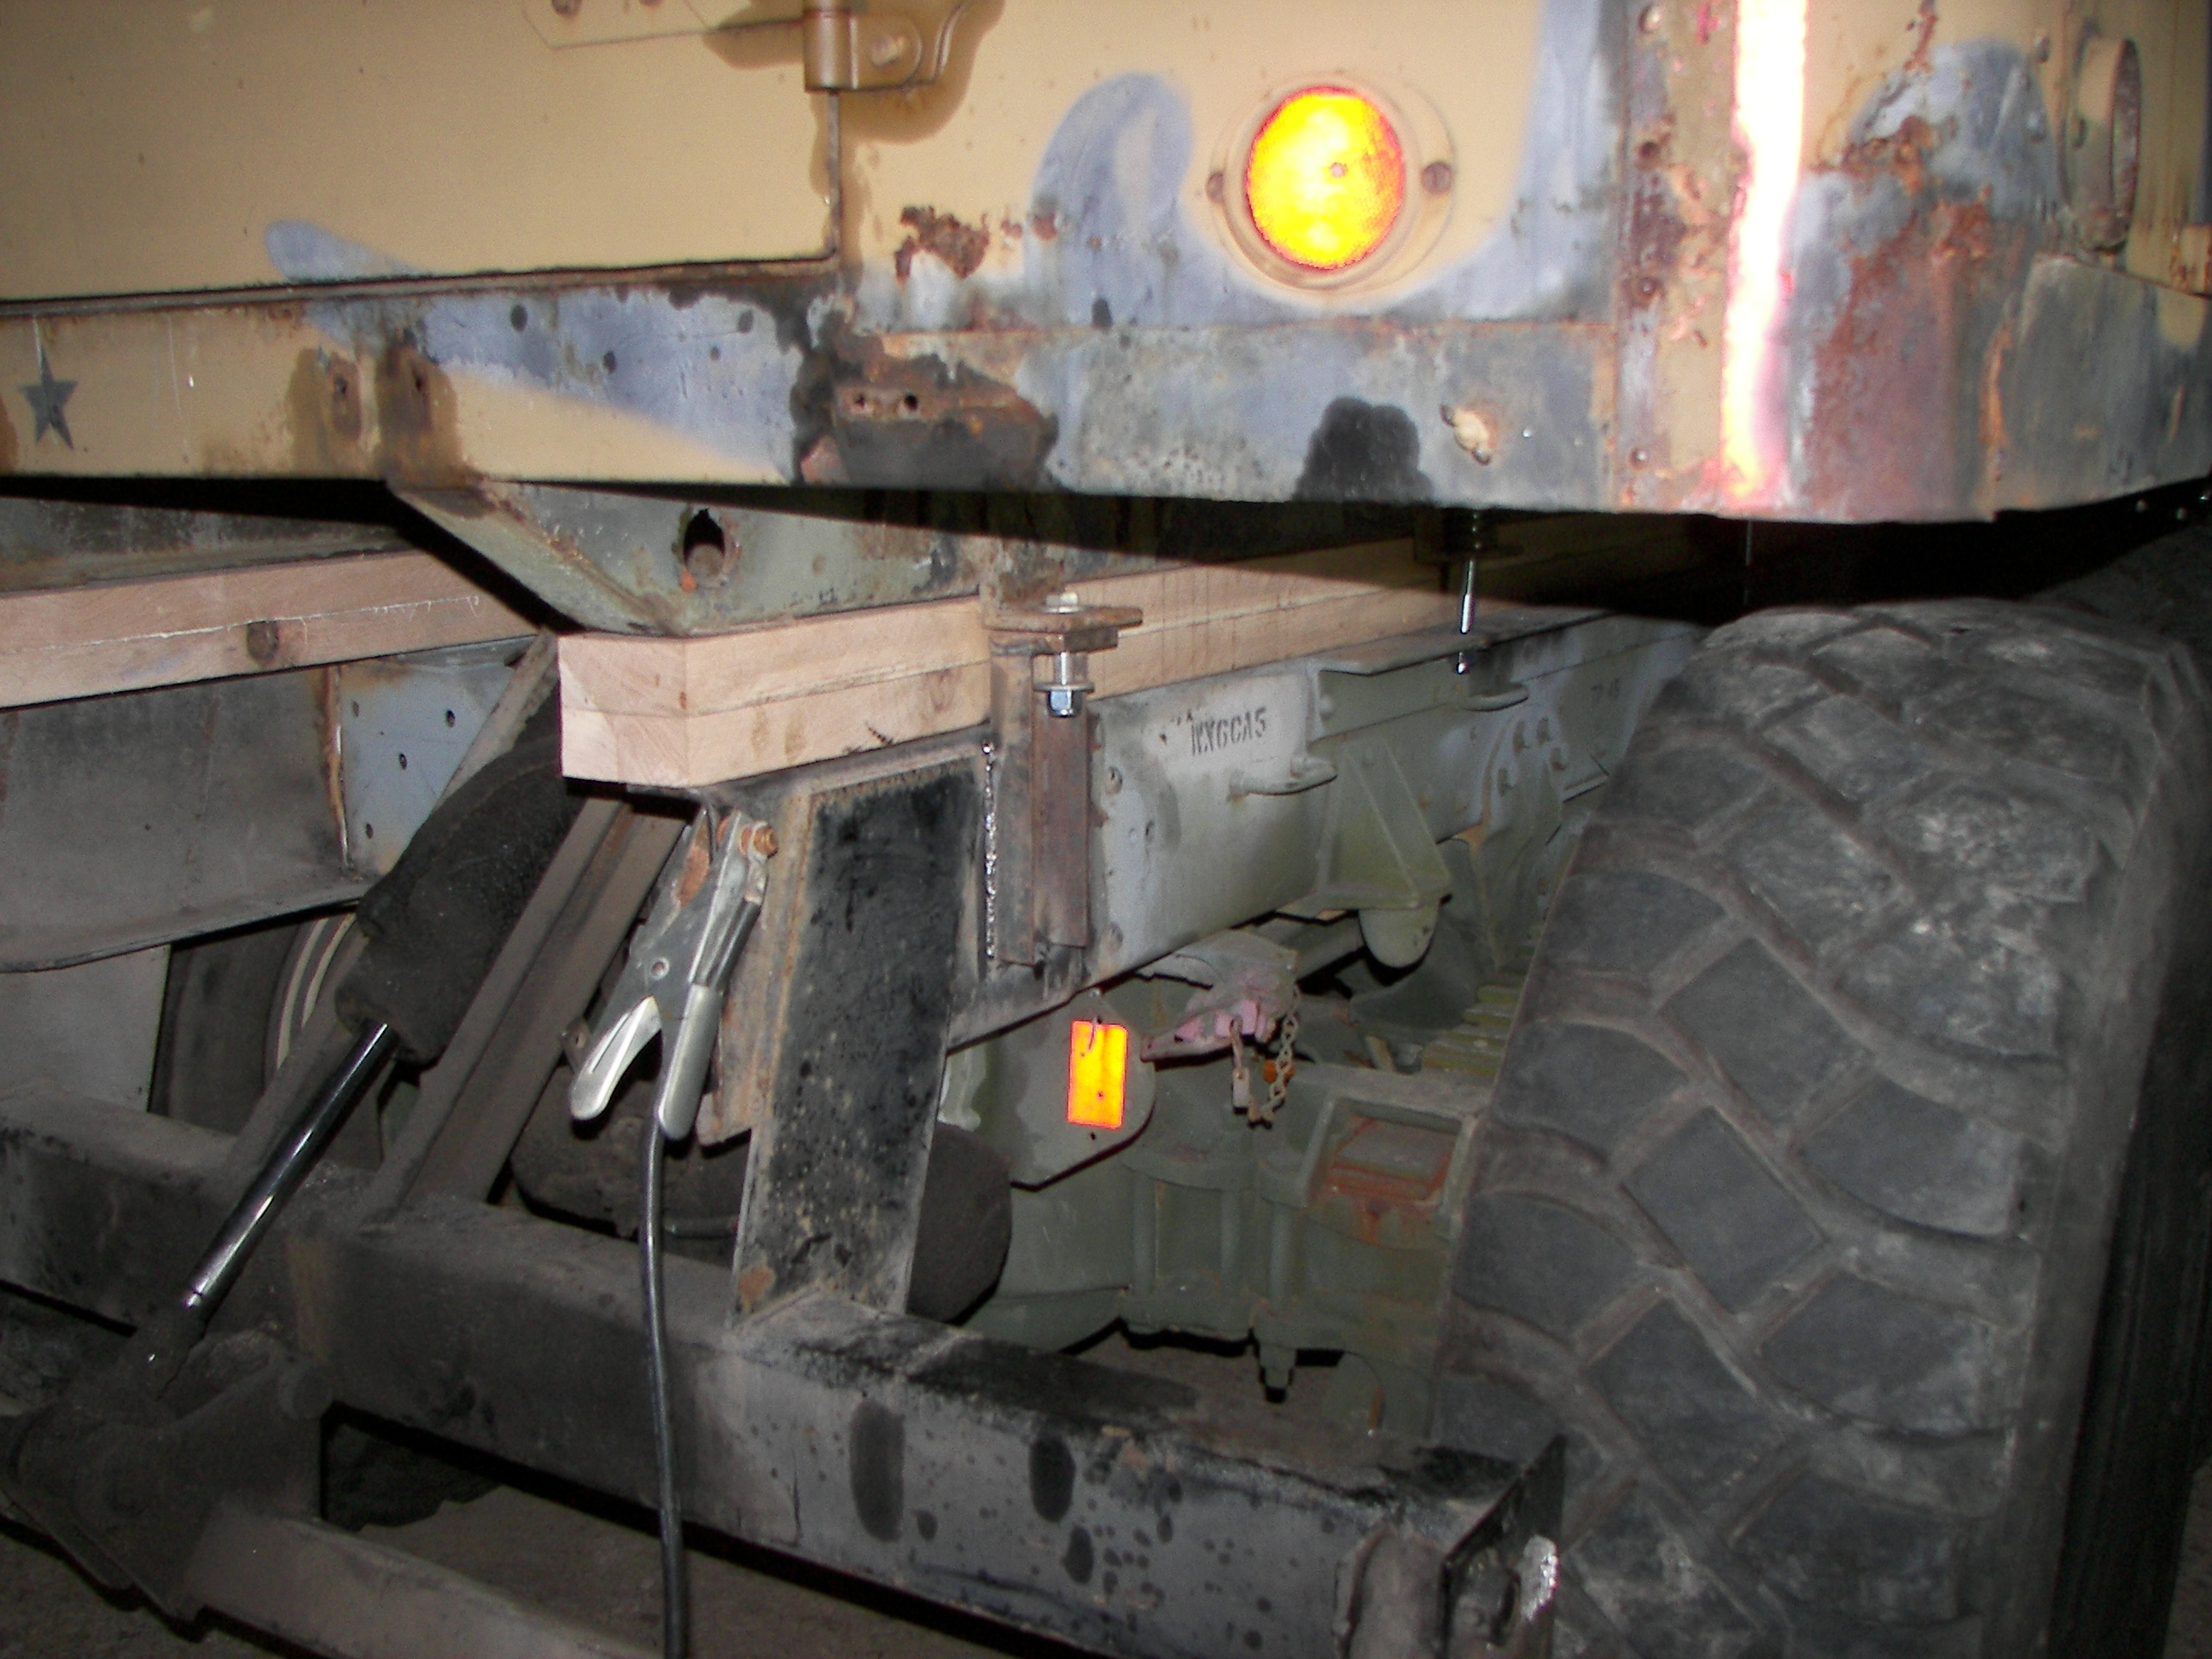
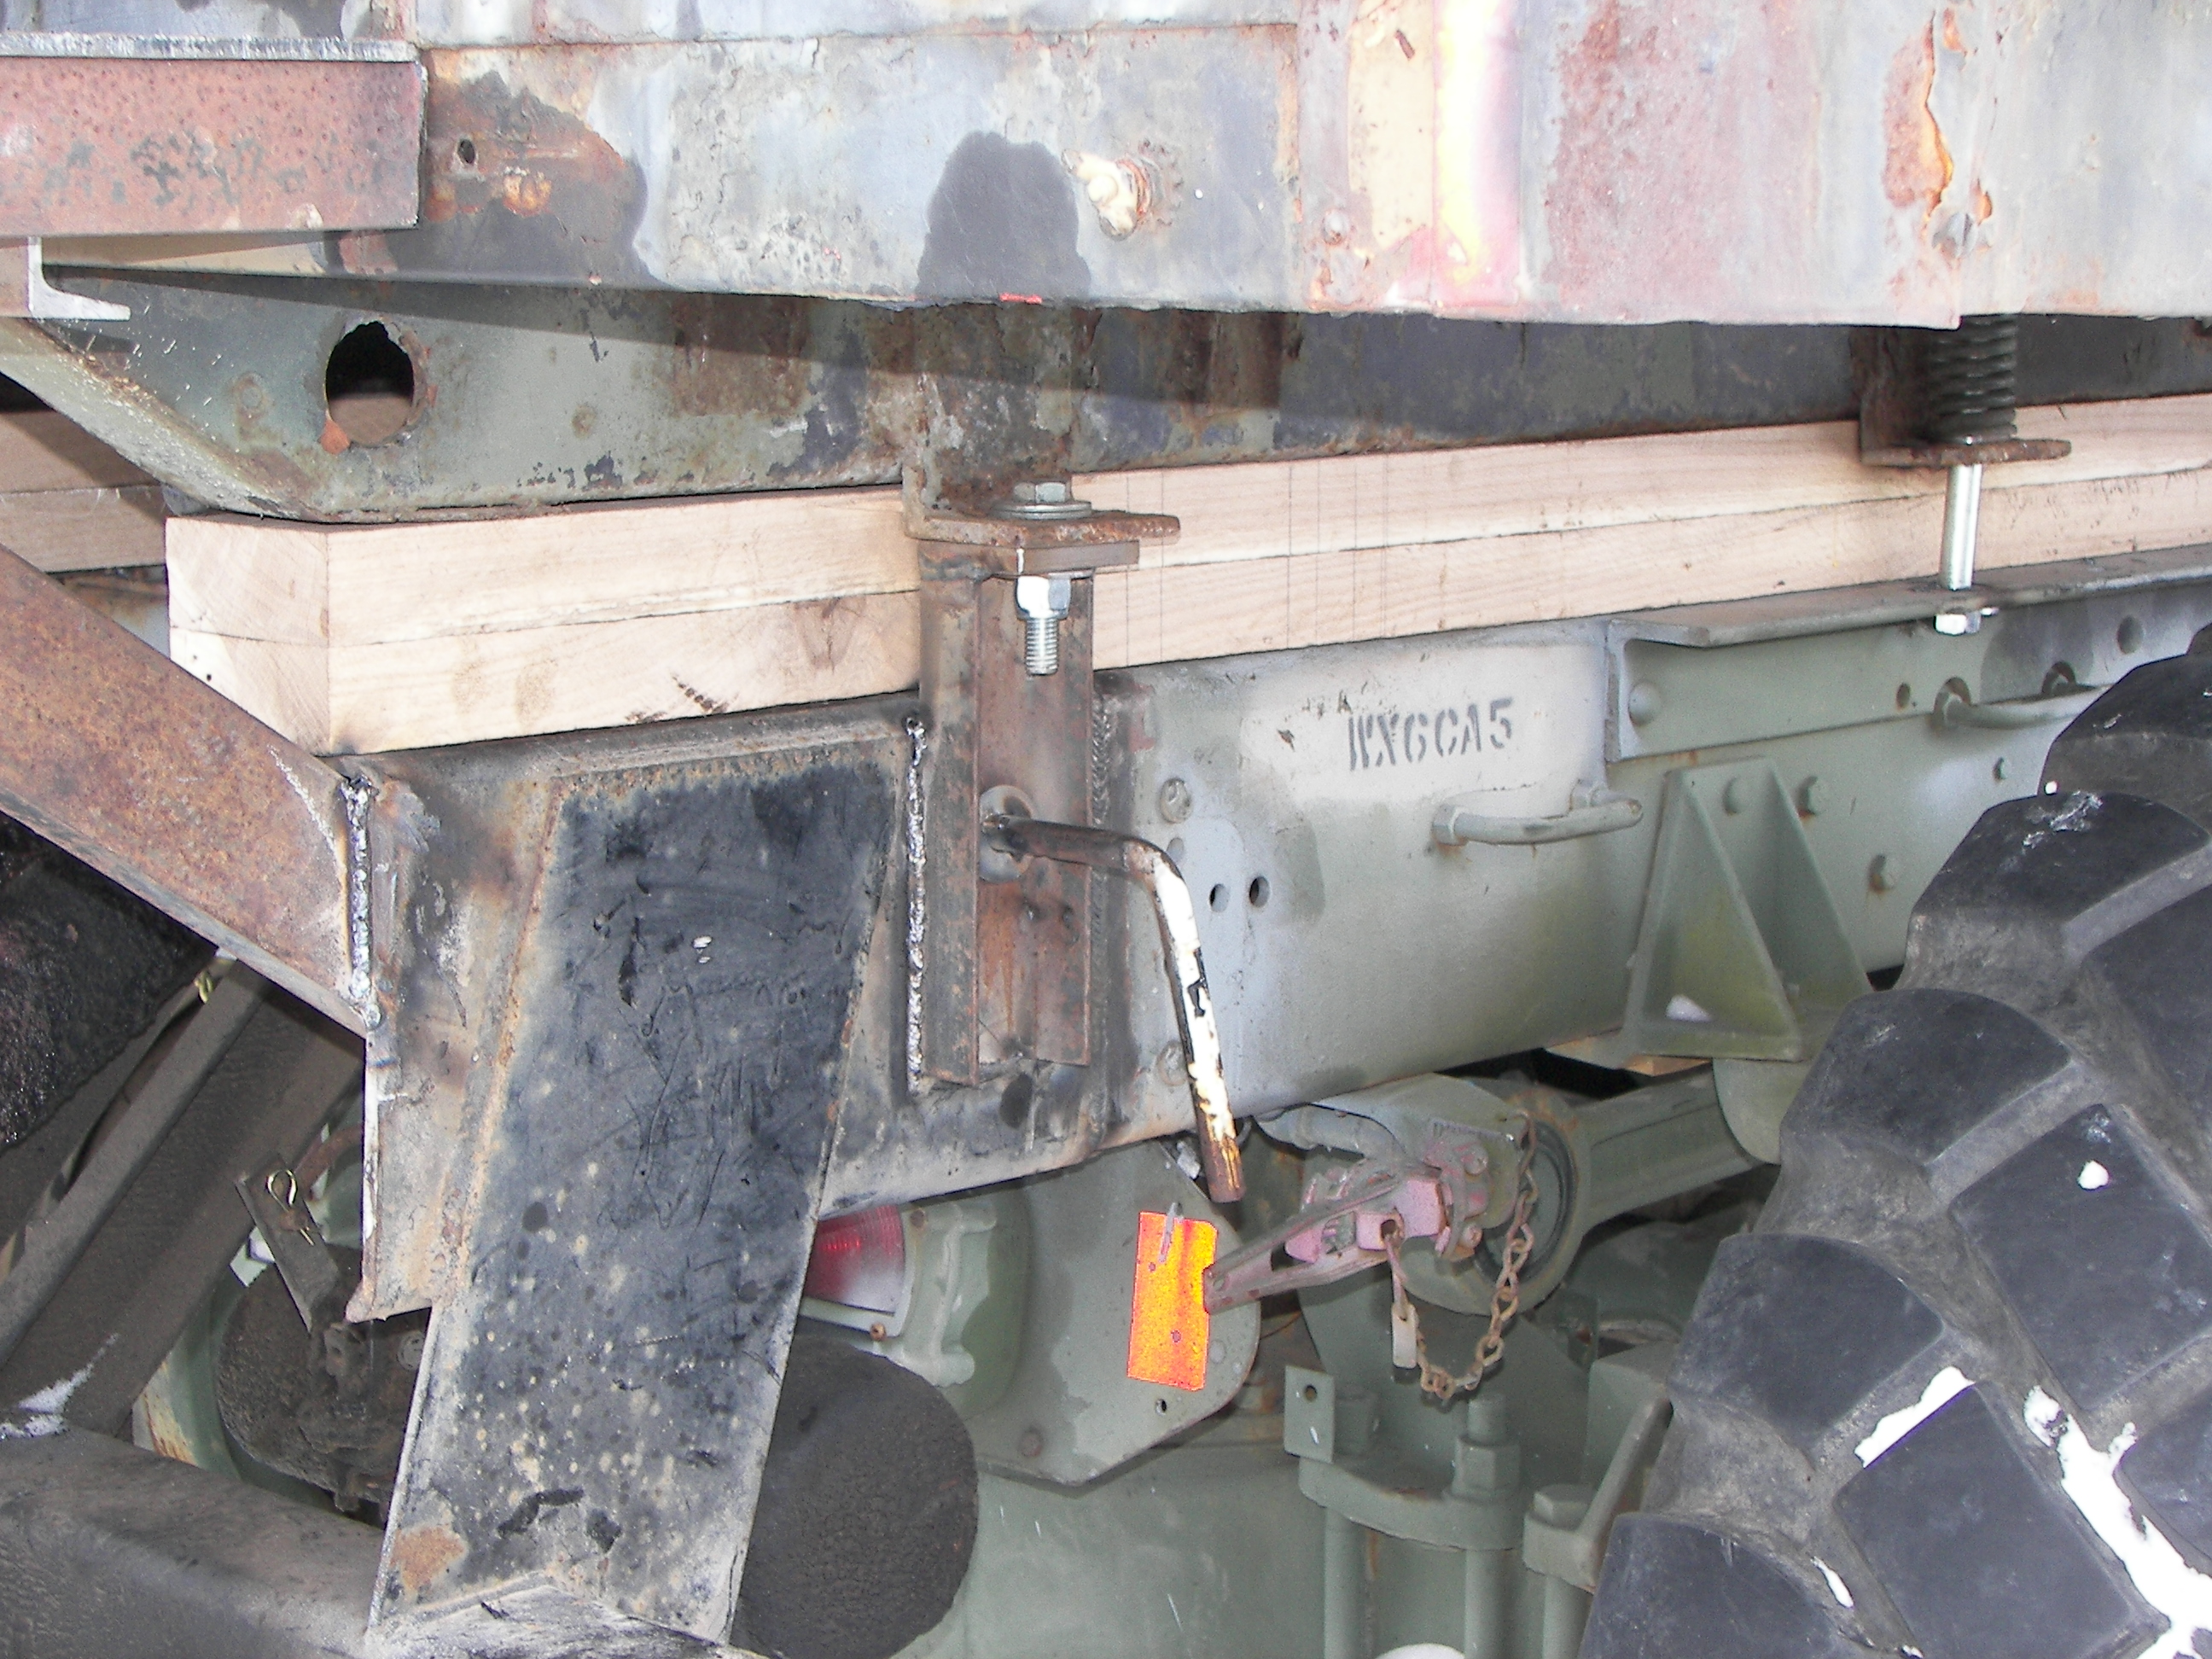
Al prepared these four "2x5" Oak planks. They were cut from a couple pieces of 60 year old 2x10 planks found in the attic of the family restaurant. Being well-aged, there will be no issues with the wood. These will be placed on the frame rails and the M109 box will rest on them. On the M109, the plank is 1" tall. Here it is 3.5" tall so that the 53" tires can be fully articulated in the suspension. This truck is not limited to roads, yet is only 144" tall therefore manageable. |
Once the planks were done to Al's satisfaction, they were stacked and permanently joined together with glue and screws. |
It was far too cold to use spray paint. The solution was to heat the work and the paint. The trick is to monitor the temperature of the items and avoid explosions. |
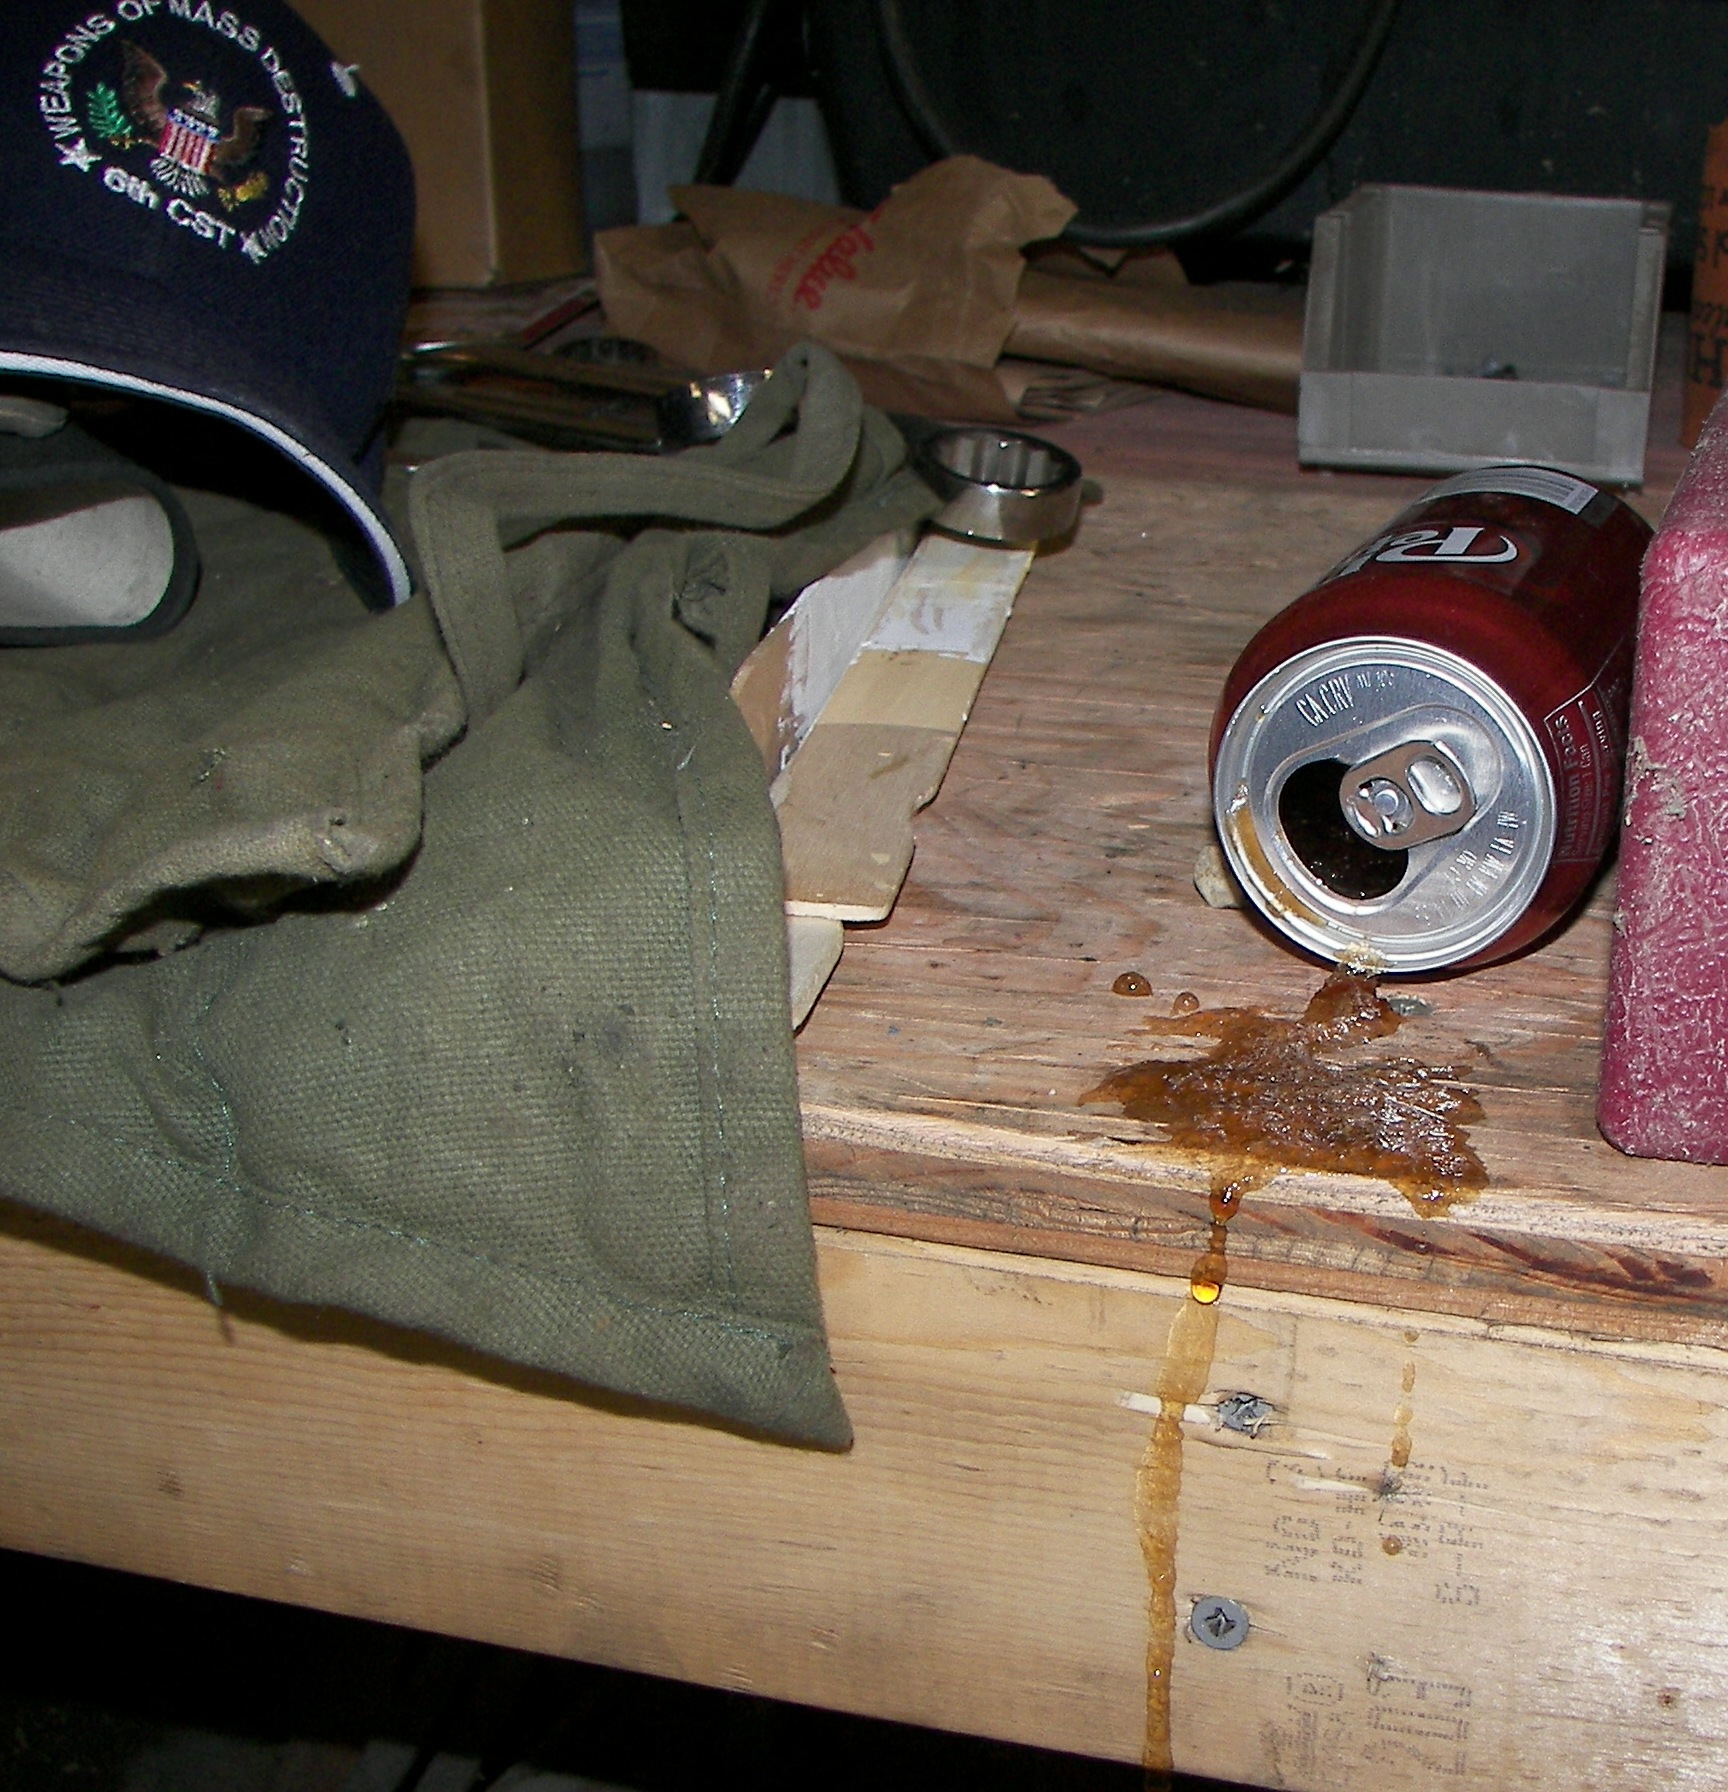
The temperature never got above freezing. The spilled drink pretty much froze in place. |

The M109 box is now in the M818 chassis. What is not shown is the process of setting it. A large Komatsu forklift suspended the box in the field as the truck was backed under it. The planks were set in place and the box lowered and rigged with straps. Then the truck was moved at 1/2 MPH to the shop area. From this point, all work was done outside in the elements. It felt very good indeed as the sun came up and the temperature got to a balmy 23 degrees. |
|
|

With the gate and box in place, measurements were taken for the rear deck. The deck will be 1/8" from the box since the box is free to move a little and the deck will be rigid to the frame. |
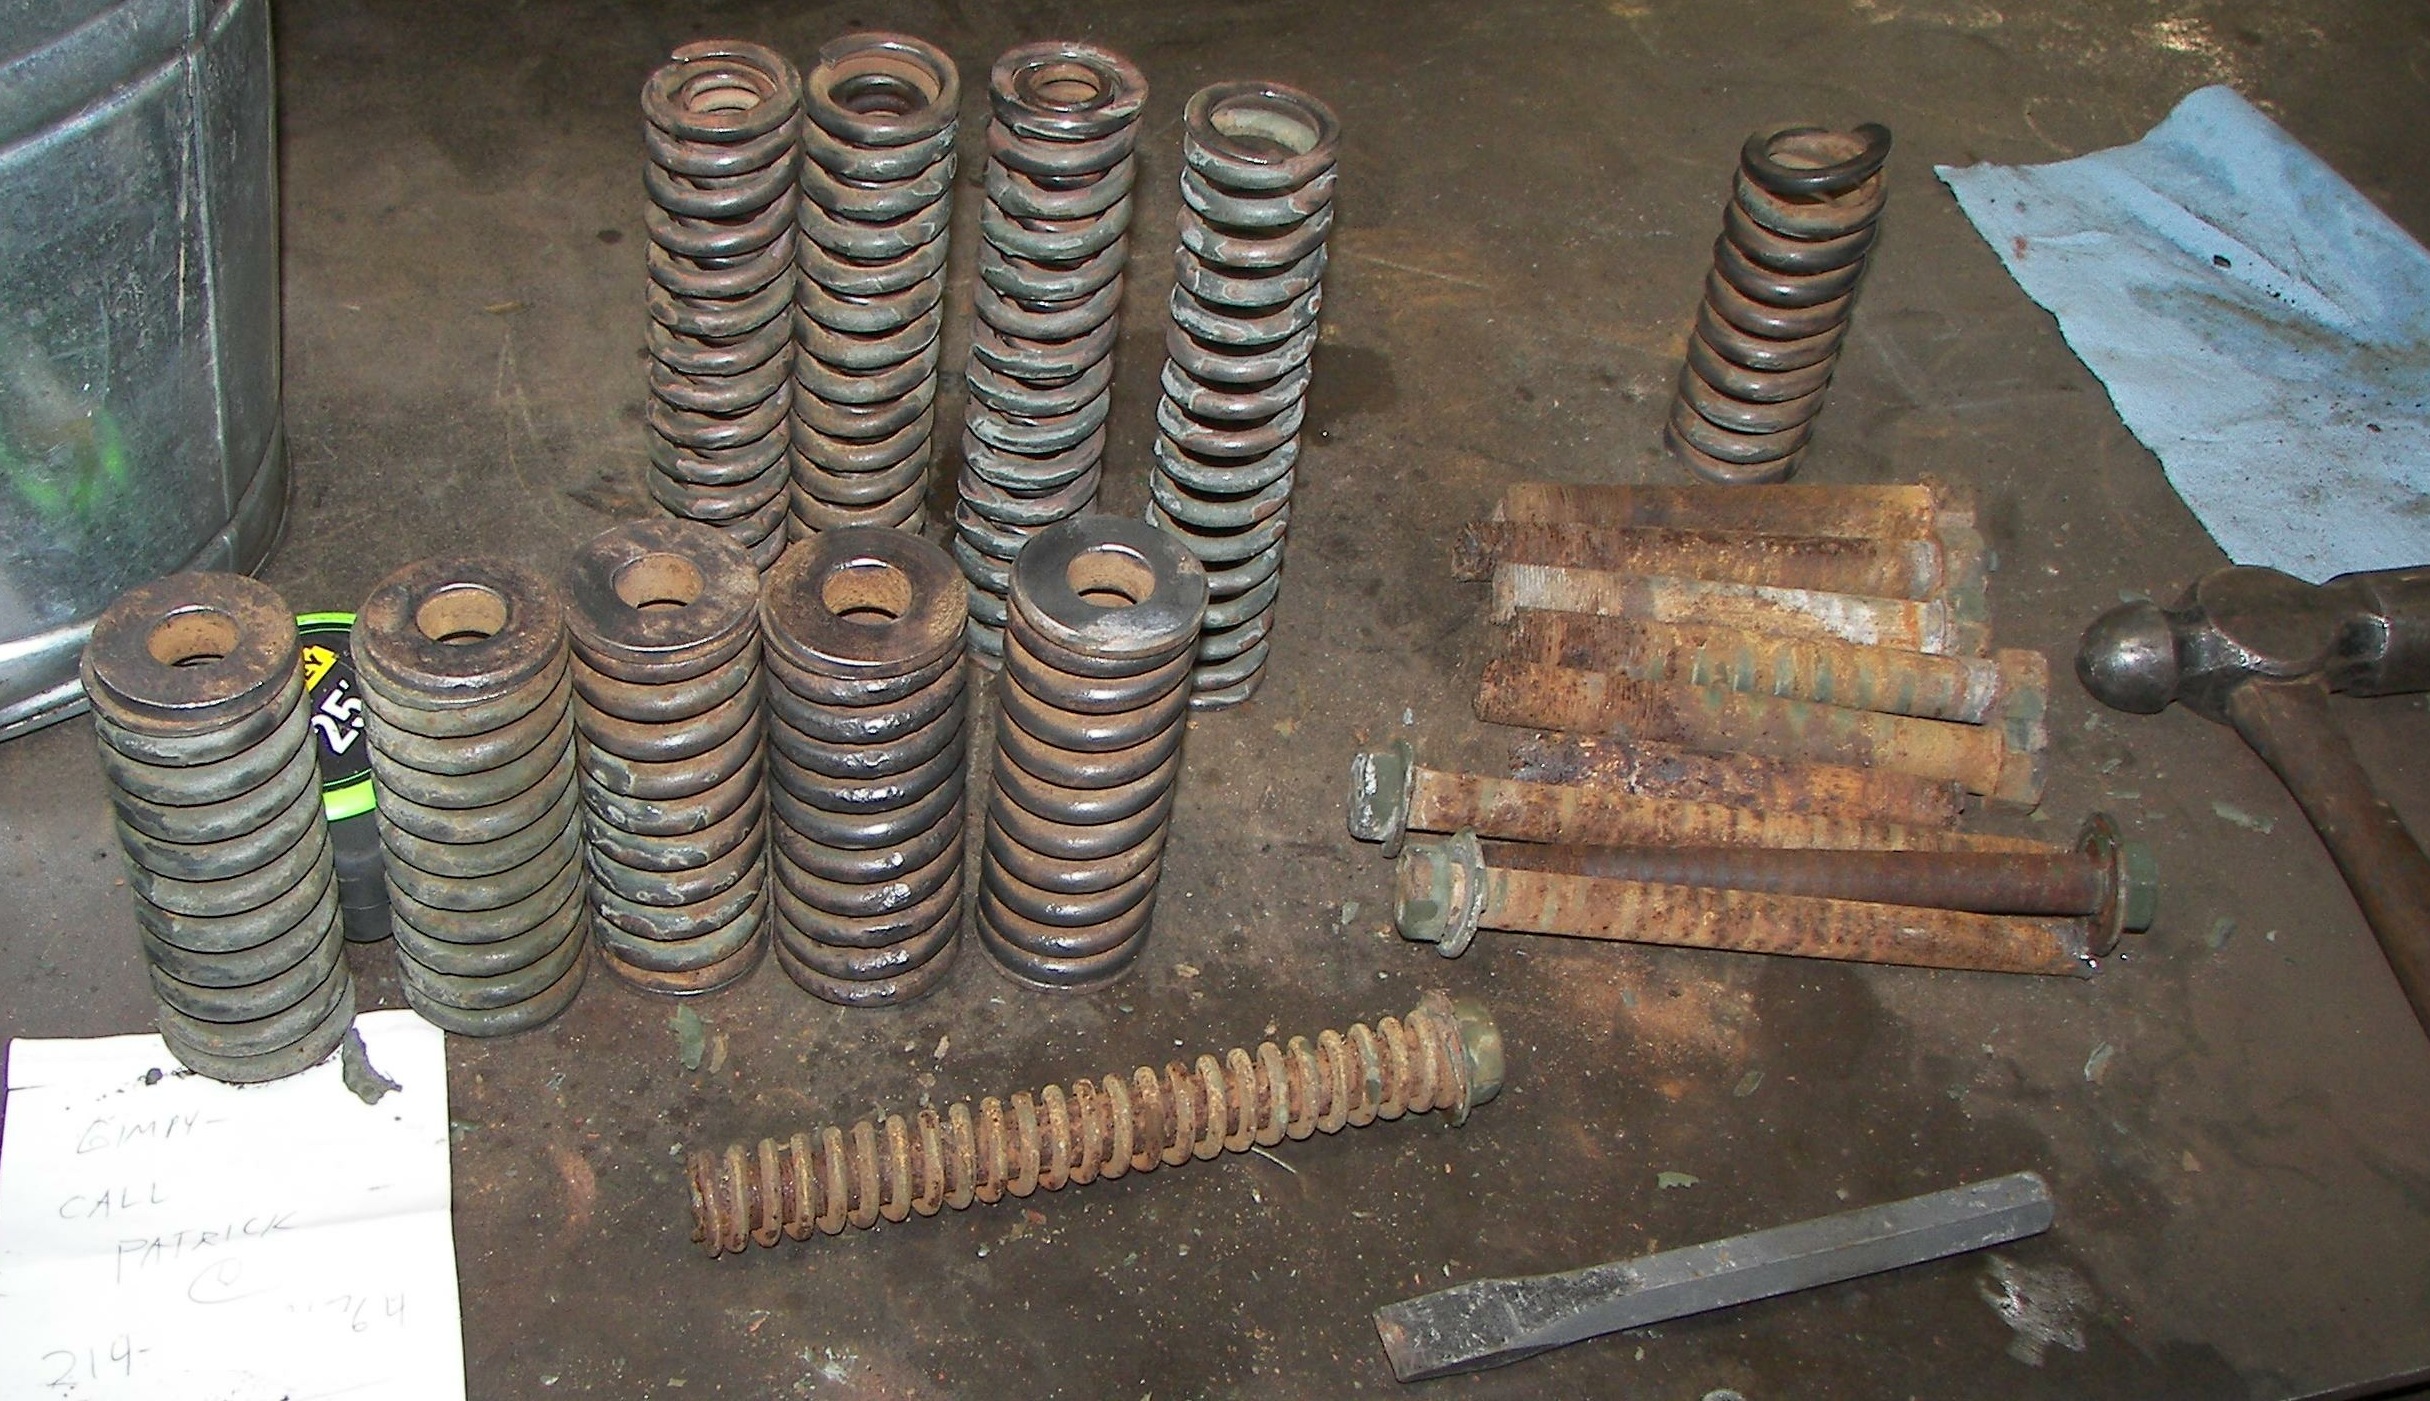
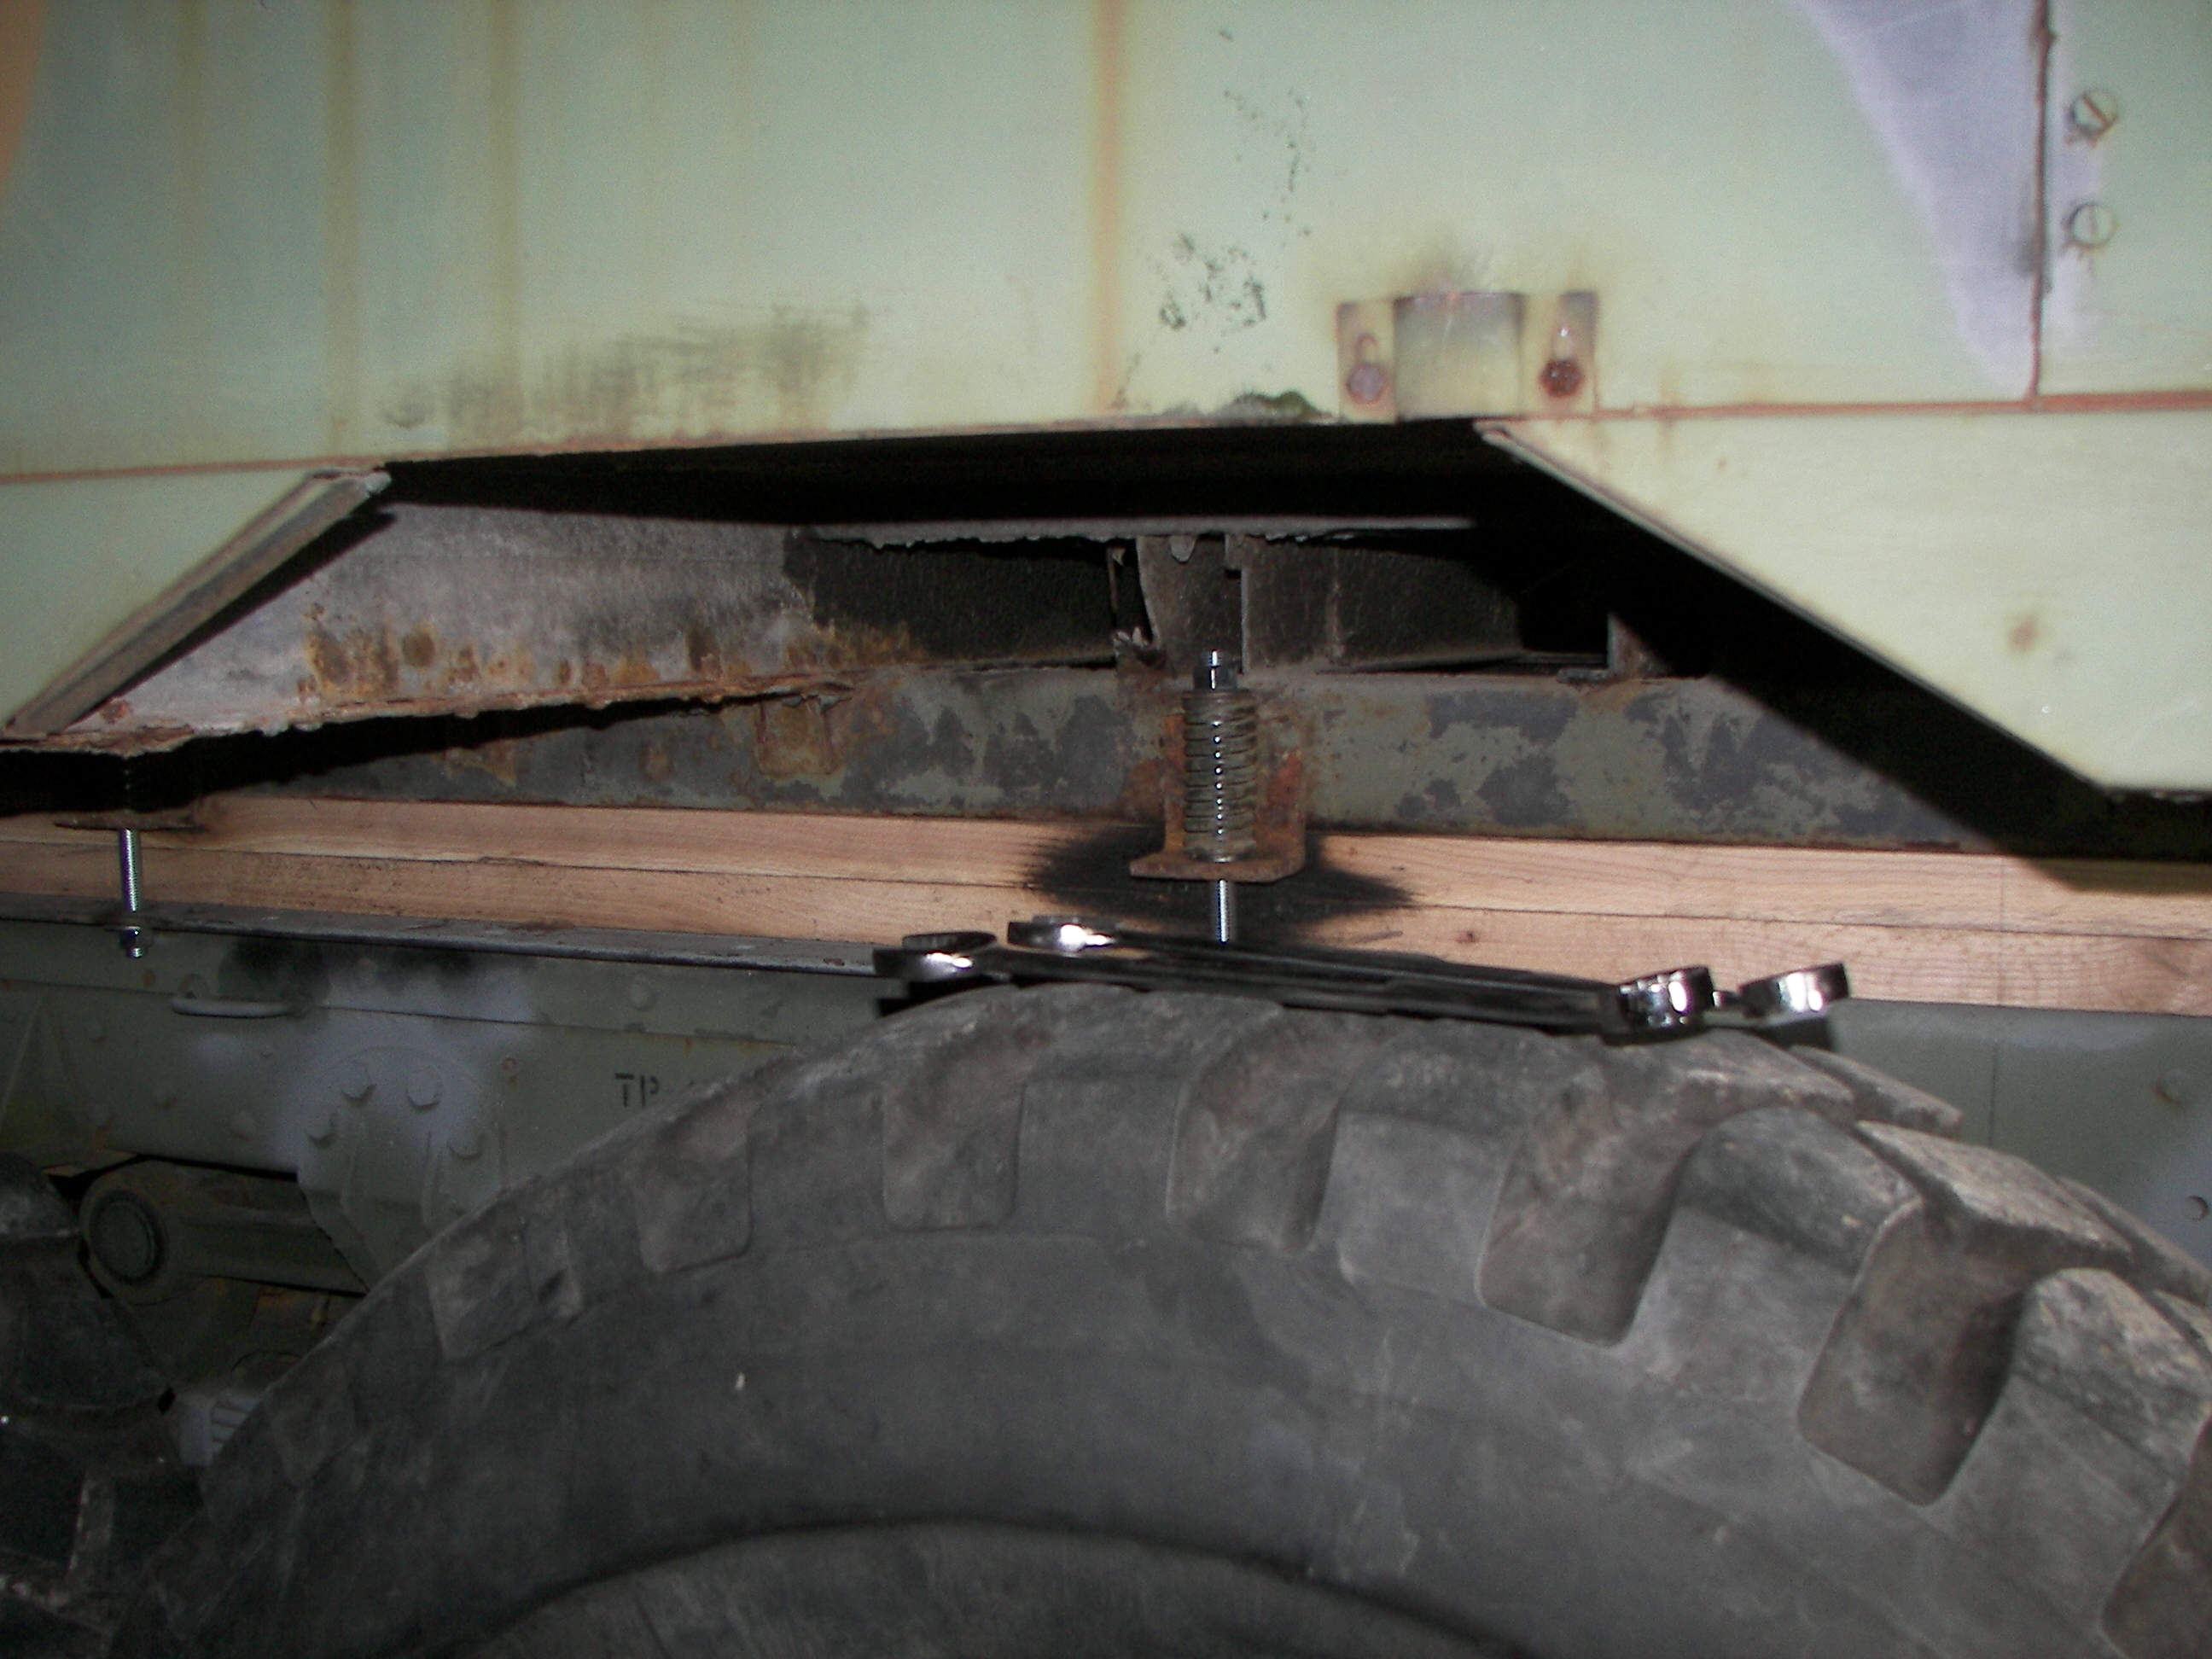
The box is secured with ten grade-8 bolts, eight of which have springs under great pressure. This allows the chassis to flex as designed and not warp the box. All the hardware had to be completely cleaned of rist and dirt. A couple hours at the wire wheel did OK. The smaller diameter springs have have inner springs much like a dual valve spring on a race car. The larger springs use a bushing at the top and bottom. |
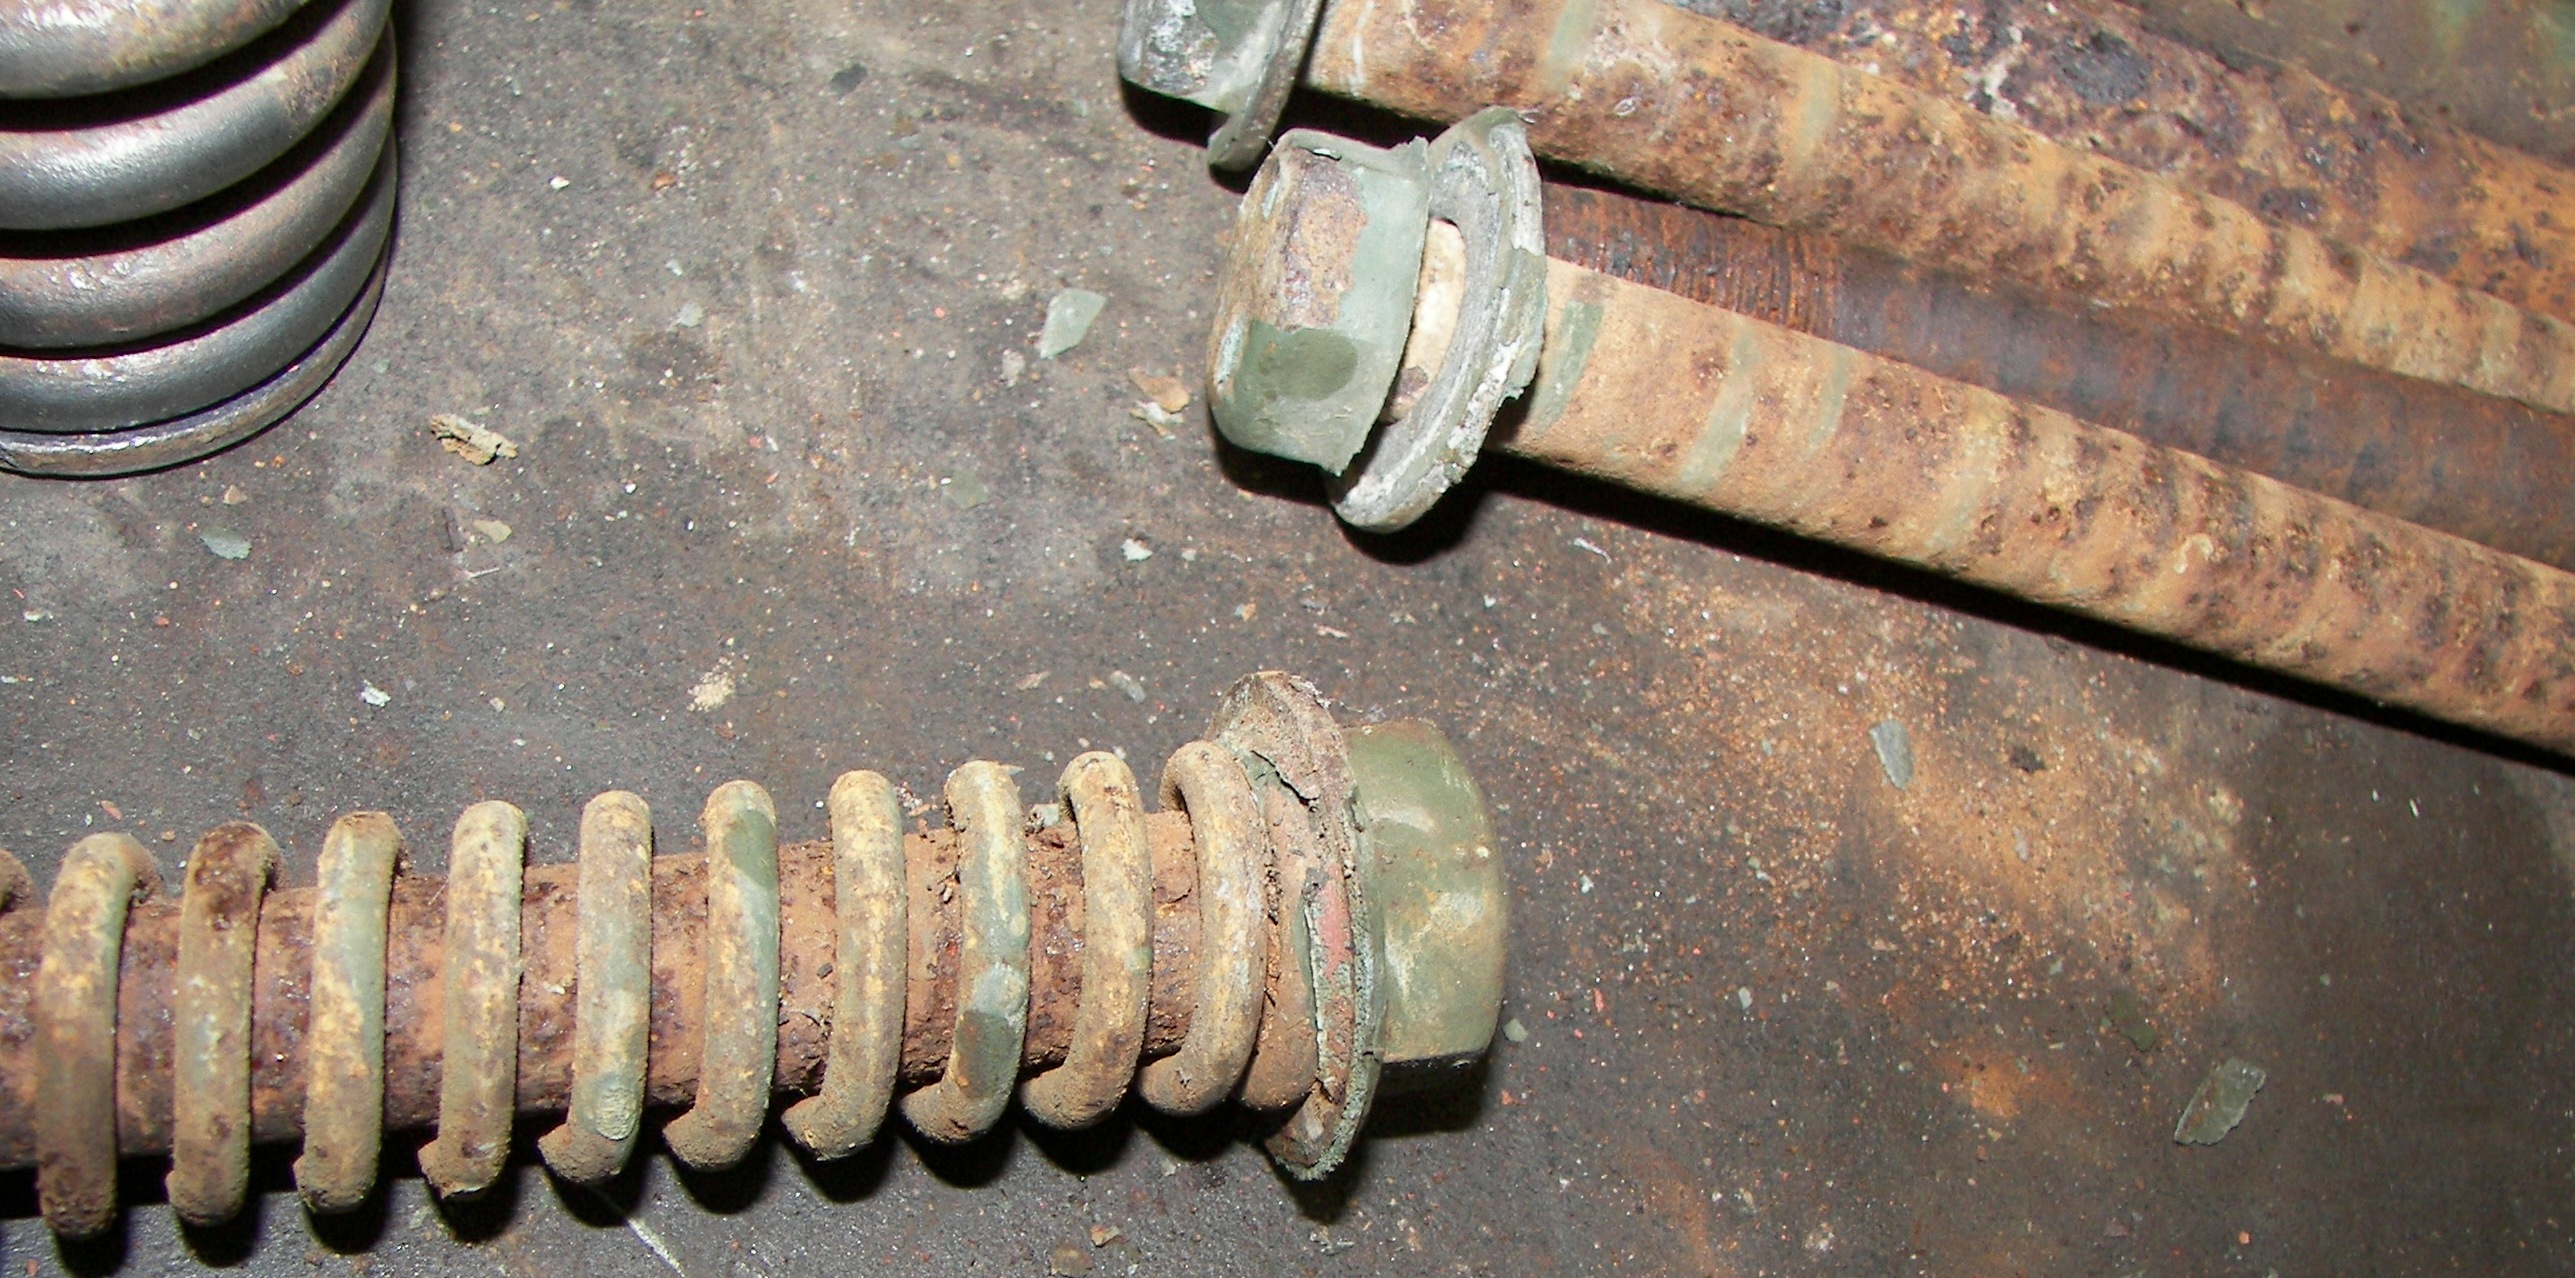
Here are the notes on the new bolts used when the box sits on a 3.5" tall stack of planks on an M818 chassis: The bolts with the 5/8" shanks are 10" long and the bolts with the 1/2" shanks are 12" long. This basically adds 2.5+ inches to the bolt length. We ordered grade 8 fine thread bolts as that was what was used on the M109 originally. Grade 8 locking nuts were also be used. This was rather costly. In some images there may be seen other bolts. This was thread-stock used temporarily as the grade-8 hardware had to be ordered in from Indianapolis and the supplier was a day late with the delivery. "I got 4 men onsite and the whole project waiting on them bolts" was said more than once. That is why the thread stock was bought - so we could proceed. Sometimes there is a cost upon a cost.. |
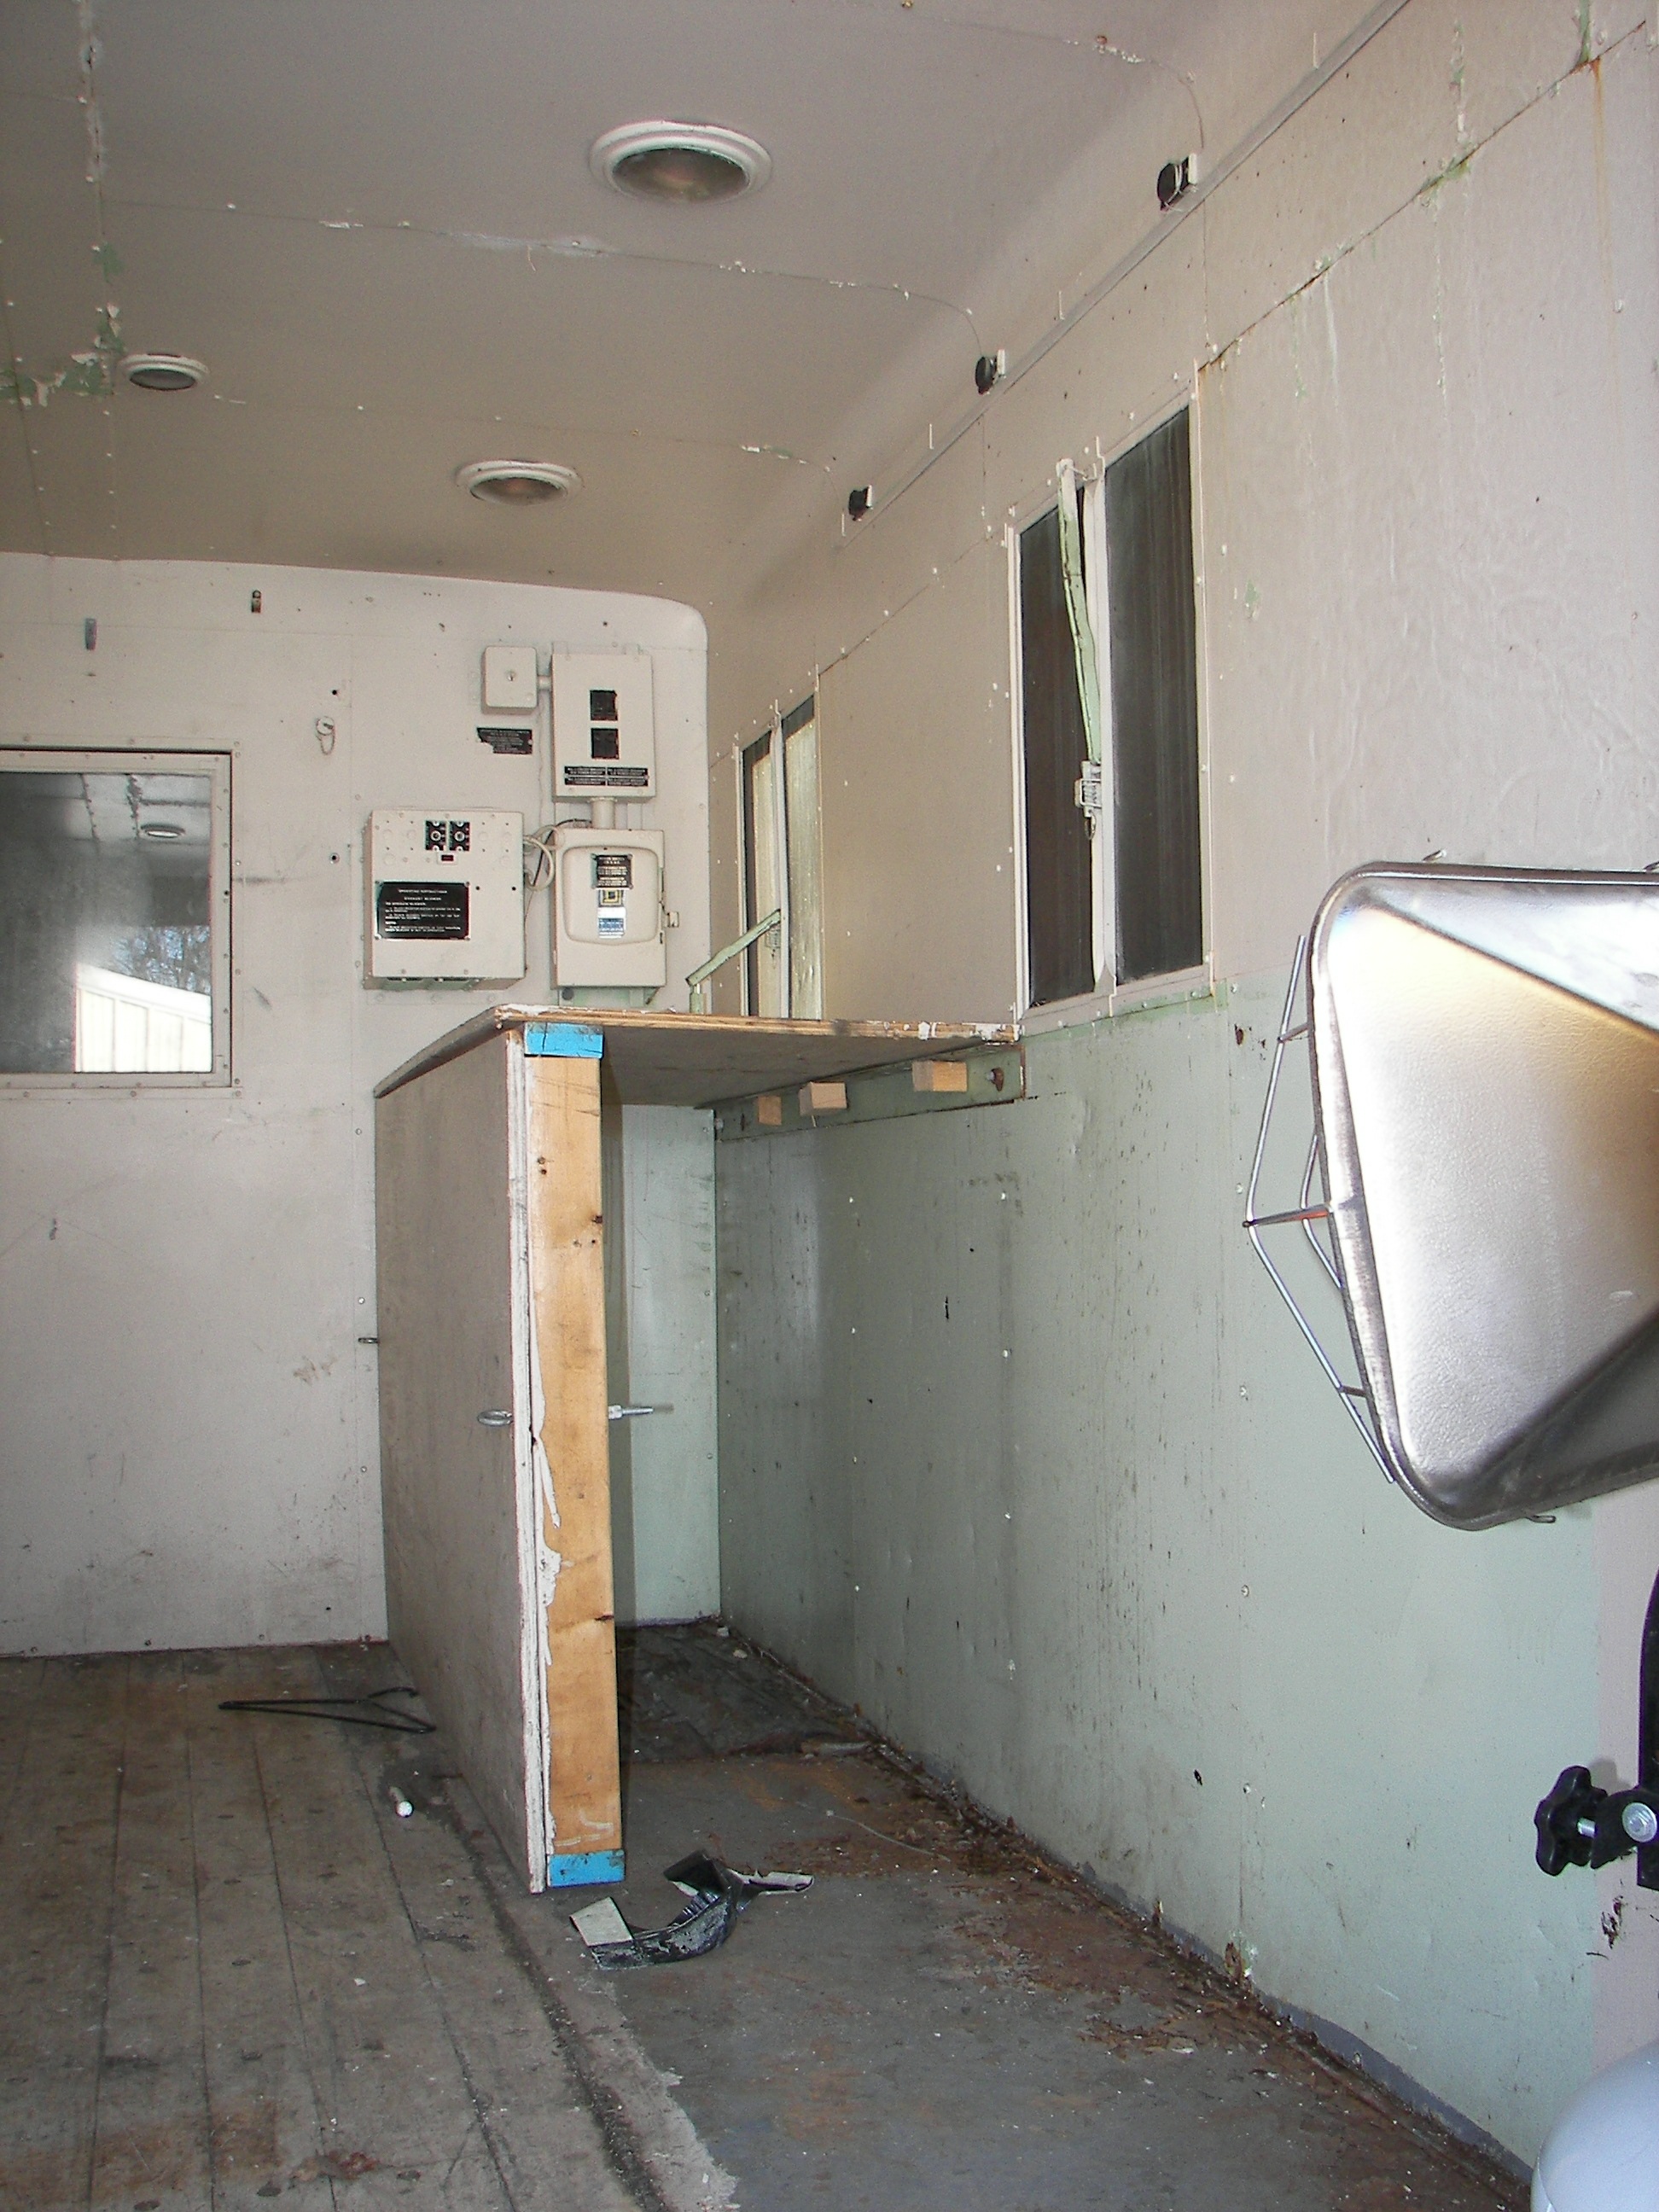
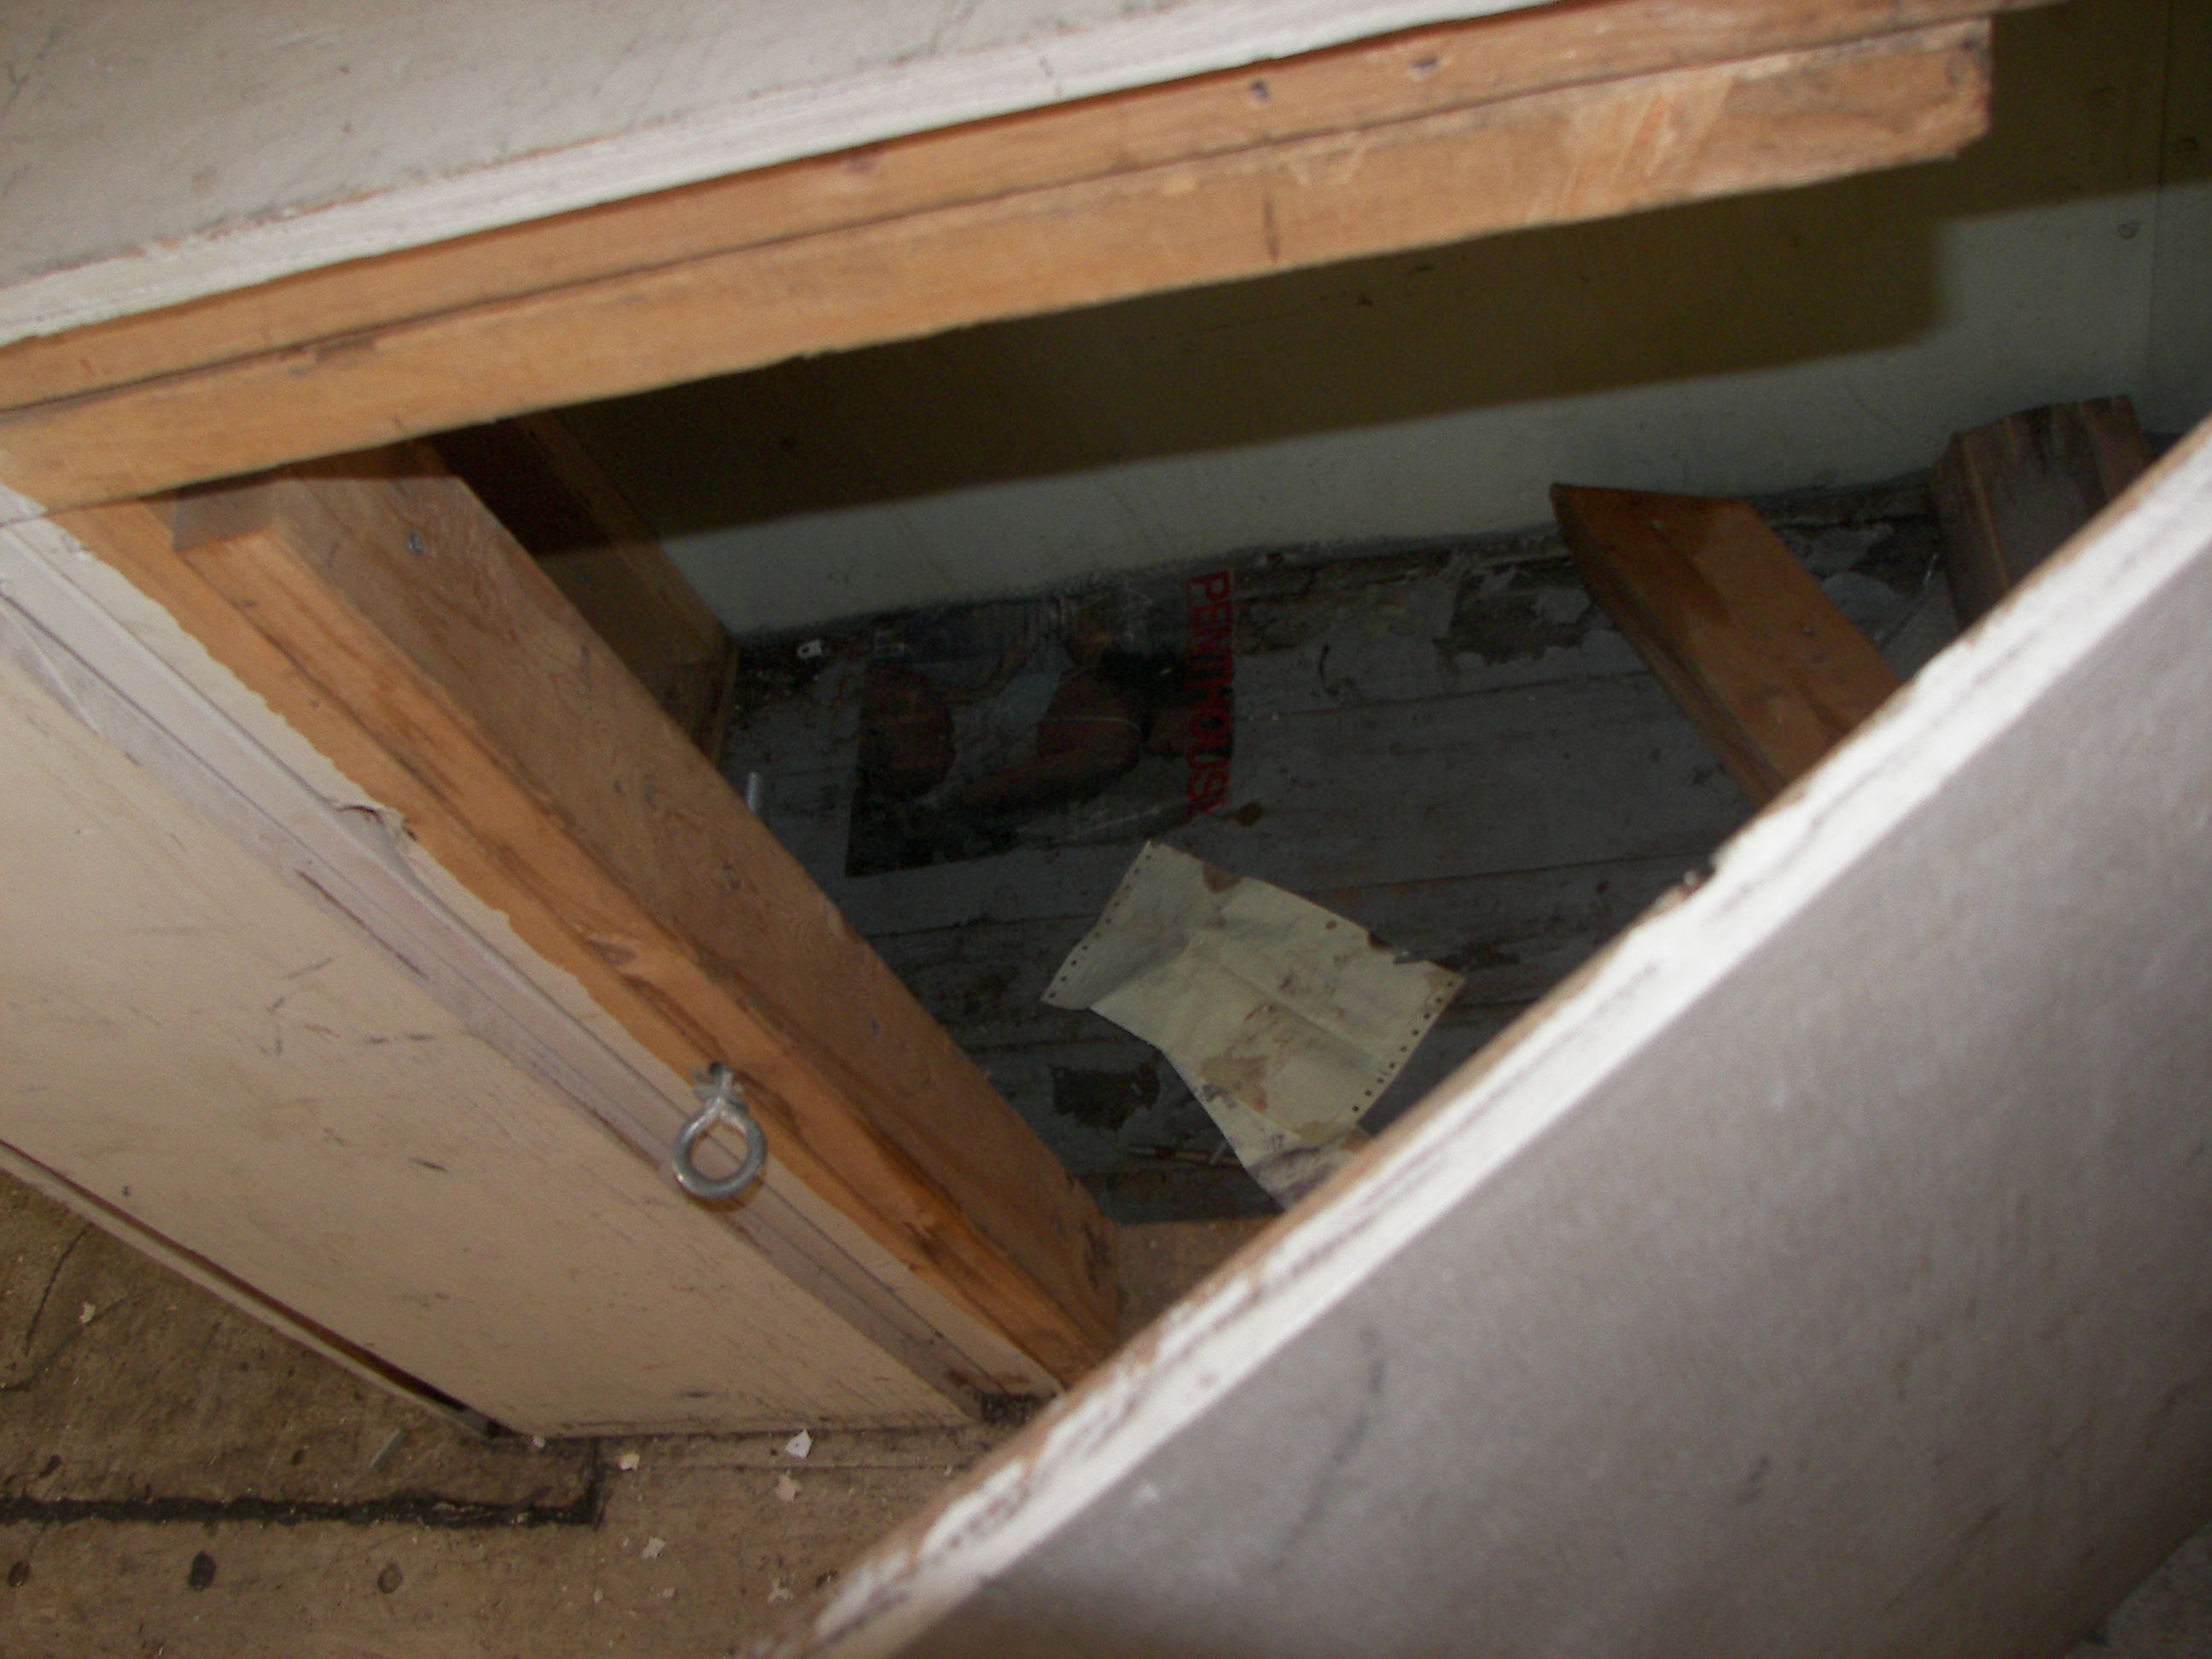
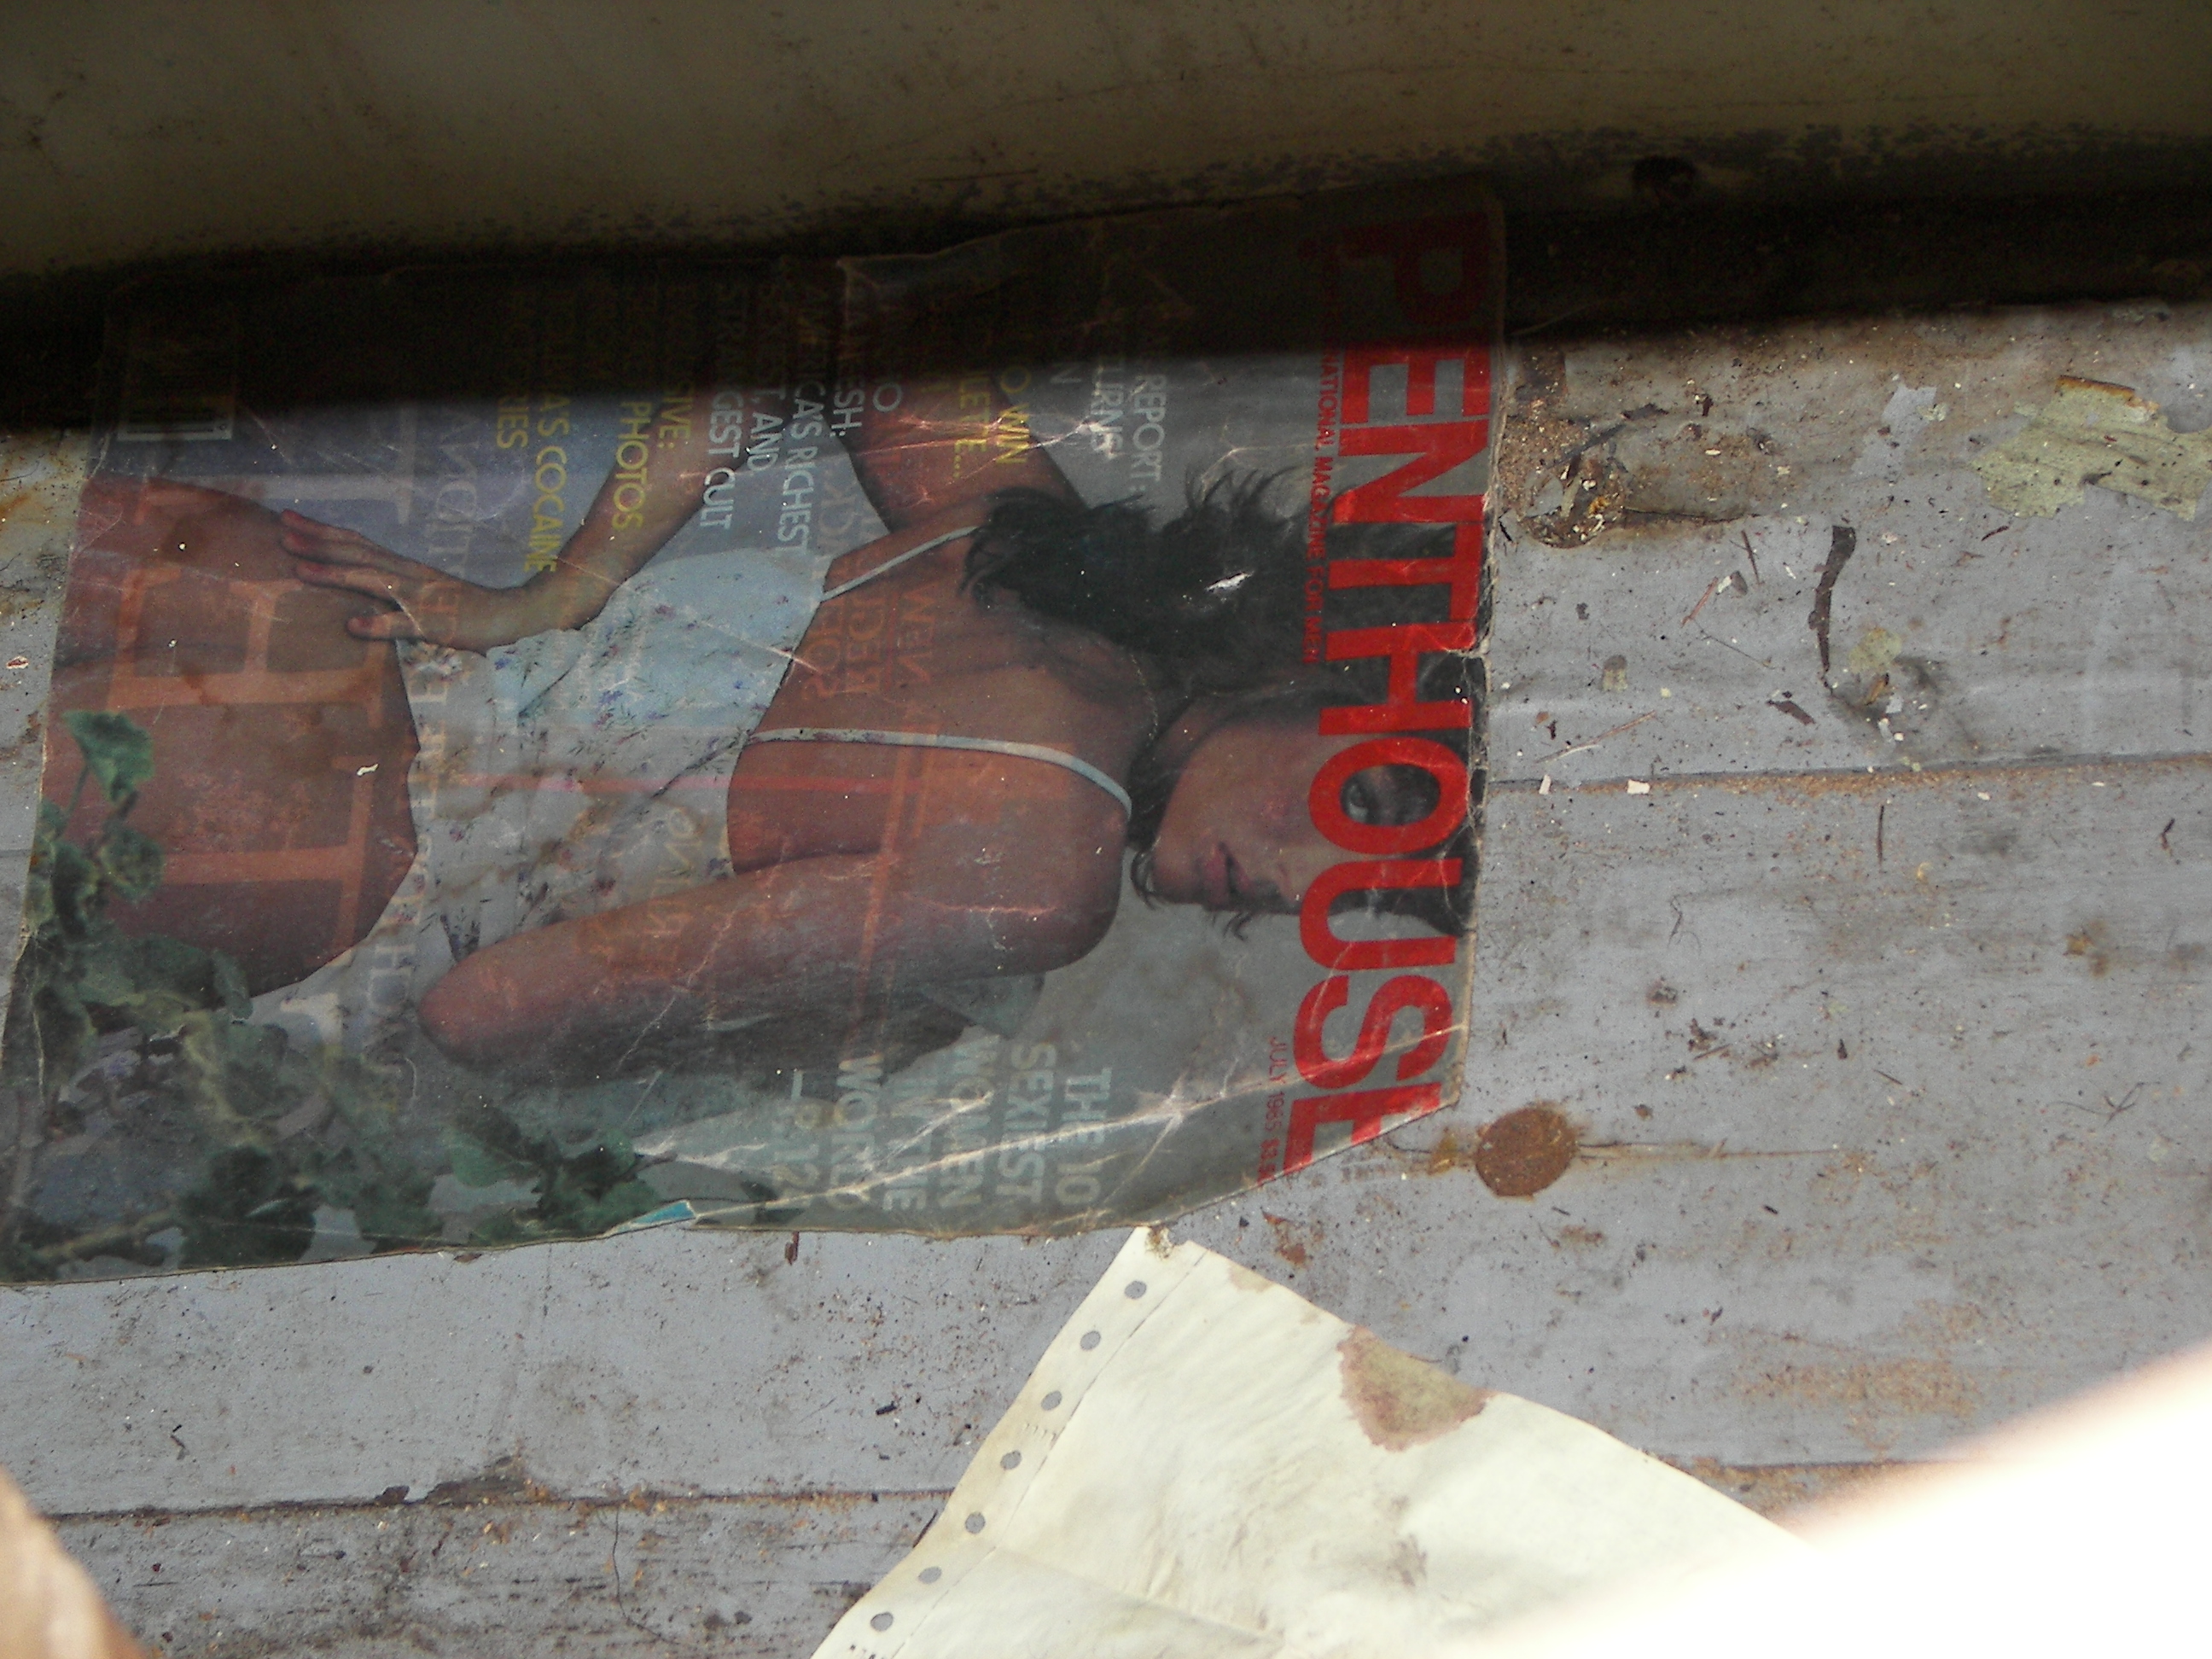
M109 box interior |
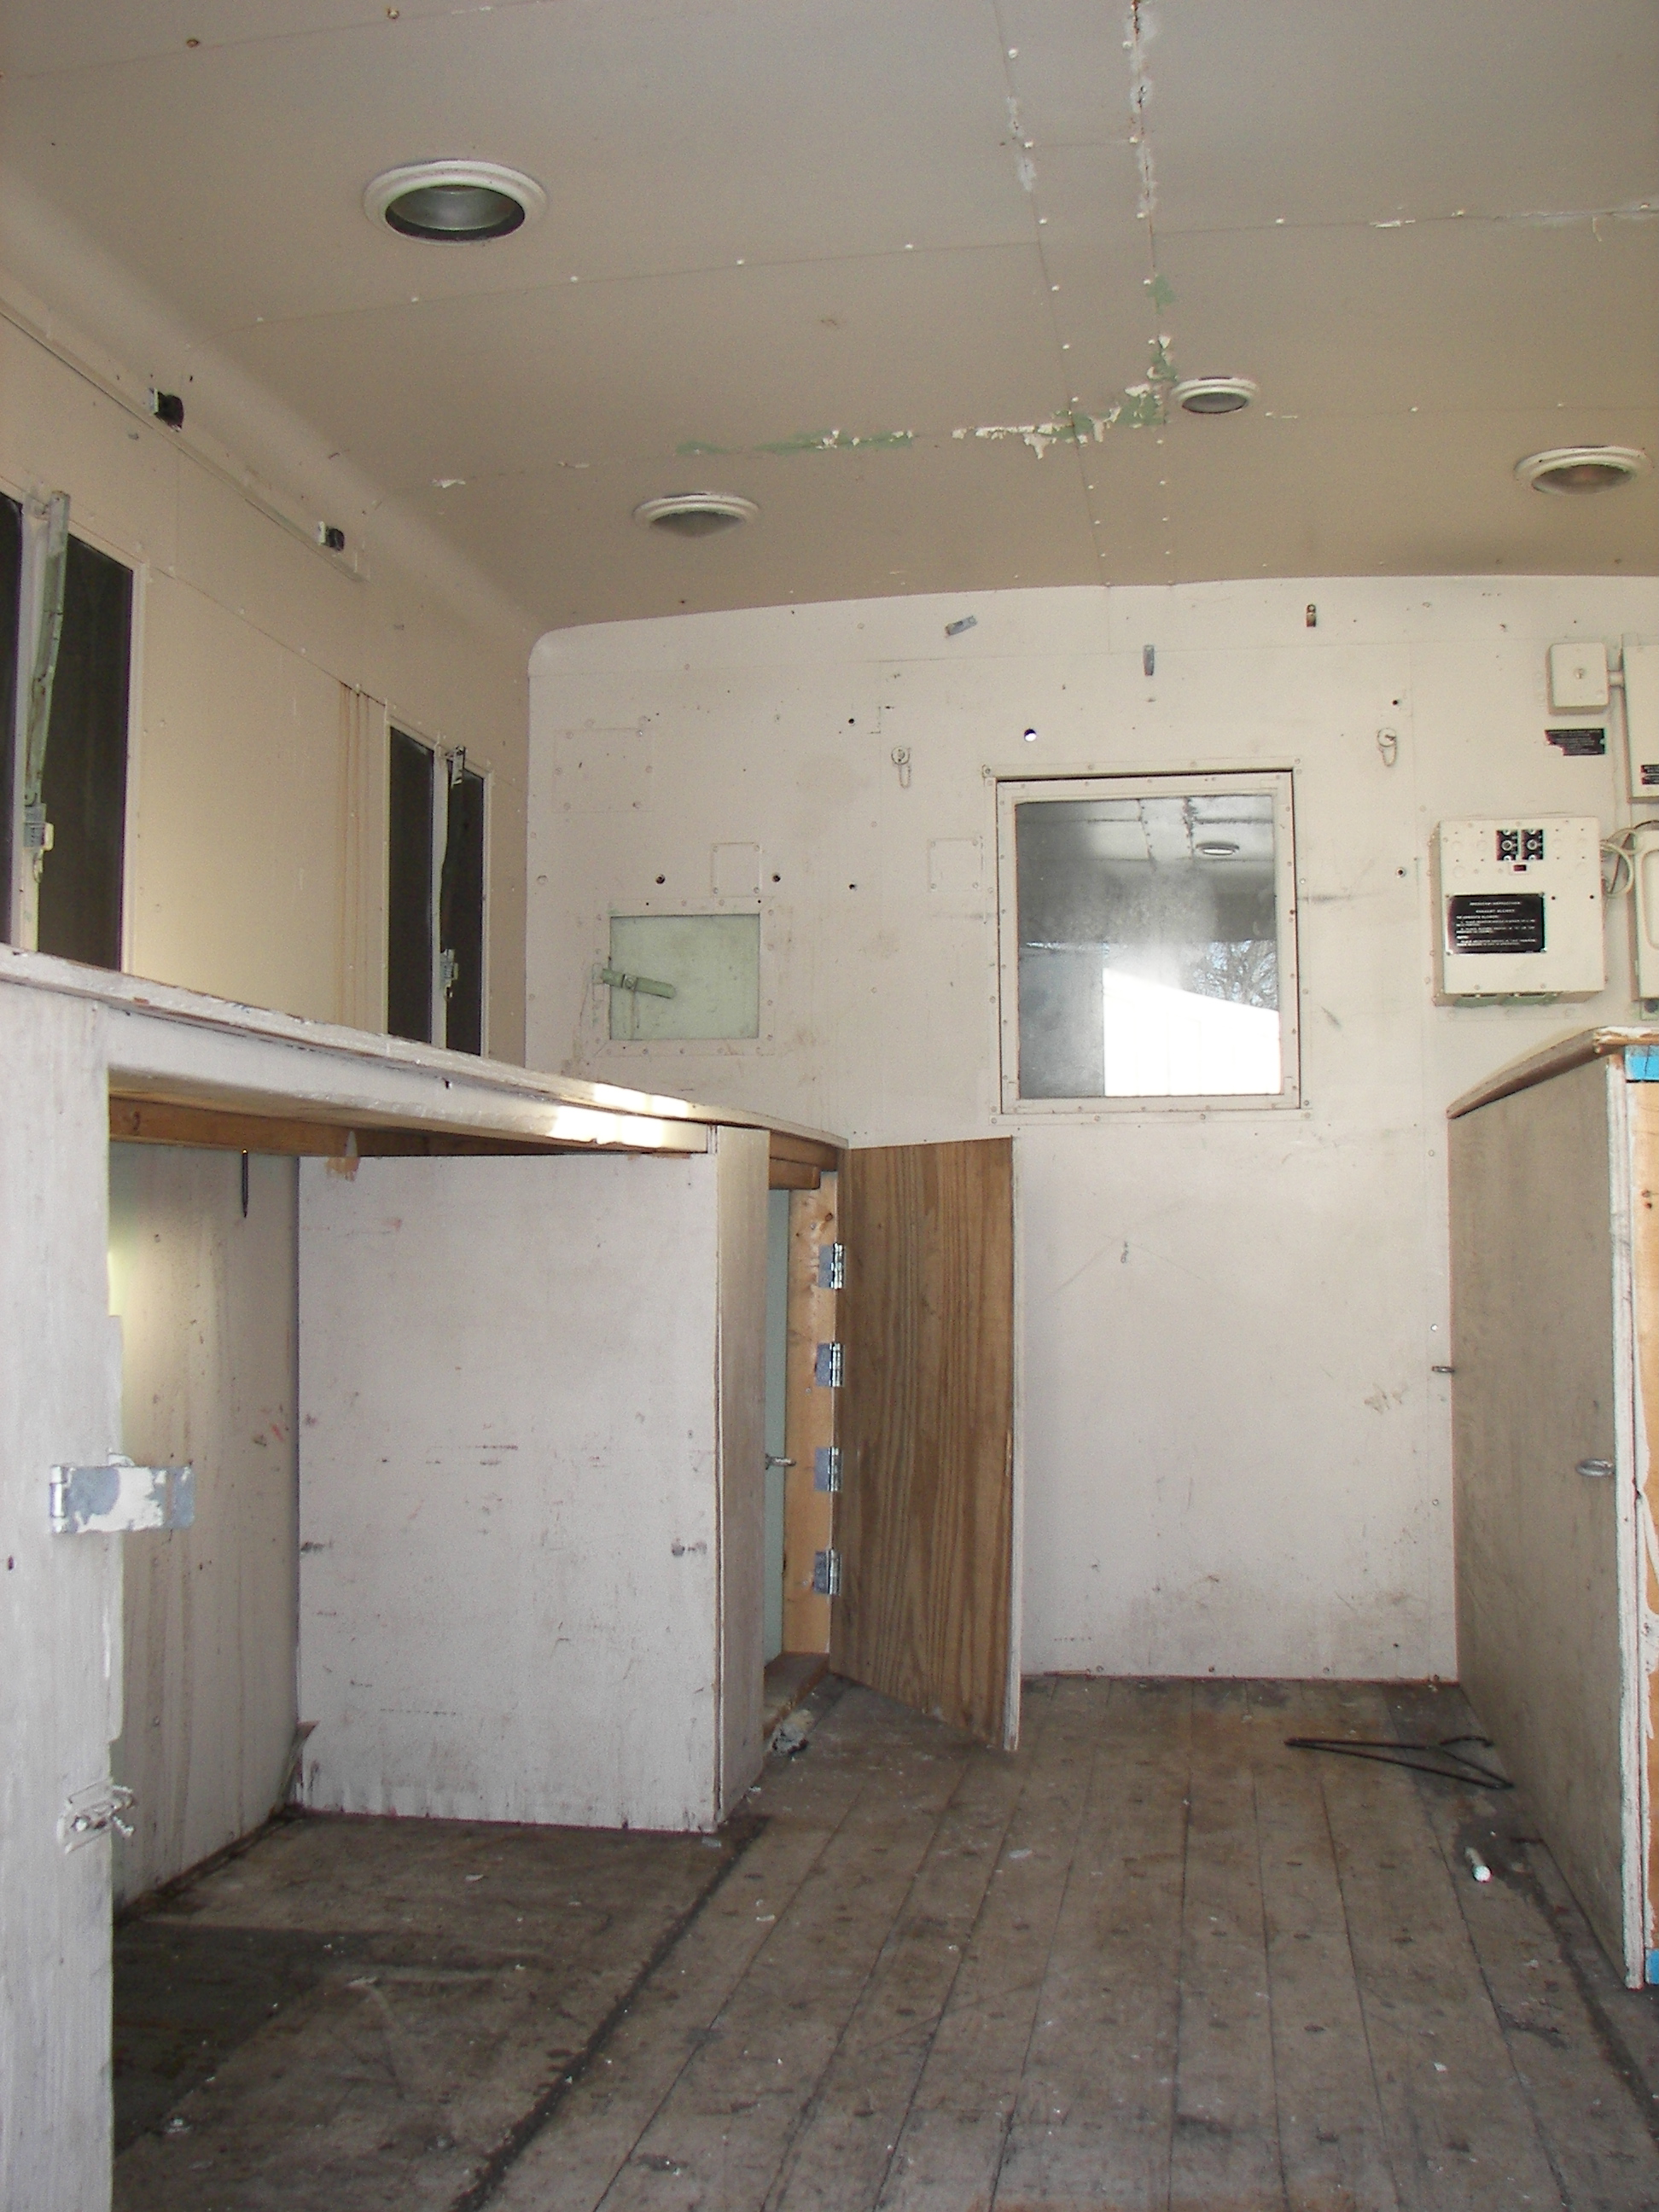
M109 box interior |
The box has a dual 120VAC/24VDC lighting system. |

video: The inside of the box. |
|
Supposedly, this was there from when the box was sold off by the Army. I am sure this was mereley a field-expedient floor repair. |
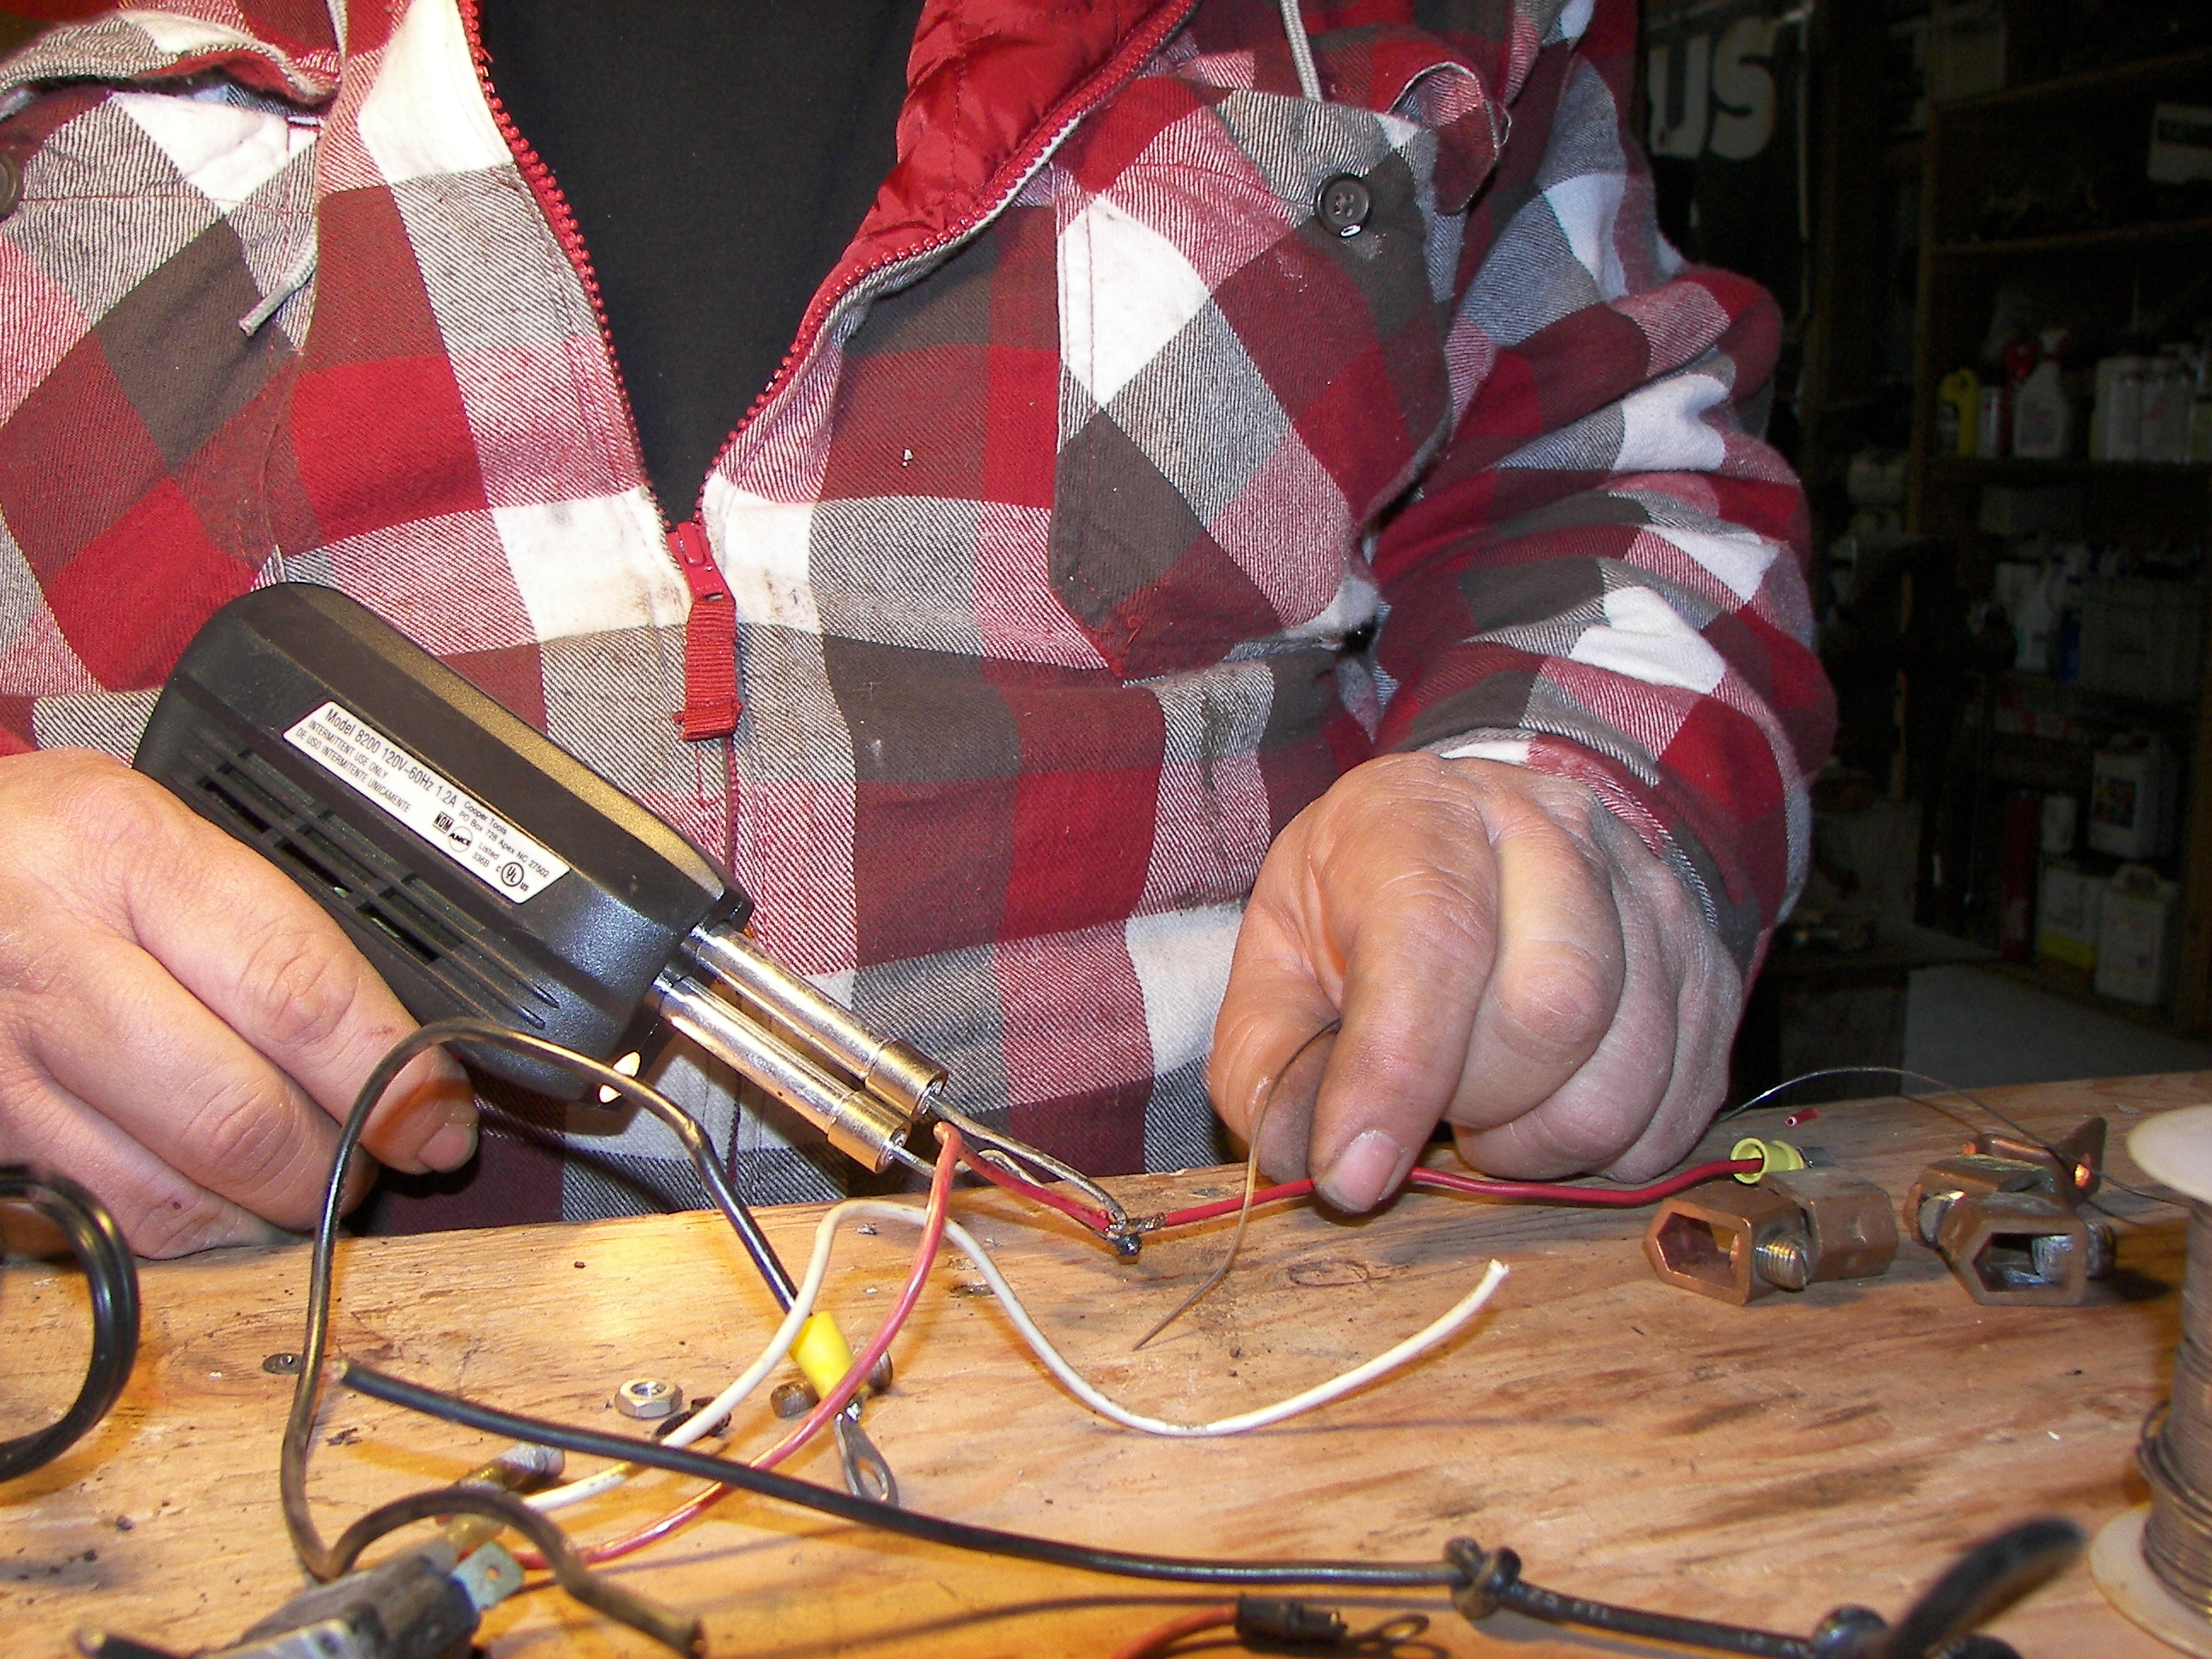
Not well documented here, was the 24V/12V Vanner 50 amp battery equalizer. I did alot of soldering and wiring to get it installed and very basically working, so that the only available heater, a 12V model, could be installed for the drive back to Dallas. |
Temporary bolting of the box to the chassis. This was necessary in order to fit the rear deck properly. Once the bolts were in, some prying and shoving was dome to align everything perfectly. |
|
|
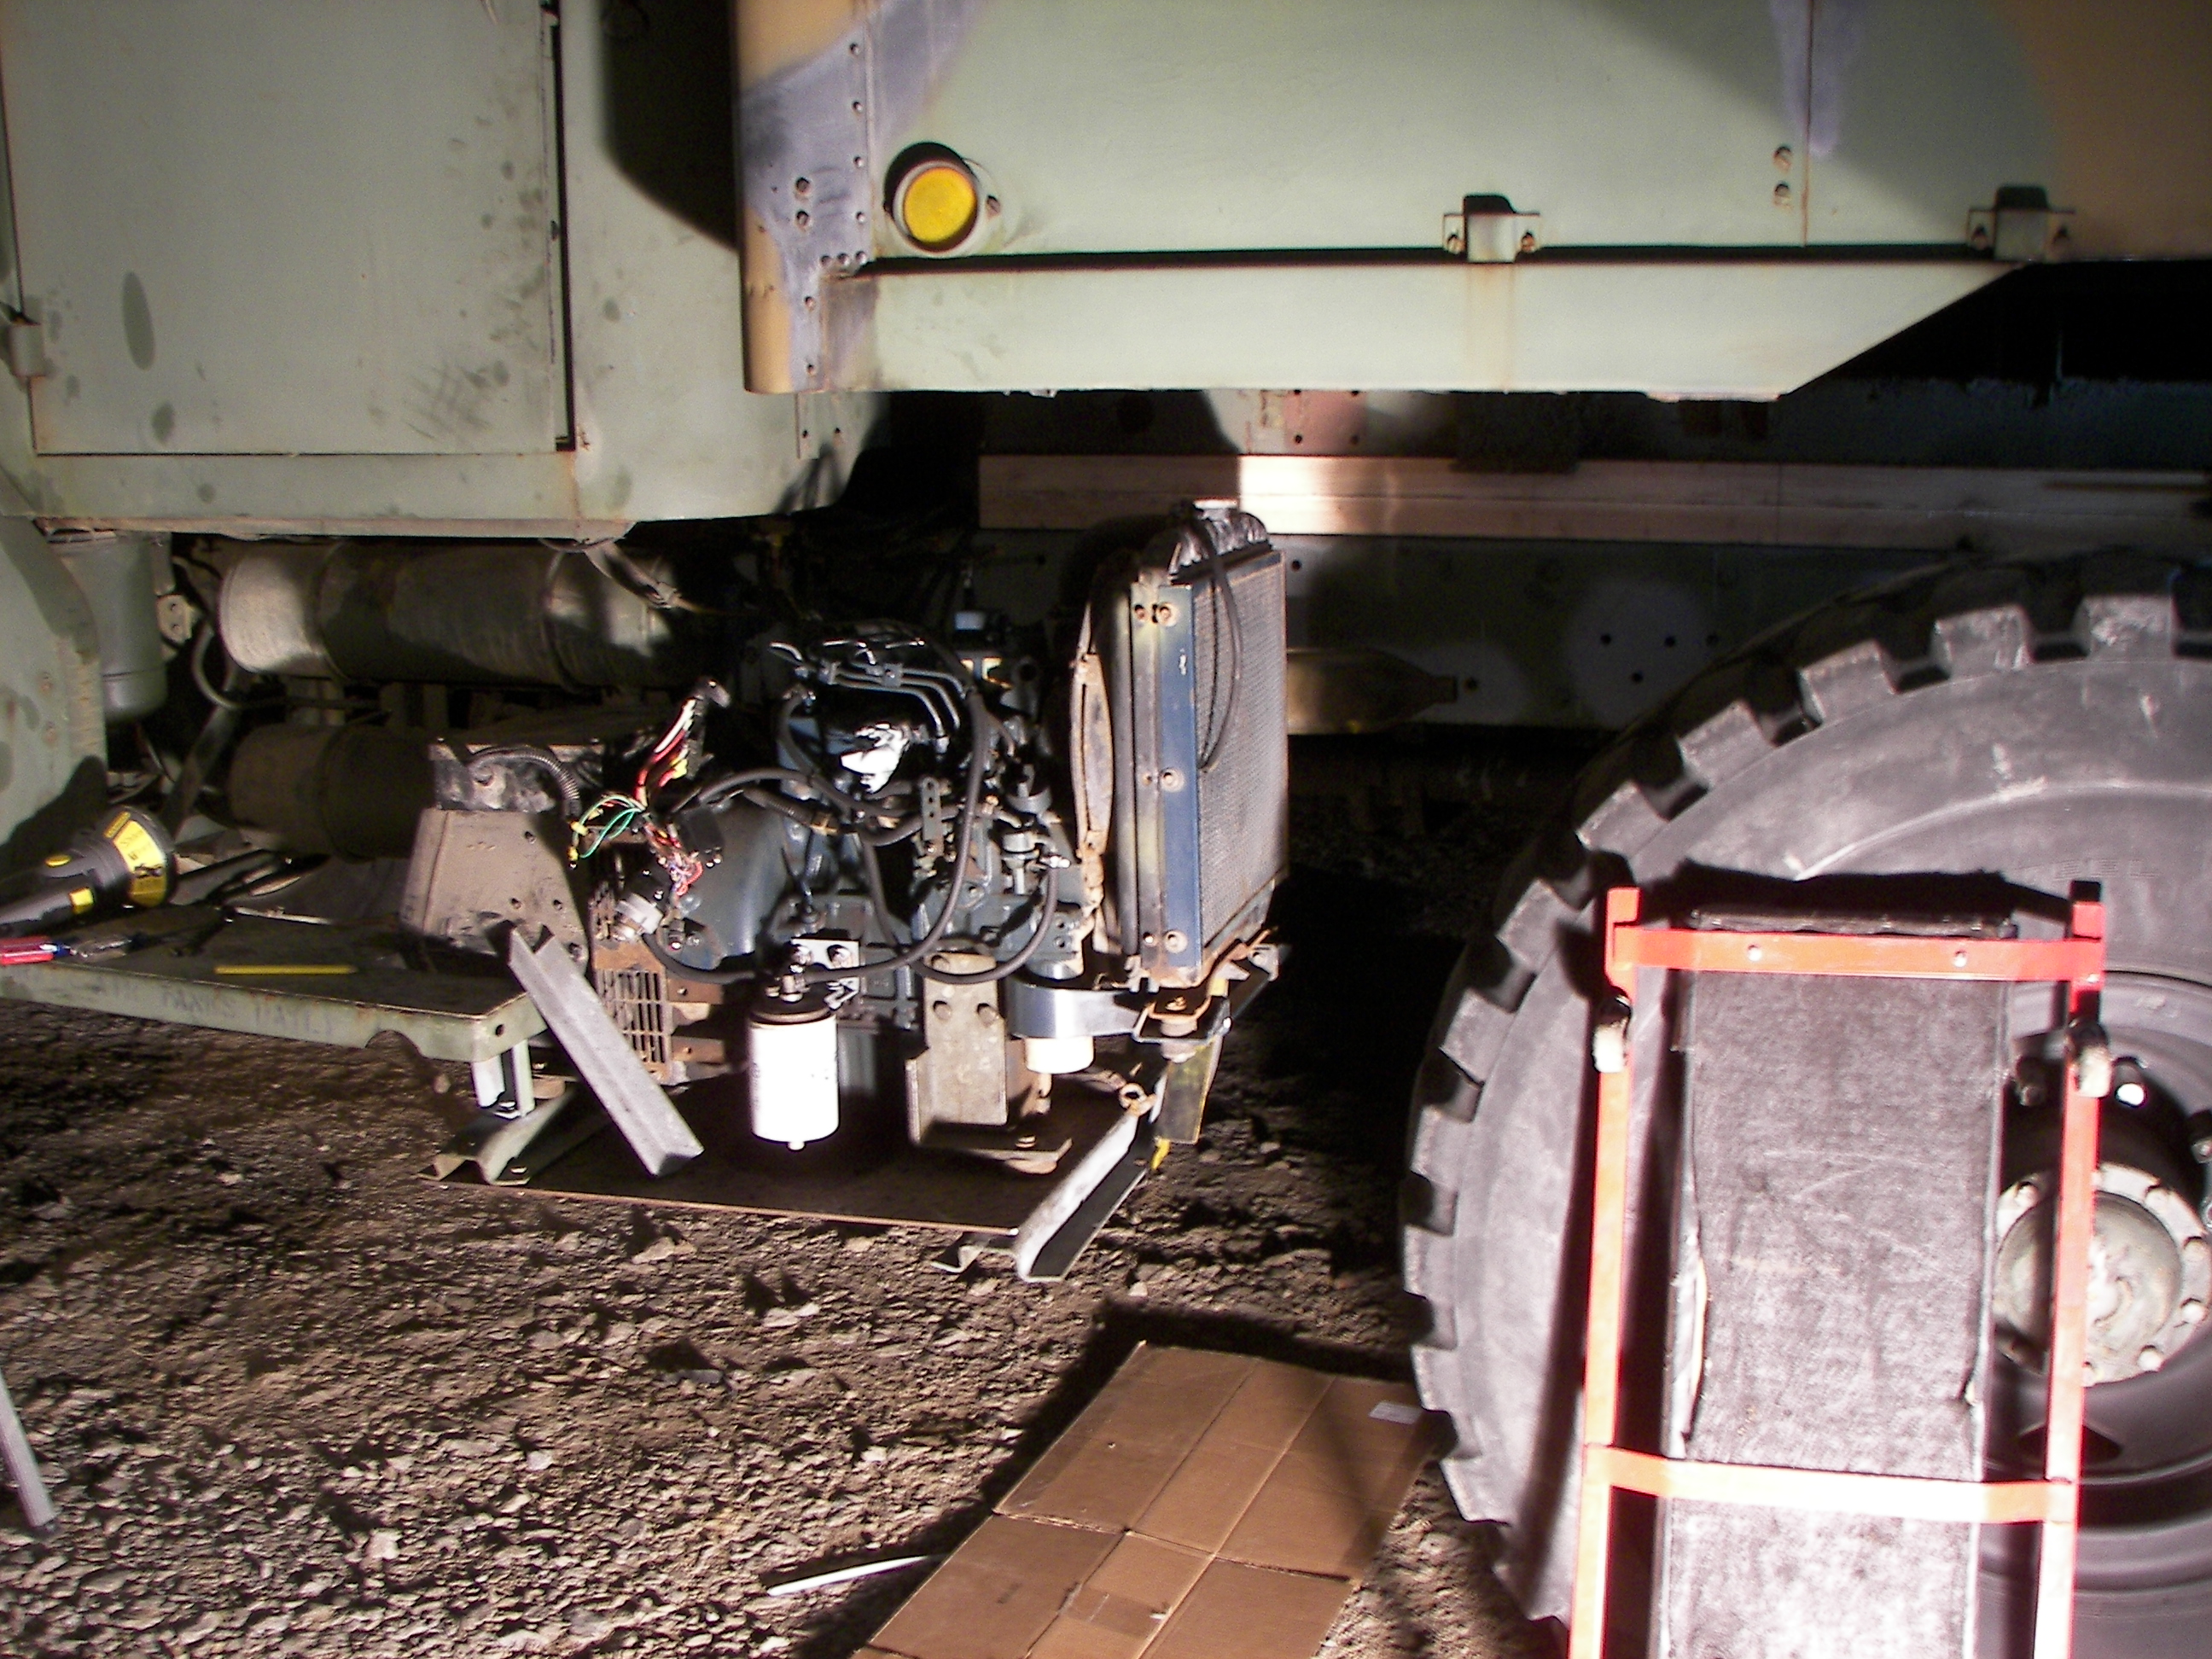
Work also continued on the generator. The project involved many simultaneous jobs all flowing in harmony. Mostly. |
|
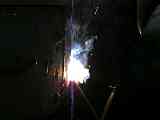
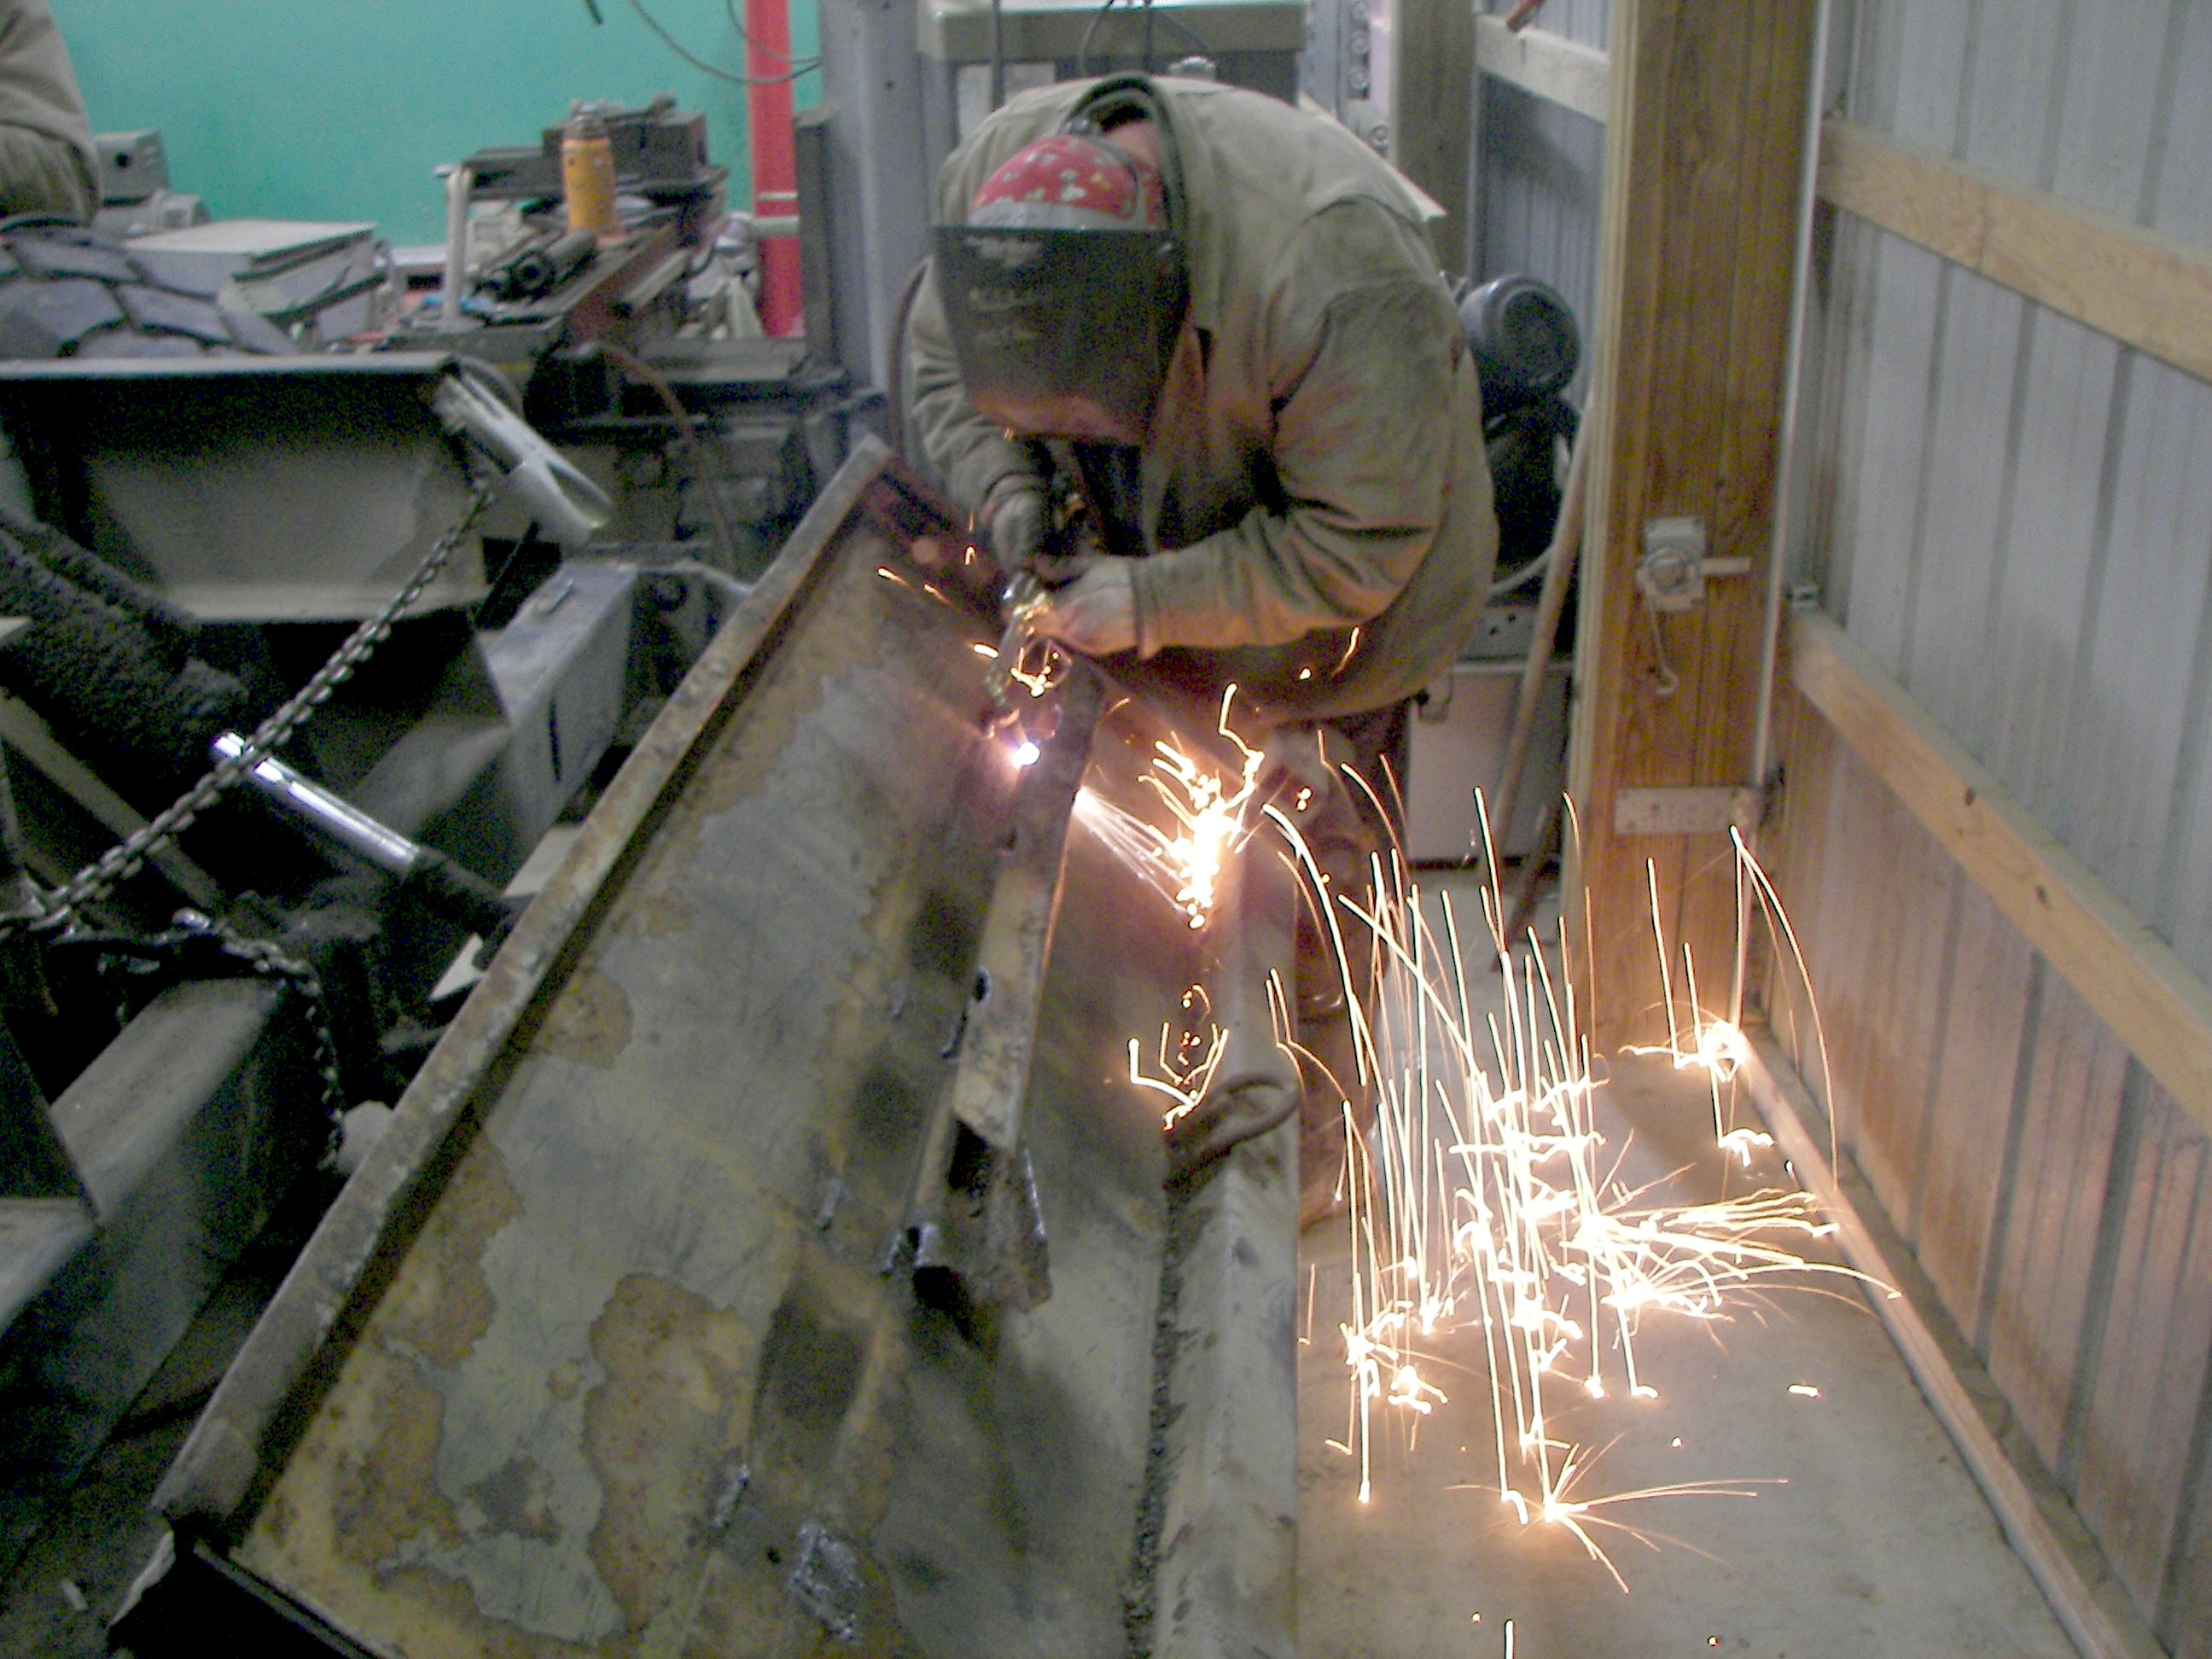
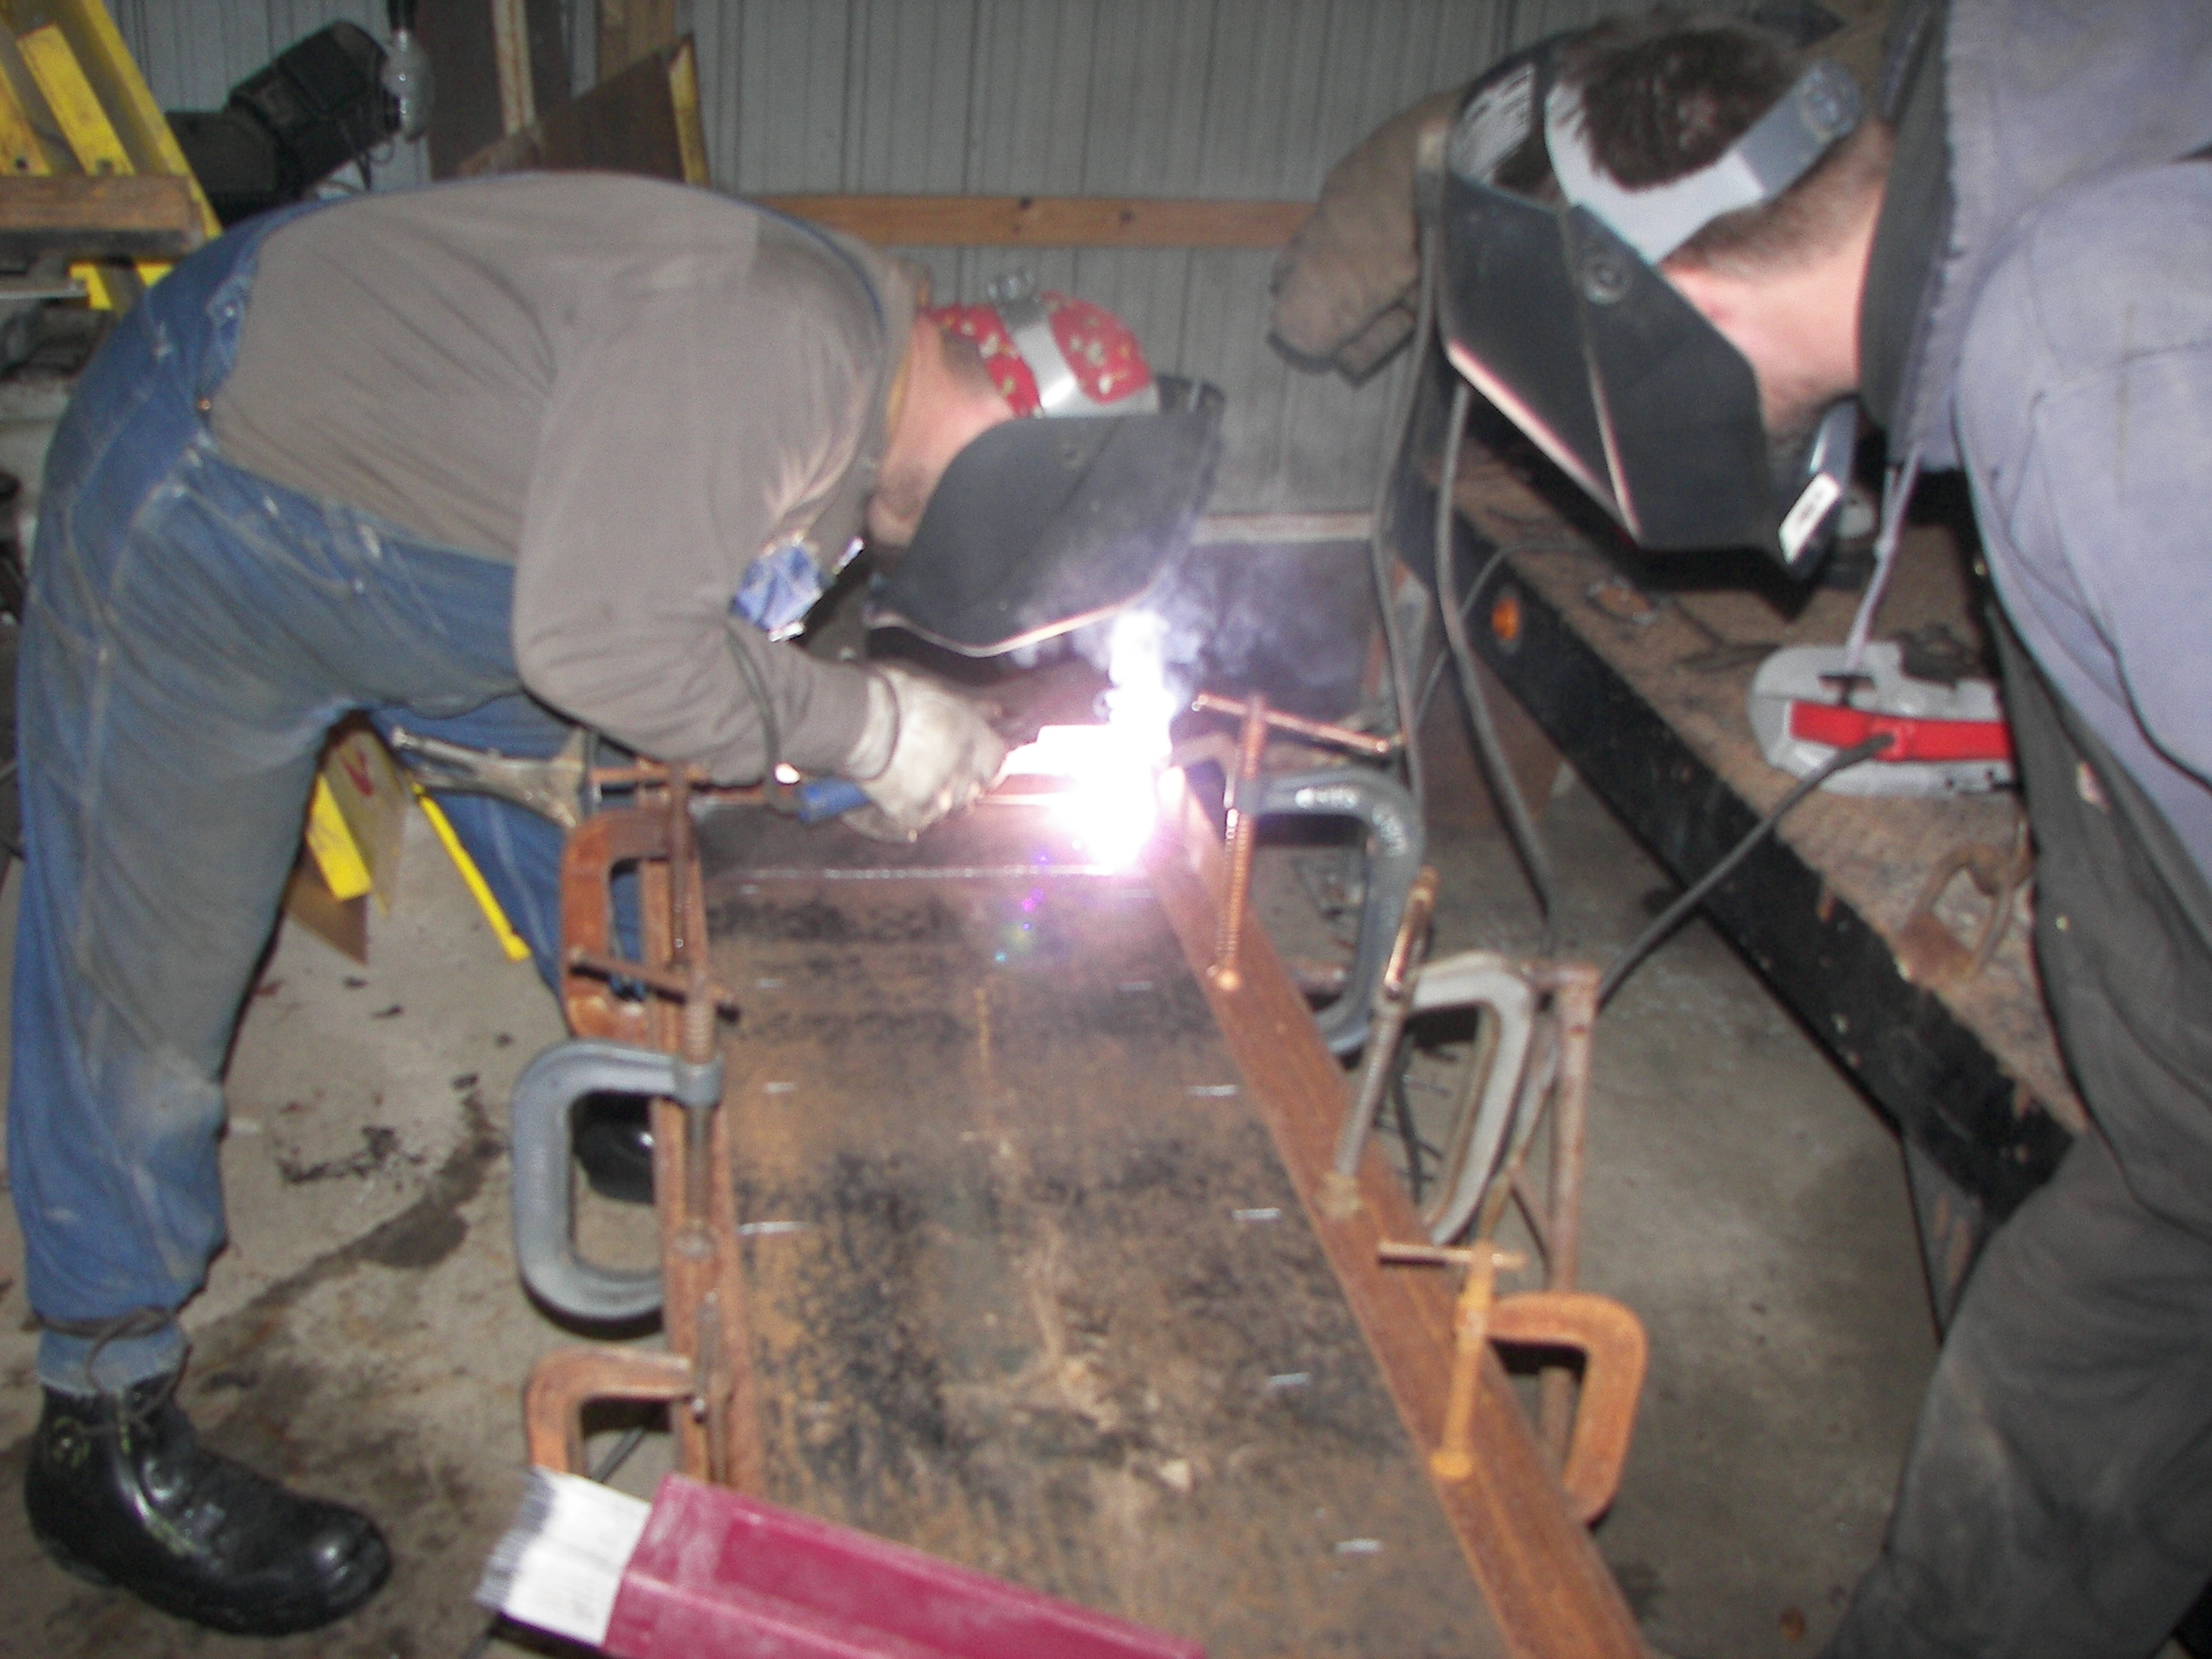
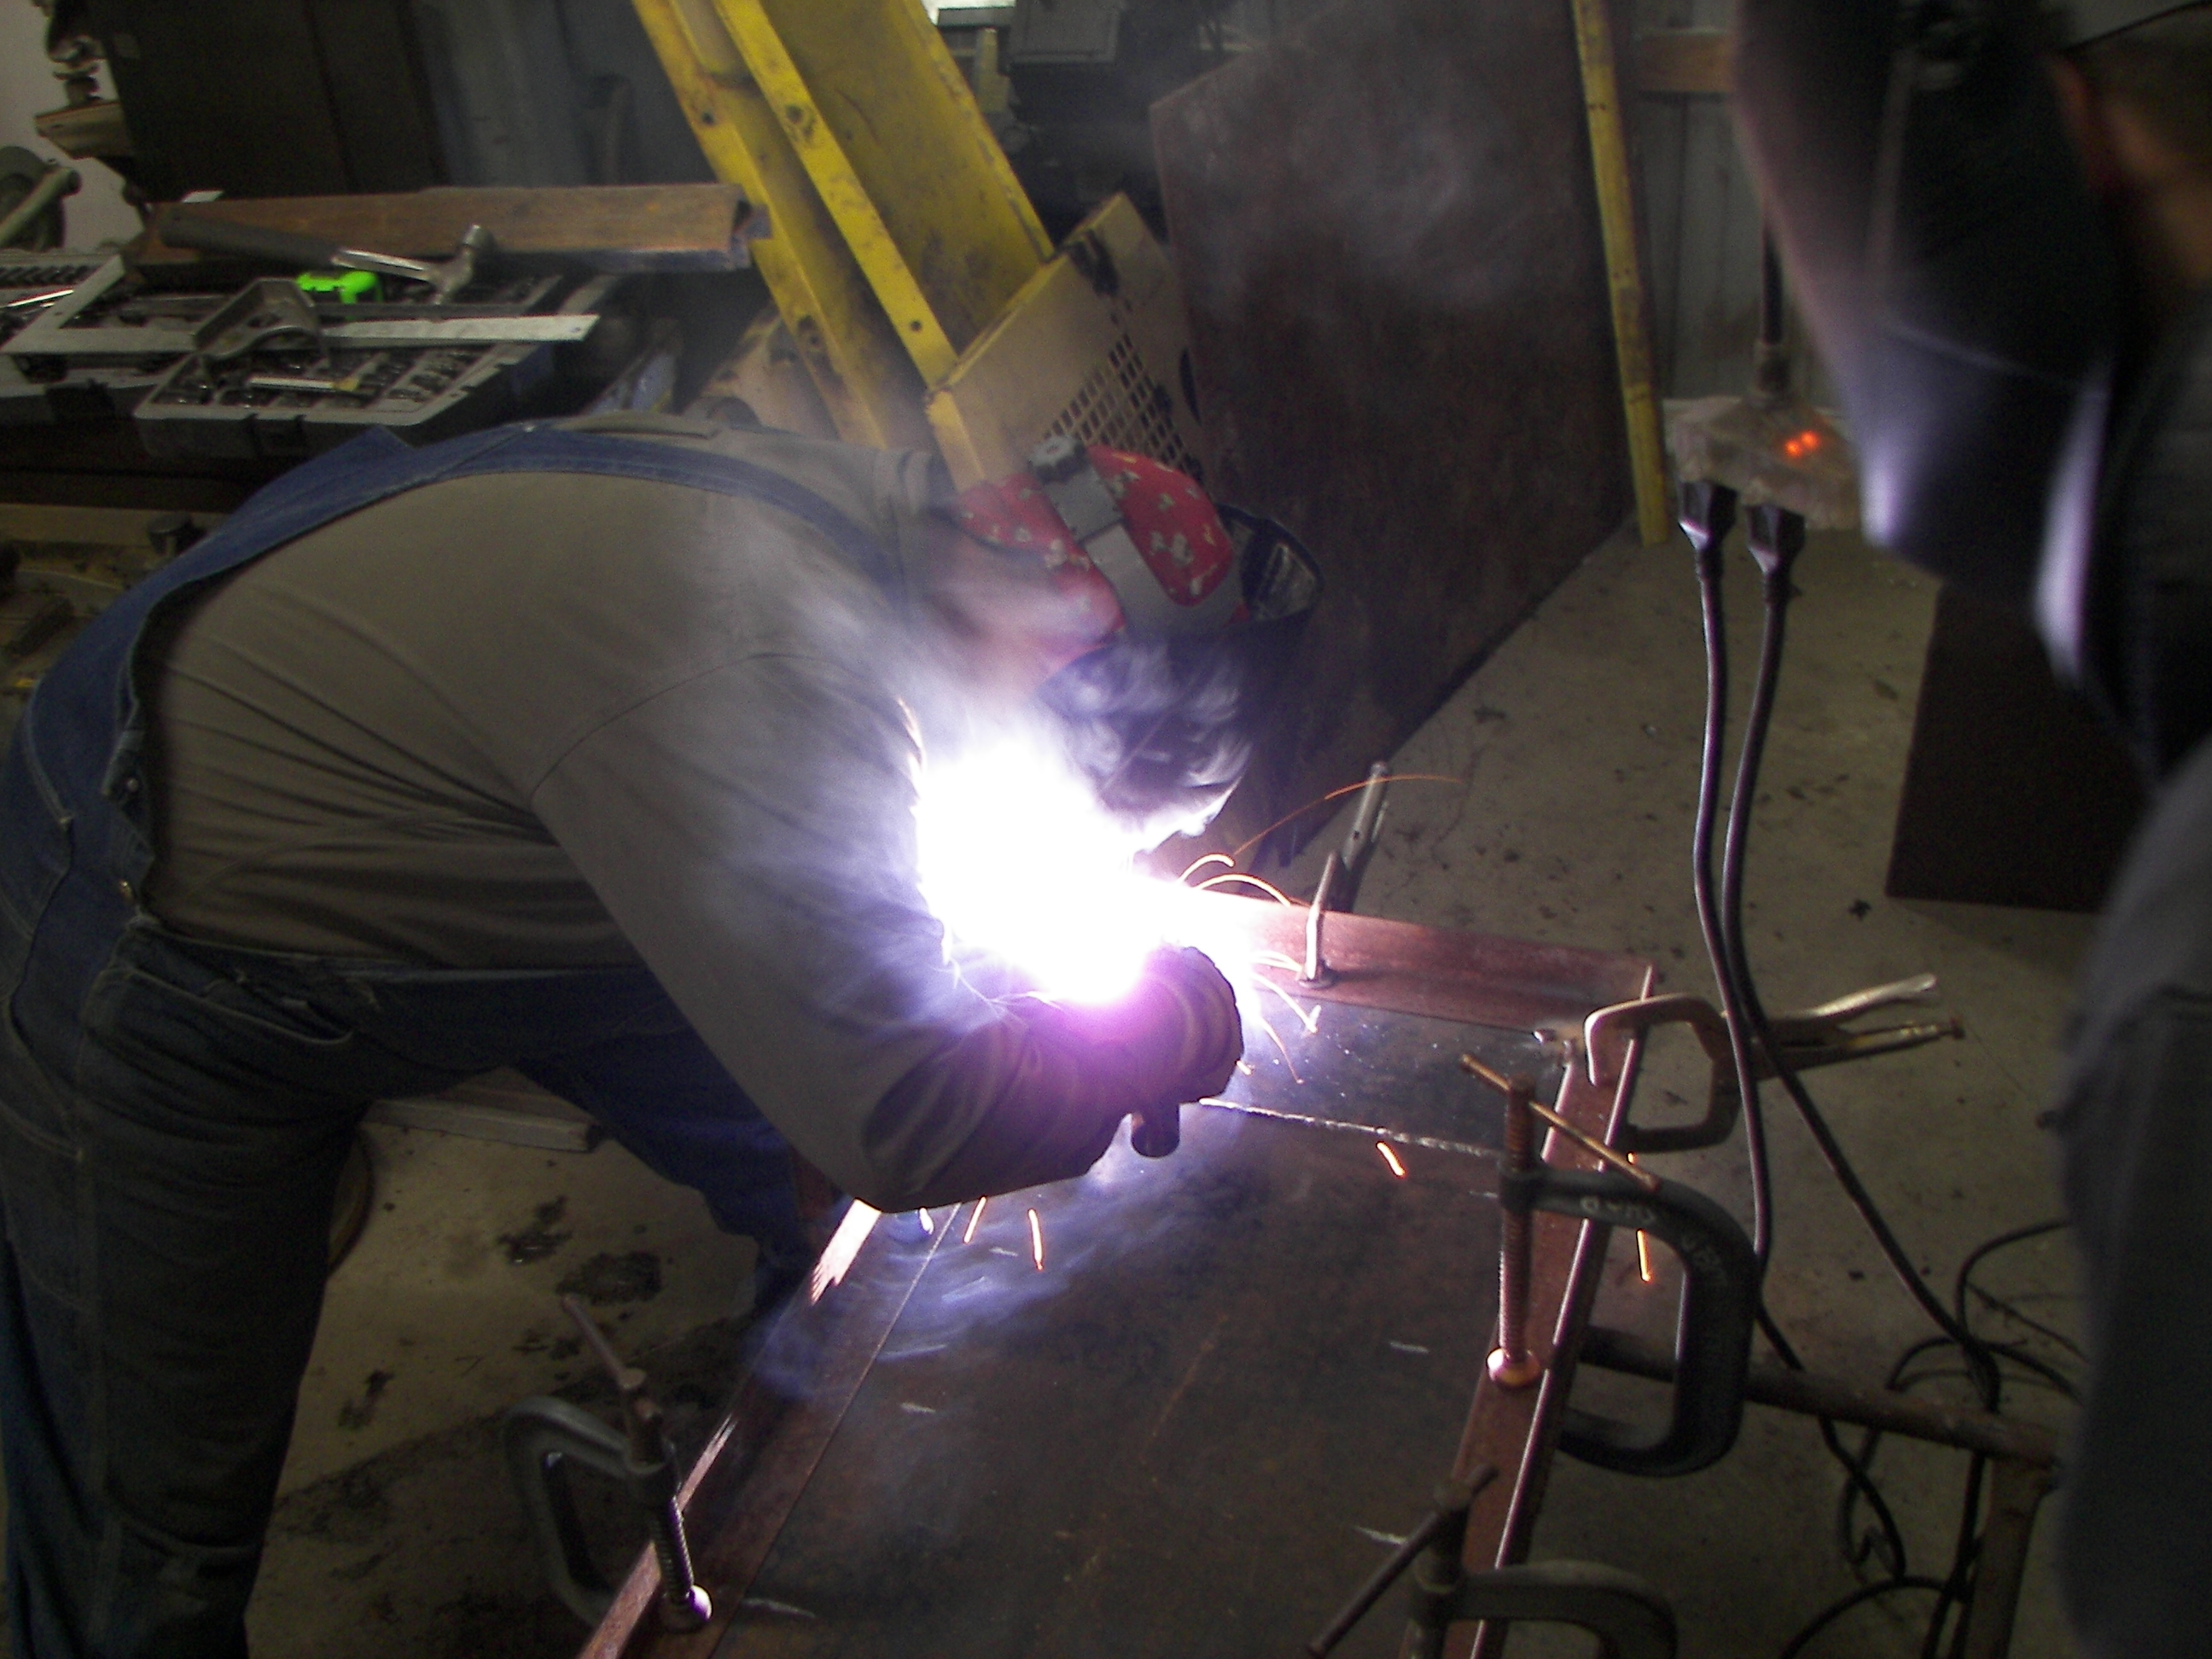
video: welding |
video: remanufacturing the rear cover of the lighting generator trailer body so that it would fit on the truck properly. We re-used many things in this manner. Why fabricate everything? |
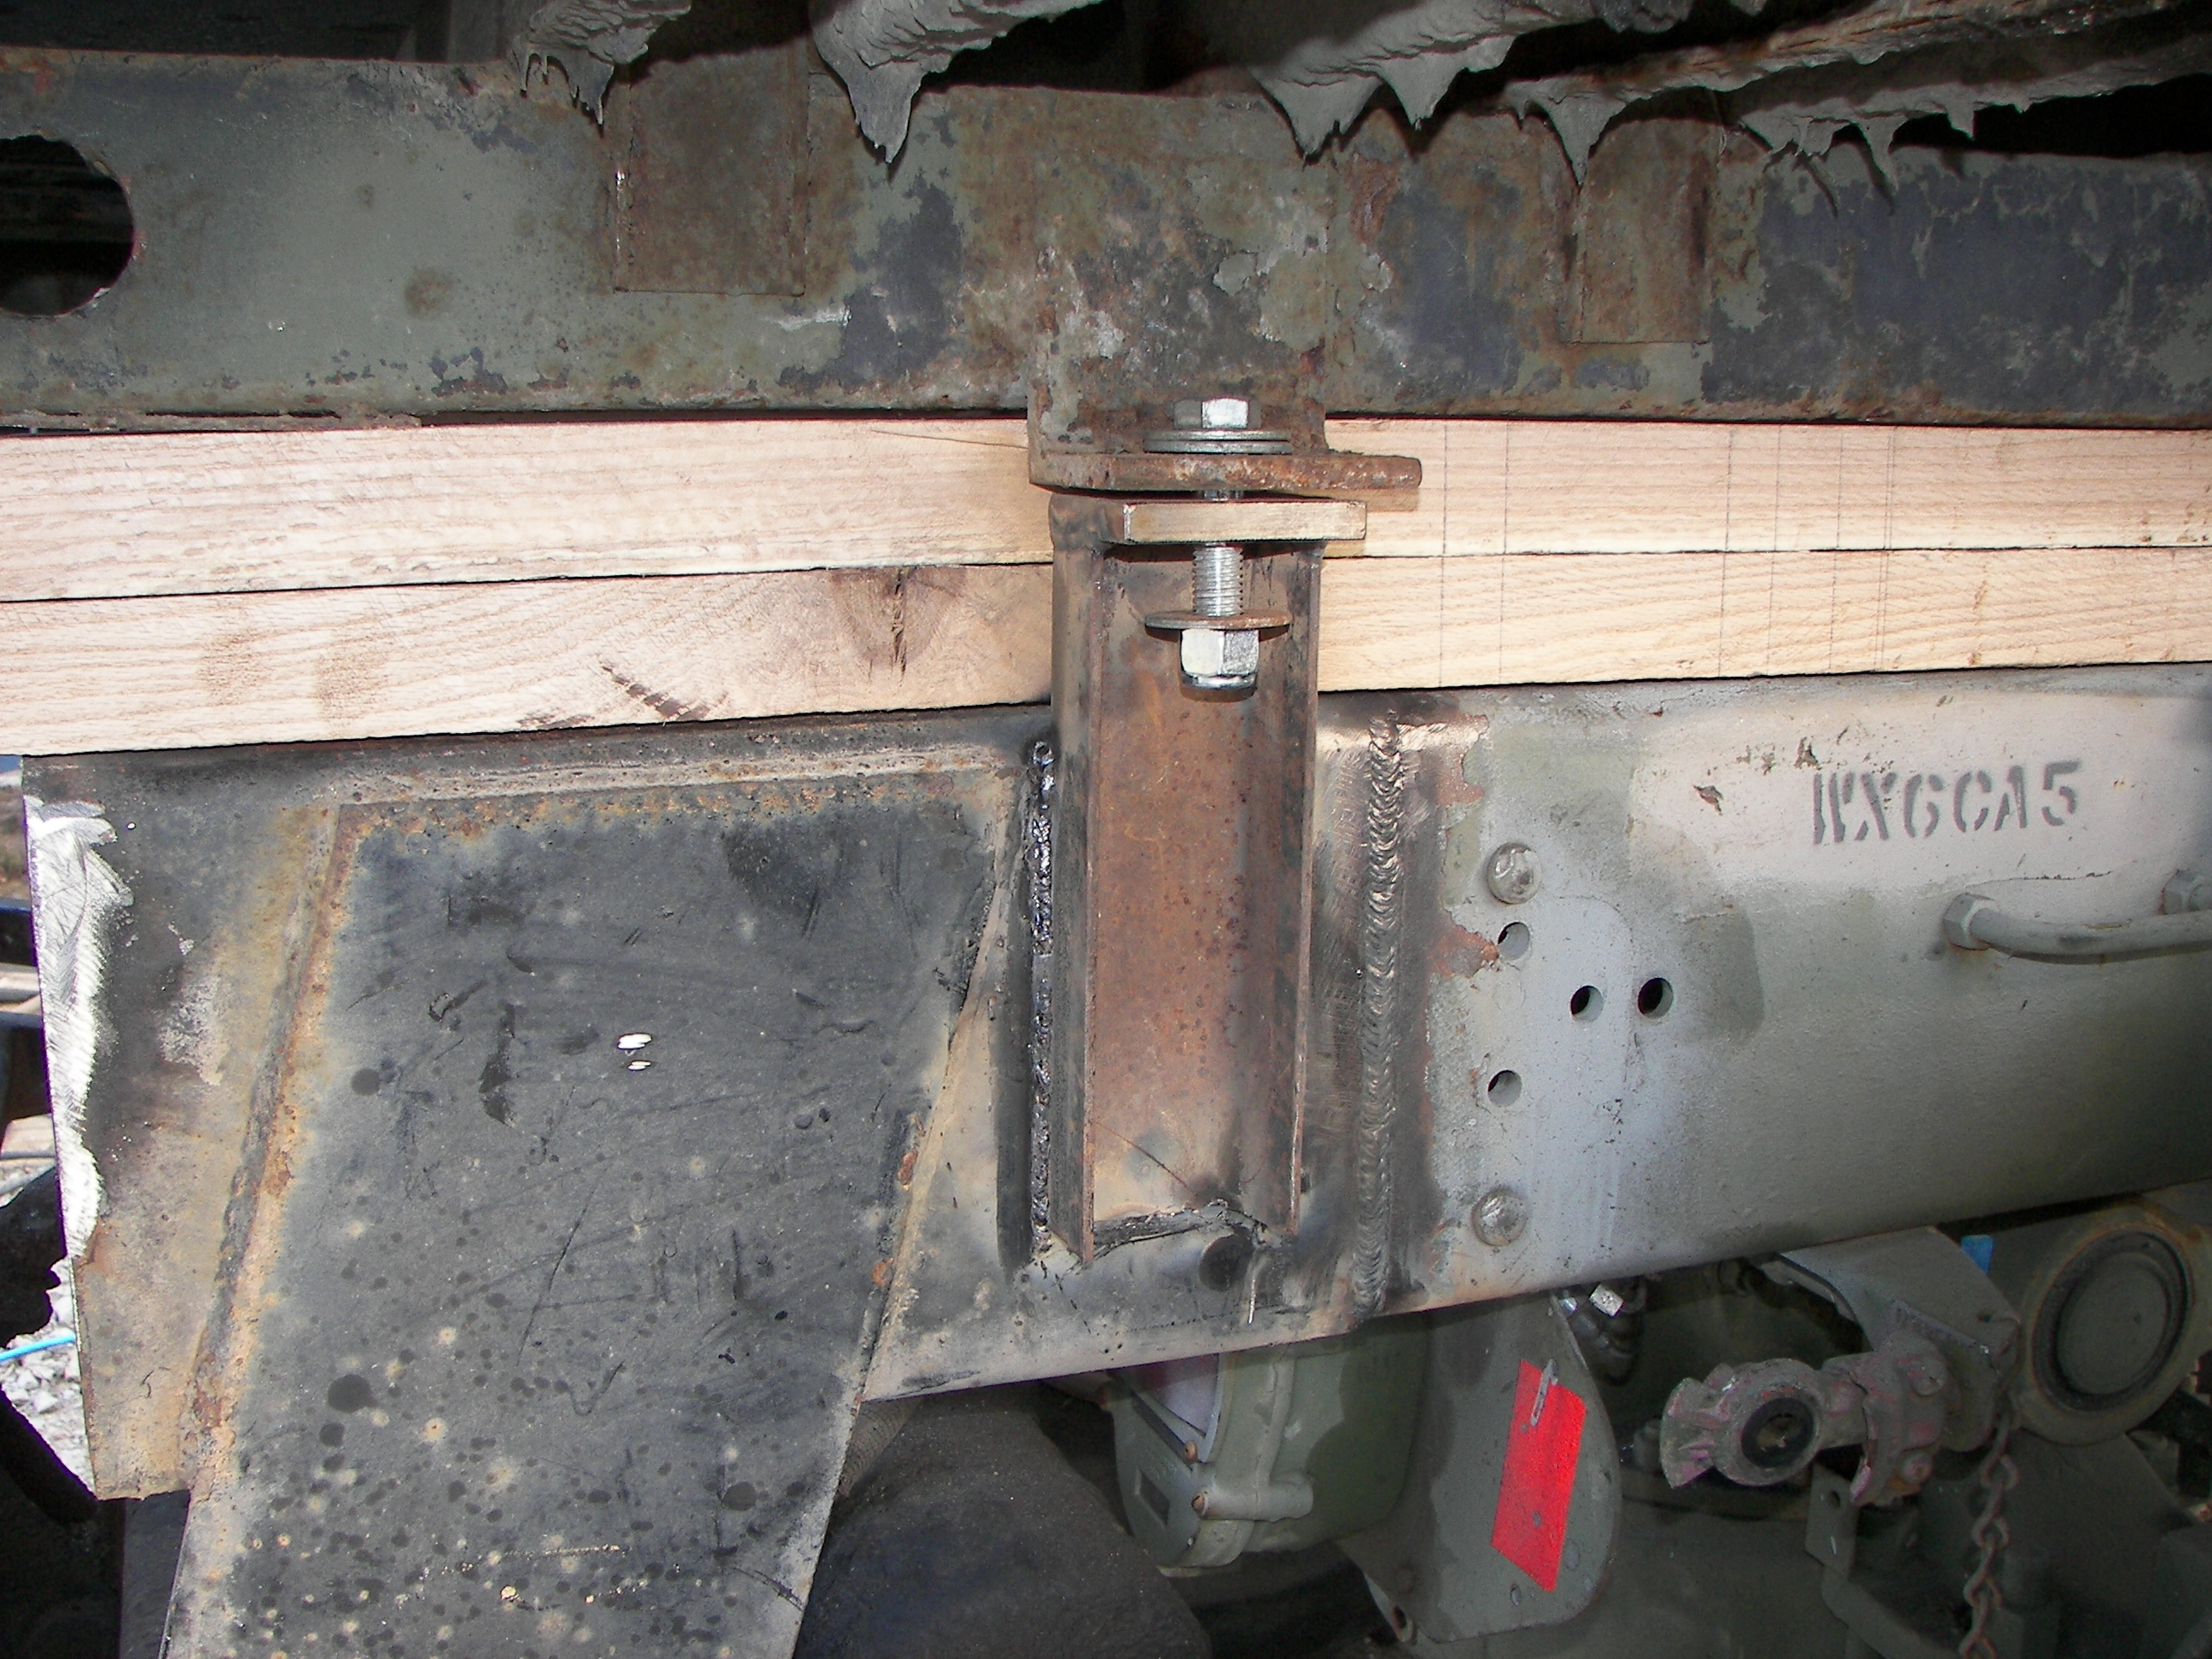
I made several of these brackets. These are bolted to the chassis frame and the "L" section has holes for the mounting bolts of the M109 box. |
|
|
|
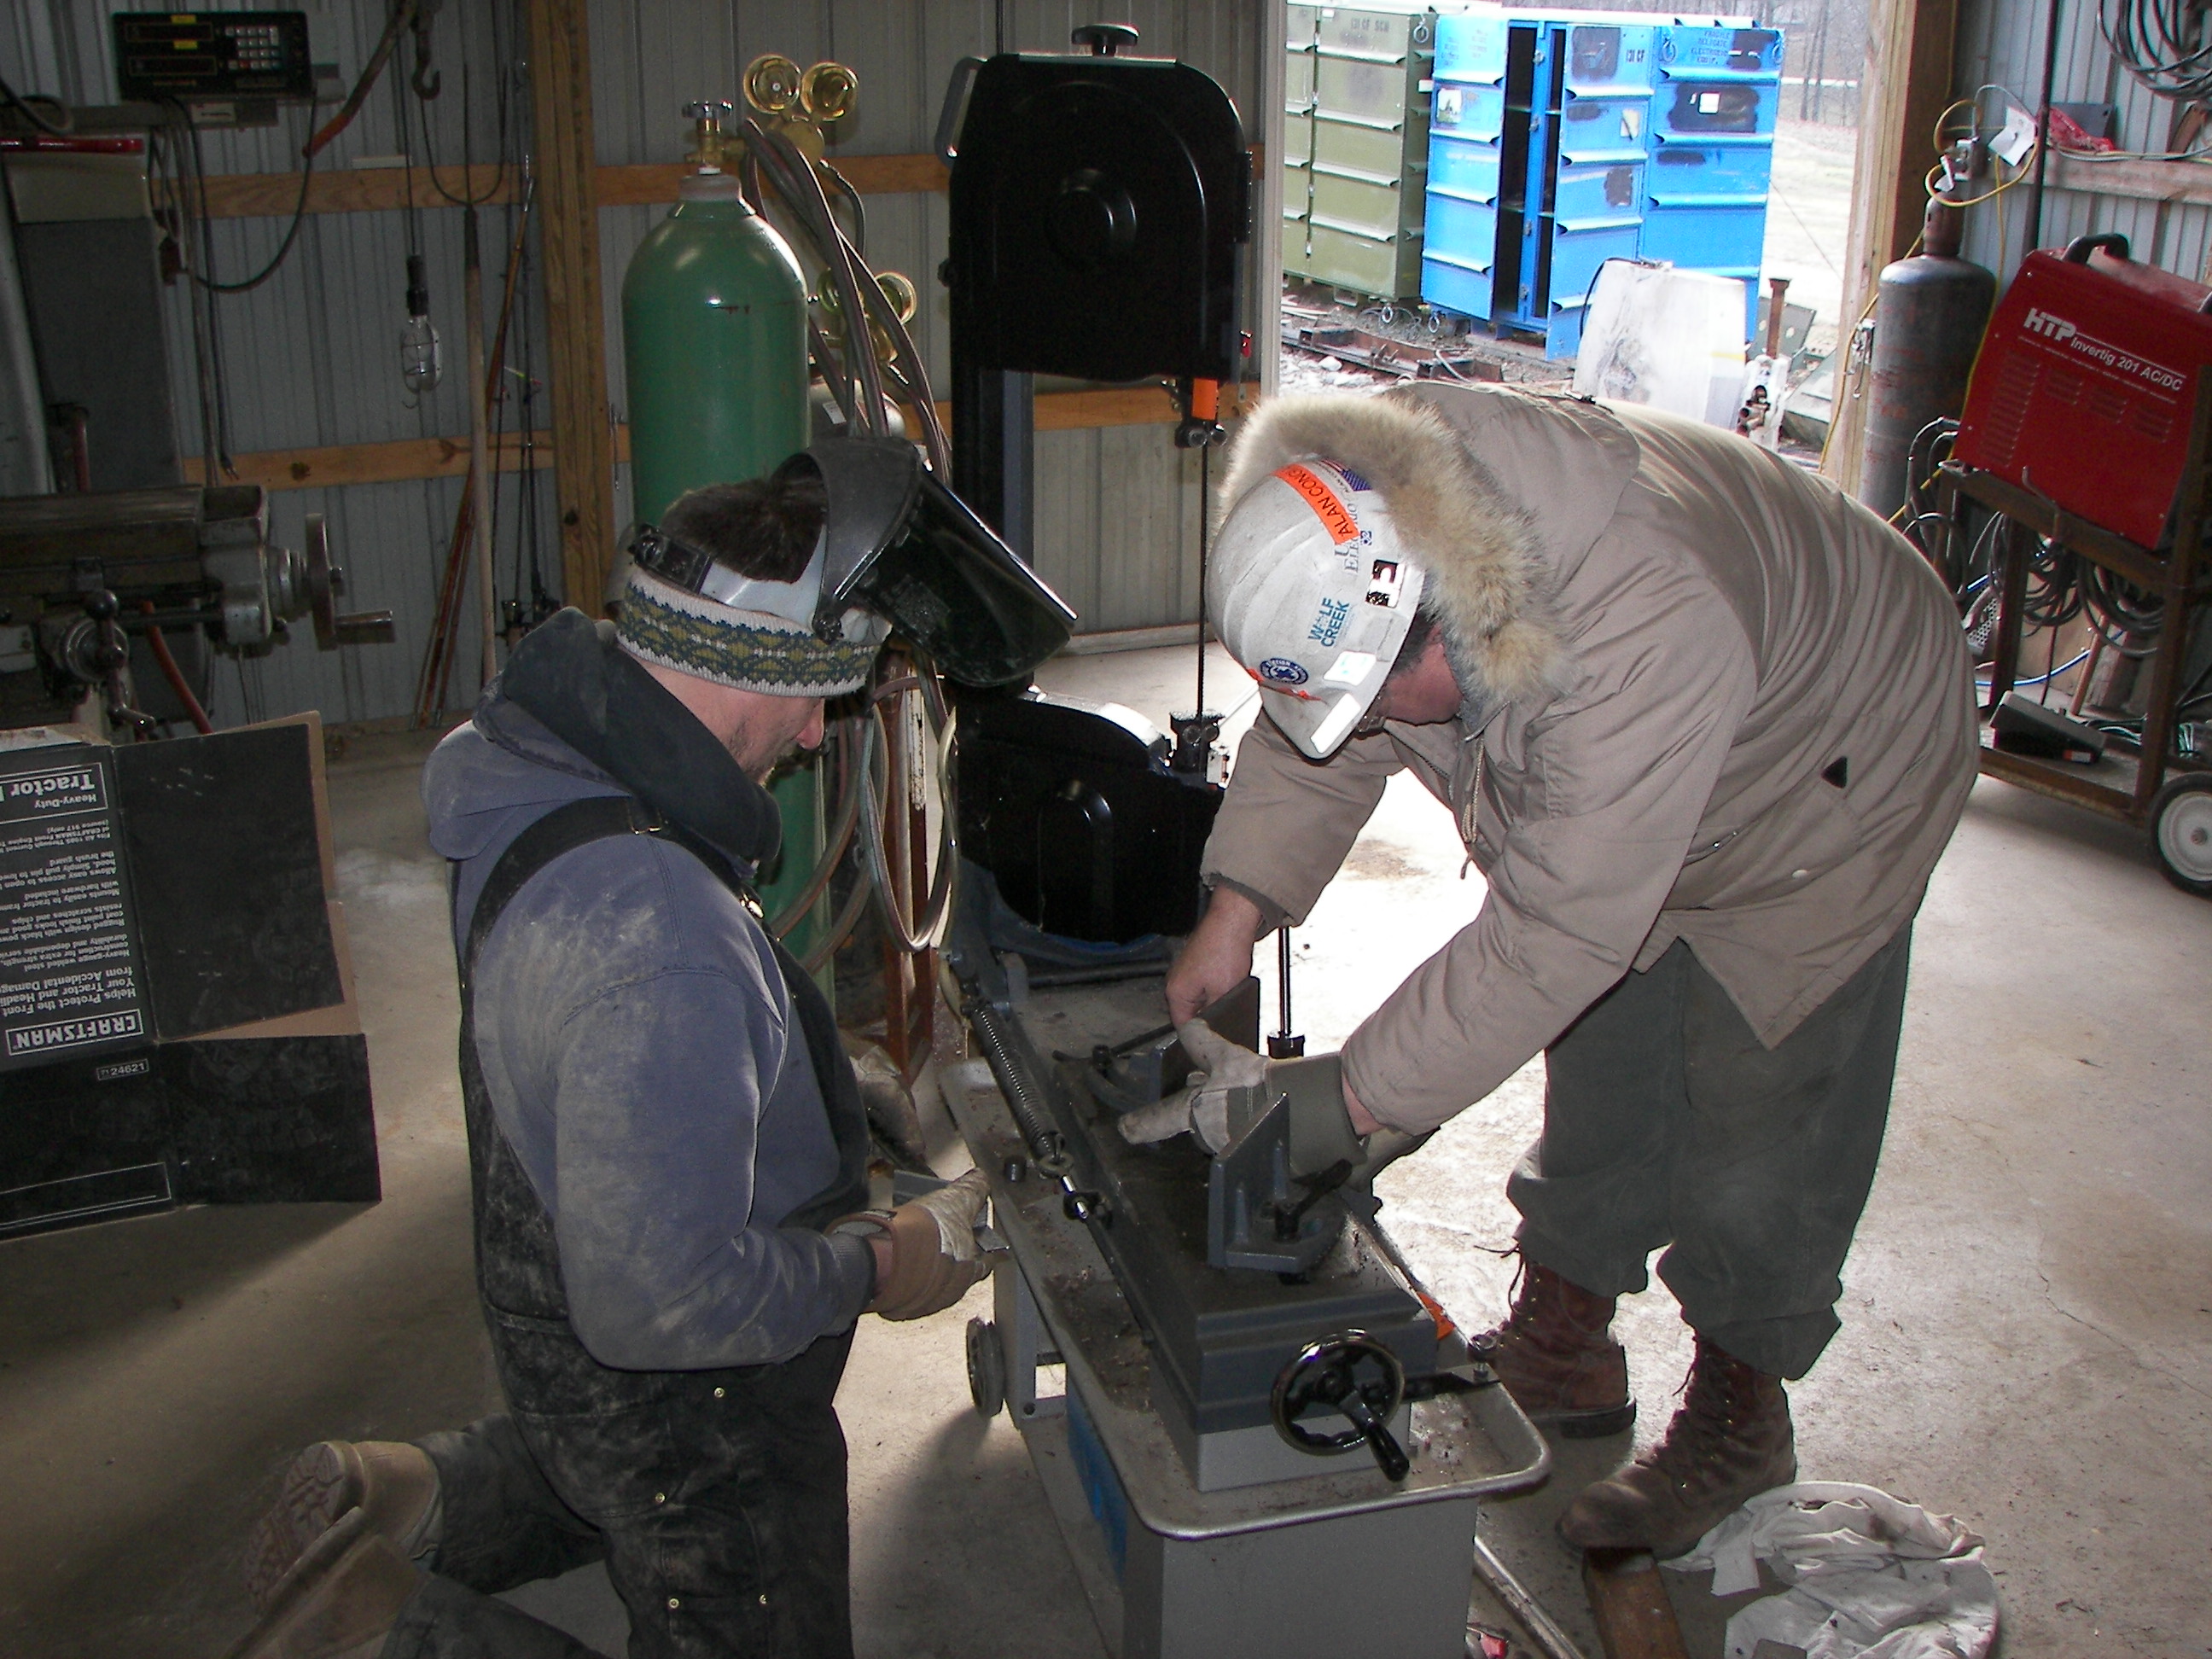
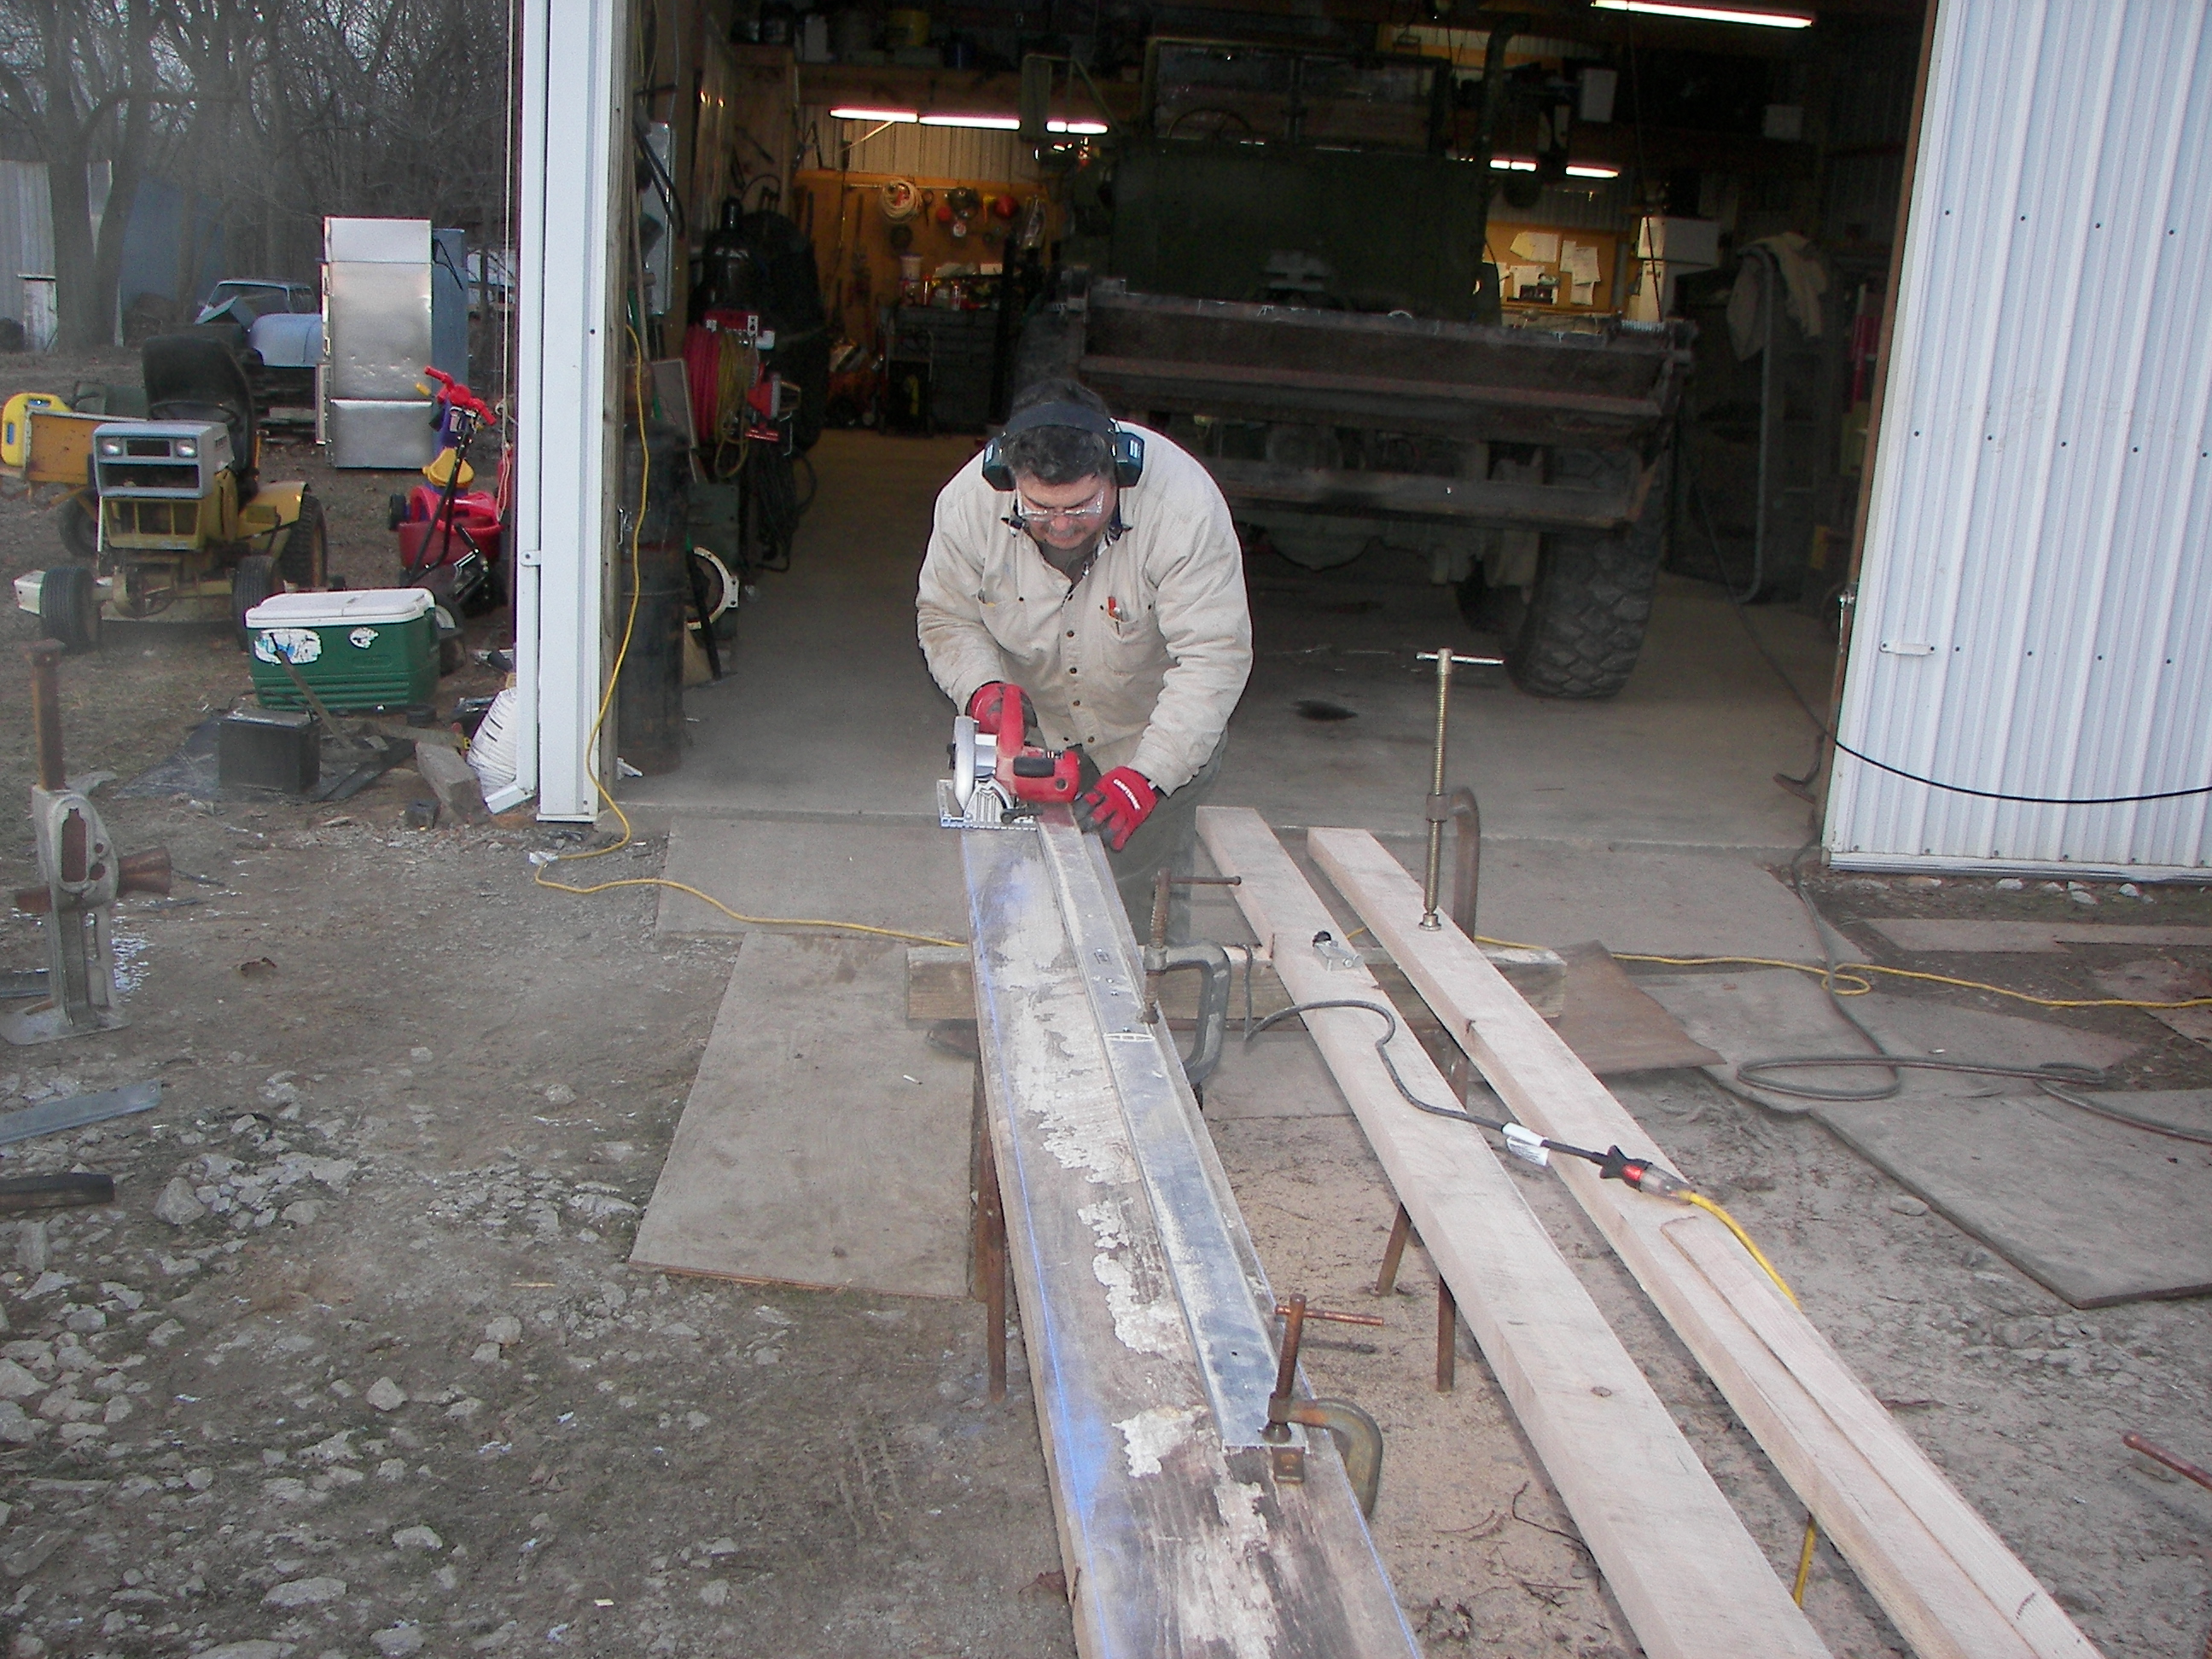
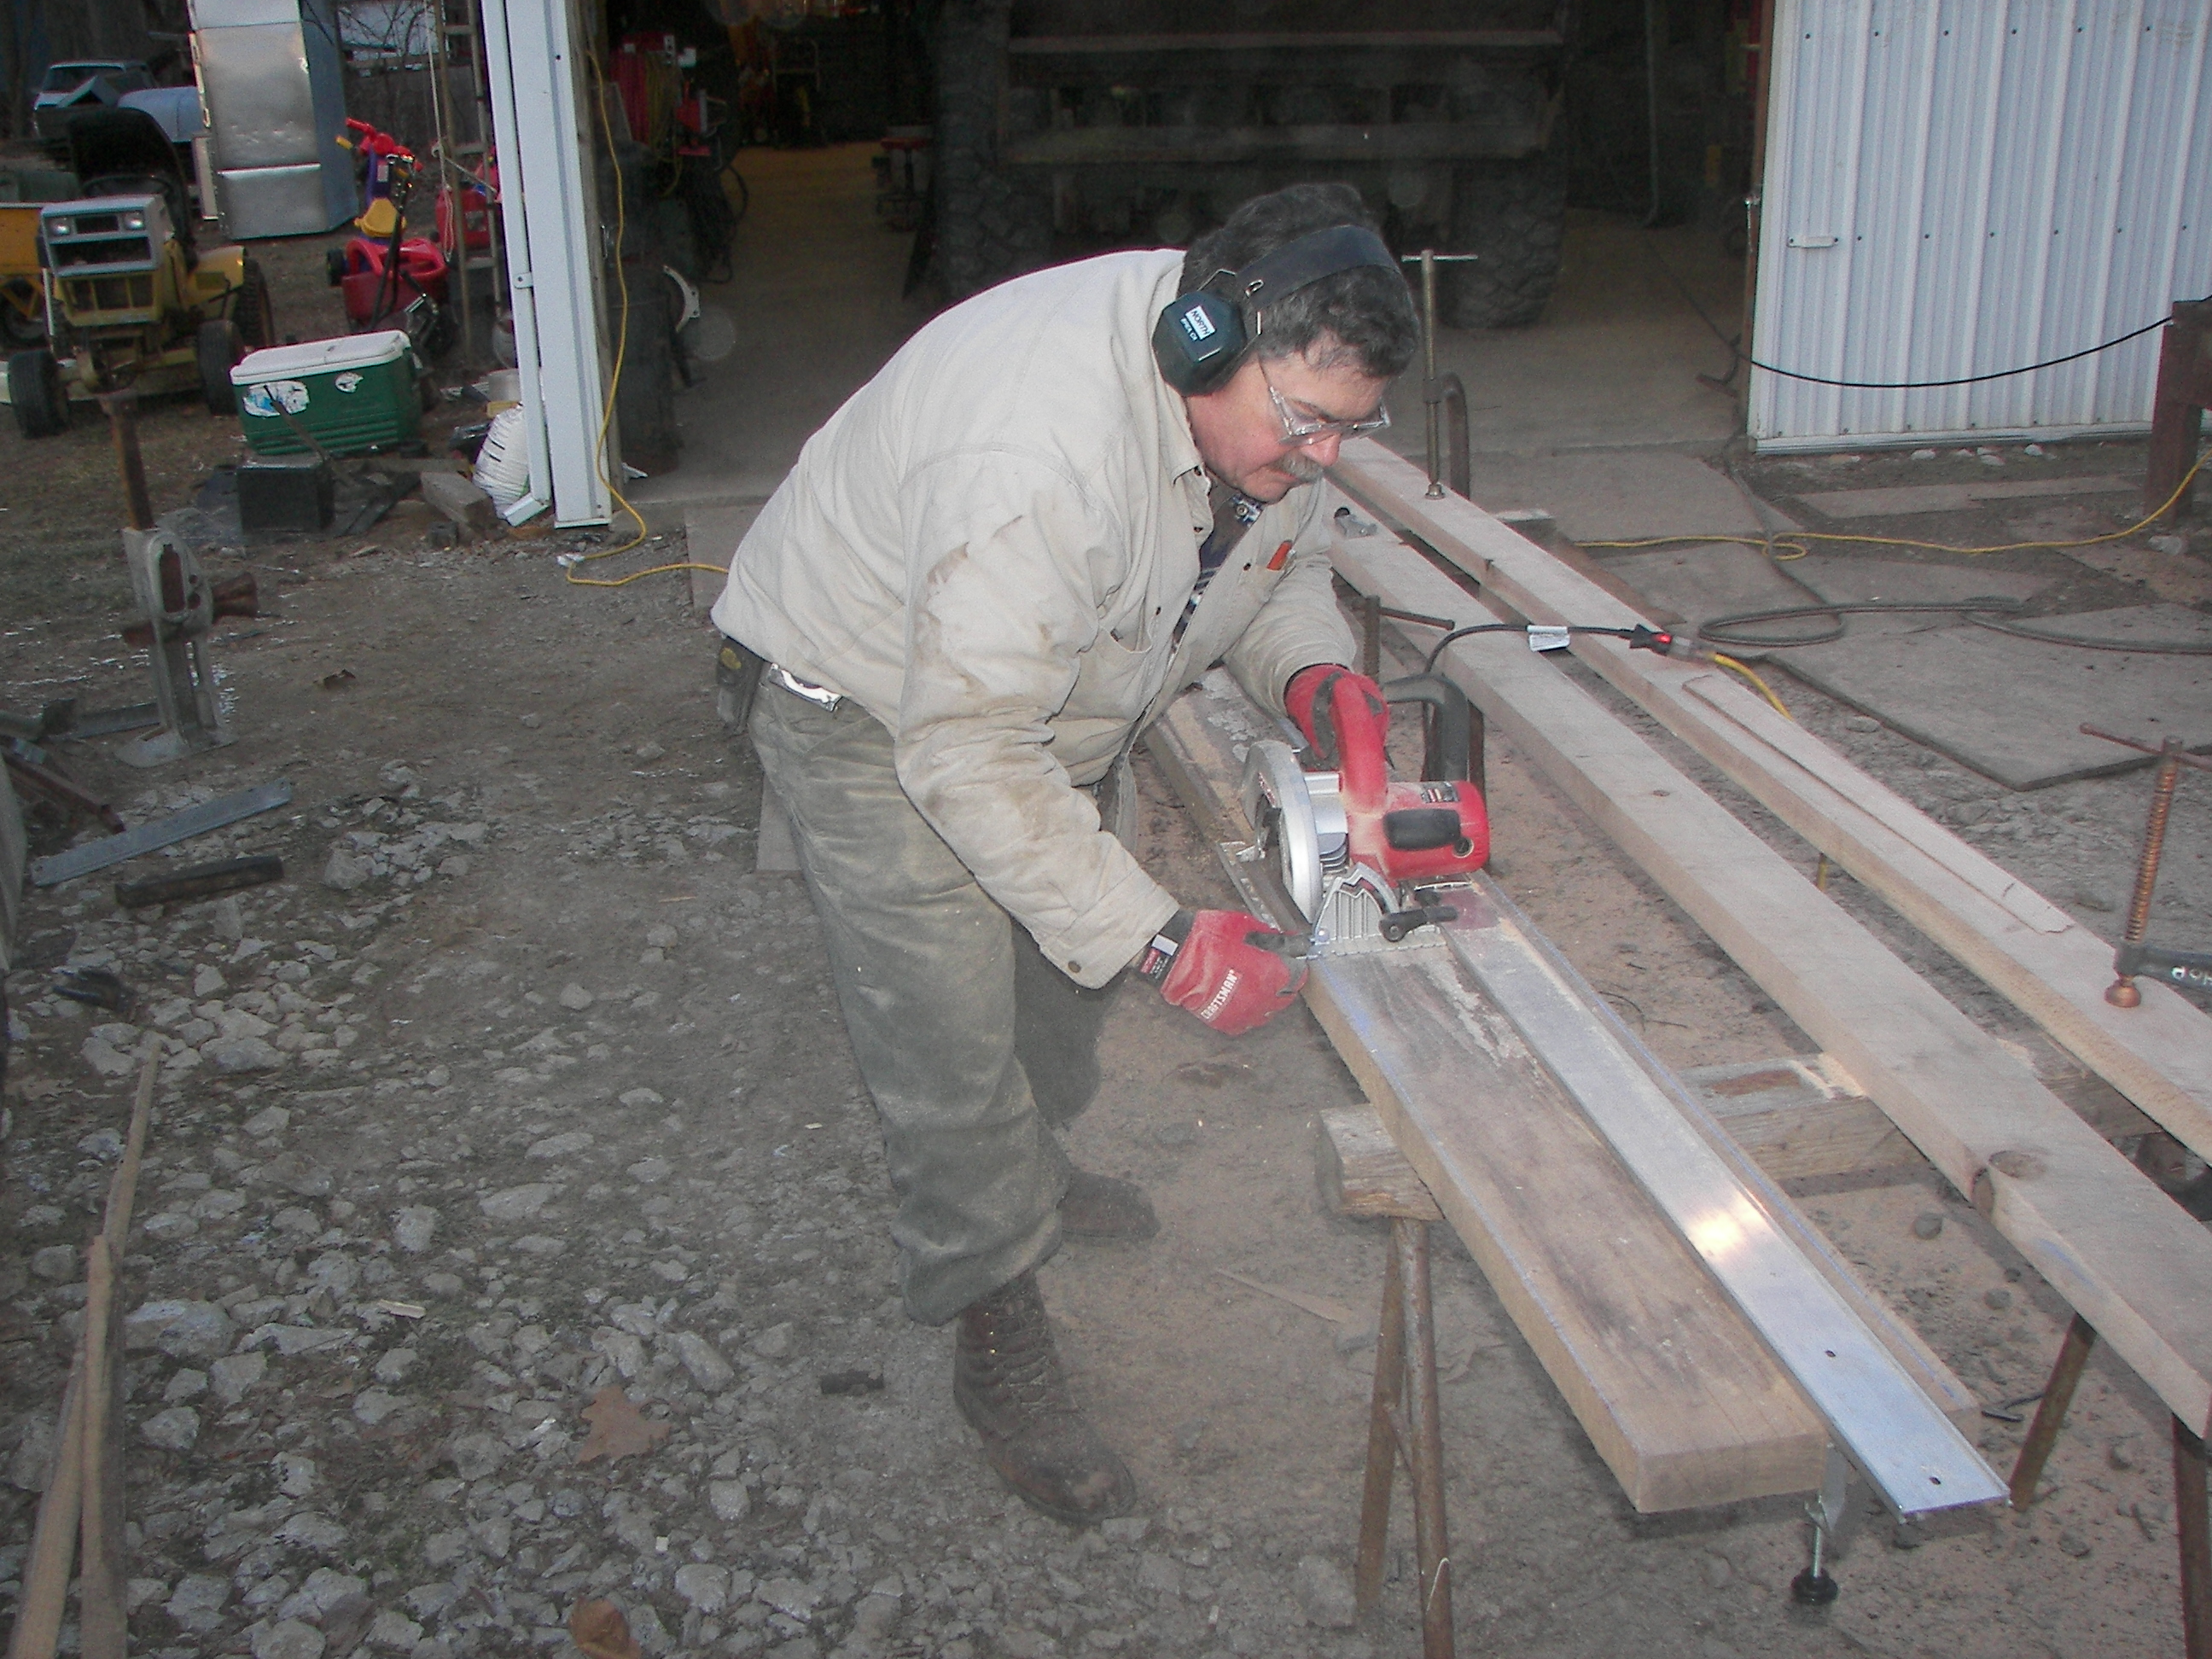
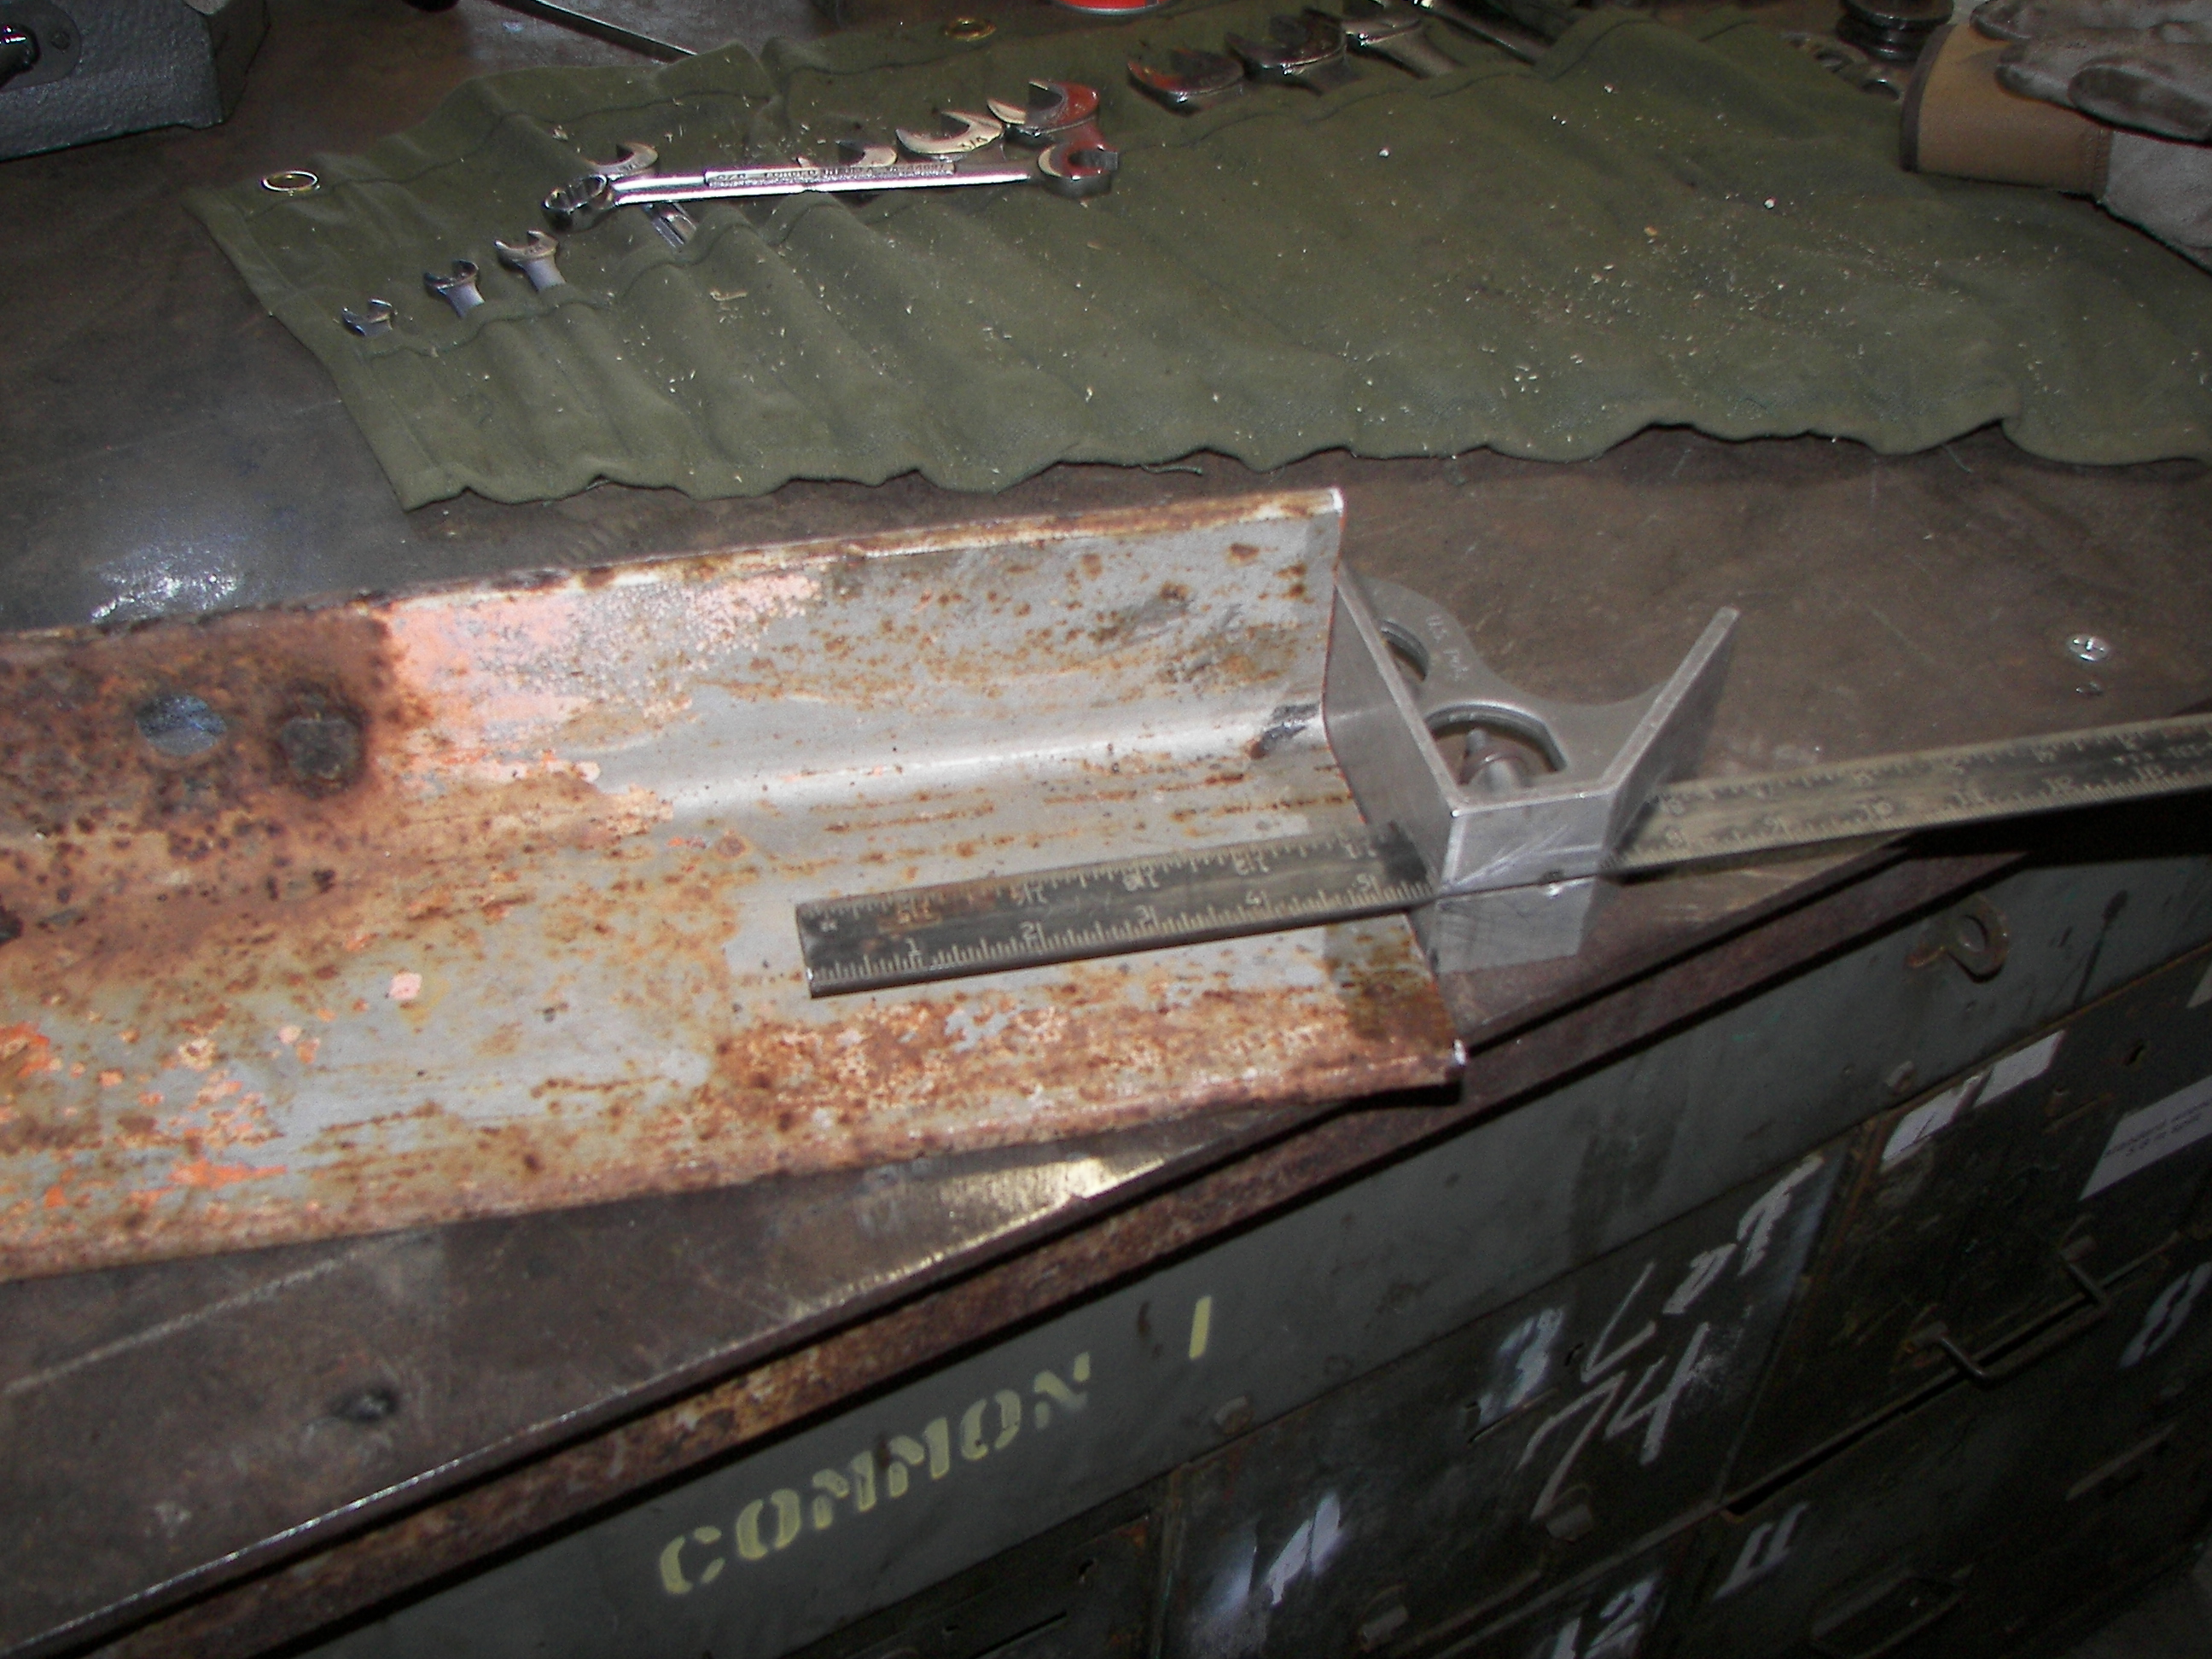
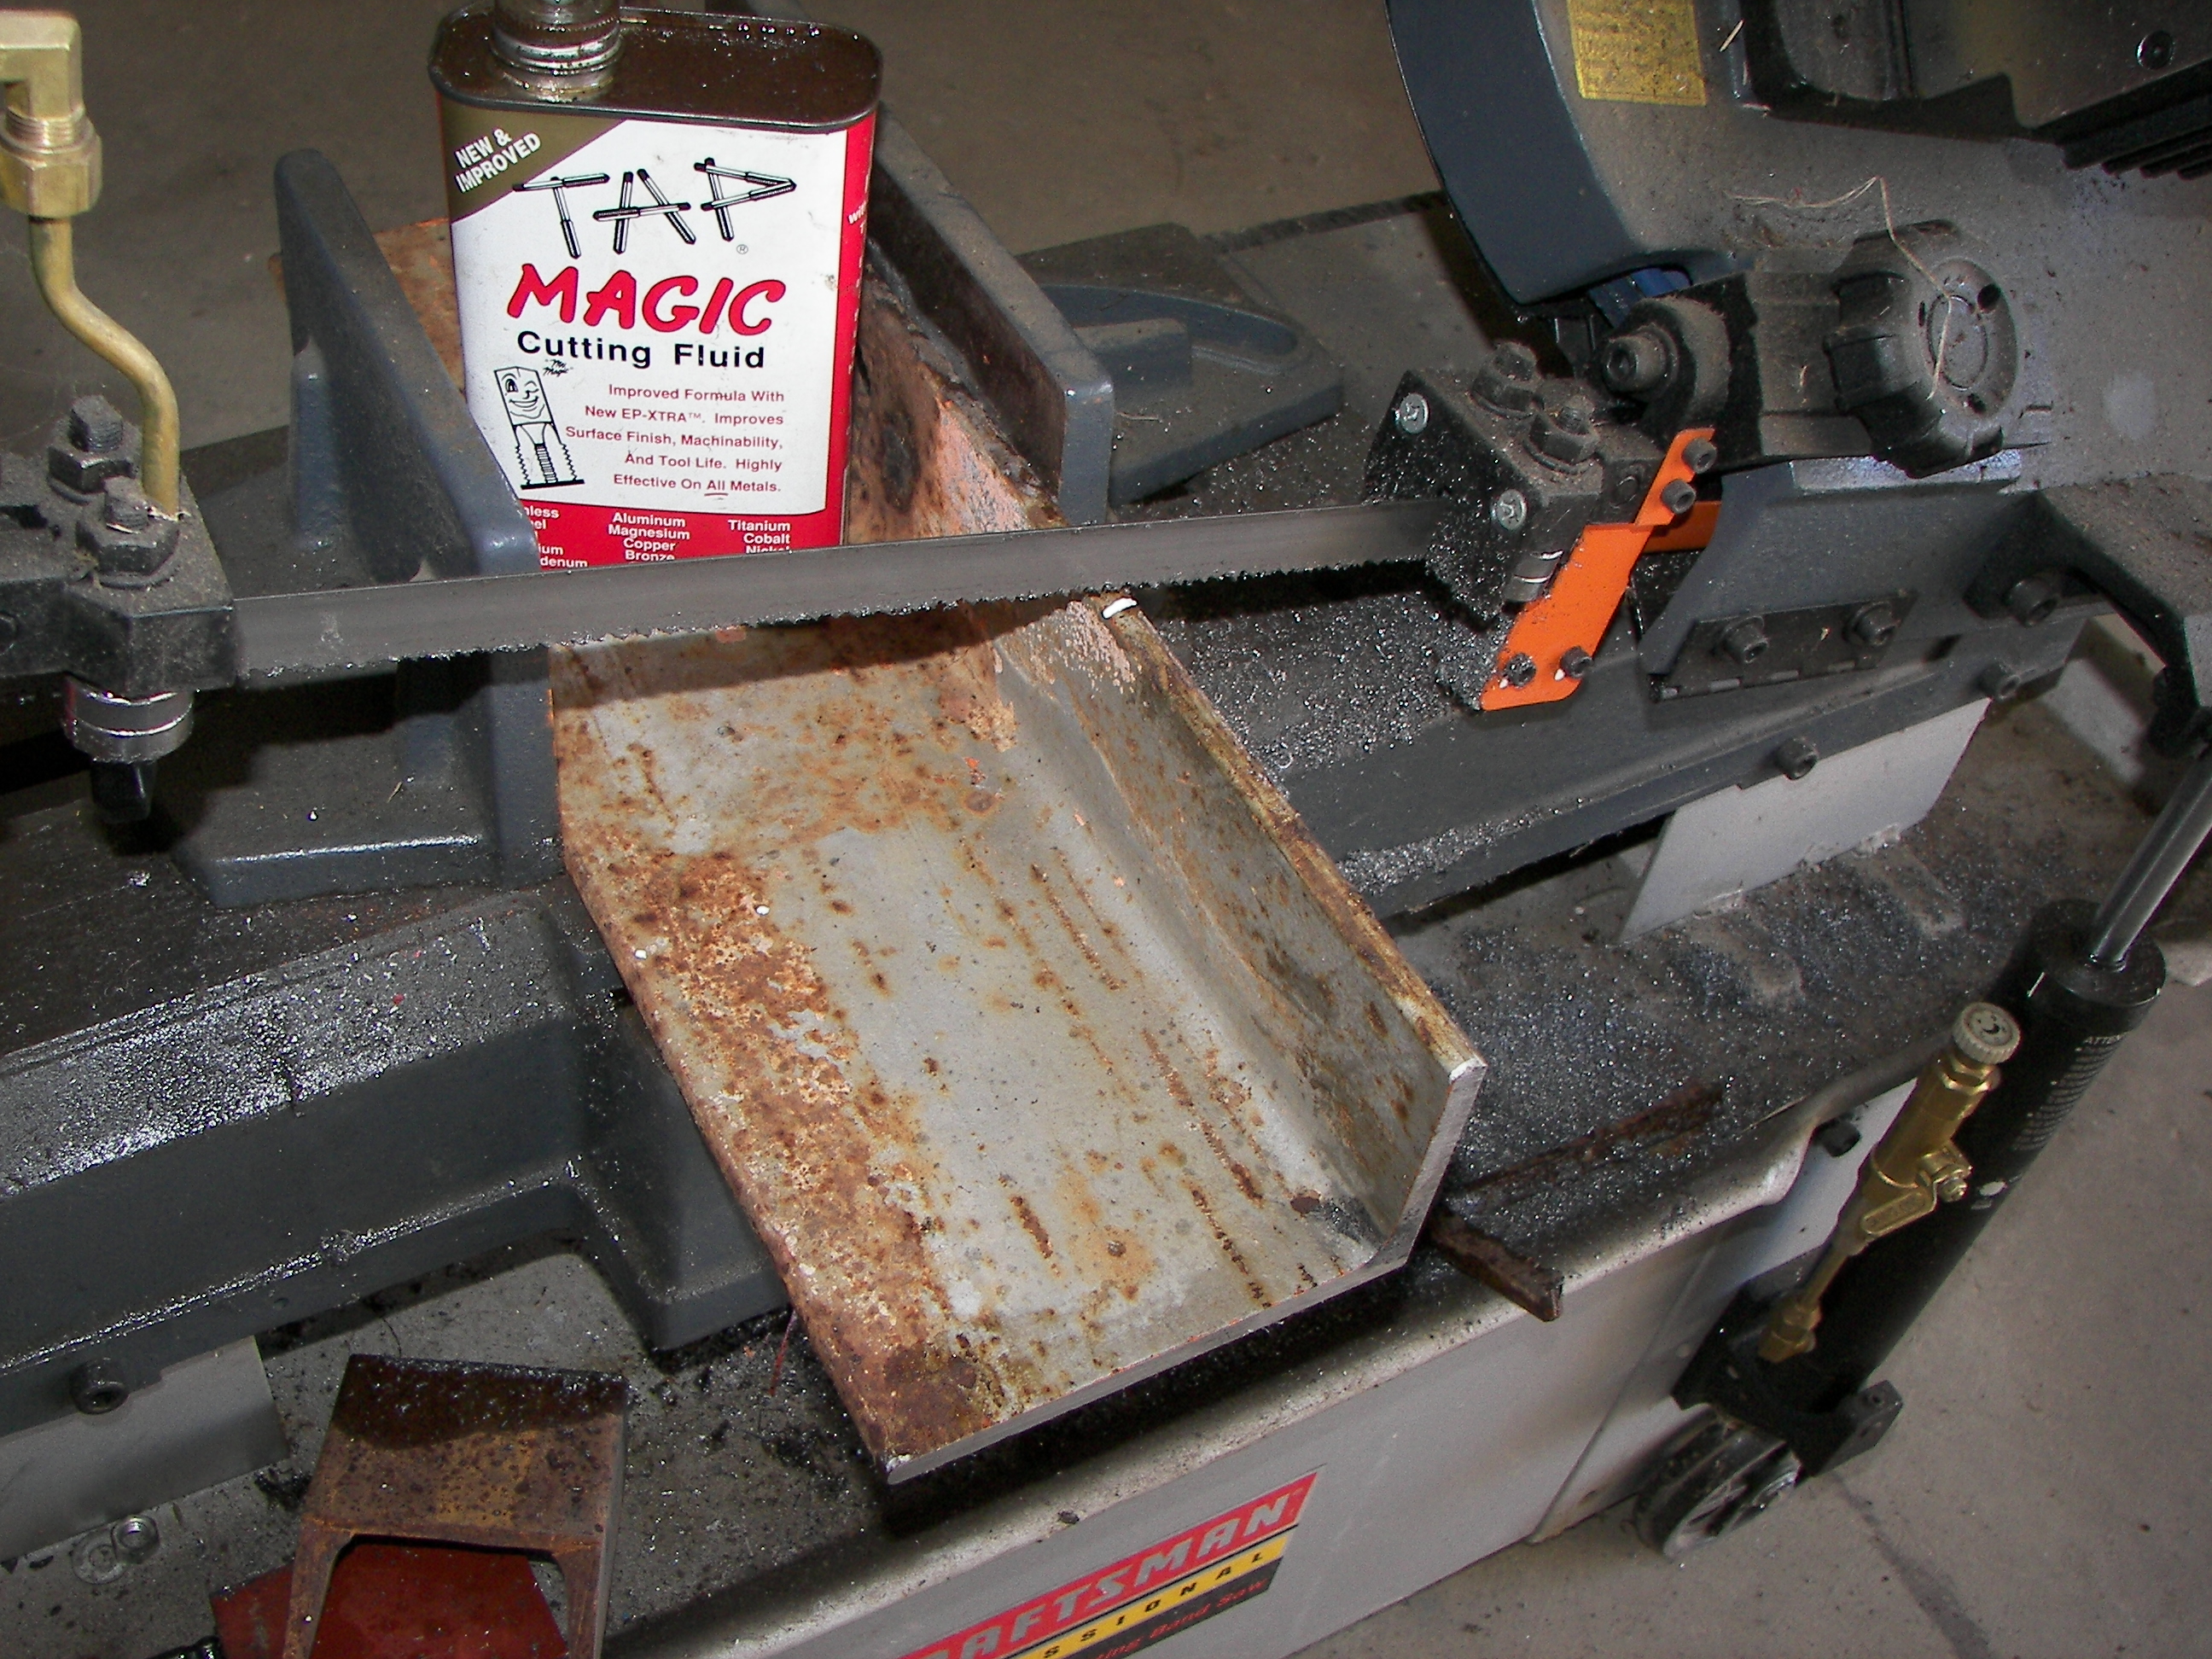
Gimpy and Al setting up the saw for precision-cutting some stock at an angle. |
|
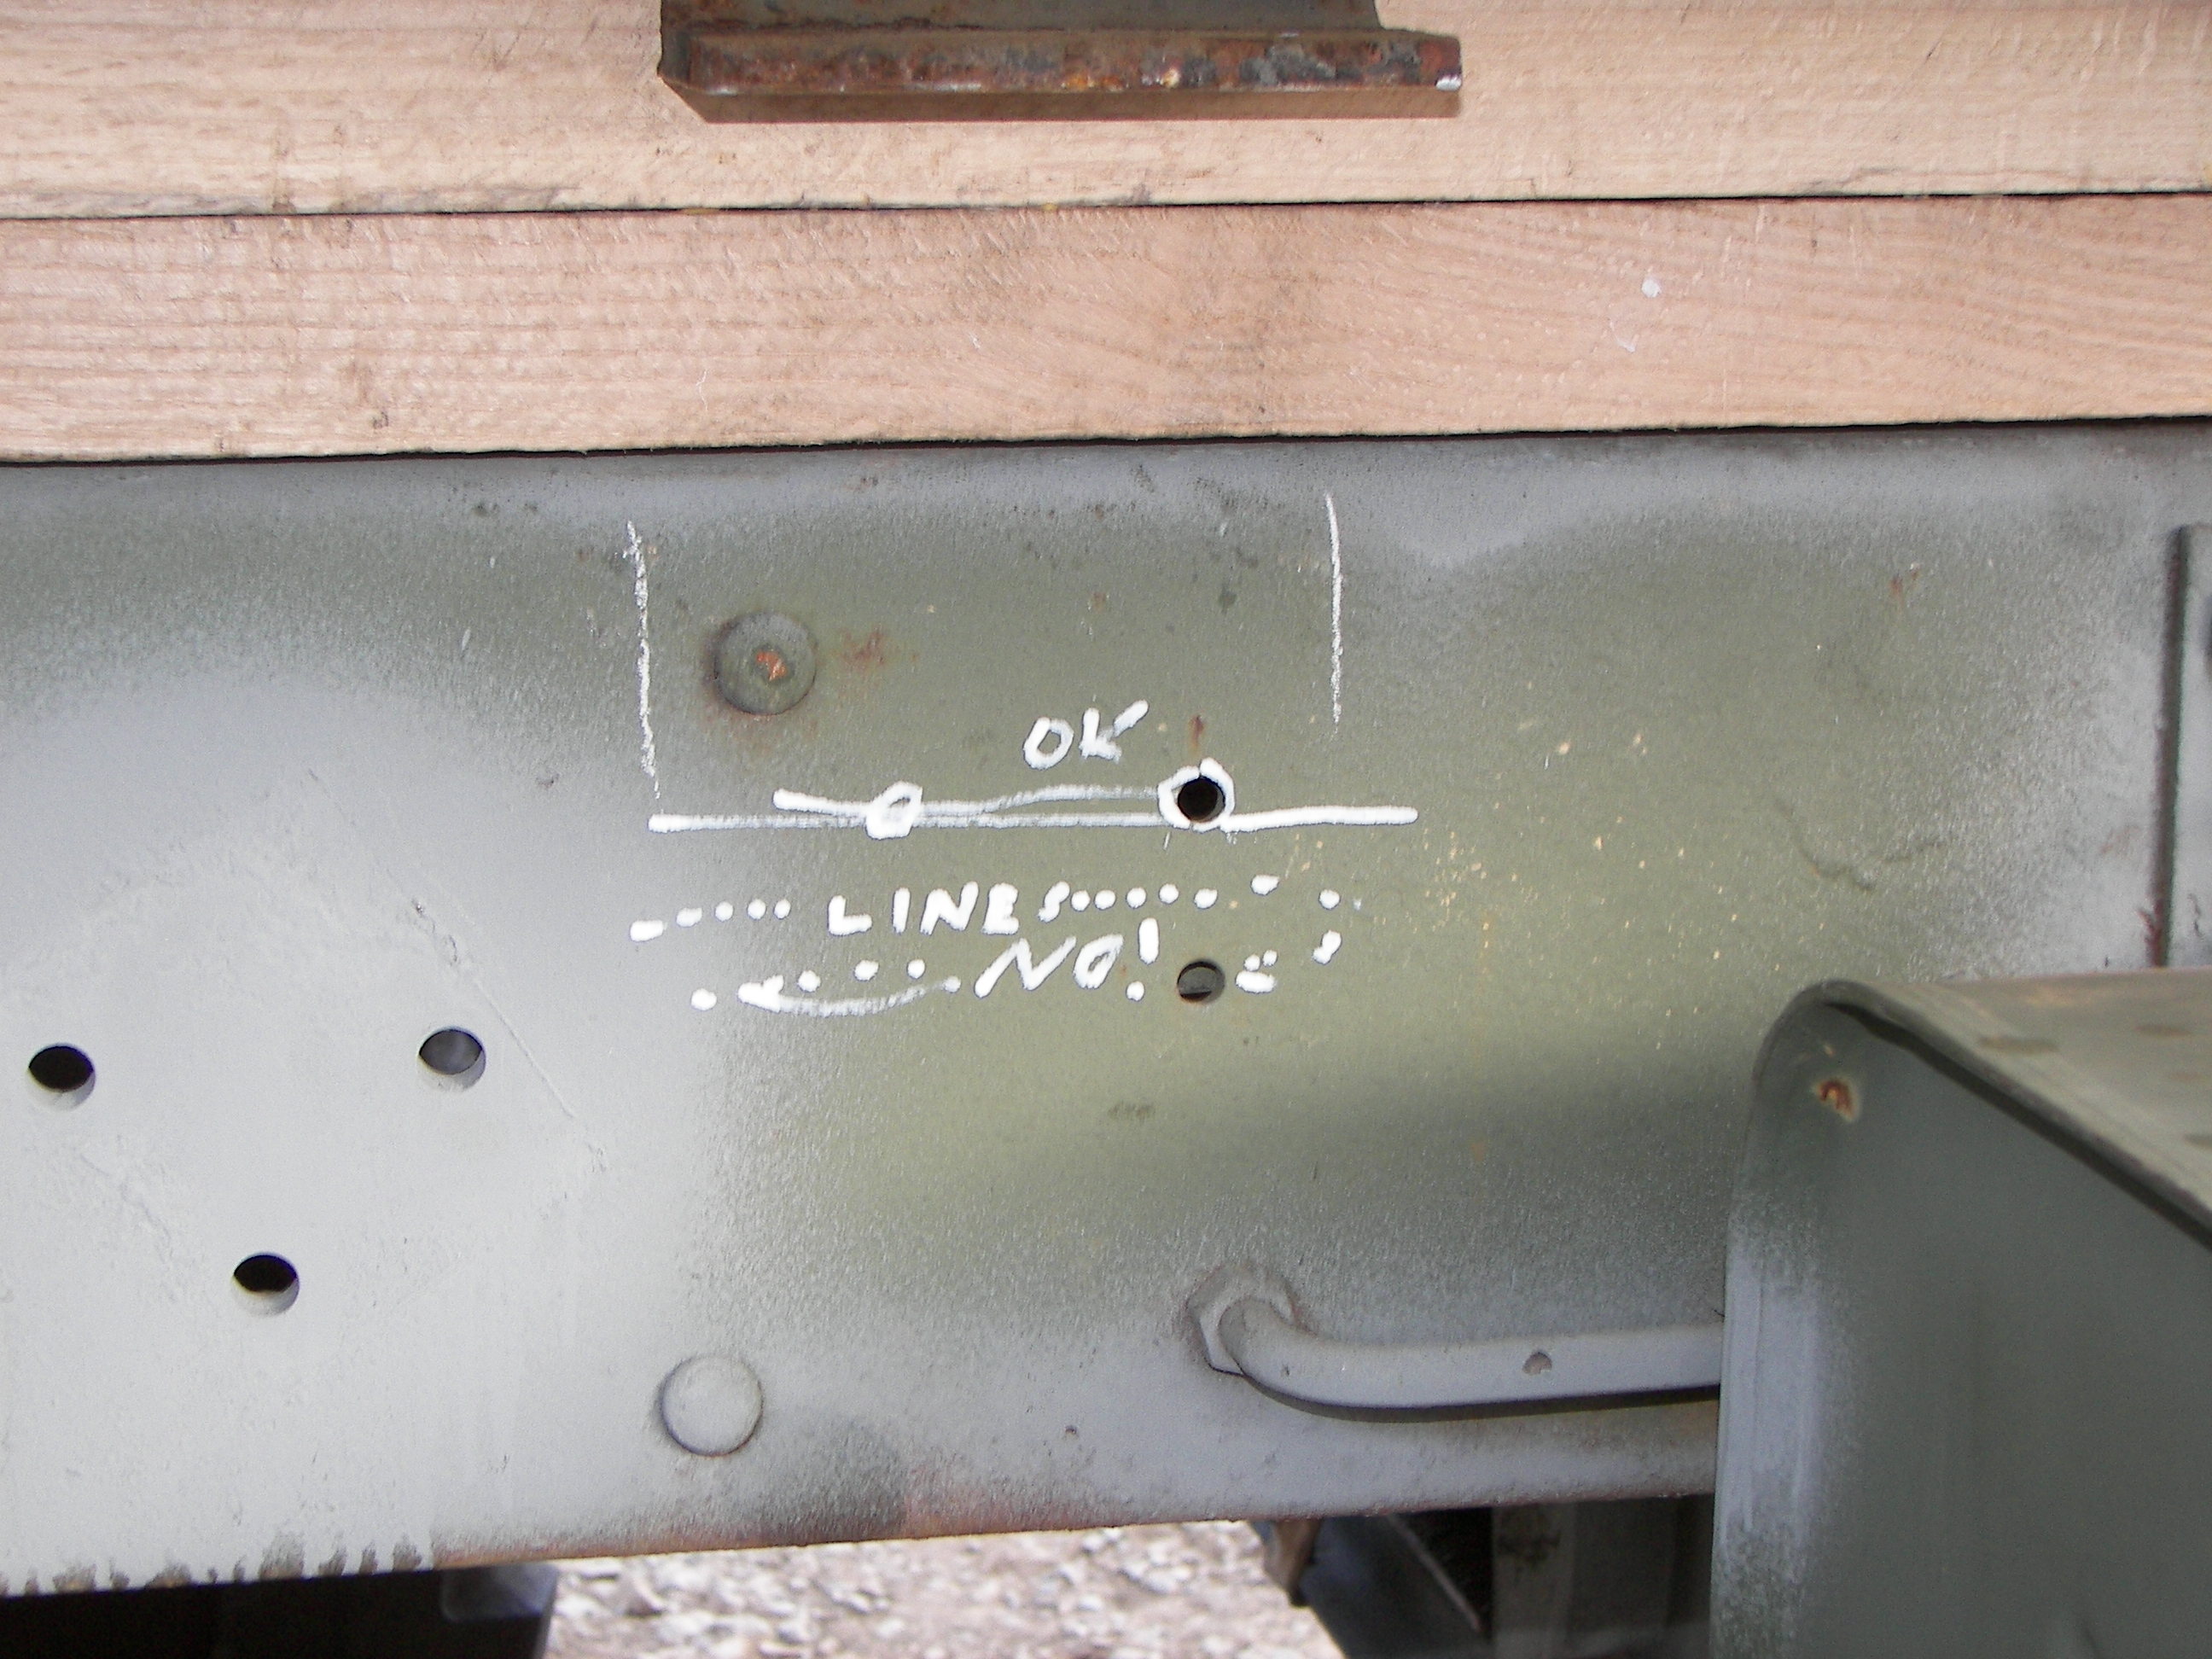
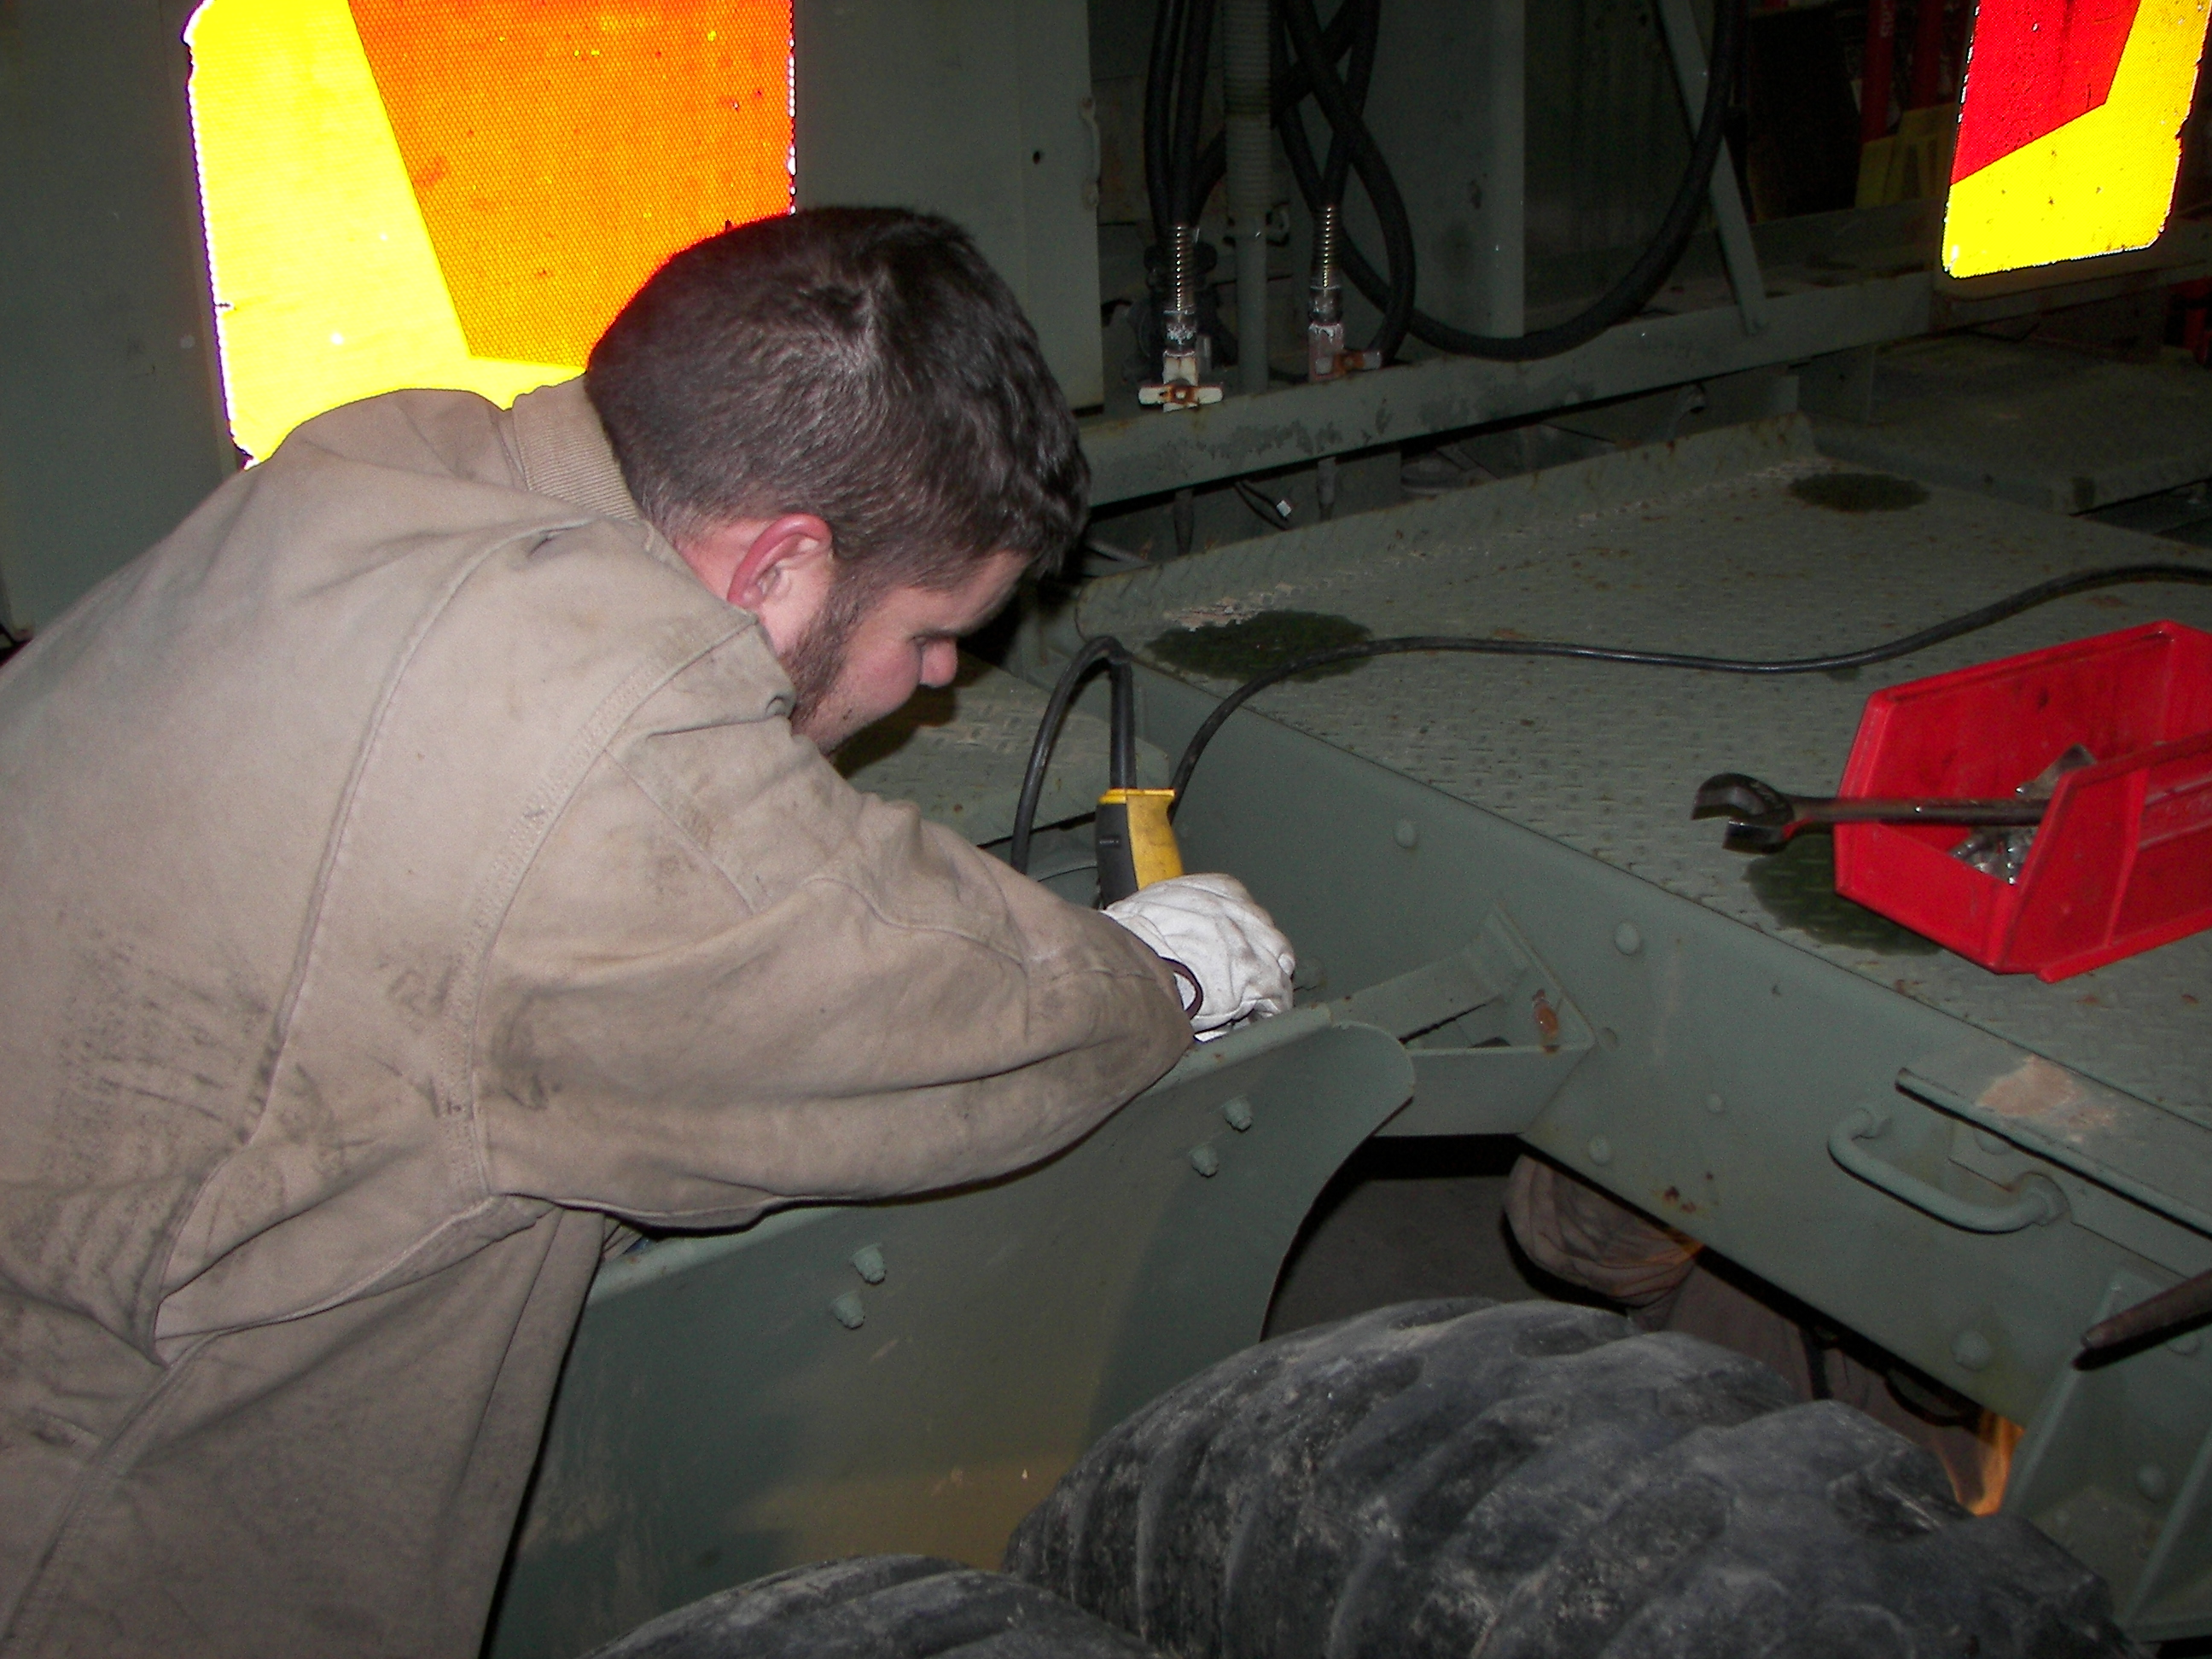
Due to the many lines inside the frame, i got to get under the truck and mark the "keep out" zones. |
Finally the grade-8 bolts arrived. |
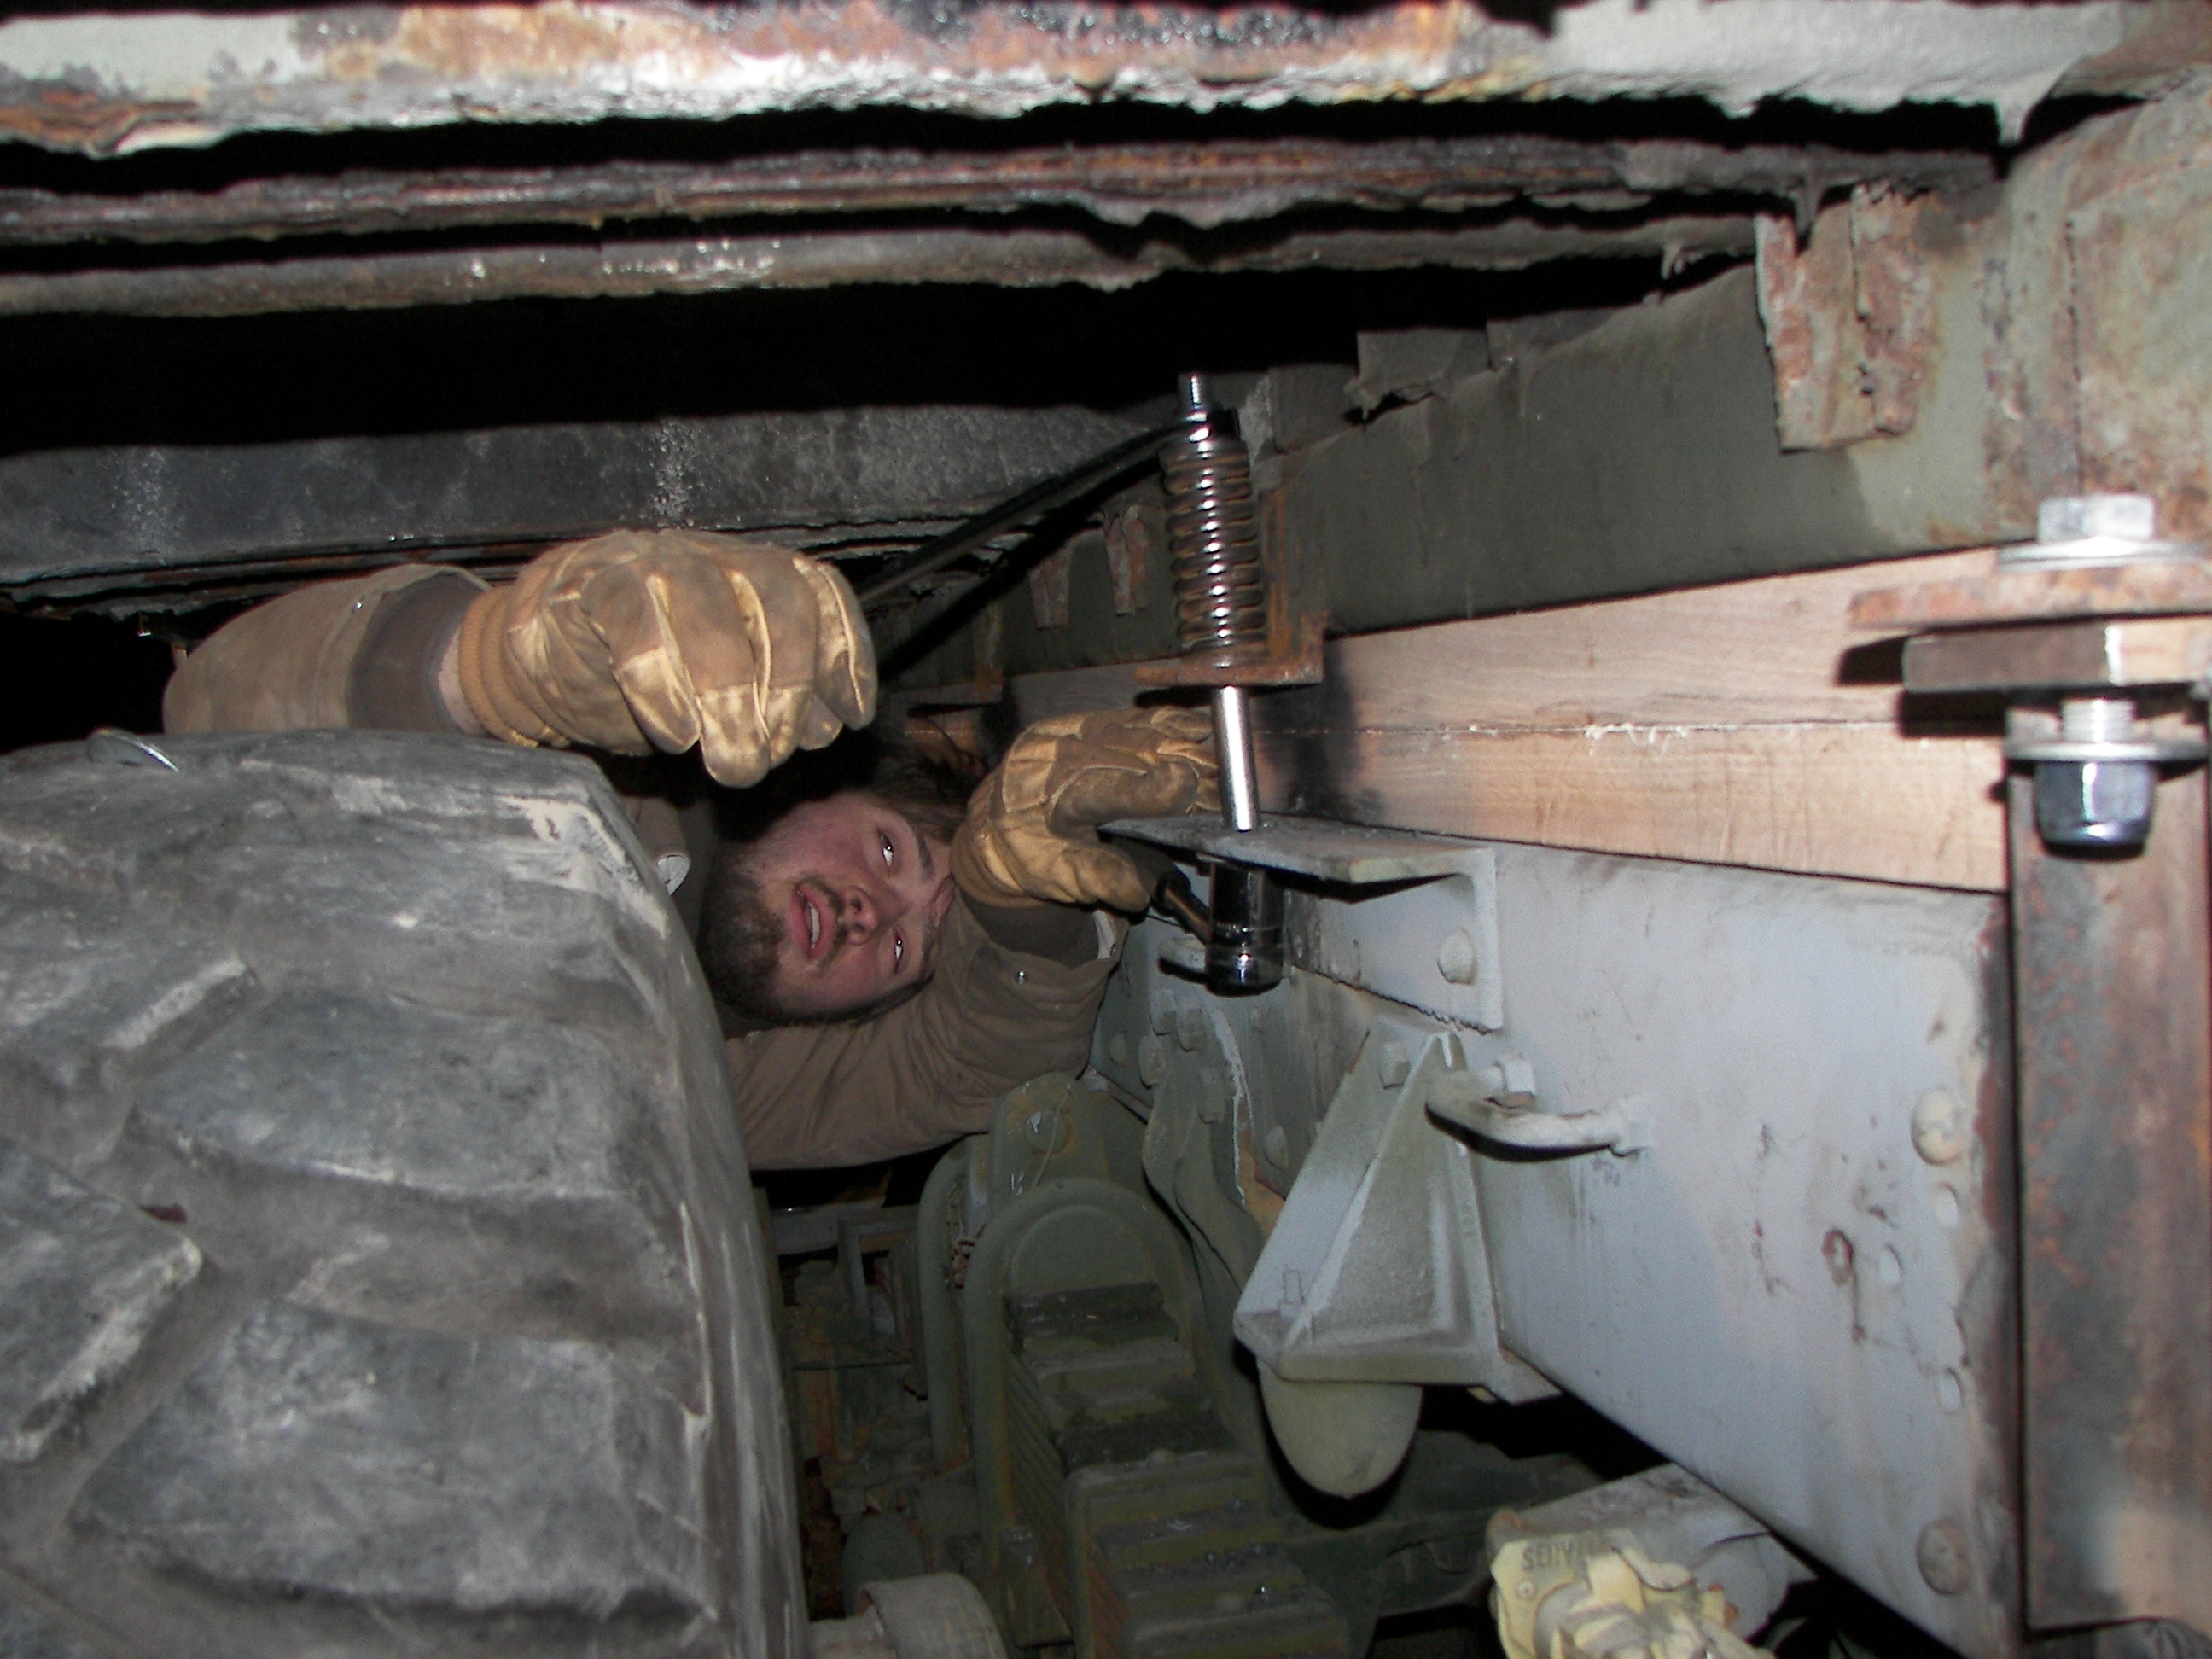
Jacob tightening the new bolts on the springs. |
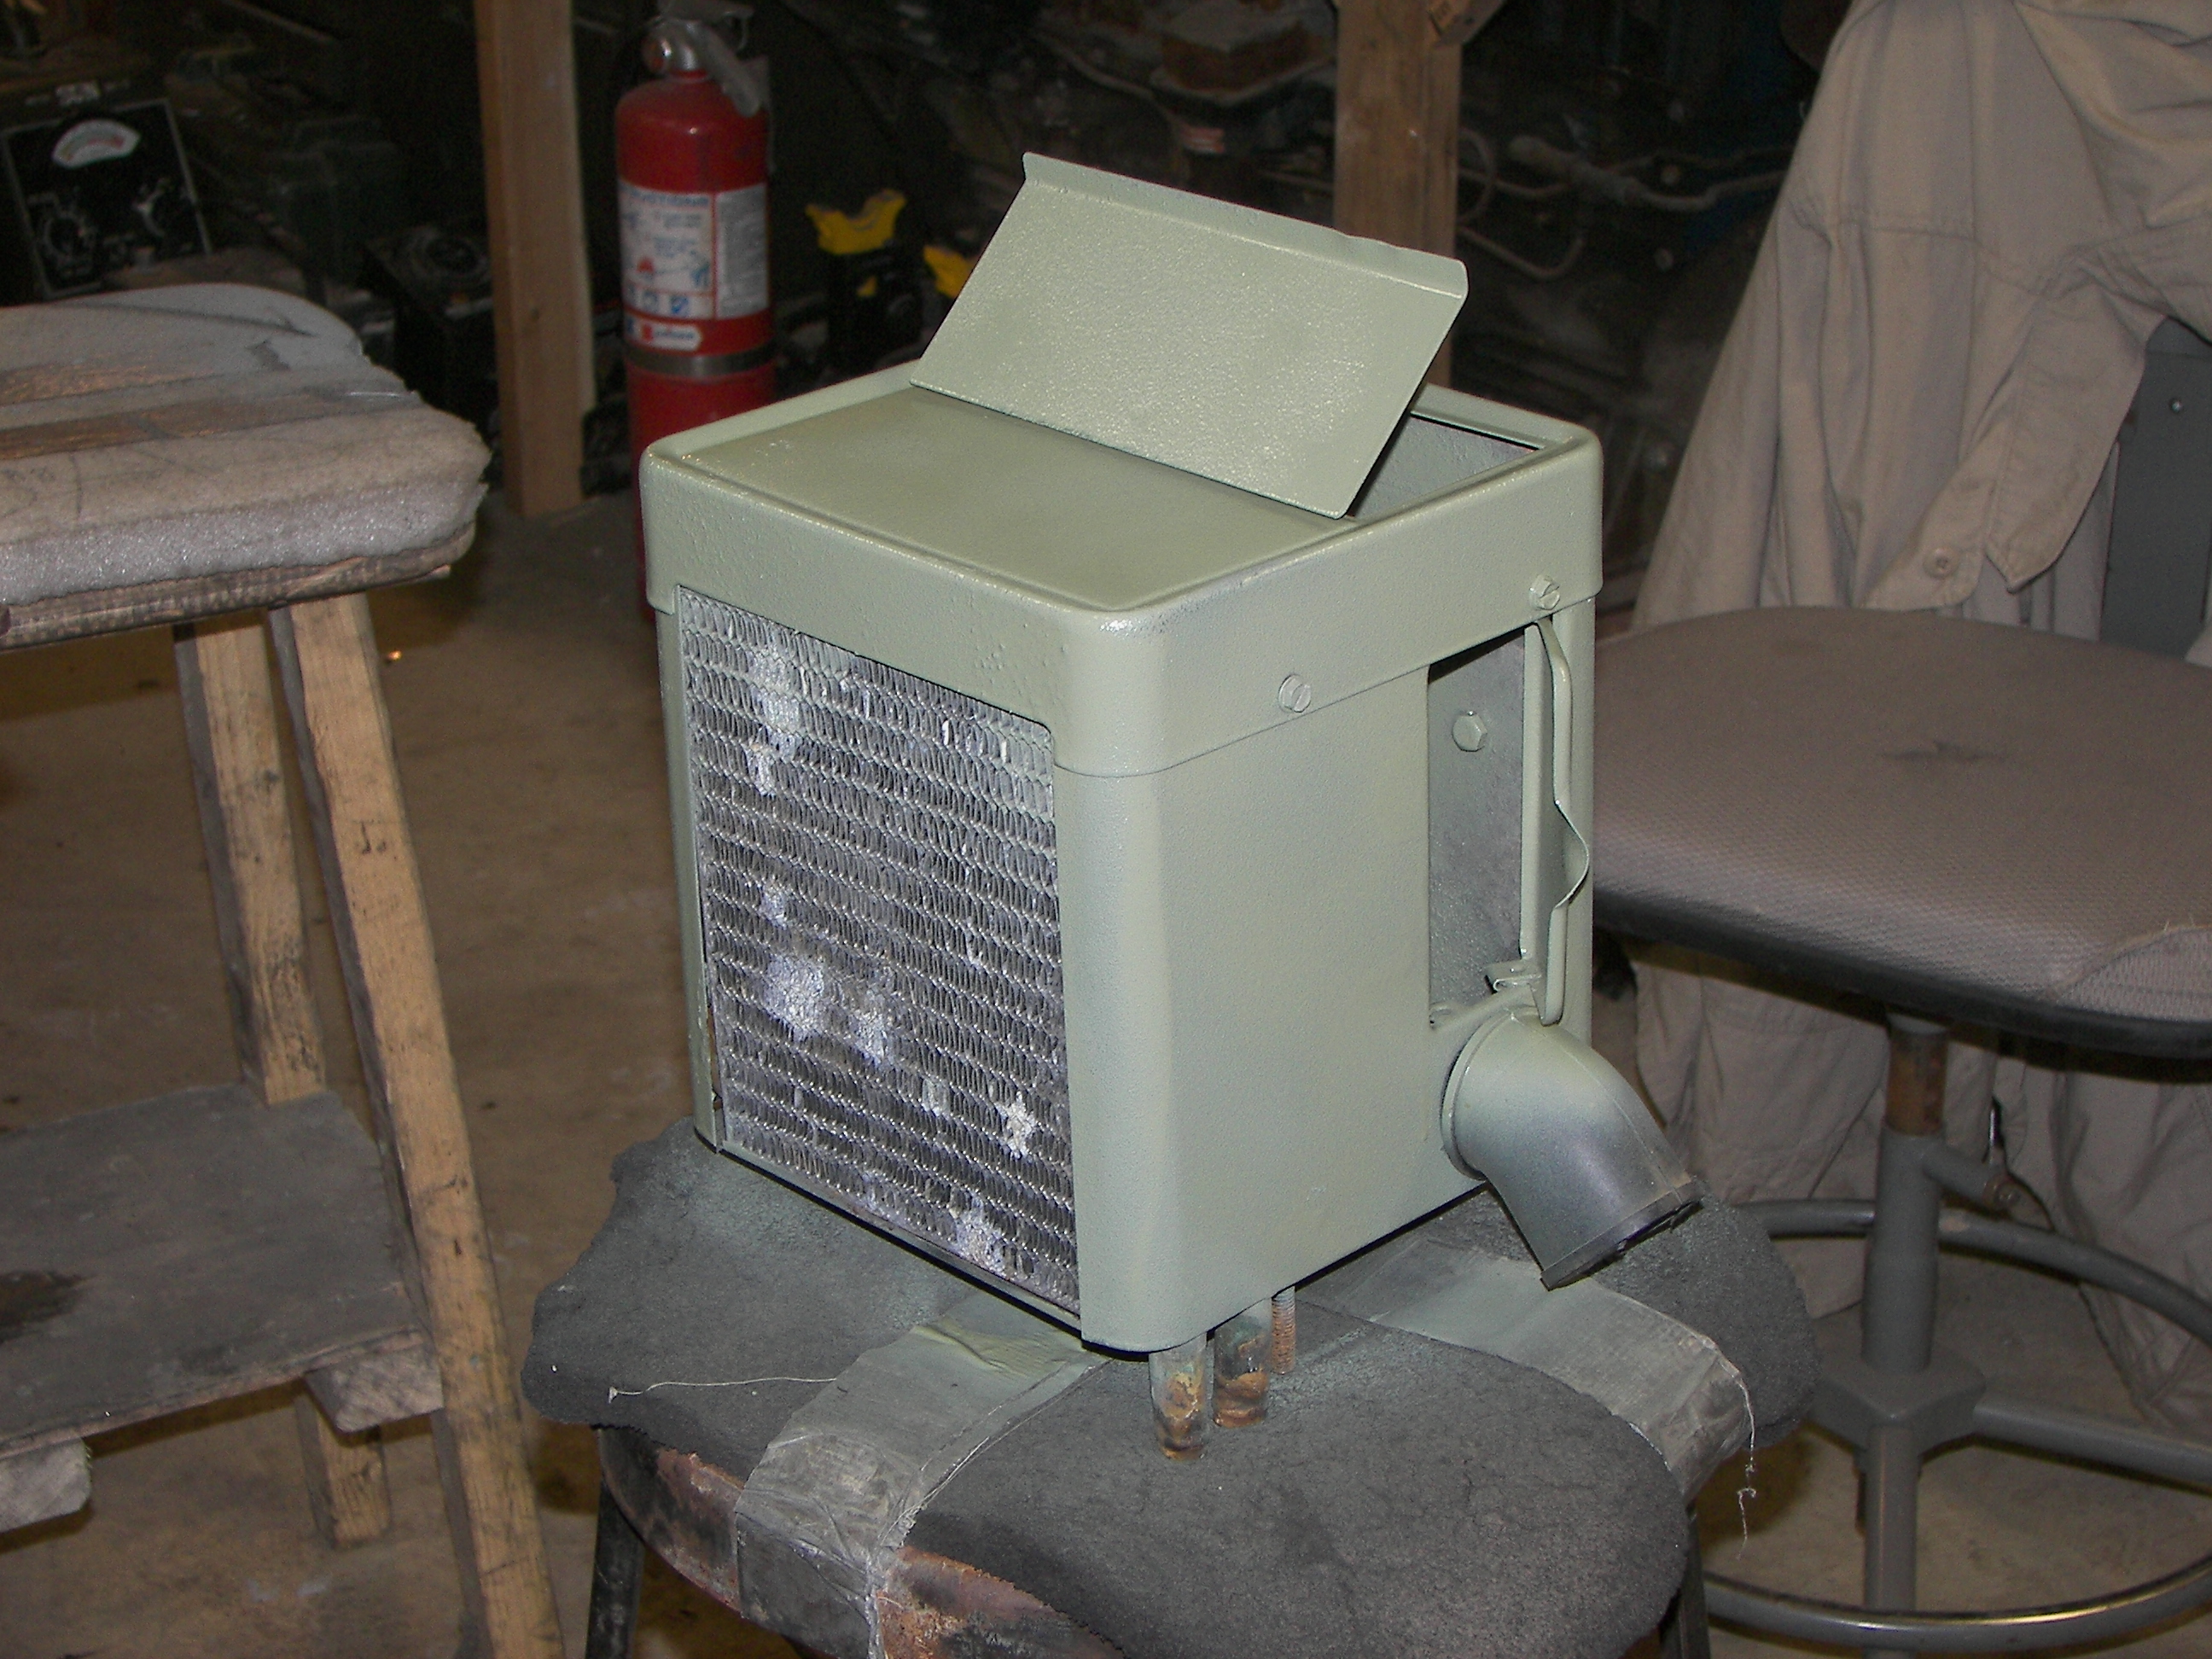
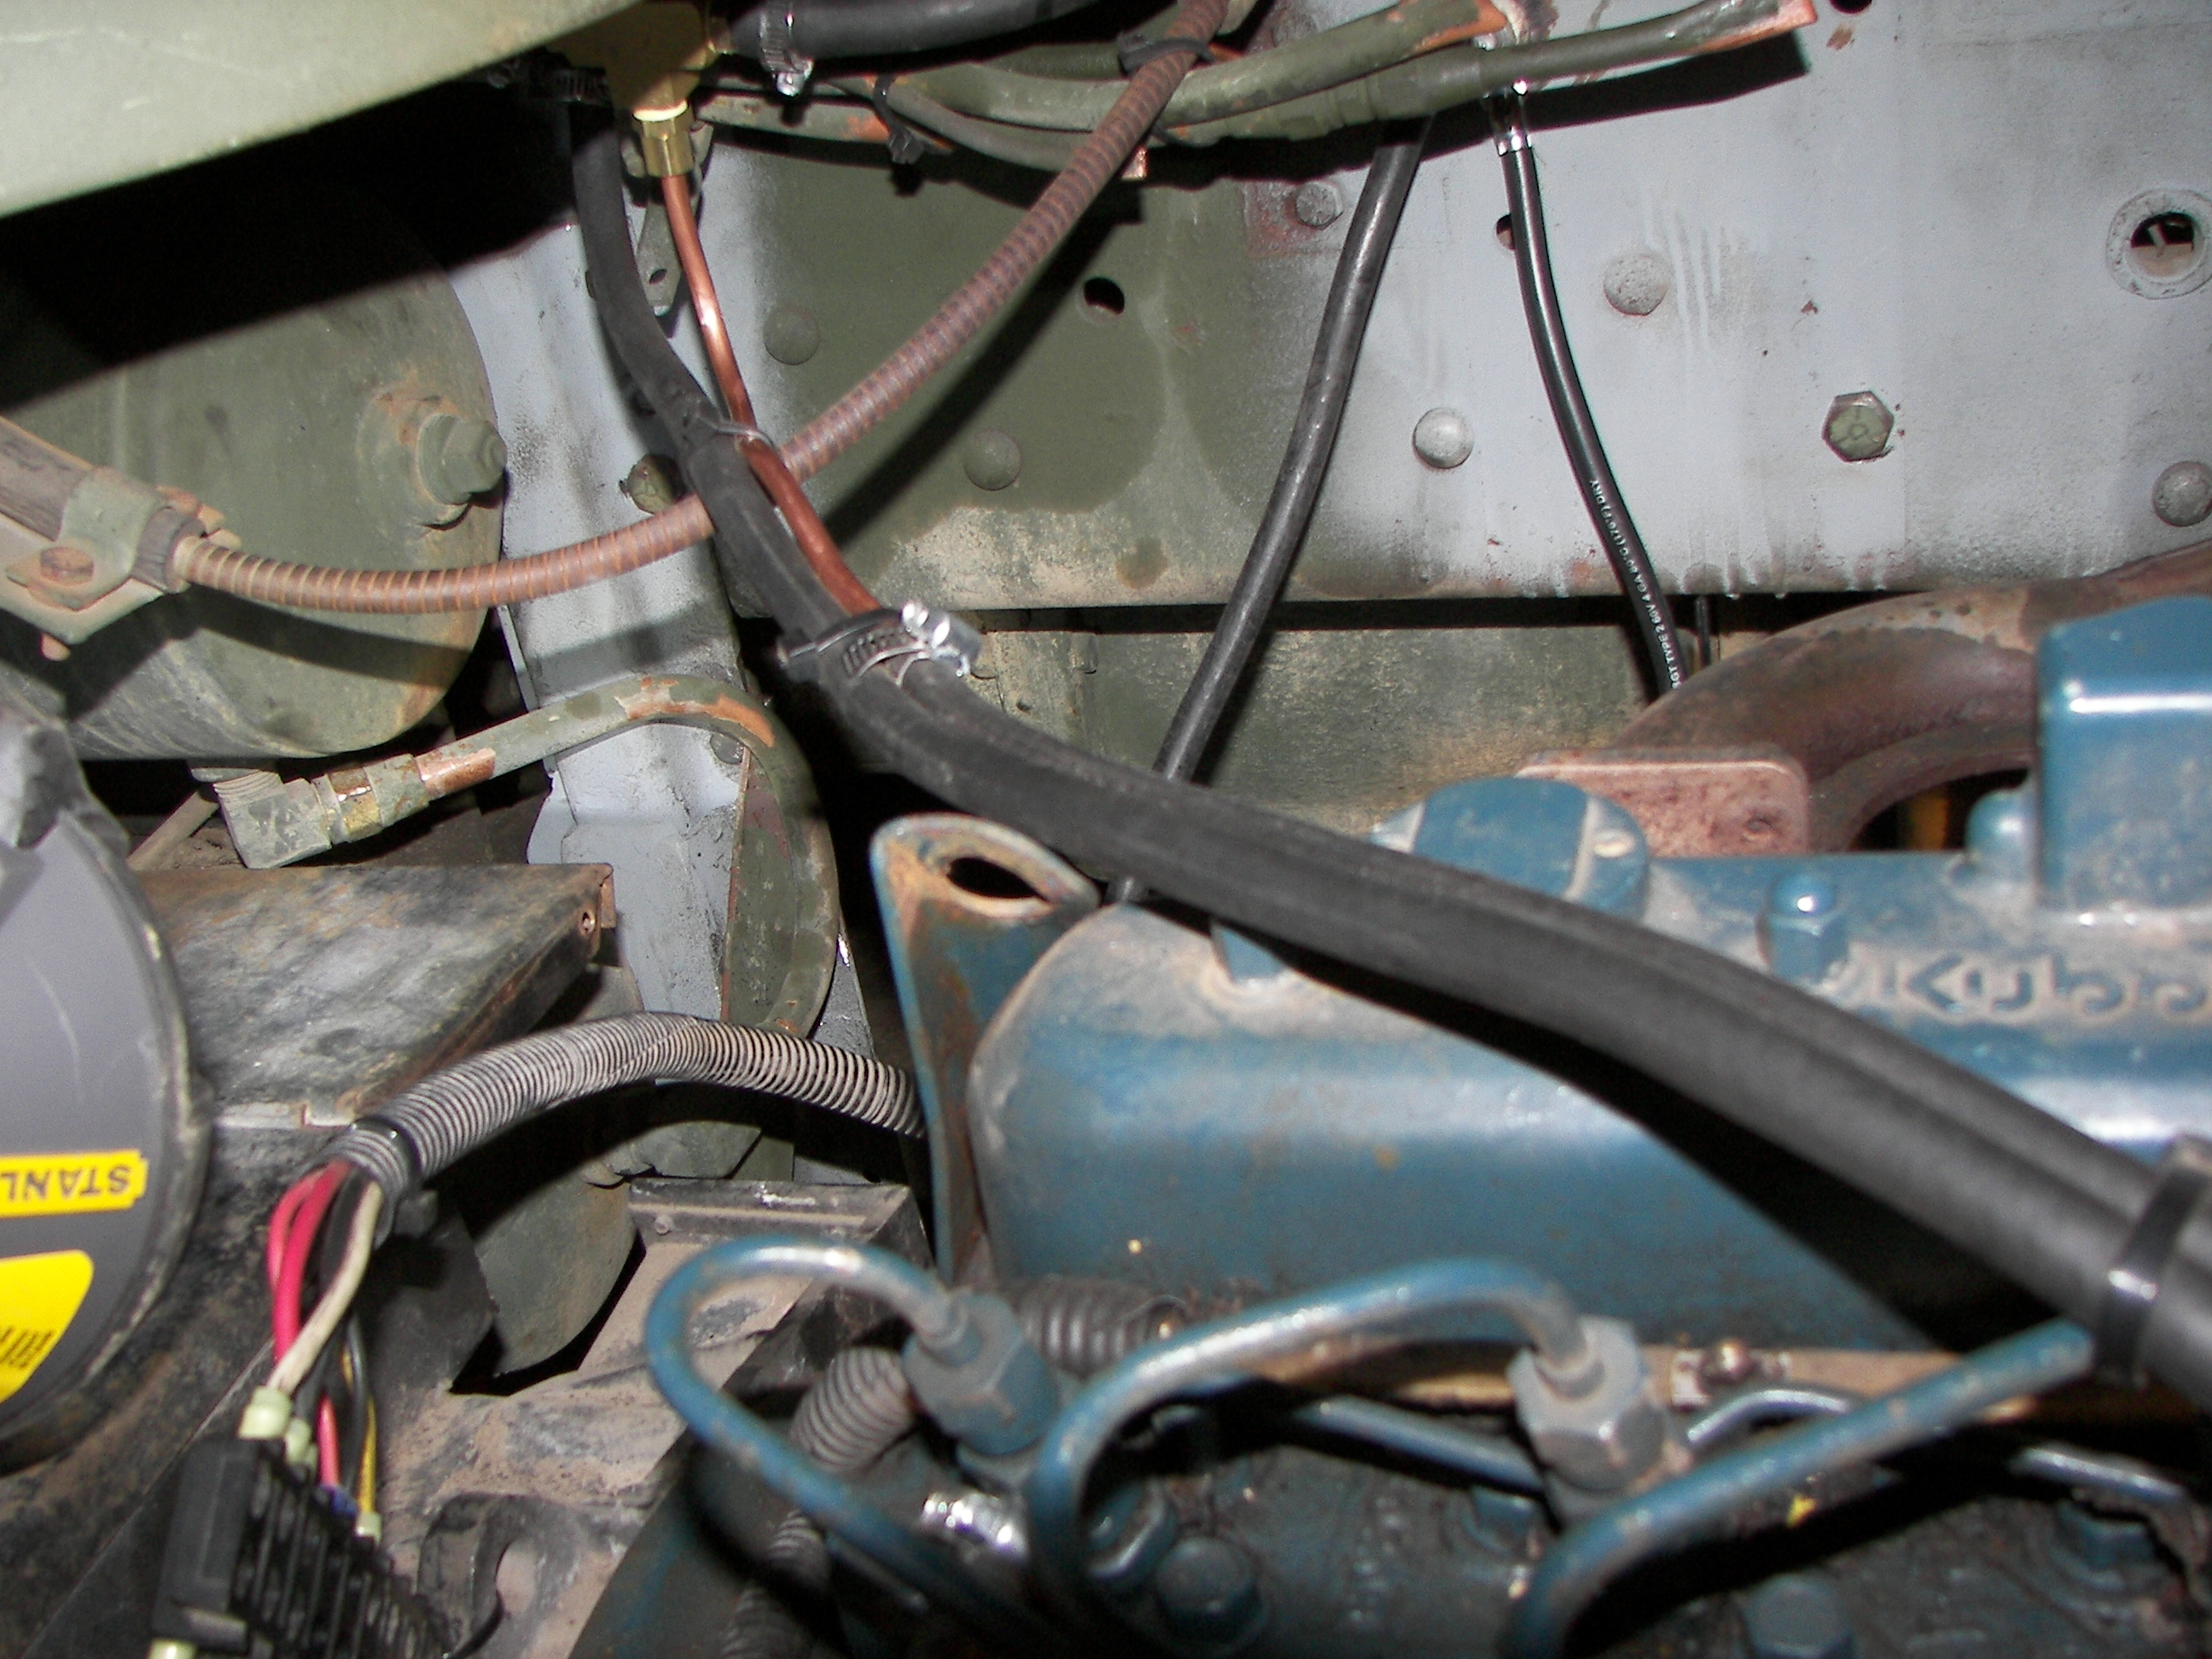
I refurbished this heater so we would not freeze while driving home. Too bad no "before" image, it was a holey, rusted box with a good fan and a good core. I added a switch to it as well. Same thing about paint. it was about 5 degrees F when I did this. Had to keep the work and the paint warm. |
|
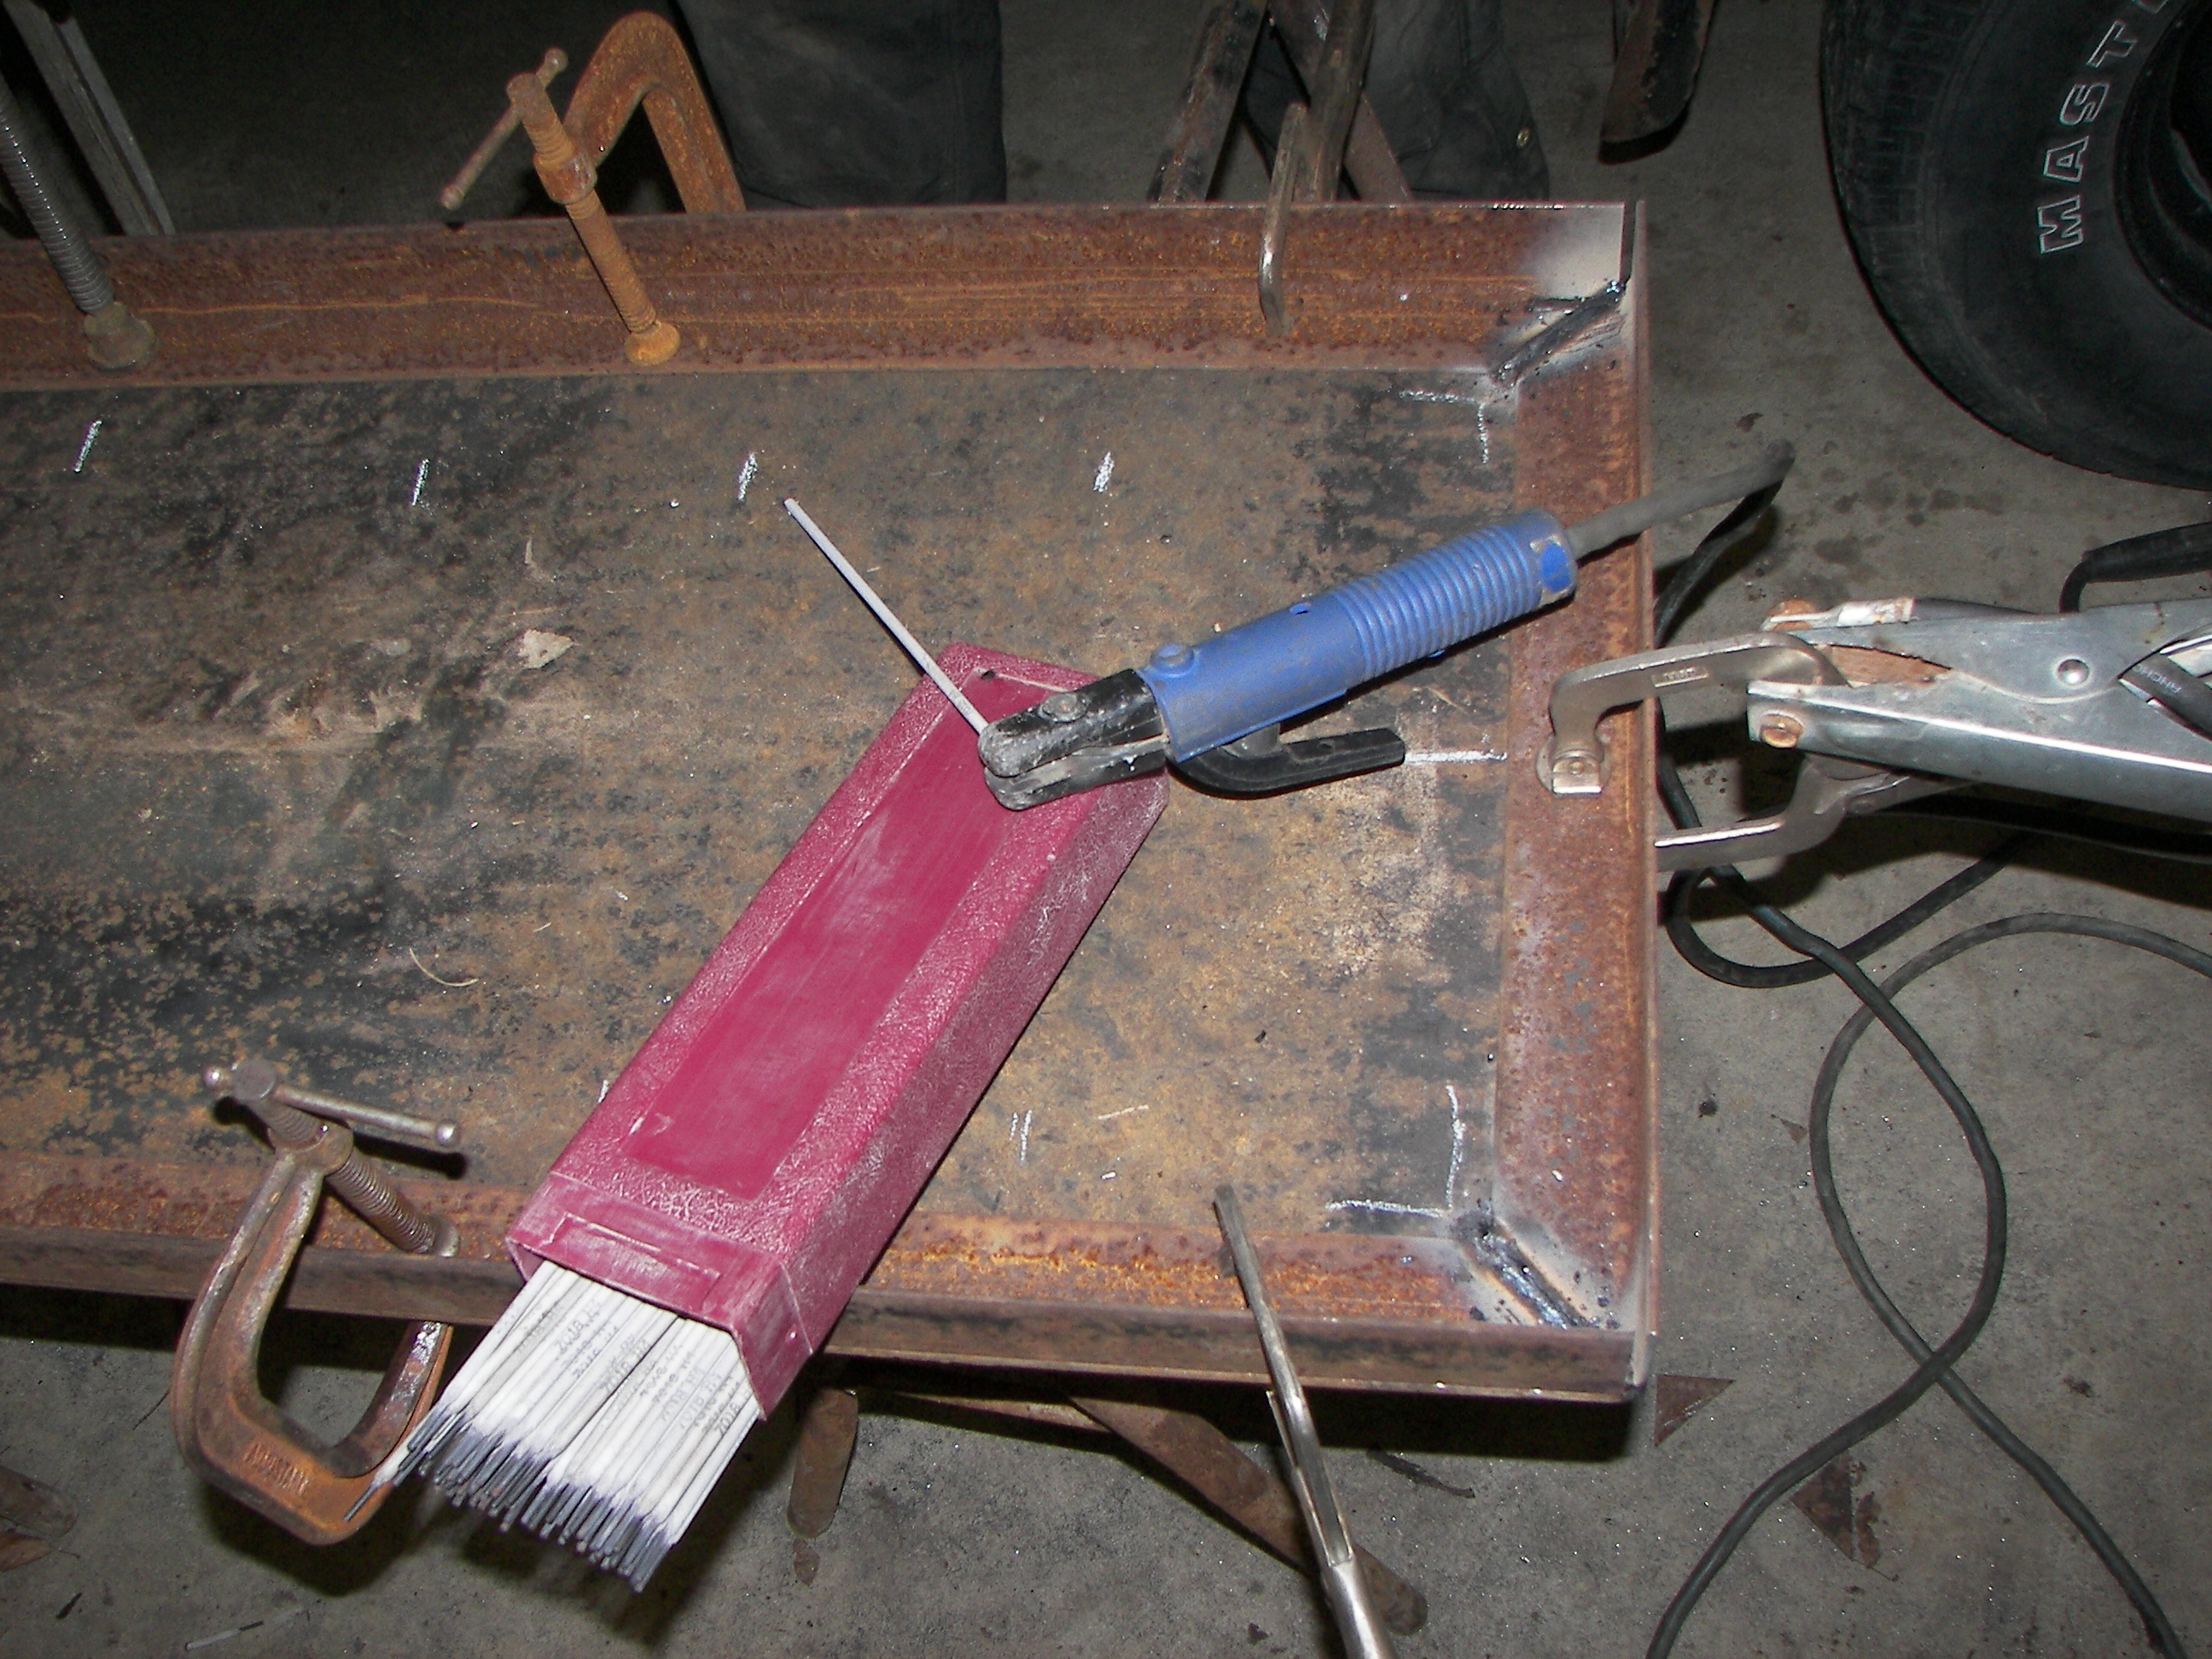
fabricating the pieces for the rear deck. |
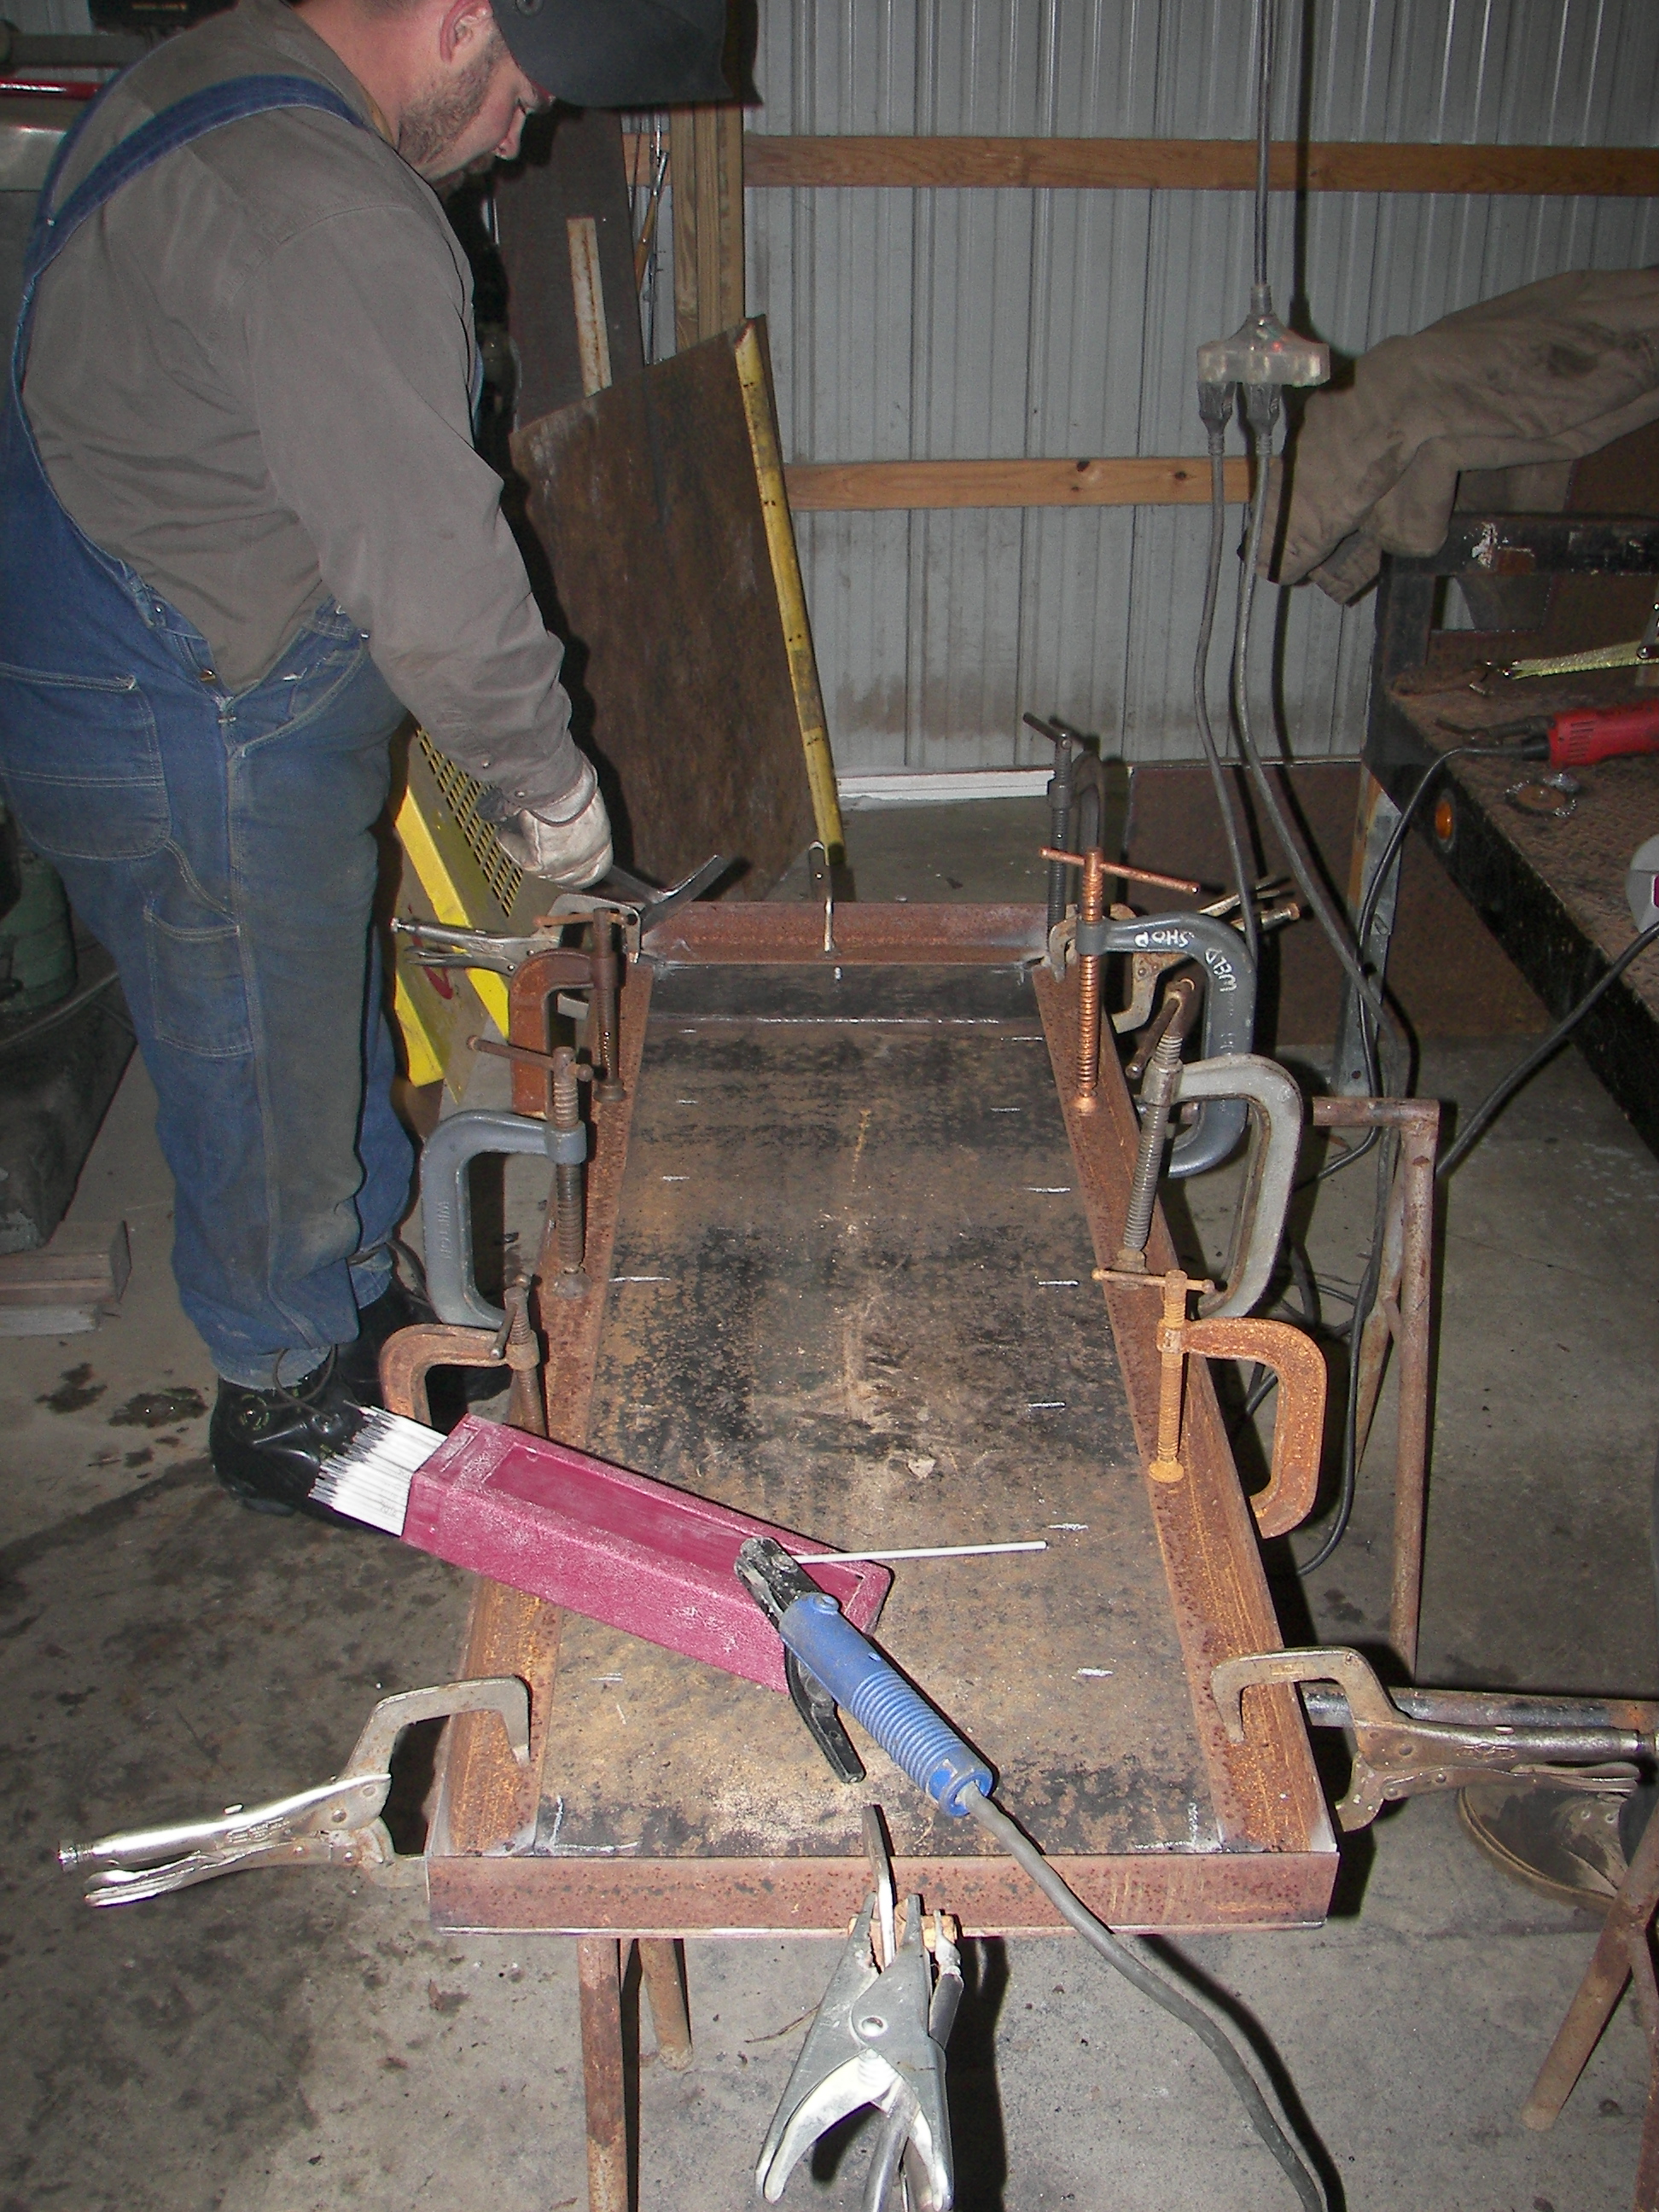
fabricating the rear deck. |
|

|
|
|
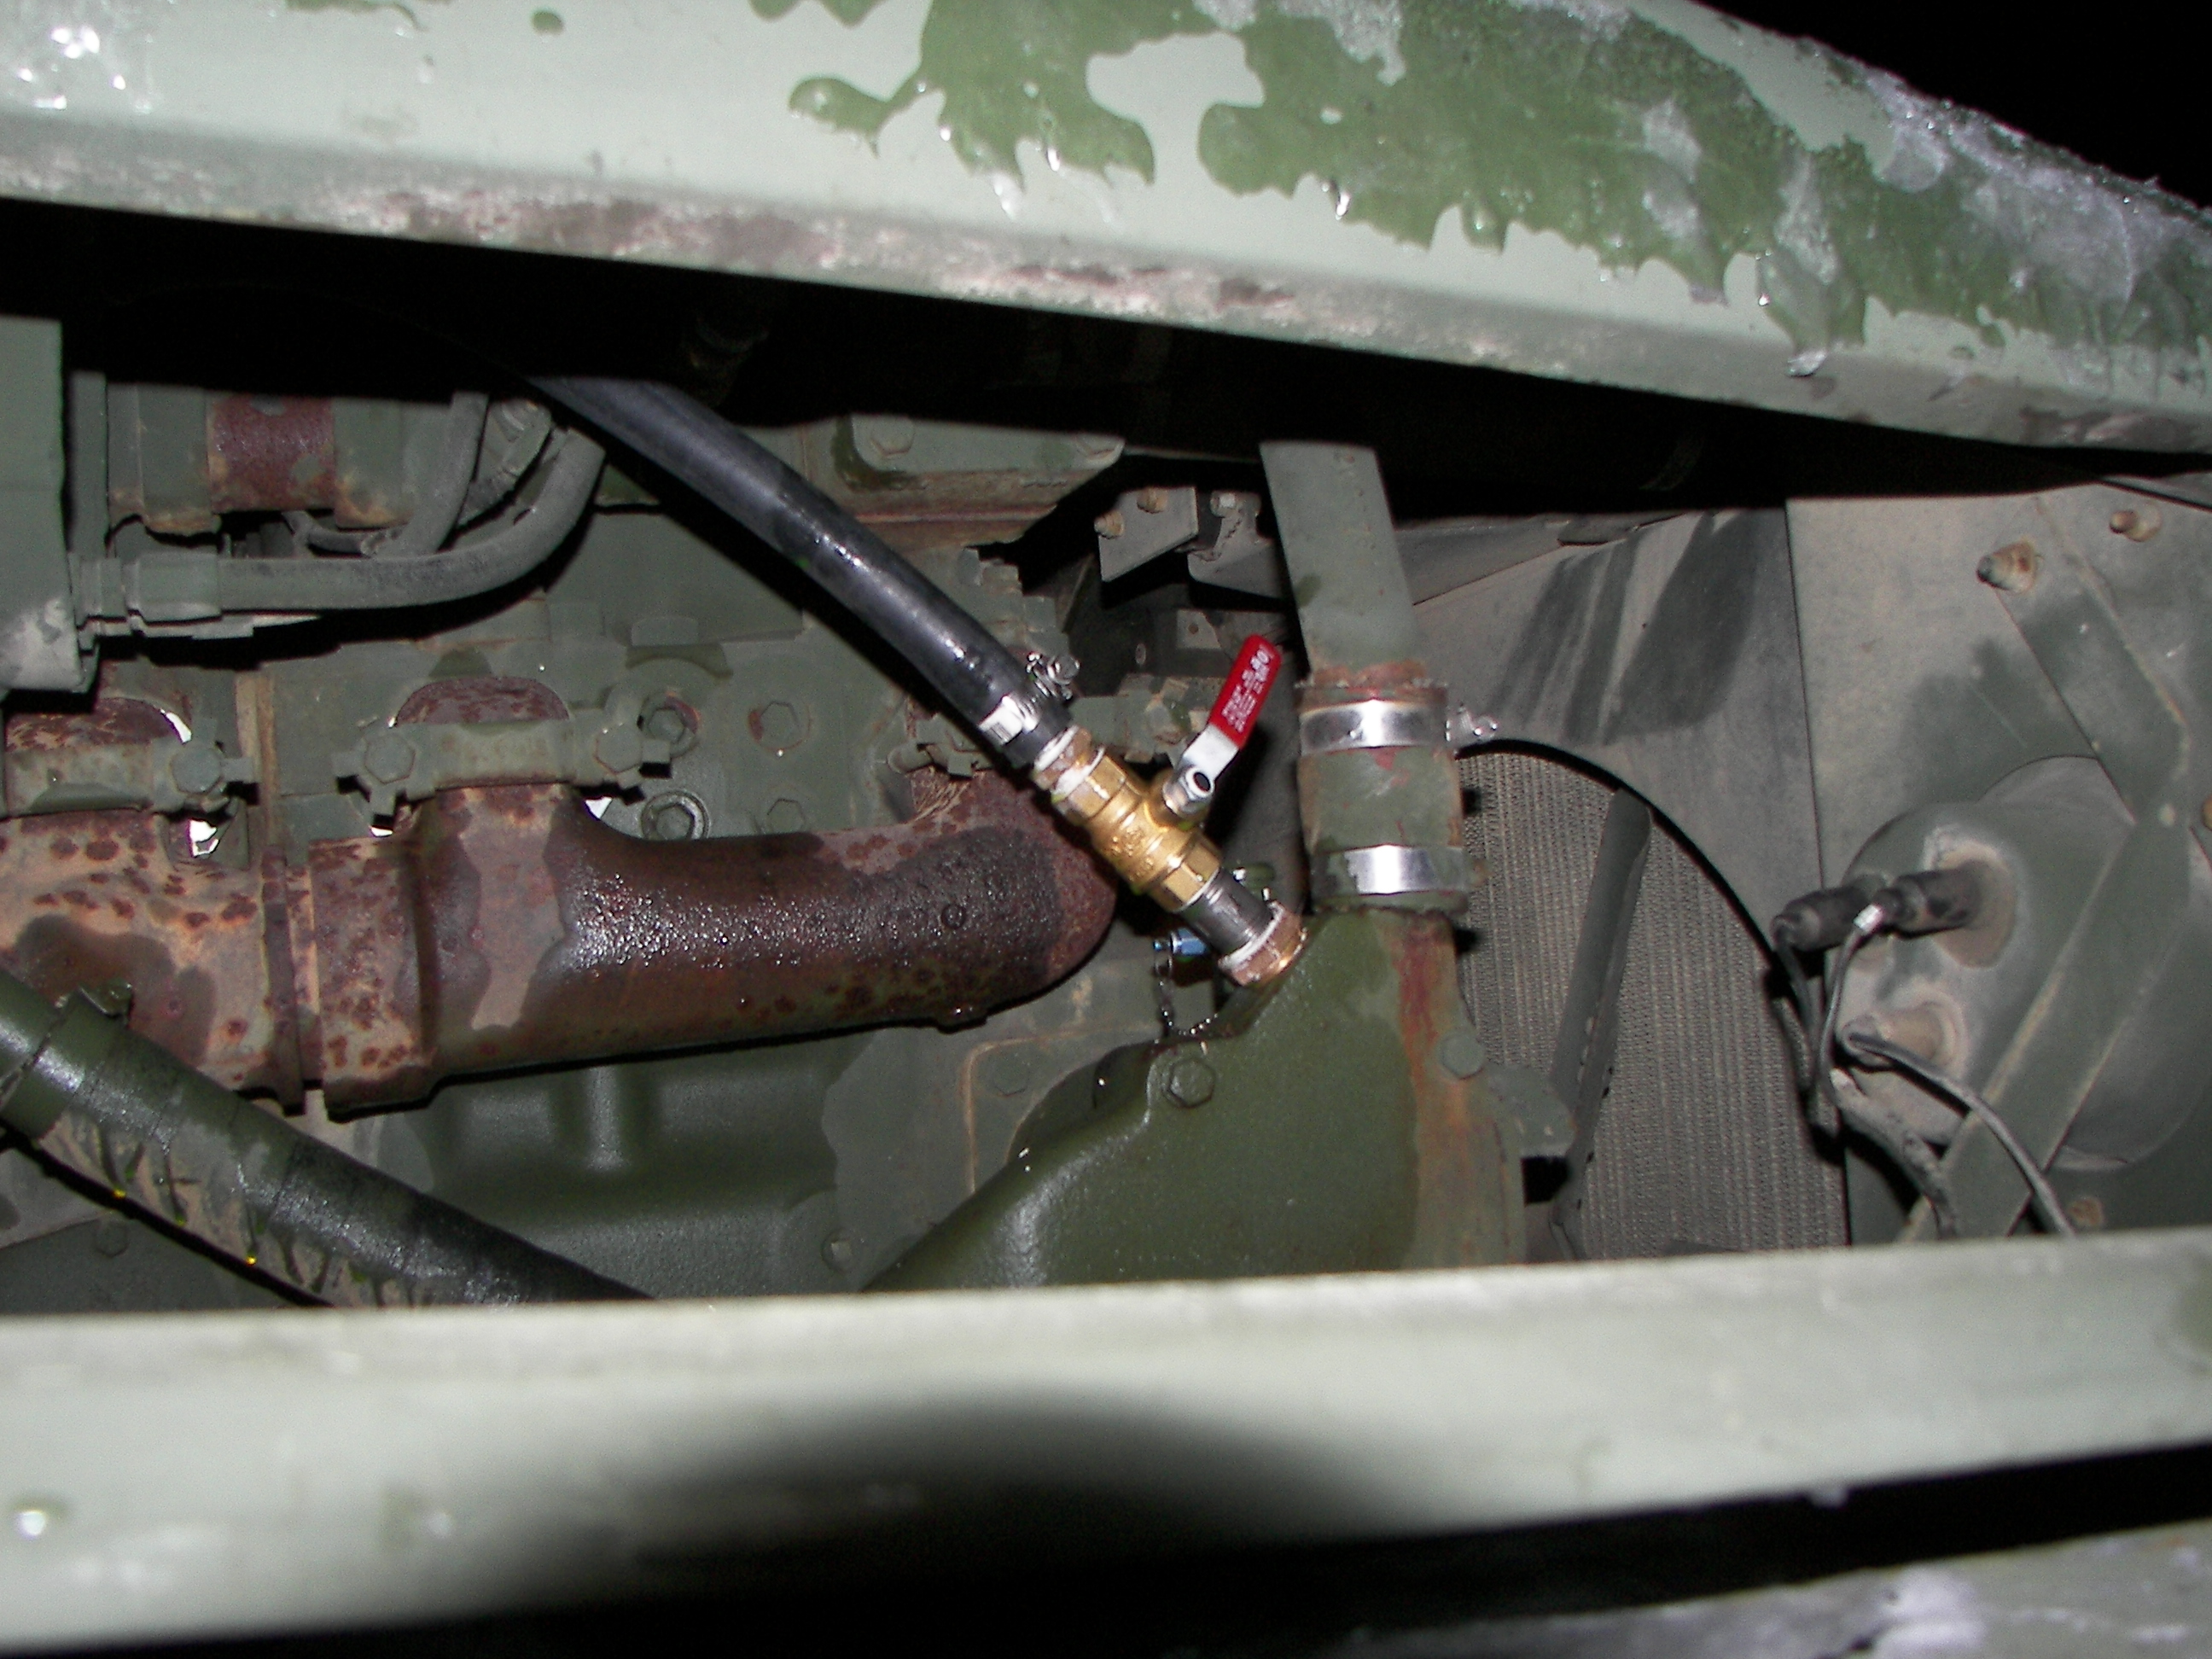
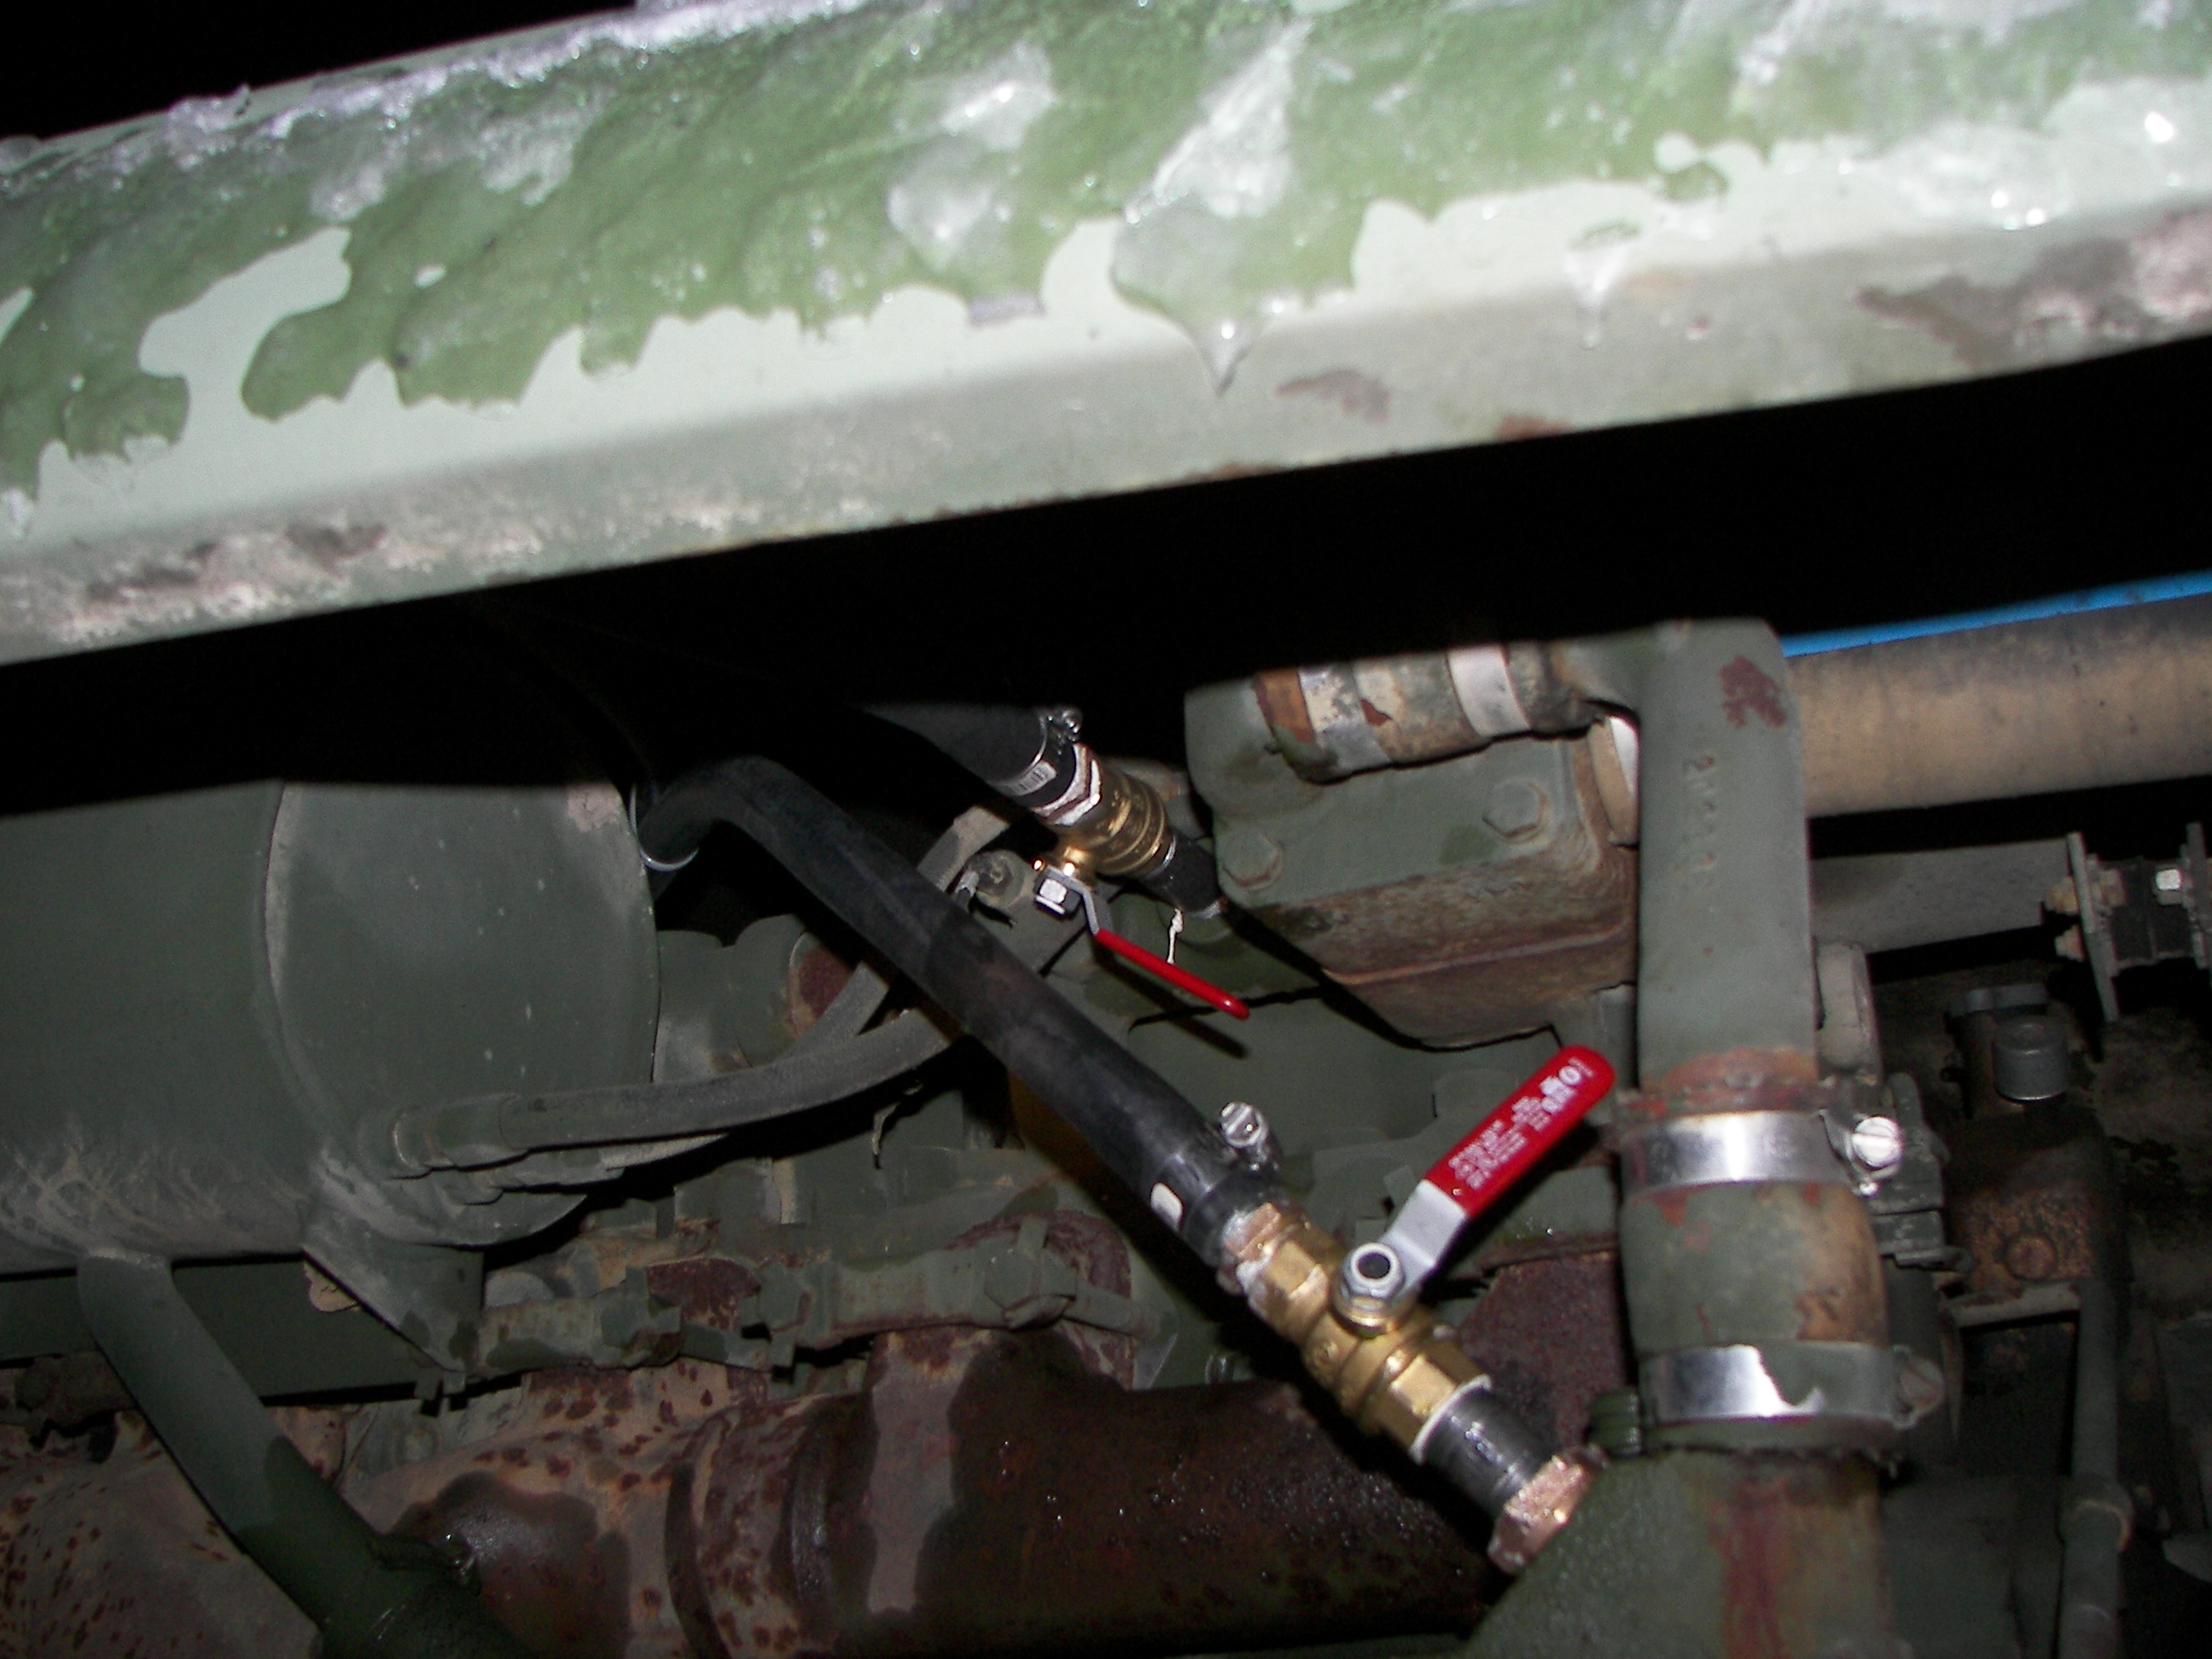
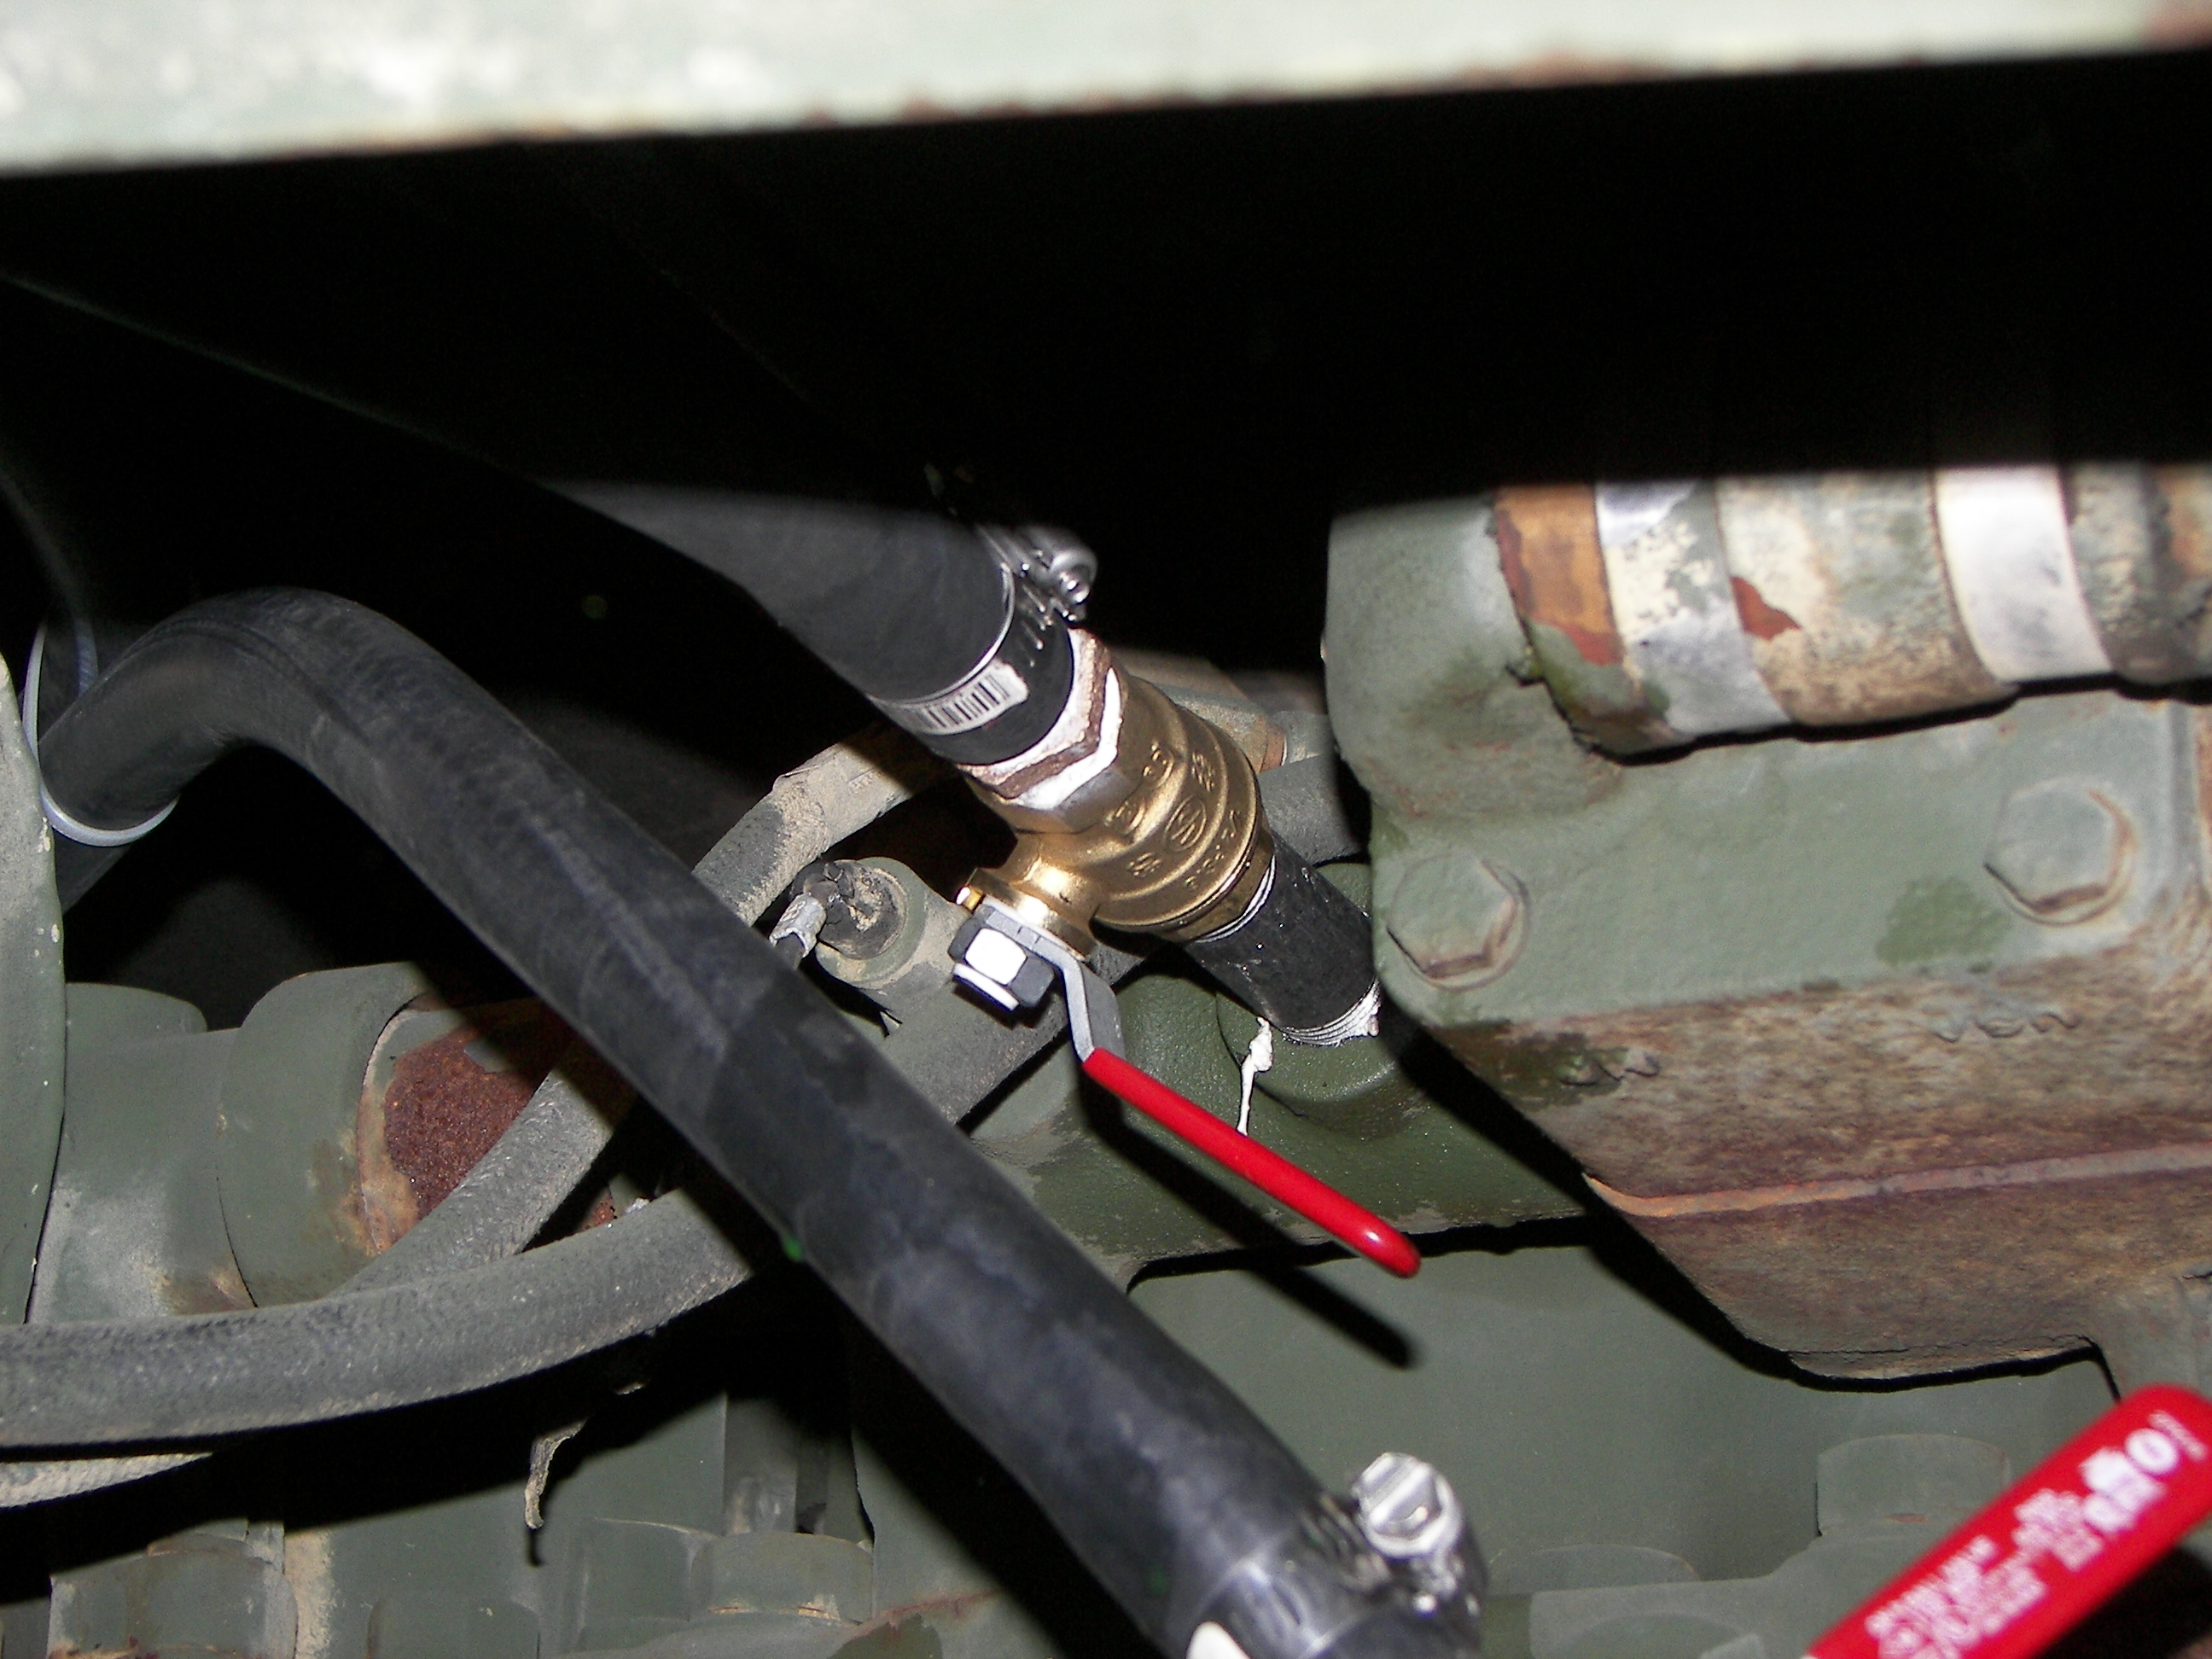
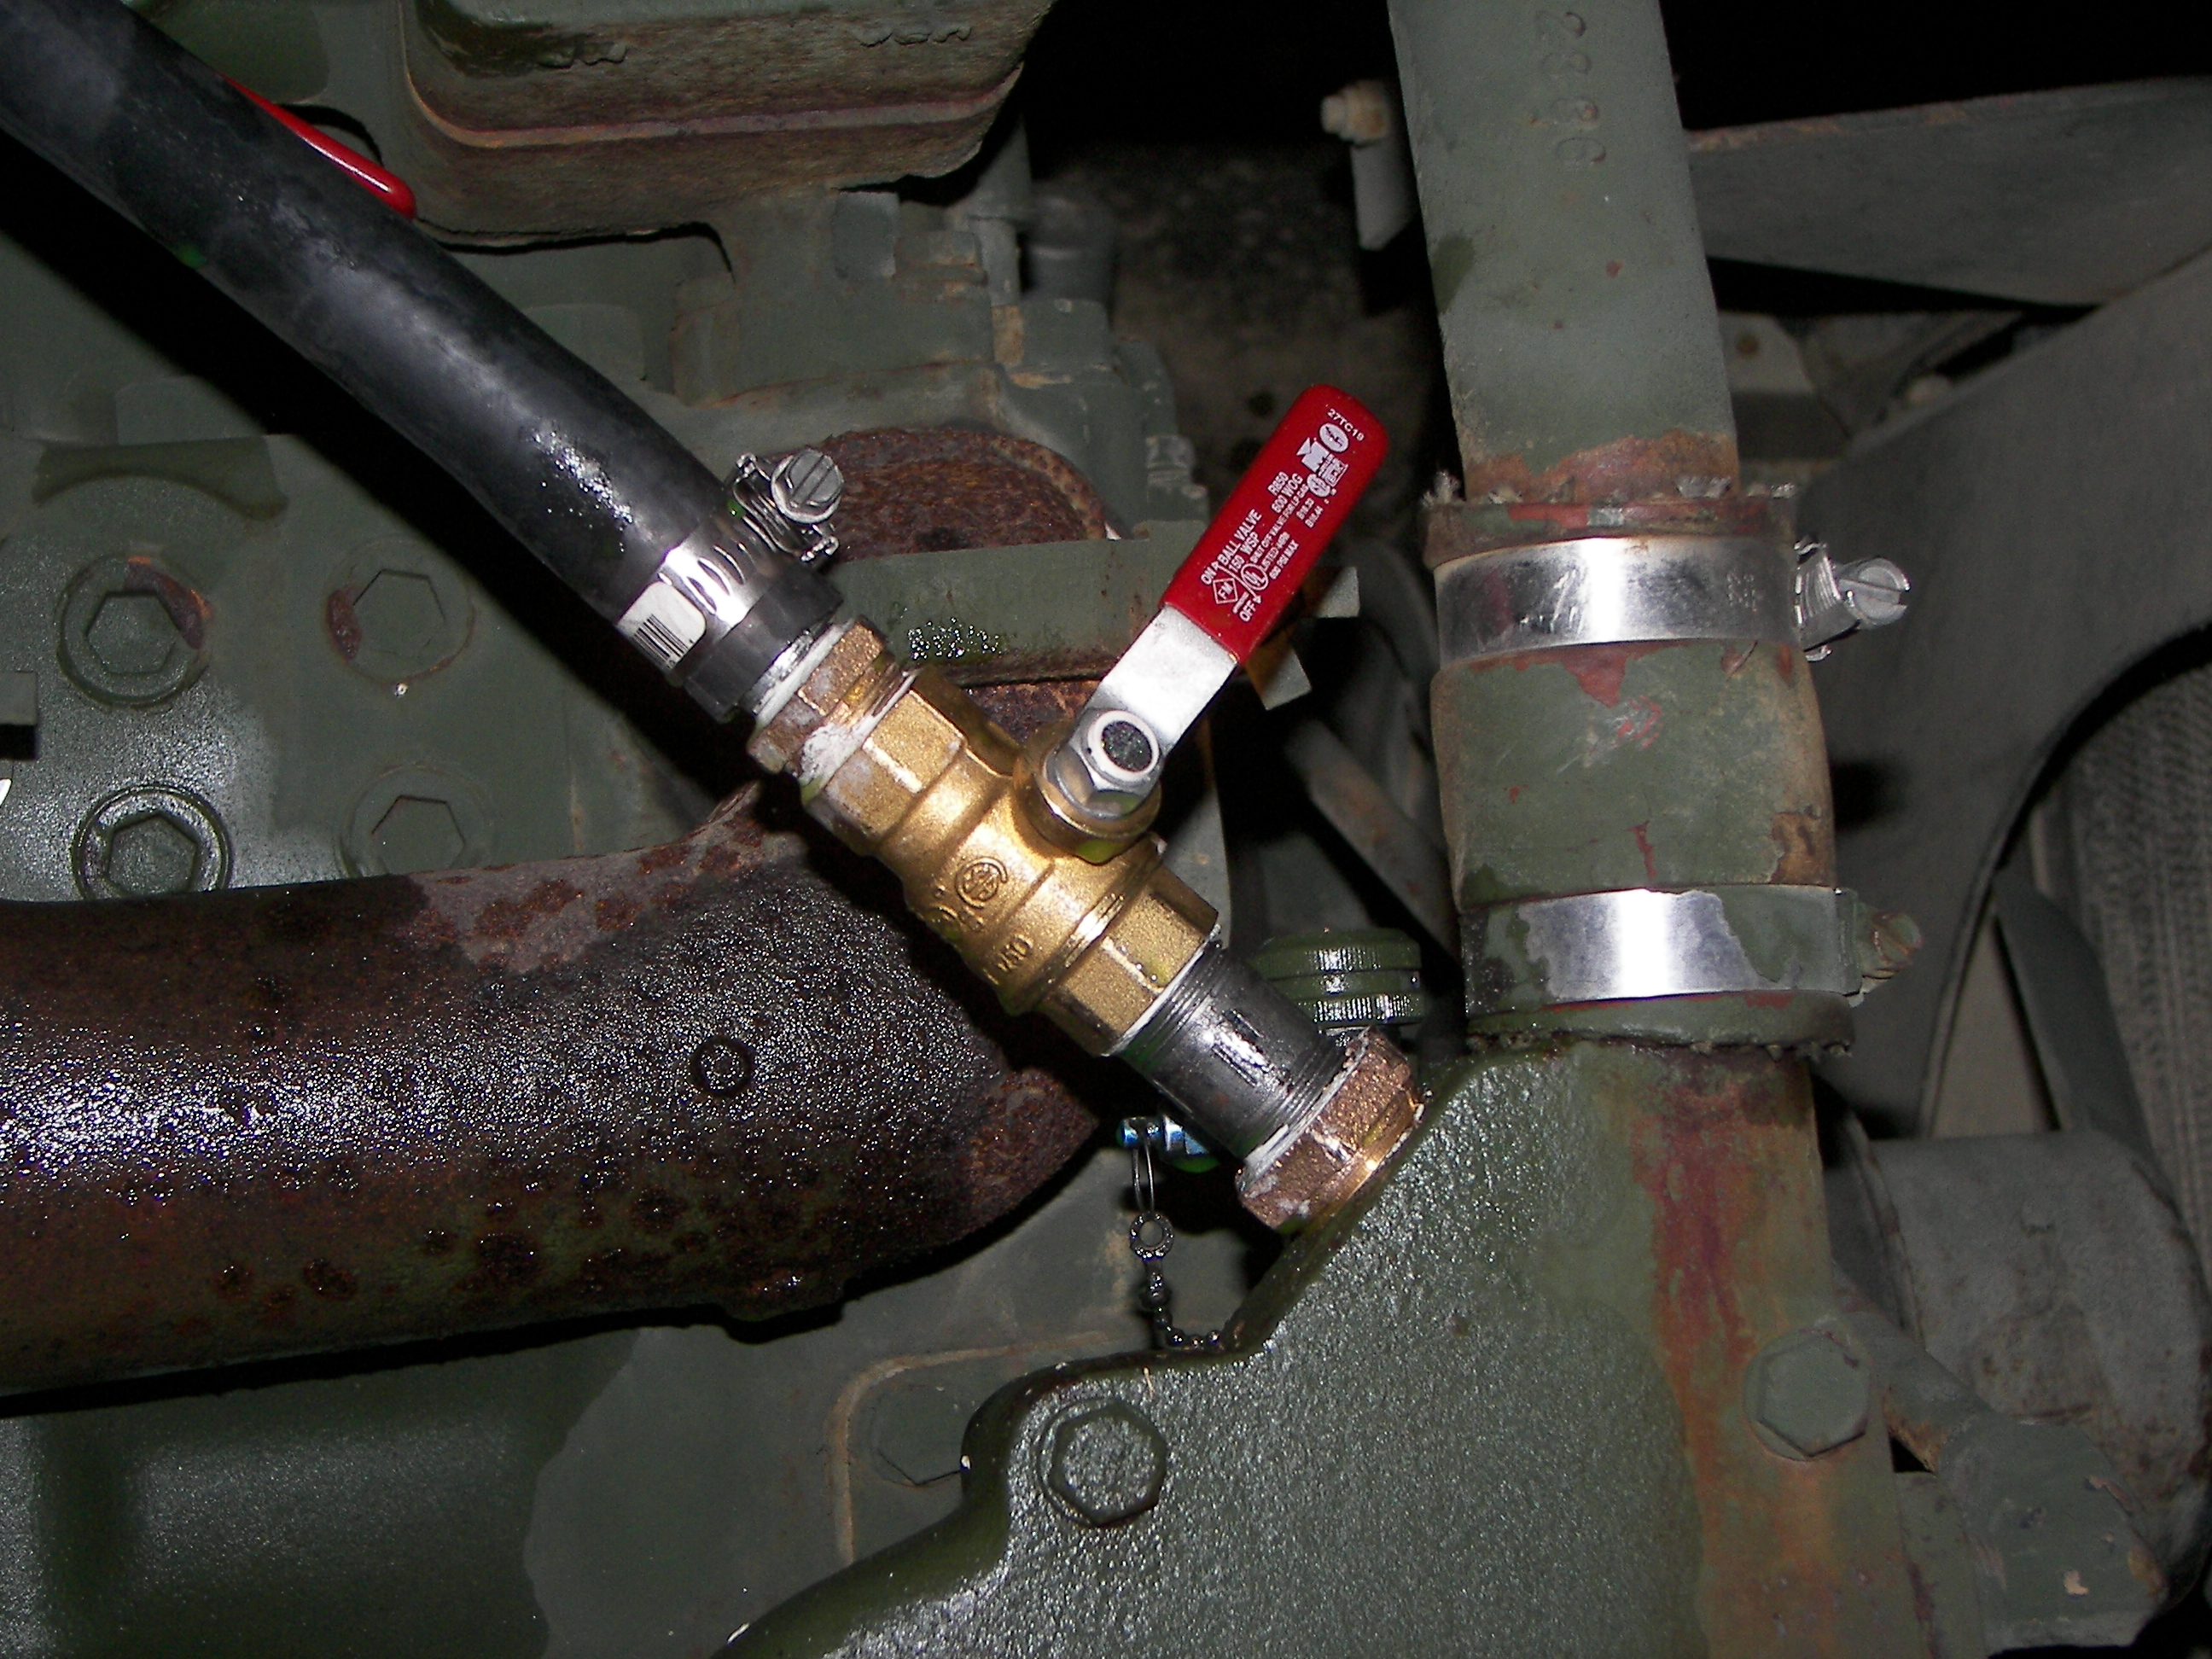
Meanwhile I installed the fittings, ball valves, and hoses to the engine for the heater. I don't care what people say, anti-freeze will freeze you at 10 degrees F. The wind made it more interesting. I dropped a nut and a 1/4" rachet extension into the space between the radiator and fan, and Jacob got them out. |
|
|
|
|
|
The mount for the rear deck is fitted. |
|

|
The deck is placed. |

|
Precision is Millwrights' work. |
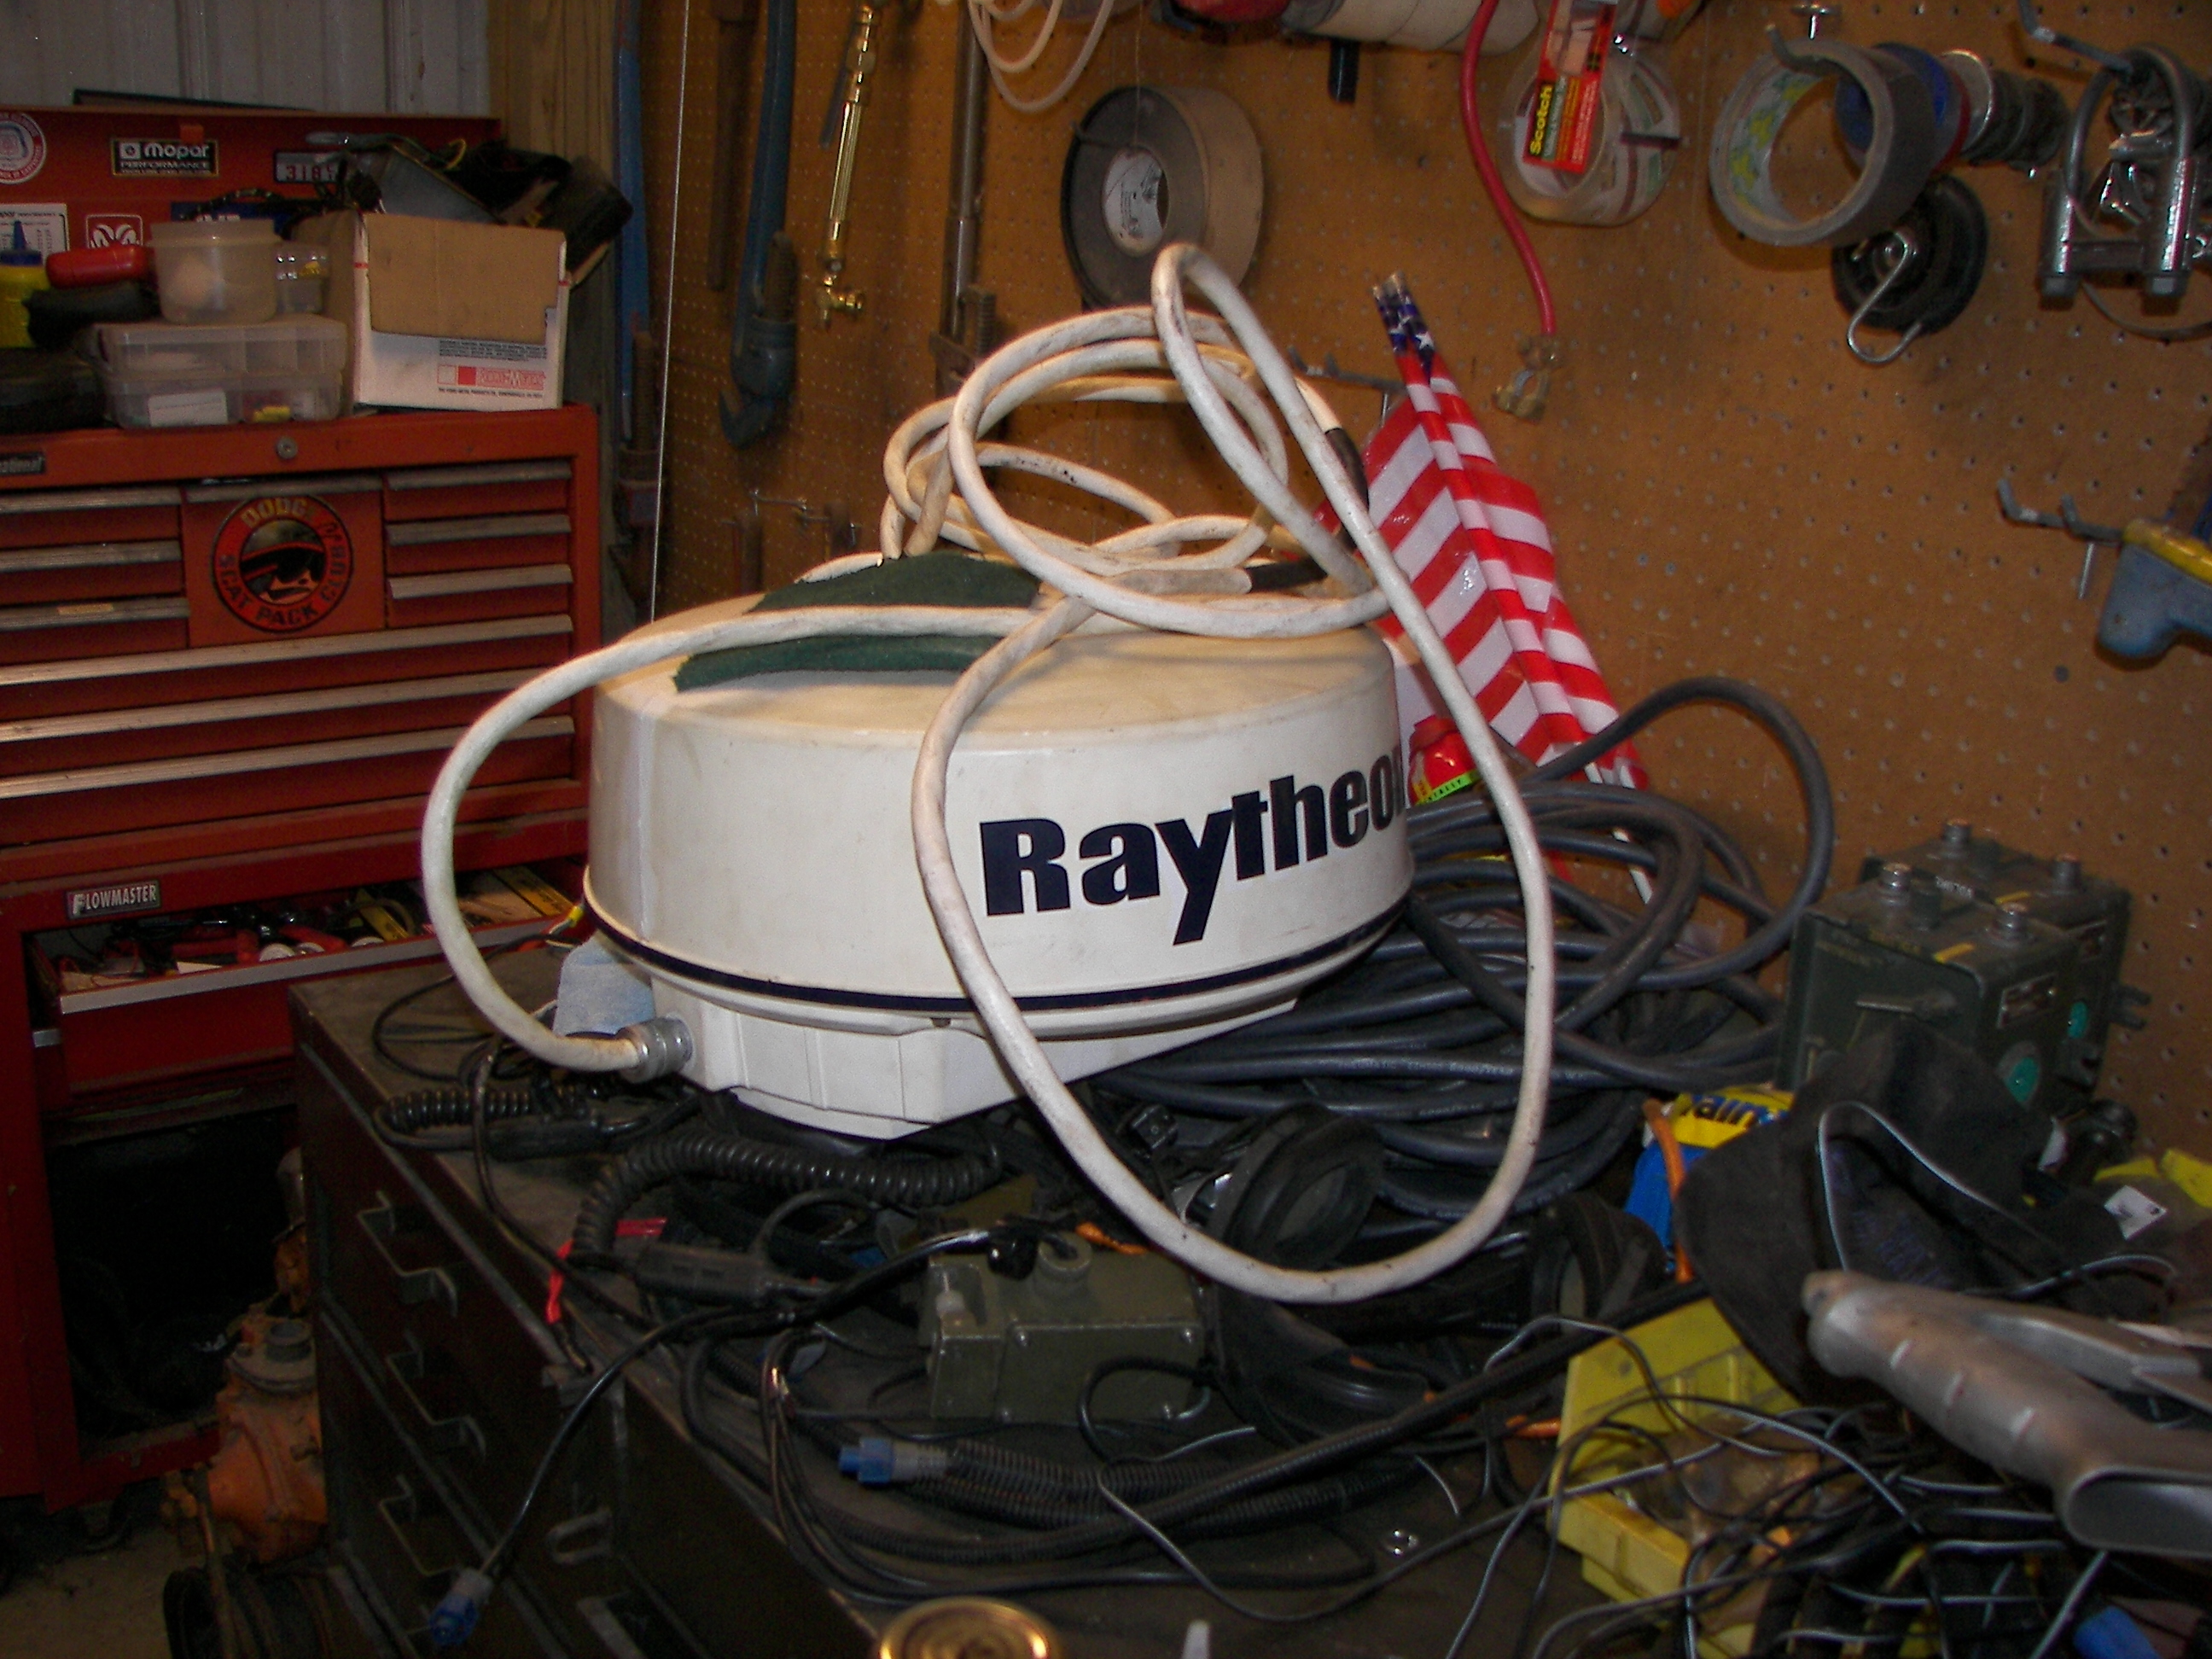
We did not have time to install the RADAR but there it is. |
From the top to here is 12 days. Can anyone's team do better? No talk. Show me! |
|
|

|
|
Departure Day
(click image for video)