Home Built 36 LED Flashlight
The first beginnings of the flashlight project: Instruction and a 9-LED conversion.
The LED museum: Inspiration and encouragement.
LEDTRONICS A good place to buy LEDs online
Home|Previous Page|Next Page
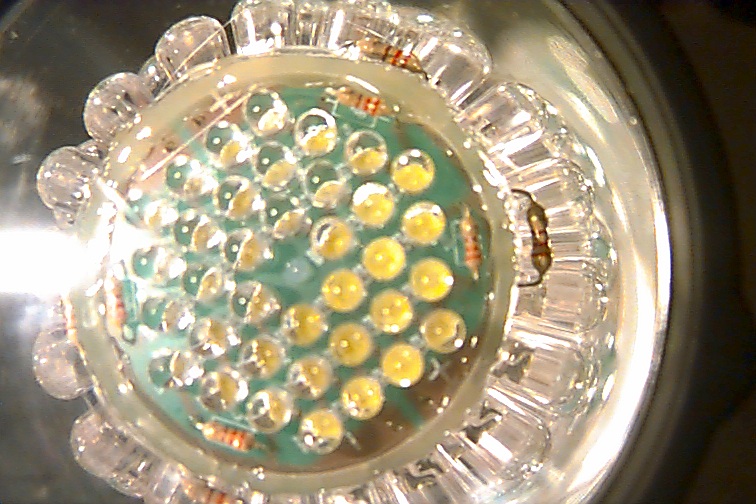
Once the LEDs and 220 ohm resistors were soldered to the pc board and the assembly was tested, the lens and reflector portion of the flashlight was disassembled and the LED board carefully centered. The board has a hole in the center, which turned out to be a convenient means of visually centering the board so that it is flat in the plane of the reflector cone. Once the board was centered, it was tacked in by high temperature hot glue, and then a bead was run around the board to bond it to the reflector. One thing to watch is that when the hot glue gun is withdrawn from the work, there is a tendency for thin filaments of hot glue to form. These will stick to just about anything including the polished surface of the reflector, LEDs, etc. Hot glue being what it is, a bit weak after time, a generous amount of silicon glue was injected behind the board, through the small opening where the original lamp would have protruded. That board is not going anywhere.
Page 4 of 7